

Manage aggregates for Cloud Volumes ONTAP clusters
Contributors

 Suggest changes
Manage aggregates yourself by adding disks, viewing information about the aggregates, and by deleting them.

|
All disks and aggregates must be created and deleted directly from the NetApp Console. You should not perform these actions from another management tool. Doing so can impact system stability, hamper the ability to add disks in the future, and potentially generate redundant cloud provider fees. |
Before you begin
If you want to delete an aggregate, you must have first deleted the volumes in the aggregate.
About this task
If an aggregate is running out of space, you can move volumes to another aggregate by using ONTAP System Manager.
Steps
-
From the left navigation menu, select Storage > Management.
-
On the Systems page, double-click the Cloud Volumes ONTAP system on which you want to manage aggregates.
-
From the system details, click the Aggregates tab.
-
For the required aggregate, click the
 icon for the management actions.
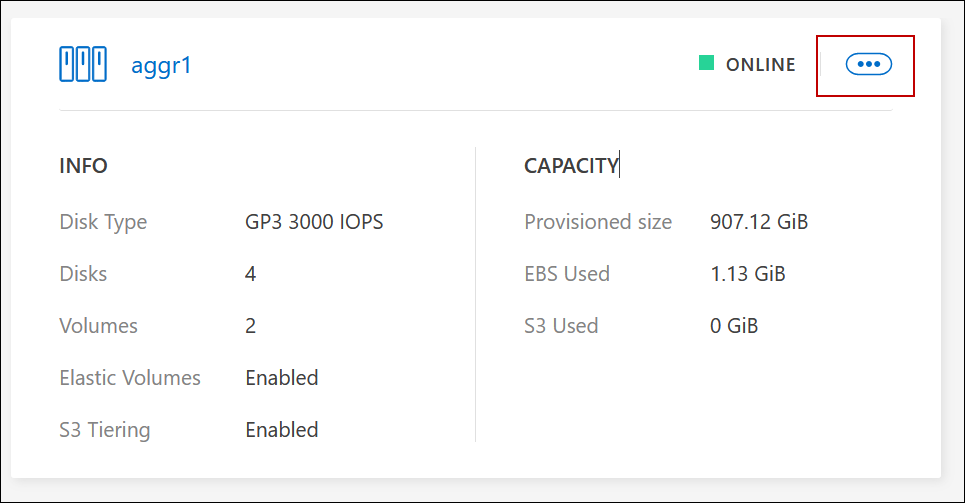
-
Manage your aggregates from the available options in the
menu.

|
For adding disks to an aggregate, all disks in the aggregate must be of the same size. |