

Install a CA-signed certificate for web-based console access
 Suggest changes
When you use the NetApp Console in restricted mode or private mode, the user interface is accessible from the Console agent virtual machine that's deployed in your cloud region or on-premises. By default, the Console uses a self-signed SSL certificate to provide secure HTTPS access to the web-based console running on the Console agent.
If required by your business, you can install a certificate signed by a certificate authority (CA), which provides better security protection than a self-signed certificate. After you install the certificate, the Console uses the CA-signed certificate when users access the web-based console.
Install an HTTPS certificate
Install a certificate signed by a CA for secure access to the web-based console running on the Console agent.
You can install the certificate using one of the following options:
-
Generate a certificate signing request (CSR) from the Console, submit the certificate request to a CA, and then install the CA-signed certificate on the Console agent.
The key pair that the Console uses to generate the CSR is stored internally on the Console agent. The Console automatically retrieves the same key pair (private key) when you install the certificate on the Console agent.
-
Install a CA-signed certificate that you already have.
With this option, the CSR is not generated through the Console. You generate the CSR separately and store the private key externally. You provide the Console with the private key when you install the certificate.
-
Select Administration > Agents.
-
On the Overview page, select the action menu for a Console agent and select HTTPS Setup.
The Console agent must be connected to edit it.
-
In the HTTPS Setup page, install a certificate by generating a certificate signing request (CSR) or by installing your own CA-signed certificate:
Option Description Generate a CSR
-
Enter the host name or DNS of the Console agent host (its Common Name), and then select Generate CSR.
The Console displays a certificate signing request.
-
Use the CSR to submit an SSL certificate request to a CA.
The certificate must use the Privacy Enhanced Mail (PEM) Base-64 encoded X.509 format.
-
Upload the certificate file and then select Install.
Install your own CA-signed certificate
-
Select Install CA-signed certificate.
-
Load both the certificate file and the private key and then select Install.
The certificate must use the Privacy Enhanced Mail (PEM) Base-64 encoded X.509 format.
-
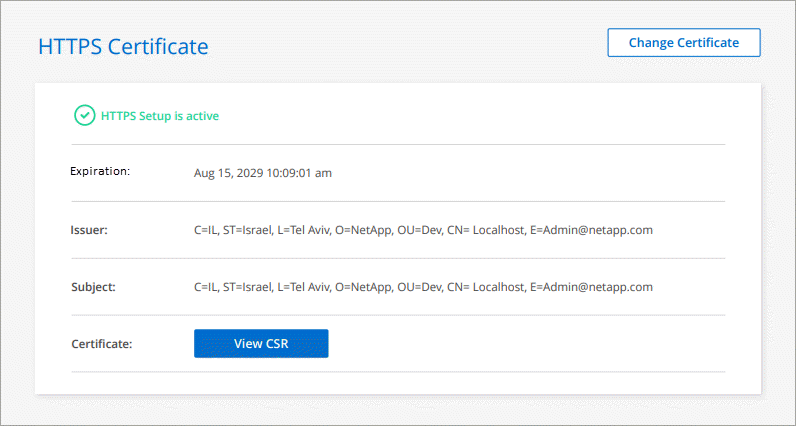
The Console agent now uses the CA-signed certificate to provide secure HTTPS access. The following image shows an agent that is configured for secure access:
Renew the Console HTTPS certificate
You should renew the agent's HTTPS certificate before it expires to ensure secure access. If you don't renew the certificate before it expires, a warning appears when users access the web console using HTTPS.
-
Select Administration > Agents.
-
On the Overview page, select the action menu for a Console agent and select HTTPS Setup.
Details about the certificate display, including the expiration date.
-
Select Change Certificate and follow the steps to generate a CSR or install your own CA-signed certificate.