


Manage blocked or allowed file extensions in NetApp Ransomware Resilience

 Suggest changes

 PDFs

NetApp Ransomware Resilience supports configuring a protection strategy that blocks suspicious file extensions. Ransomware Resilience provides a default list of known suspicious file extensions to block to prevent ransomware attacks. You can customize the list of file extensions, adding or removing entries as needed.
When you configure protection with suspicious file extension blocking, it's set at the workload level. You can, however, customize which file extensions at the storage VM (SVM) level, meaning different SVMs in the same workload can use different lists.
How file extension blocking works
There are two approaches to configuring file extension lists:
-
Block file extensions - All file extensions included in the list will be blocked and marked as ransomware threats.
-
Allow file extensions - Only files with extensions from this list are permitted. Any file with an extension not on the list is blocked and considered a ransomware threat.
File extension blocking from ONTAP
If you've set specific file extensions in ONTAP to be blocked, Ransomware Resilience recognizes those settings. If you configure configure protection in Ransomware Resilience to block suspicious file extensions, Ransomware Resilience will transition to use a default, more curated list of file extensions, unless you've configured a different default.
Default file extensions
Ransomware Resilience provides a default list of blocked file extensions called "NetApp." By default, all workloads enabled to block suspicious file extensions use this list, which contains more than 3,900 known malicious file extensions. You can modify this list or copy it to use as the basis for a custom list.
You can set a different list to be the default. After a list is set as the default, all workloads subsequently enabled for file blocking will use that list unless you manually select another list.
Create a file extensions list
-
In Ransomware Resilience, select Settings.
-
Under the File extensions heading, select Manage.
-
Select Add.
-
Enter a Name for the list.
-
Select how the list should operate:
-
Select Block extensions to automatically flag any file extension on the list as a ransomware threat.
-
Select Allow extensions to only permit requests from file extensions on the list.
-
-
Choose how to create the list:
-
Select the Copy list tab to build from an existing list.
Review the list of file extensions. Select the "X" next to the file extension type to delete extensions. Select + Add to list to add additional extensions; this selection takes you to the Enter manually tab.
-
Select the Upload tab to add a list of file extensions from a CSV file.
Select Upload then choose a CSV file that includes the list of file extensions you want to block or allow.
-
Select Enter manually to type in the list. Enter the list as a set of comma-separated values, for example "vvv, xyz, zzz".
-
-
Review the file extension list then select Add to create the new list.
Apply a file extension list to an SVM
When you assign a ransomware protection strategy with the block suspicious file extensions policy, you can designate a specific file extension list for the whole workload. After you apply protection policy, you can apply different lists to different SVMs.
The workload must include a detection policy that blocks suspicious file extensions before you can perform this task. Learn how to configure a ransomware protection strategy. You can only assign one list of file extensions to each SVM.
-
In Ransomware Resilience, select Settings.
-
Under the File extensions heading, select Manage.
-
Select the Storage VM tab.
-
Review the list of SVMs with the block suspicious file extension protections enabled. You can see which SVM uses which list. To change the list, select Change list.
-
In the dialog, select the new list from the dropdown menu then select Save.
Manage file extension lists
You can modify the contents of the file extension list at any time. You can delete a list or change a list to be the default for when you enable suspicious file blocking.
-
In Ransomware Resilience, select Settings.
-
Under the File extensions heading, select Manage.
-
Identify the file extension list you want to modify.
-
To add file extensions to the list, select the action menu then Add file extensions.
-
Choose the tab for the method you want to use to modify the list. Choose Copy list to import an existing list; choose Upload to import file extensions from a CSV file; choose Enter manually to manually submit file extensions.
-
Select Add to save the changes.
-
-
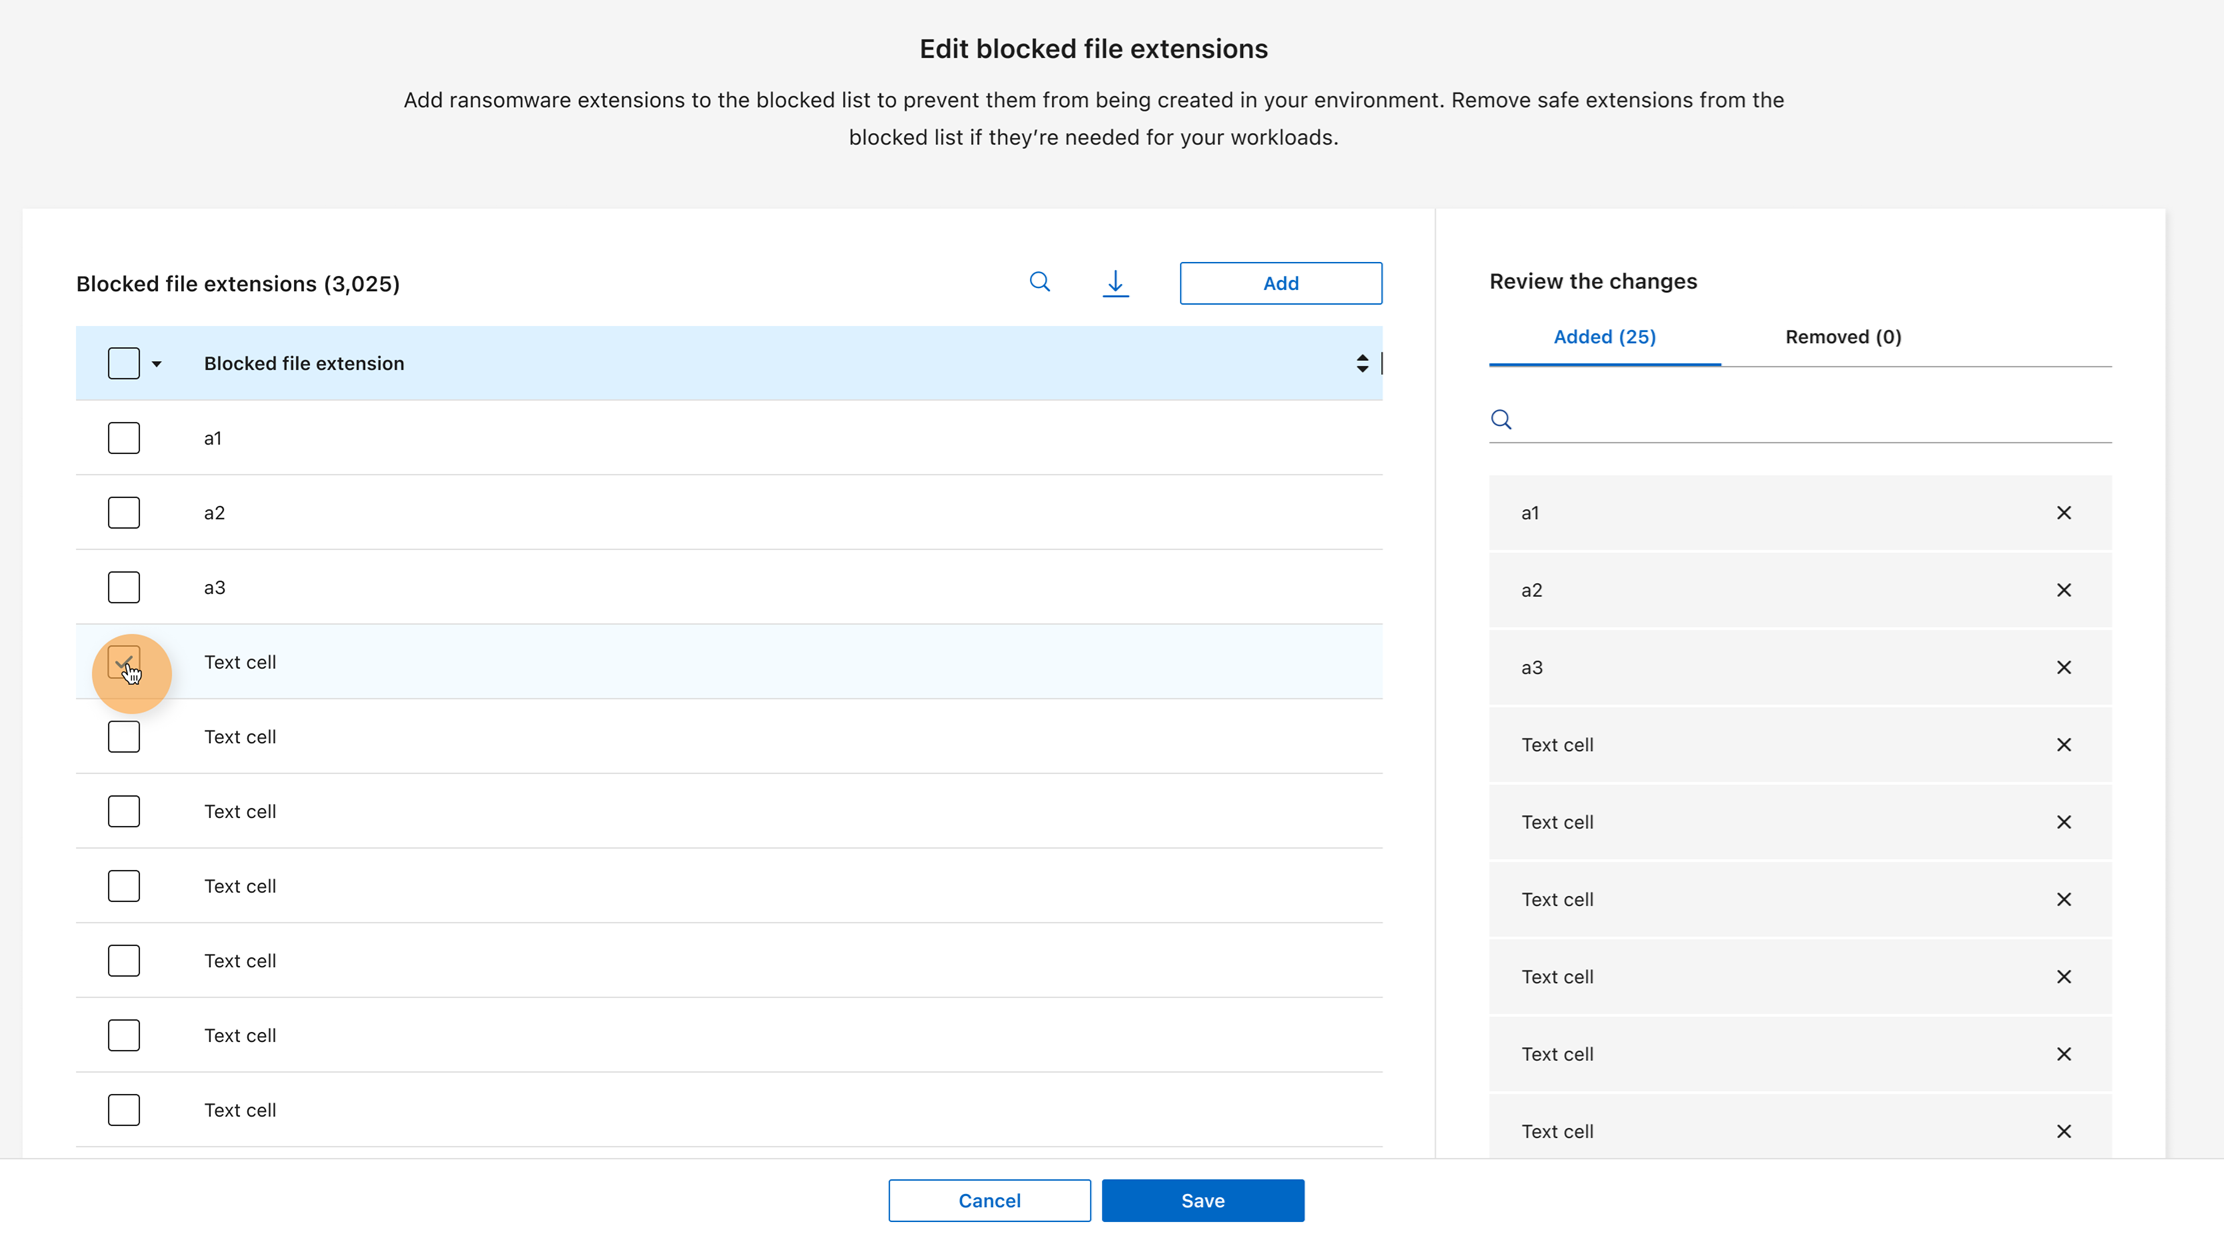
To remove file extensions, from the File extensions menu, select the name of the list you want to modify.
-
In the list of file extensions, select the checkbox next to each file extension you want to remove. At the top of the list, select Remove.
Alternately, select the action menu at the end of the row for the individual file extension you want to remove then Remove.
-
-
Select Save to modify the list.
-
In Ransomware Resilience, select Settings.
-
Under the File extensions heading, select Manage.
-
Choose the action menu for the list that you want to make the default then Mark as default list.
-
The list is then tagged as the default. Workloads protected with the blocked file extension list that haven't been marked with a specific list will block or allow file extensions based on the new default.
You cannot delete a list that is applied to an SVM. You must first change the list associated with the SVM.
You cannot delete the NetApp list.
-
In Ransomware Resilience, select Settings.
-
Under the File extensions heading, select Manage.
-
Select the action menu for the list you want to delete then Delete list.
-
Confirm deletion in the dialog.