7. Deploy the NetApp mNode: NetApp HCI with RHV
 Suggest changes


The management node (mNode) is a VM that runs in parallel with one or more Element software-based storage clusters. It is used for the following purposes:
-
Providing system services including monitoring and telemetry
-
Managing cluster assets and settings
-
Running system diagnostic tests and utilities
-
Enabling callhome for NetApp ActiveIQ for additional support
To install the NetApp mNode on Red Hat Virtualization, complete the following steps:
-
Upload the mNode ISO as a disk to the storage domain. Navigate to Storage > Disks > Upload and click Start. Then click Upload Image and select the downloaded mNode ISO image. Verify the storage domain, the host to perform the upload, and additional details. Then click OK to upload the image to the domain. A progress bar indicates when the upload is complete and the ISO is usable.
-
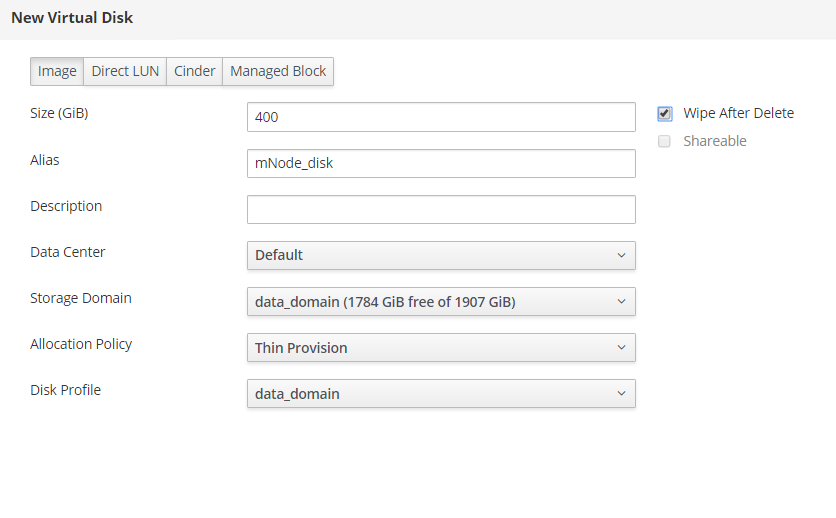
Create a VM disk by navigating to Storage > Disks and click New. The mNode disk must be at least 400 GB in size but can be thin-provisioned. In the wizard, enter the name of your choice, select the proper data center, make sure that the proper storage domain is selected, select Thin Provisioning for the allocation policy, and check the Wipe After Delete checkbox. Click OK.
-
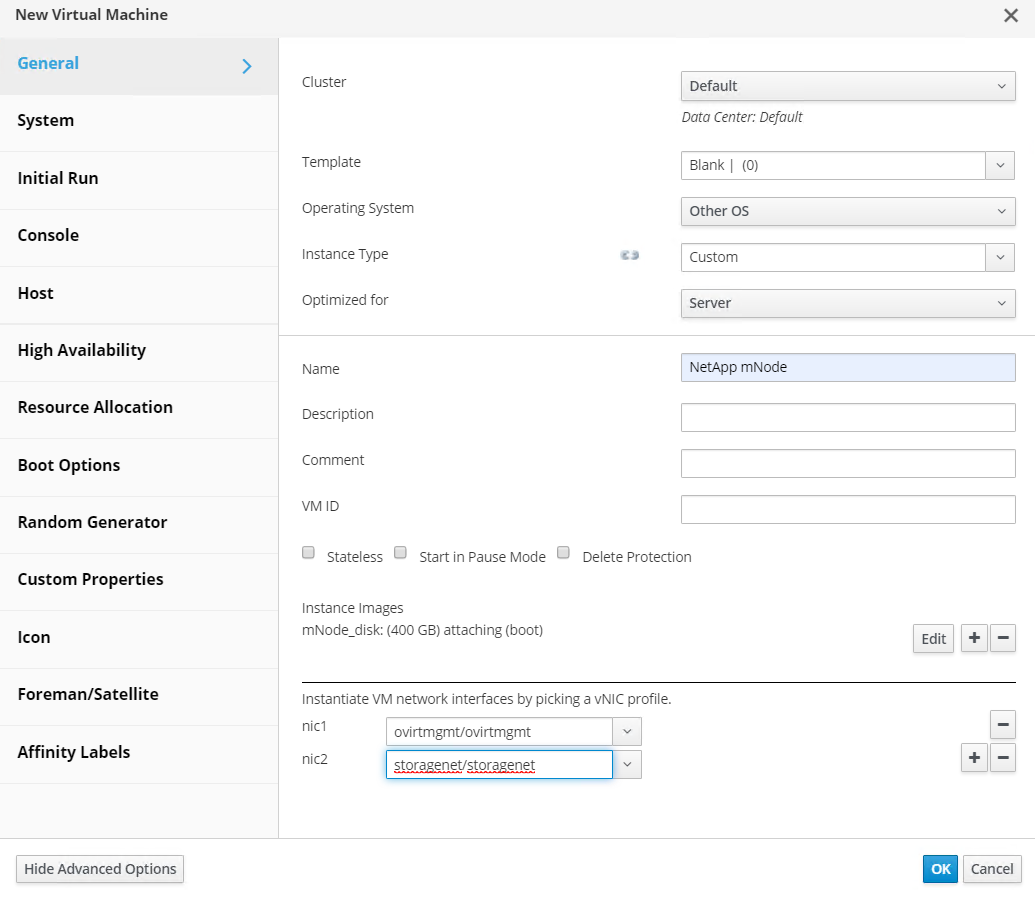
Next, navigate to Compute > Virtual Machines and click New. In the General sub-tab, select the appropriate cluster, enter the name of your choice, click attach, and select the disk created in the previous step. Check the box below OS to emphasize that it is a bootable drive. Click OK.

-
Select ovirtmgmt from the dropdown for nic1. Click the (+) sign and select the storage network interface from the dropdown list for nic2.
-
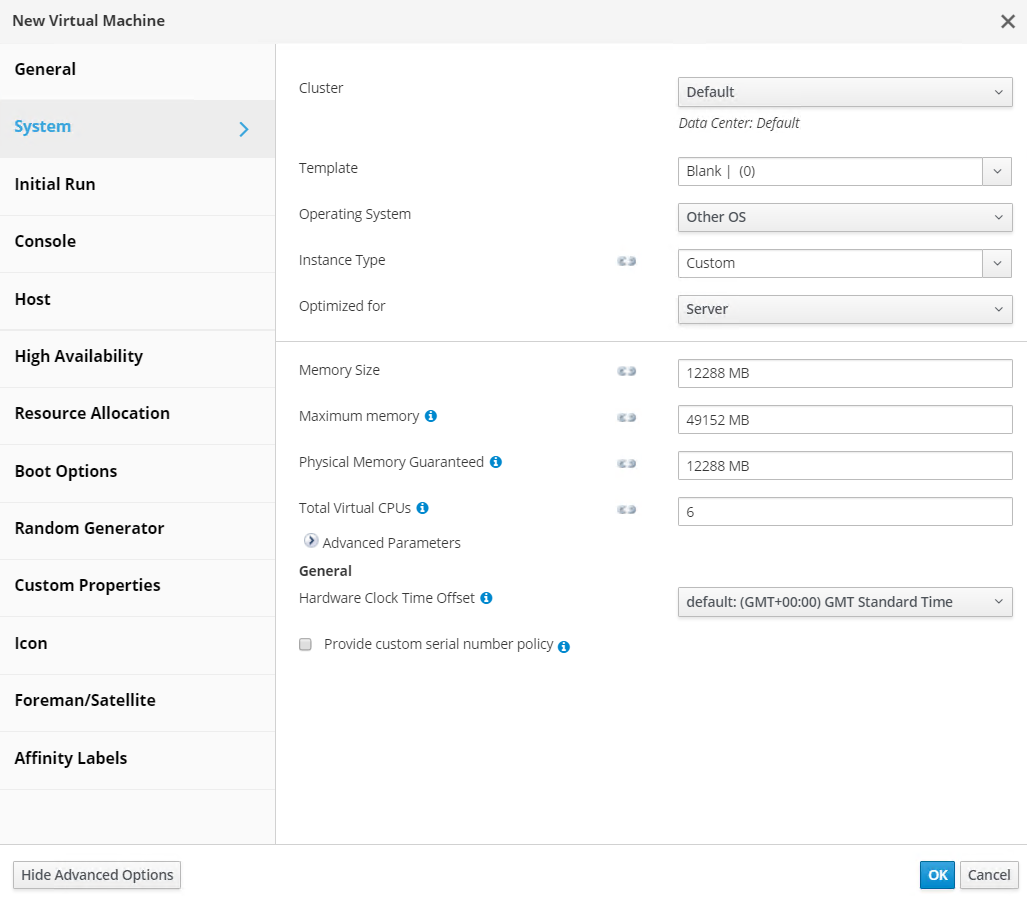
Click the System sub-tab and make sure that it has at least 12GB of memory and 6 virtual CPUs as recommended.
-
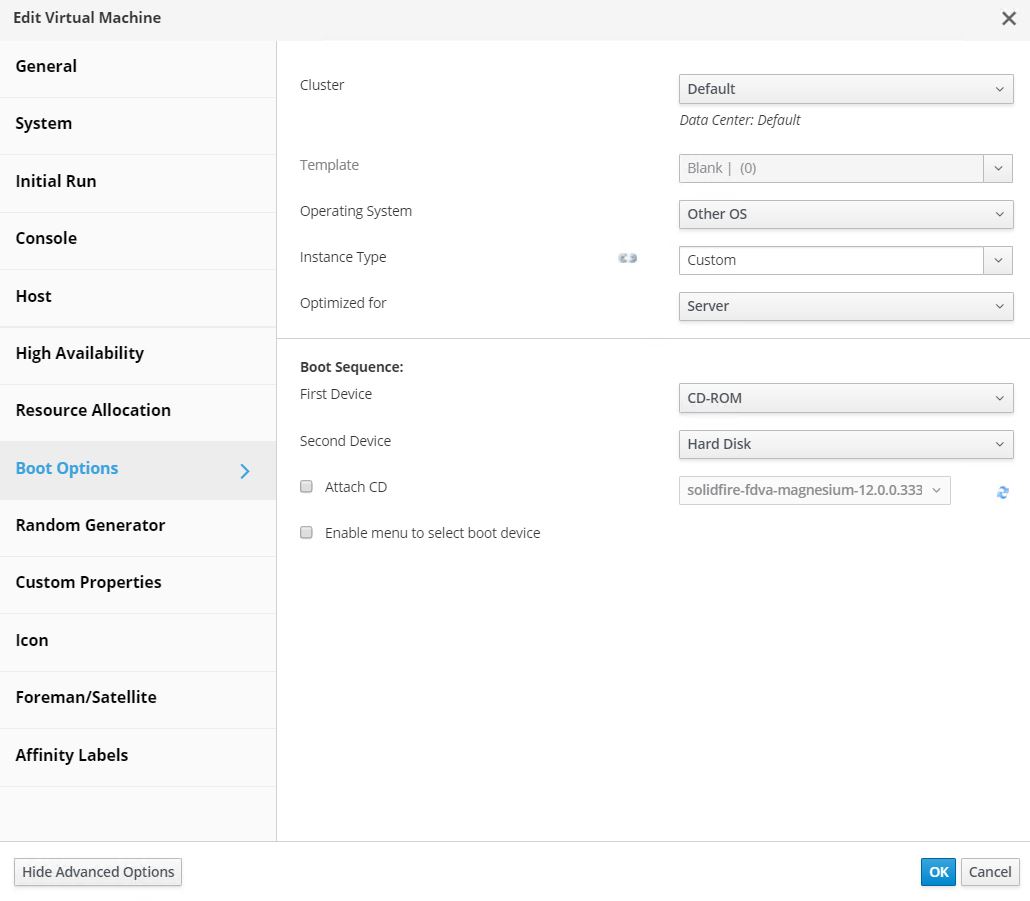
Click the Boot Options sub-tab, select CD-ROM as the first device in the boot sequence, select Hard Drive as the second device. Enable Attach CD and attach the mNode ISO. Then click OK.
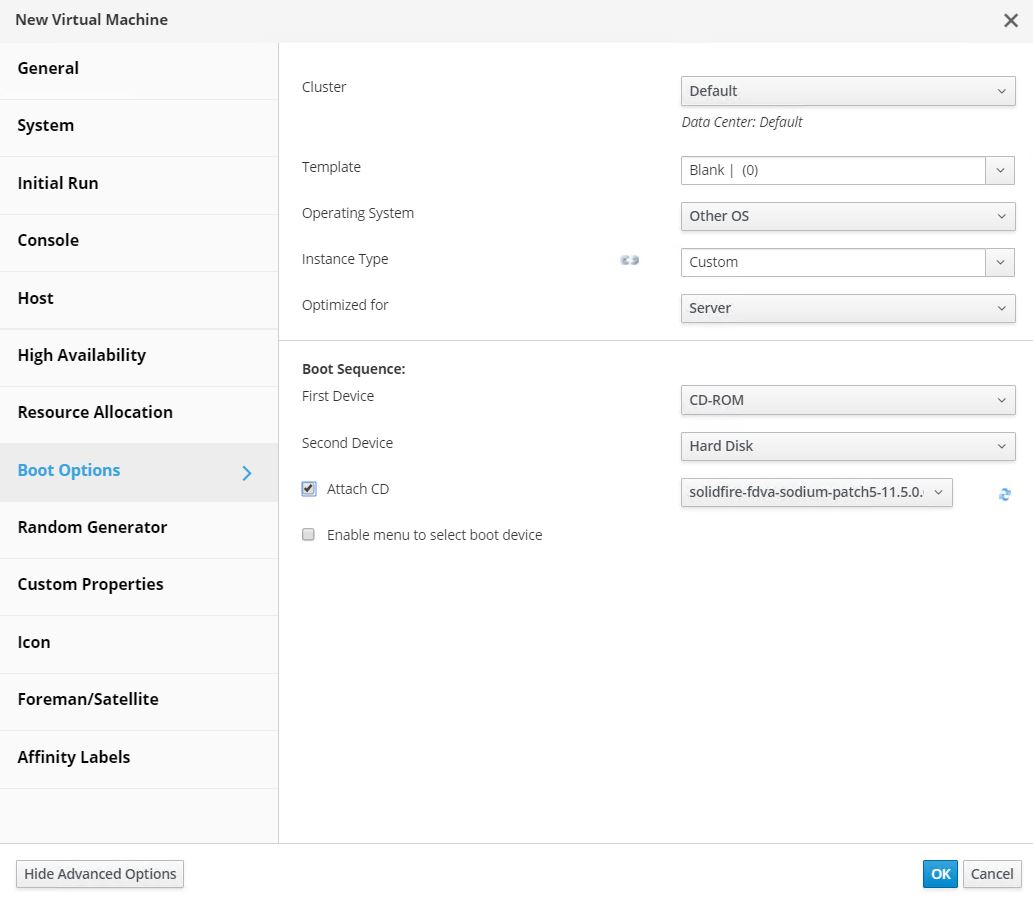
The VM is created.
-
After the VM becomes available, power it on, and open a console to it. It begins to load the NetApp Solidfire mNode installer. When the installer is loaded, you are prompted to start the RTFI magnesium installation; type
yesand press Enter. The installation process begins, and after it is complete, it automatically powers off the VM.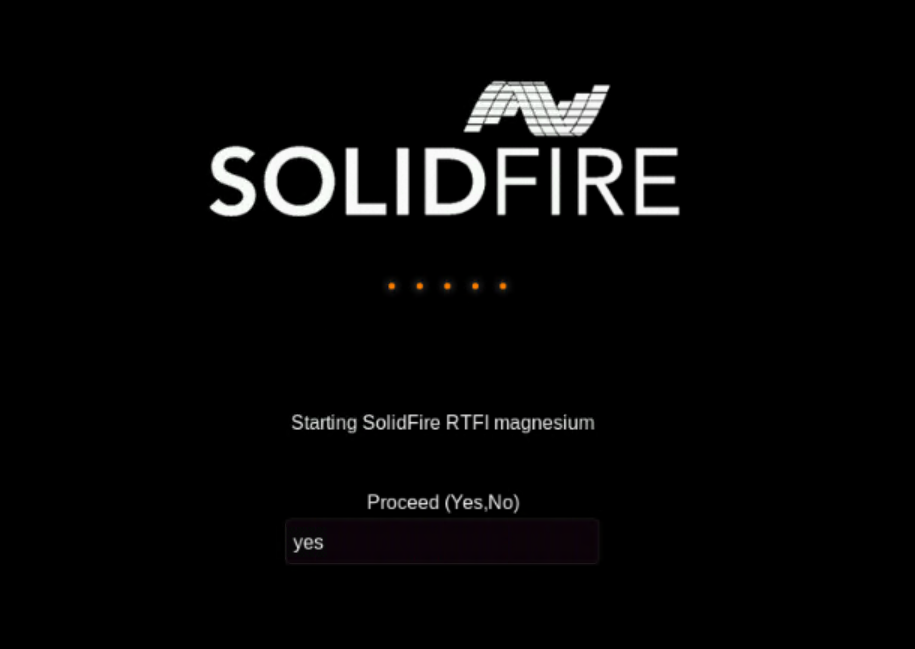
-
Next, click the mNode VM and click Edit. In the Boot Options sub-tab, uncheck the Attach CD checkbox and click the OK button.
-
Power on the mNode VM. Using the terminal user interface (TUI), create a management node admin user.
To move through the menu options, press the Up or Down arrow keys. To move through the buttons, press Tab. To move from the buttons to the fields, press Tab. To navigate between fields, press the Up or Down arrow keys. 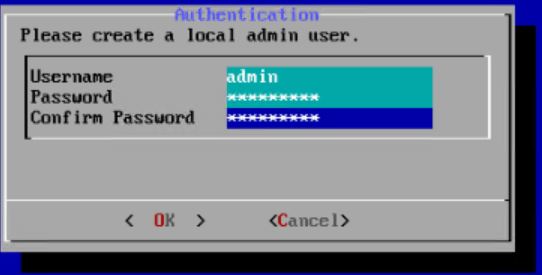
-
After the user is created, you are returned to a login screen. Log in with the credentials that were just created.
-
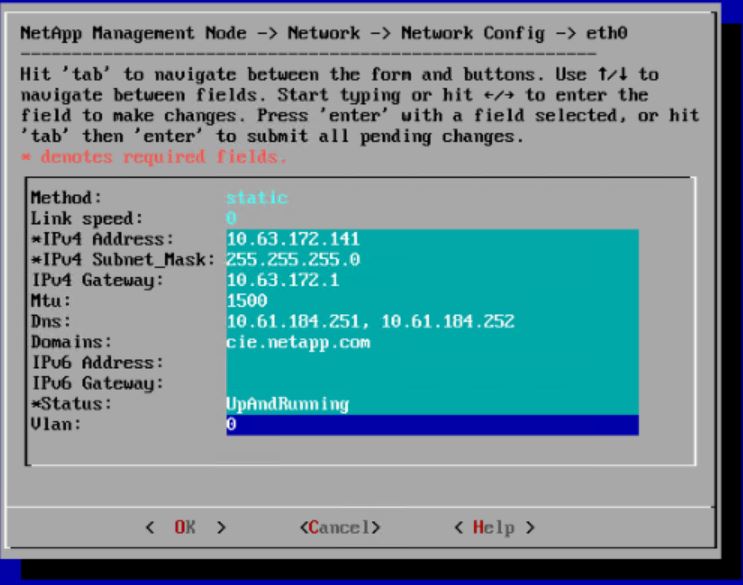
To configure the network interfaces starting with the management interface, navigate to Network > Network Config > eth0 and enter the IP address, netmask, gateway, DNS servers, and search domain for your environment. Click OK.
-
Next, configure eth1 to access the storage network. Navigate to Network > Network Config > eth1 and enter the IP address and netmask. Verify that the MTU is 9000. Then click OK.
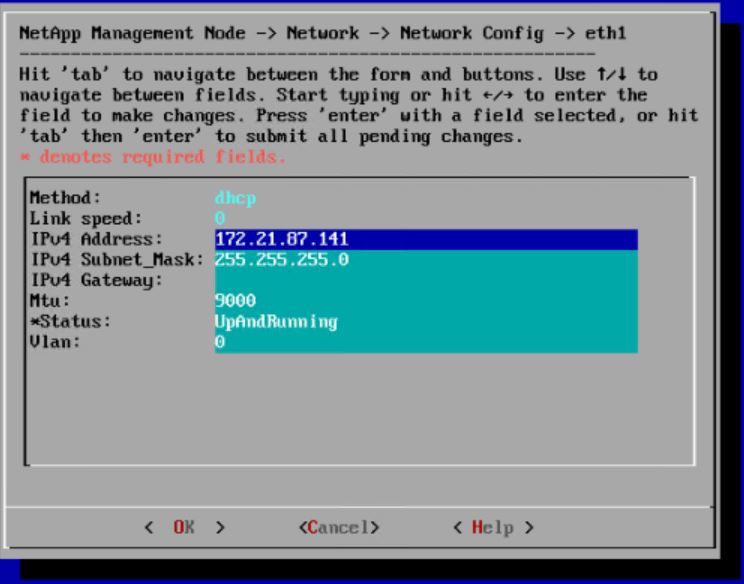
You can now close the TUI interface.
-
SSH into the management node using the management IP, escalate to root and register the mNode with the HCI storage cluster.
admin@SF-3D1C ~ $ sudo su

SF-3D1C /home/admin # /sf/packages/mnode/setup-mnode --mnode_admin_user admin --storage_mvip 10.63.172.140 --storage_username admin --telemetry_active true

Enter the password for storage user admin:
Enter password for mNode user admin:
[2020-05-21T17:19:53.281657Z]:[setup_mnode:296] INFO:Starting mNode deployment
[2020-05-21T17:19:53.286153Z]:[config_util:1313] INFO:No previously running mNode. Continuing with deployment.
[2020-05-21T17:19:53.286687Z]:[config_util:1320] INFO:Validating credentials for mNode host.
[2020-05-21T17:19:53.316270Z]:[config_util:1232] INFO:Checking Cluster information.
[2020-05-21T17:19:53.380168Z]:[config_util:112] INFO:Cluster credentials verification successful.
[2020-05-21T17:19:53.380665Z]:[config_util:1252] INFO:Cluster version check successful.
[2020-05-21T17:19:53.458271Z]:[config_util:112] INFO:Successfully queried system configuration
[2020-05-21T17:19:53.463611Z]:[config_util:497] INFO:CIDR range 172.16.0.0/22 open. Using for docker ingress.
[2020-05-21T17:19:53.464179Z]:[mnodecfg:141] INFO:Configuring mNode
[2020-05-21T17:19:53.464687Z]:[config_util:194] INFO:Wait for ping of 127.0.0.1 to succeed
[2020-05-21T17:19:53.475619Z]:[mnodecfg:145] INFO:Validating the supplied MNode network configuration
[2020-05-21T17:19:53.476119Z]:[mnodecfg:155] INFO:Testing the MNode network configuration
[2020-05-21T17:19:53.476687Z]:[config_util:353] INFO:Testing network connection to storage MVIP: 10.63.172.140
[2020-05-21T17:19:53.477165Z]:[config_util:194] INFO:Wait for ping of 10.63.172.140 to succeed
[2020-05-21T17:19:53.488045Z]:[config_util:356] INFO:Successfully reached storage MVIP: 10.63.172.140
[2020-05-21T17:19:53.488569Z]:[mnodecfg:158] INFO:Configuring MNode storage (this can take several minutes)
[2020-05-21T17:19:57.057435Z]:[config_util:536] INFO:Configuring MNode storage succeeded.
[2020-05-21T17:19:57.057938Z]:[config_util:445] INFO:Replacing default ingress network.
[2020-05-21T17:19:57.078685Z]:[mnodecfg:163] INFO:Extracting services tar (this can take several minutes)
[2020-05-21T17:20:36.066185Z]:[config_util:1282] INFO:Extracting services tar succeeded
[2020-05-21T17:20:36.066808Z]:[mnodecfg:166] INFO:Configuring MNode authentication
[2020-05-21T17:20:36.067950Z]:[config_util:1485] INFO:Updating element-auth configuration
[2020-05-21T17:20:41.581716Z]:[mnodecfg:169] INFO:Deploying MNode services (this can take several minutes)
[2020-05-21T17:20:41.810264Z]:[config_util:557] INFO:Deploying MNode services succeeded
[2020-05-21T17:20:41.810768Z]:[mnodecfg:172] INFO:Deploying MNode Assets
[2020-05-21T17:20:42.162081Z]:[config_util:122] INFO:Retrying 1/45 time...
[2020-05-21T17:20:42.162640Z]:[config_util:125] INFO:Waiting 10 seconds before next attempt.
[2020-05-21T17:20:52.199224Z]:[config_util:112] INFO:Mnode is up!
[2020-05-21T17:20:52.280329Z]:[config_util:112] INFO:Root asset created.
[2020-05-21T17:20:52.280859Z]:[config_util:122] INFO:Retrying 1/5 time...
[2020-05-21T17:20:52.281280Z]:[config_util:125] INFO:Waiting 10 seconds before next attempt.
[2020-05-21T17:21:02.299565Z]:[config_util:112] INFO:Successfully queried storage assets
[2020-05-21T17:21:02.696930Z]:[config_util:112] INFO:Storage asset created.
[2020-05-21T17:21:03.238455Z]:[config_util:112] INFO:Storage asset registered.
[2020-05-21T17:21:03.241966Z]:[mnodecfg:175] INFO:Attempting to set up VCP-SIOC credentials
[2020-05-21T17:21:03.242659Z]:[config_util:953] INFO:No VCP-SIOC credential given from NDE. Using default credentials for VCP-SIOC service.
[2020-05-21T17:21:03.243117Z]:[mnodecfg:185] INFO:Configuration Successfully Completed
-
Using a browser, log into the management node GUI using
https://<mNodeIP>. mNode or Hybrid Cloud Control facilitates expansion, monitoring, and upgrading the Element cluster.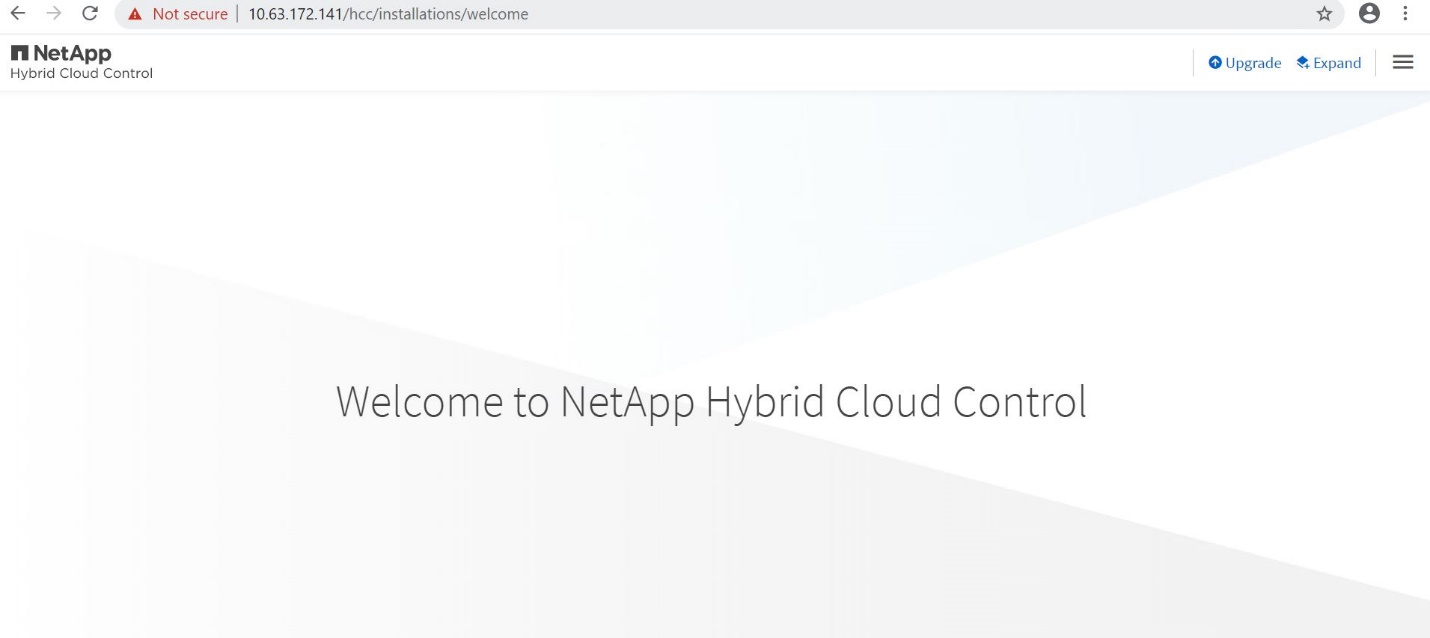
-
Click the three parallel lines on the top right and click View Active IQ. Search for the HCI storage cluster by filtering the cluster name and make sure that it is logging the most recent updates.


