


Install a vSphere Kubernetes Service cluster

 Suggest changes

 PDFs
PDFs
Install a vSphere Kubernetes Service (VKS) cluster in your VCF 9.1 environment and configure worker nodes with the appropriate storage utilities for your workloads.
NFS utilities are automatically installed in the worker nodes of the cluster that you create. If you want to create worker nodes with iSCSI or NVMe utilities installed, you must create a custom OVA image and use that image for the worker nodes. The custom image can be created using Docker, and the vcf command line tool can then be used to create an OVA file from this image. This OVA file can be uploaded to the Content Library in vSphere. When creating the VKS cluster, this image from the Content Library can be selected for the node pools.
-
Create the VKS cluster:
You can create a VKS cluster using either the default worker node image or a custom image that you create. The default worker node image includes NFS utilities pre-installed, while the custom image can include iSCSI and NVMe utilities. The following options are available:
-
NAS only (default): Create a VKS cluster using the default worker node image, which includes NFS utilities pre-installed.
-
SAN enabled (custom image): Create a custom Docker image that includes iSCSI and NVMe utilities, generate an OVA file using the
vcfcommand line tool, upload the OVA to the vSphere Content Library, and then create the VKS cluster selecting that custom image for the node pools.Show instructions for creating a NAS-only vSphere Kubernetes Service cluster with the default worker node image
Create the VKS cluster using the default worker node image. Follow the prompts to specify the cluster name, node pool configuration, and other settings.
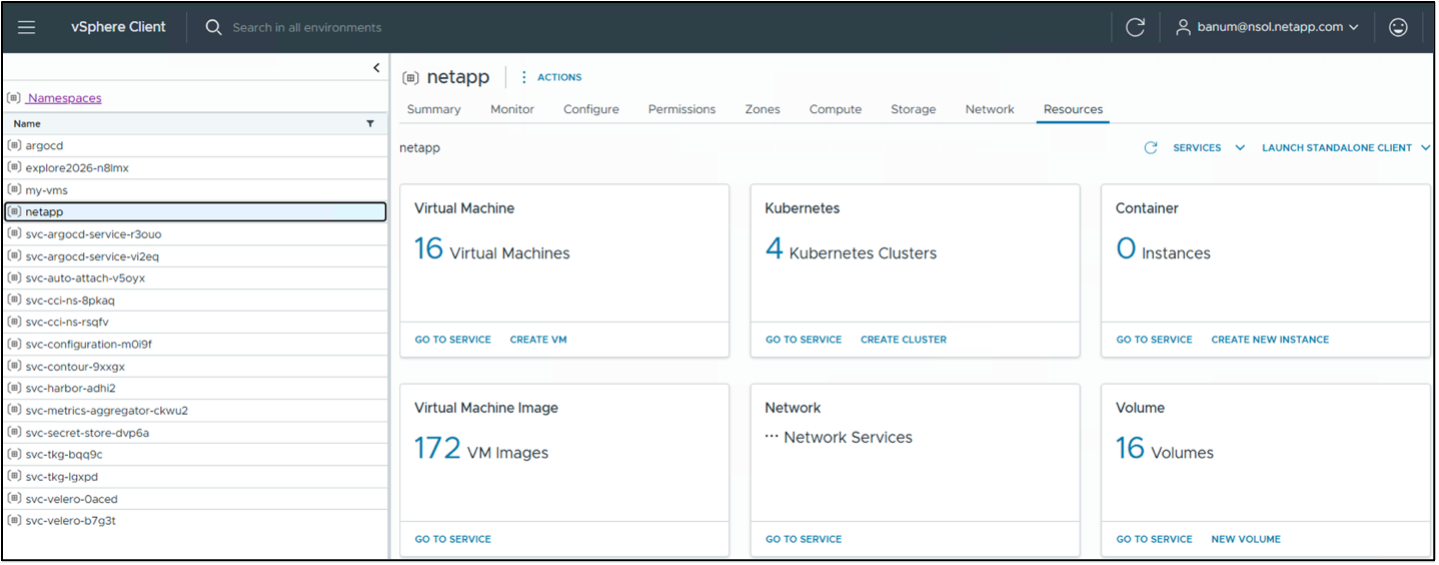
From the vSphere Client, go to the namespace where you want to create the vSphere Kubernetes cluster. On the Resources tab of that namespace, click Create Cluster in the Kubernetes section, or click Go to Service and then click Create Cluster.
Complete the form with the cluster details:
-
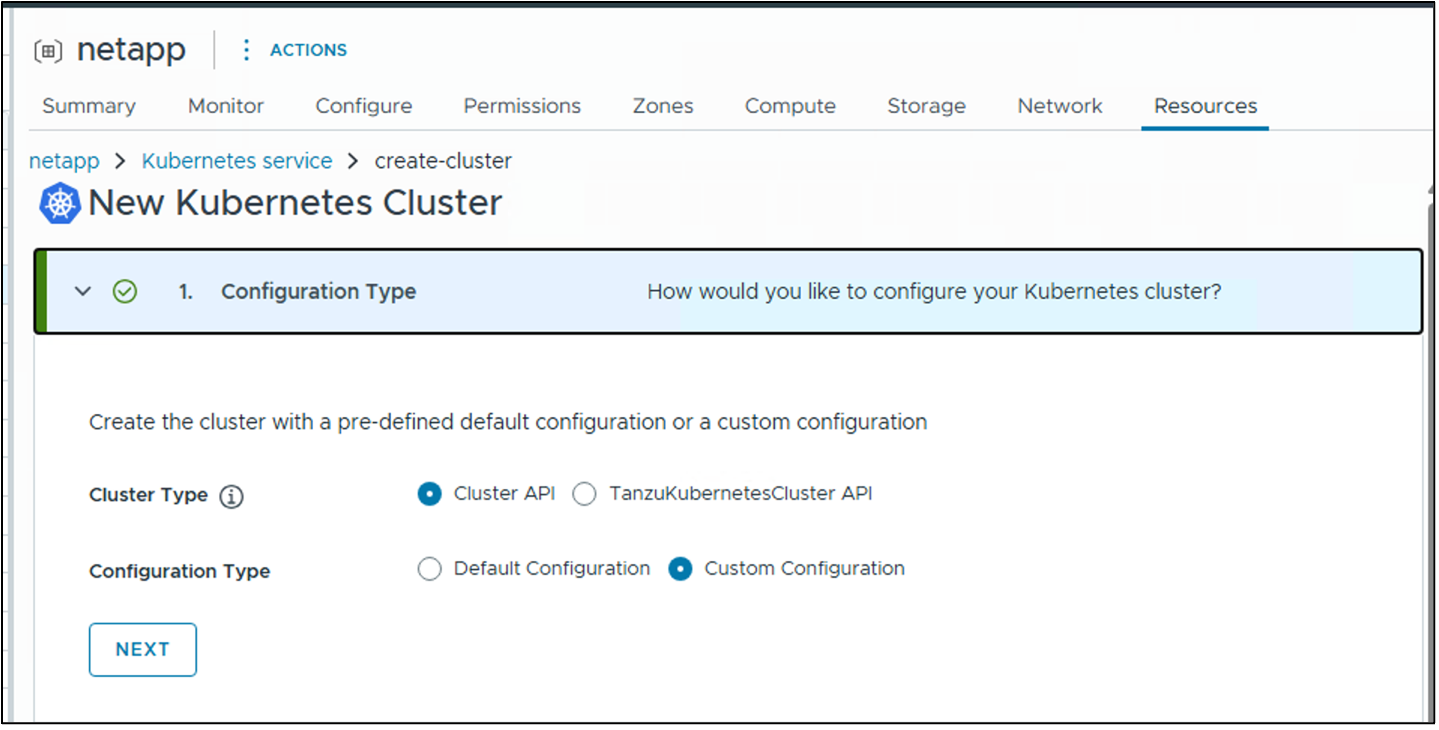
In section 1, Configuration Type, select Custom.
-
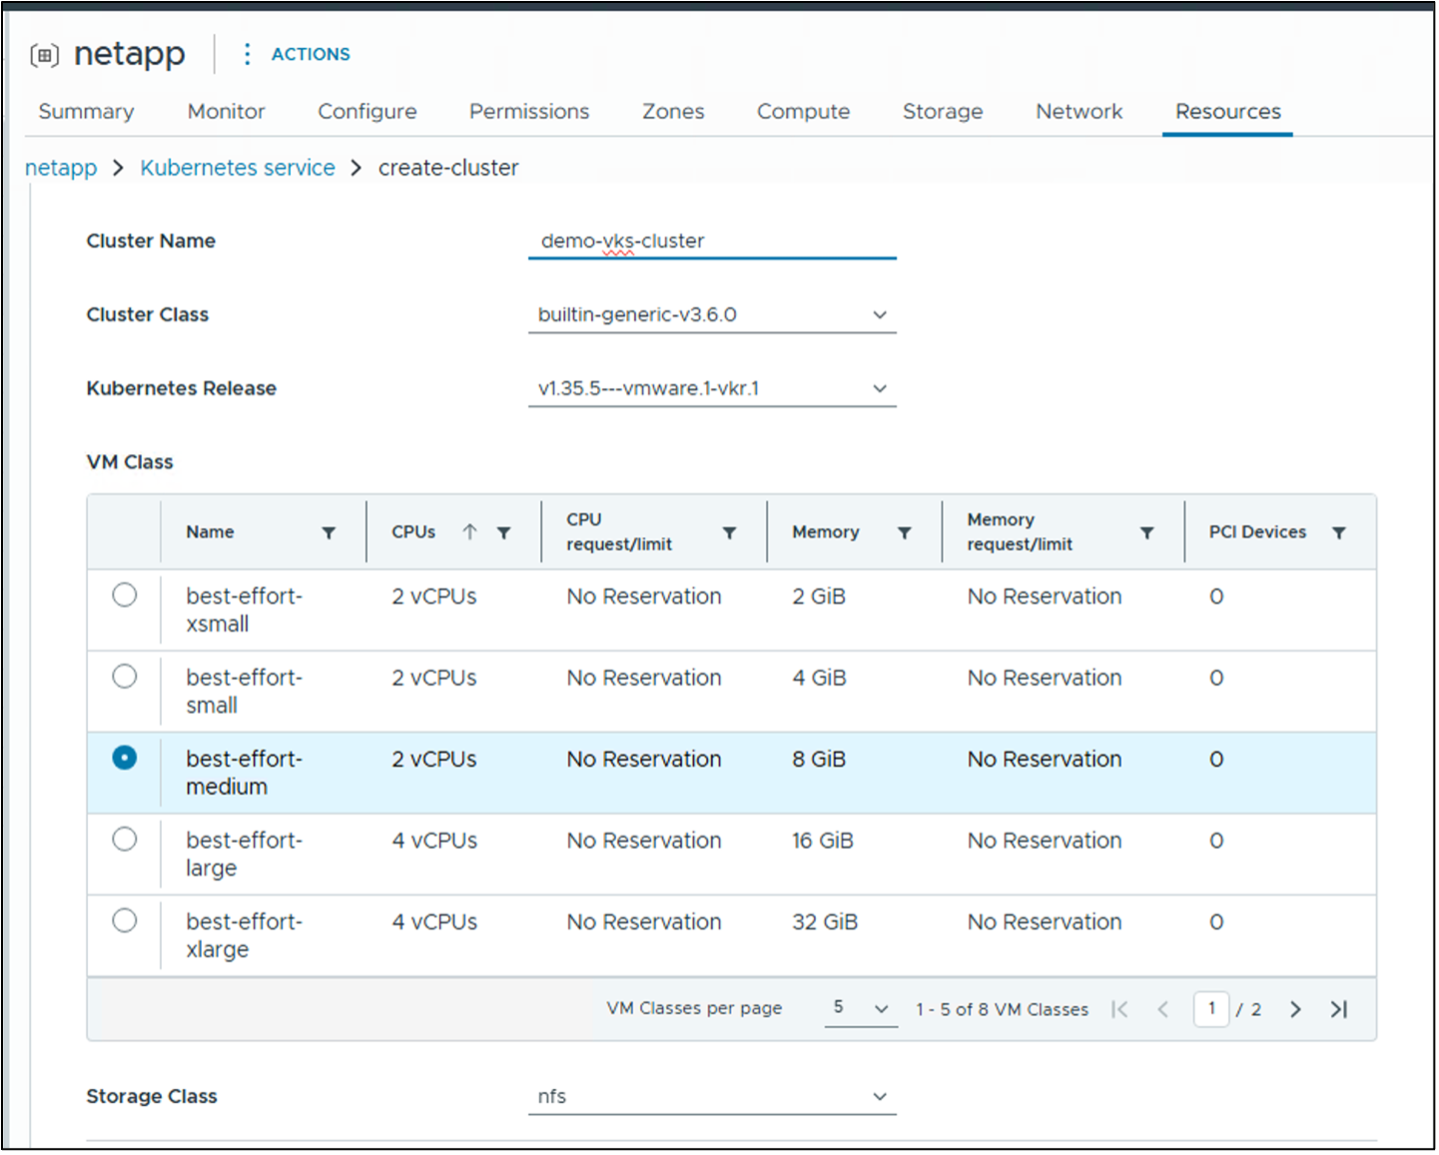
In section 2, General Settings, provide a name for the cluster and leave all other settings at their defaults.
-
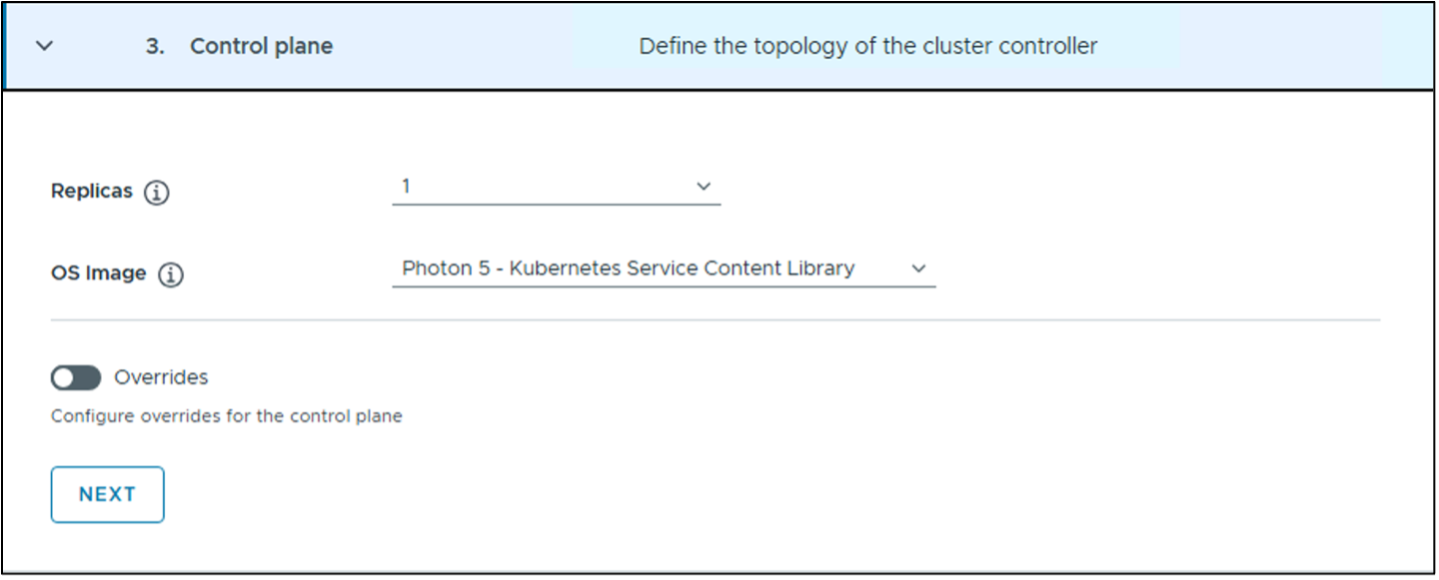
Accept all defaults for section 3.
-
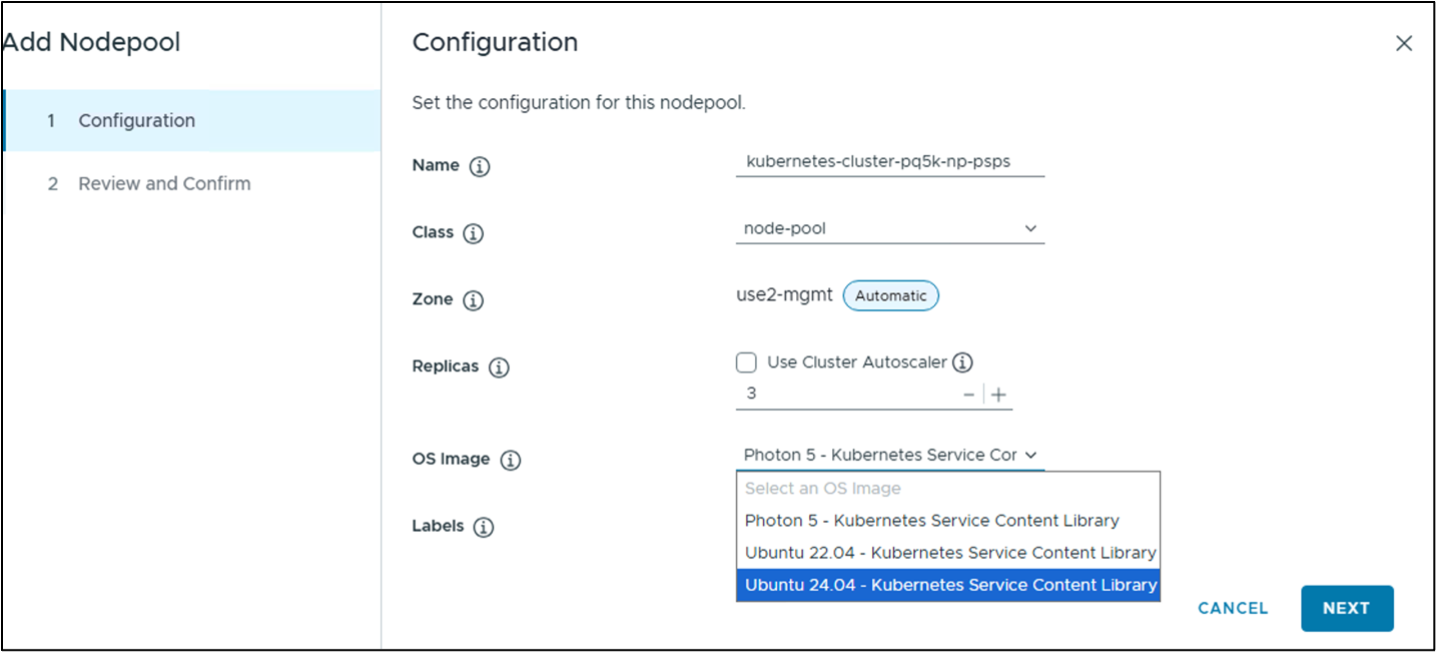
In section 4, Node Pools, click the ellipsis (…) next to the node pool and click Edit. Increase the replicas to 3 and select the latest Ubuntu version for the OS image. Click Next, then Review and Confirm.
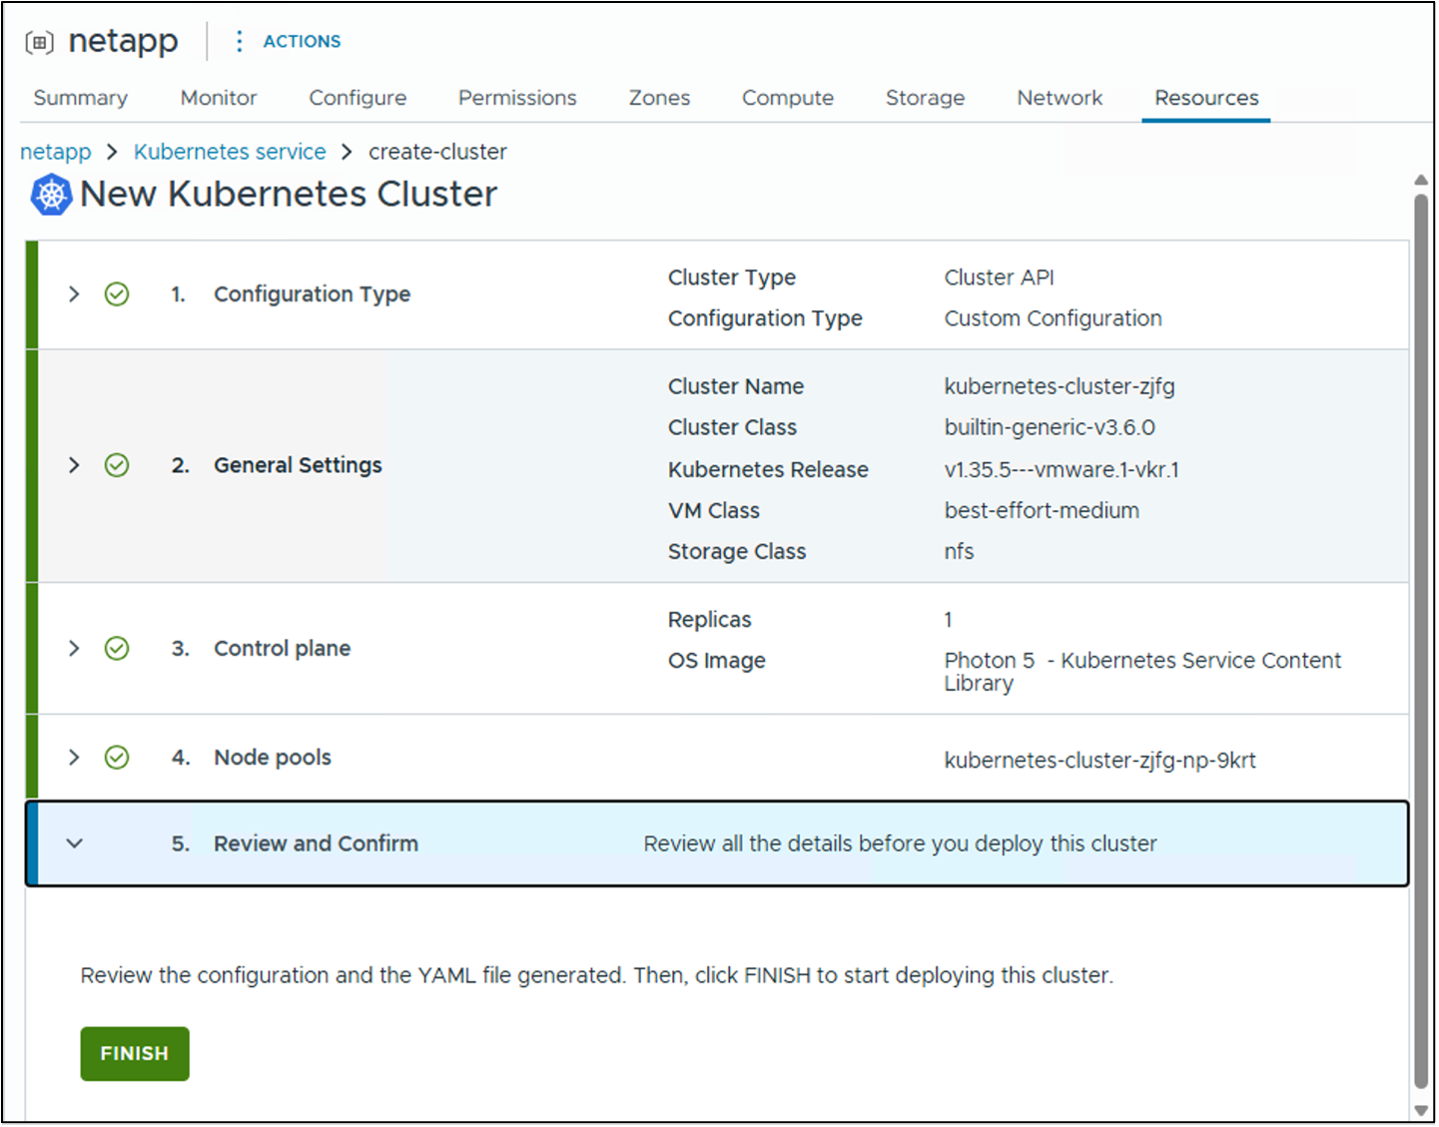
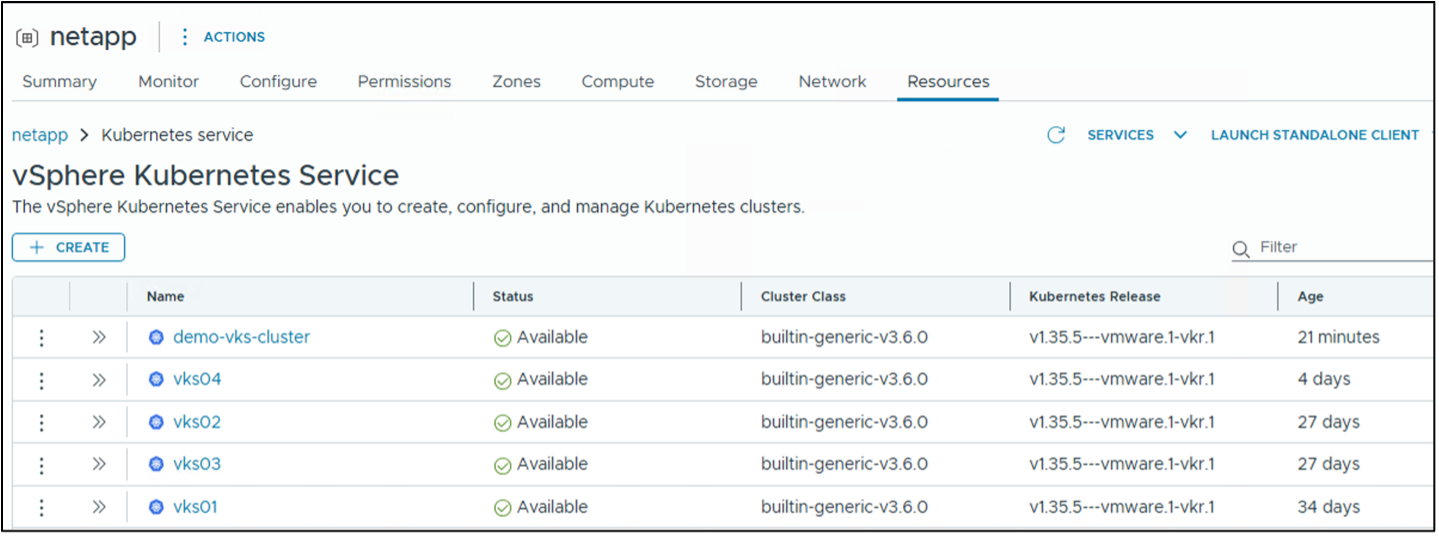
After reviewing the cluster details, click Finish. The vSphere Kubernetes cluster will be created in a few minutes.
Show instructions for creating a custom OVA image for SAN-enabled worker nodes
Create a Docker image with the required utilities installed. The following example demonstrates creating a Docker image based on Ubuntu 24.04 with iSCSI and Multipathing utilities installed.
#san-dockerfile.txt
FROM ubuntu:24.04
# Prevent interactive prompts during package installation
ENV DEBIAN_FRONTEND=noninteractive
# Install required system packages for iSCSI and Multipathing
RUN apt-get update && \
    apt-get install -y --no-install-recommends \
    nvme-cli \
    kmod \
    linux-tools-common \
    open-iscsi \
    lsscsi \
    sg3-utils \
    multipath-tools \
    scsitools  \
    chrony \
    networkd-dispatcher &&\
    apt-get clean && \
    rm -rf /var/lib/apt/lists/*
# Set iSCSI session scanning to manual as required by Trident
RUN sed -i 's/^\(node.session.scan\).*/\1 = manual/' /etc/iscsi/iscsid.conf
# Configure device-mapper-multipath with Trident recommendations
RUN printf "defaults {\n    user_friendly_names yes\n    find_multipaths no\n}\n" > /etc/multipath.conf
RUN mkdir -p /etc/networkd-dispatcher/off.d /etc/networkd-dispatcher/routable.d/
CMD ["bash"]
Build the Docker image using:
docker build -f san-dockerfile.txt -t ubuntu-2404:san .If Docker registry is not available, run this command to start a local registry and push the image to it:
docker run -d -p 5000:5000 --restart=always --name registry registry:2Tag the image and push it.
docker tag ubuntu-2404:san localhost:5000/ubuntu-2404:san
docker push localhost:5000/ubuntu-2404:san
Create the image configuration file (save as
ubuntu2404vkr135-san.yml) and reference the image:#ubuntu2404vkr135-san.yml apiVersion: imageconfiguration.vmware.com/v1alpha1 kind: Image metadata: name: ubuntu-2404-amd64-v1.35.5---vmware.1-vkr.1 spec: osSpec: name: ubuntu version: "24.04" image: "localhost:5000/ubuntu-2404:san" kubernetesSpec: image: projects.packages.broadcom.com/vsphere/iaas/kubernetes-release/1.35.5/kubernetes-distribution-image:v1.35.5_vmware.1-vkr.1 diskSize: 20Gi repositorySpec: debs: - name: noble url: http://archive.ubuntu.com/ubuntu suites: - noble components: - main - restricted - universe - multiverse - name: noble-security url: http://security.ubuntu.com/ubuntu suites: - noble-security components: - main - restricted - universe - multiverse packages: present: # Packages to install - name: open-iscsi - name: lsscsi - name: sg3-utils - name: multipath-tools - name: scsitools - name: nvme-cli services: - name: multipath-tools.service status: enabled - name: open-iscsi.service status: enabled
Metadata name should be one from the pre-approved list. If not, you will get an error as shown below when you try to create the OVA file. The pre-approved list can be found in the VCF CLI help for the kr bakecommand.
Create the OVA file using the VCF CLI:
vcf kr bake -f <path/to/ubuntu2404vkr135-san.yml> --log-level DEBUG --log-format plainTransfer the OVA file using SCP to a machine from which you can upload it to the vSphere Content Library.
-
-
-
After the cluster is installed, locate it in vCenter and download the kubeconfig file.
-
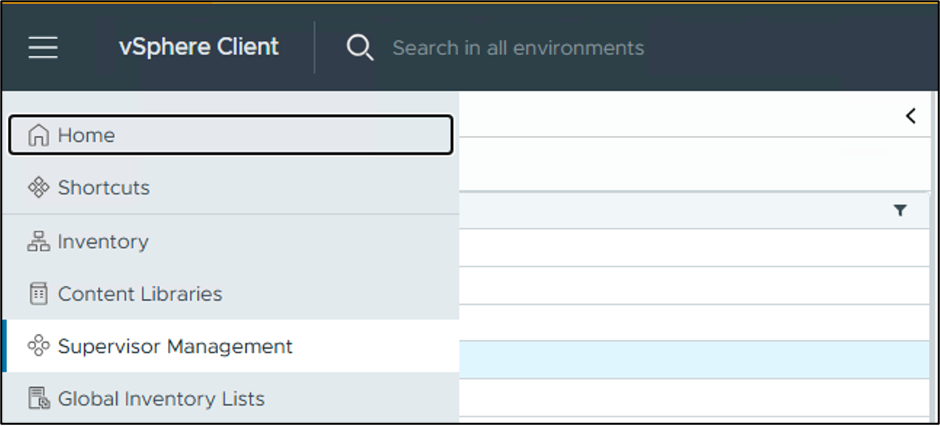
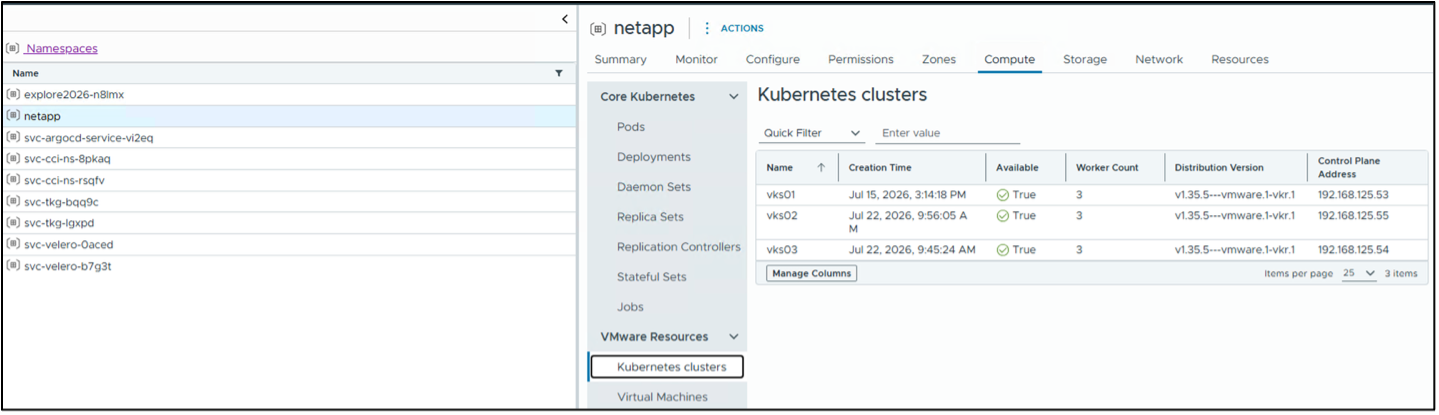
Click Supervisor Management from the main menu and select the namespace where your cluster was created.
-
Select the Compute tab and then Kubernetes Clusters. All clusters in the namespace are displayed.
-
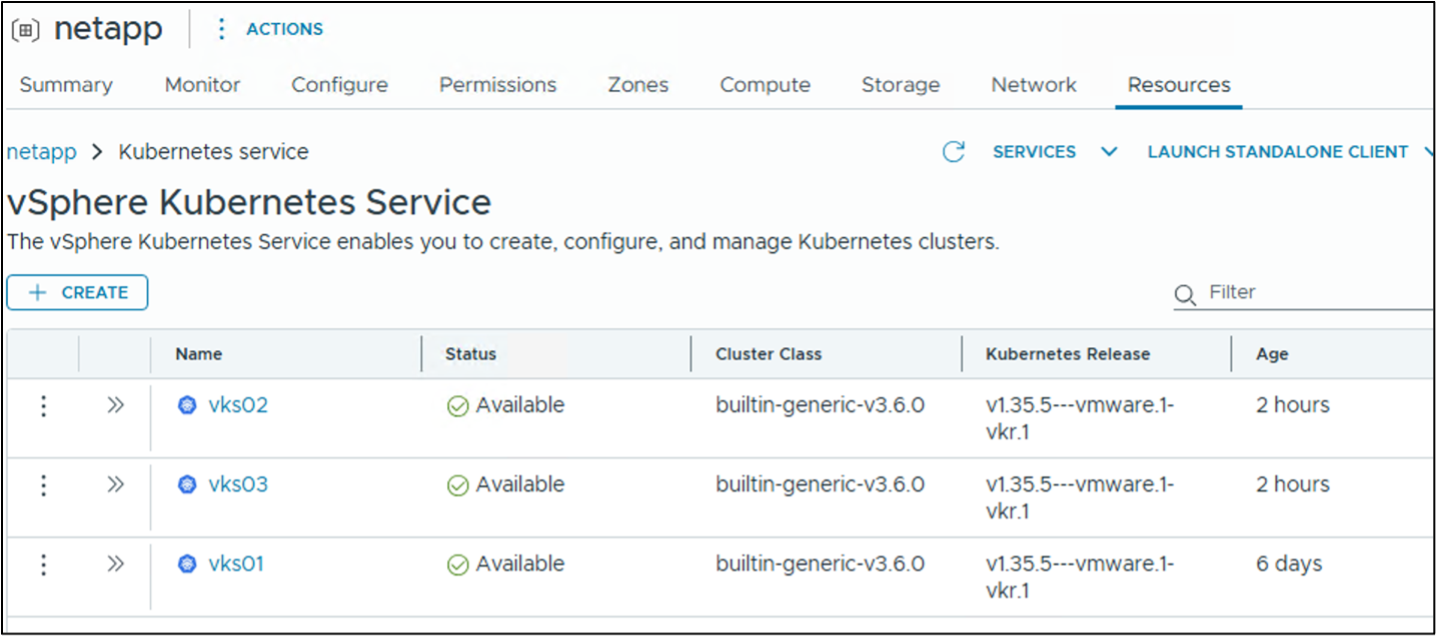
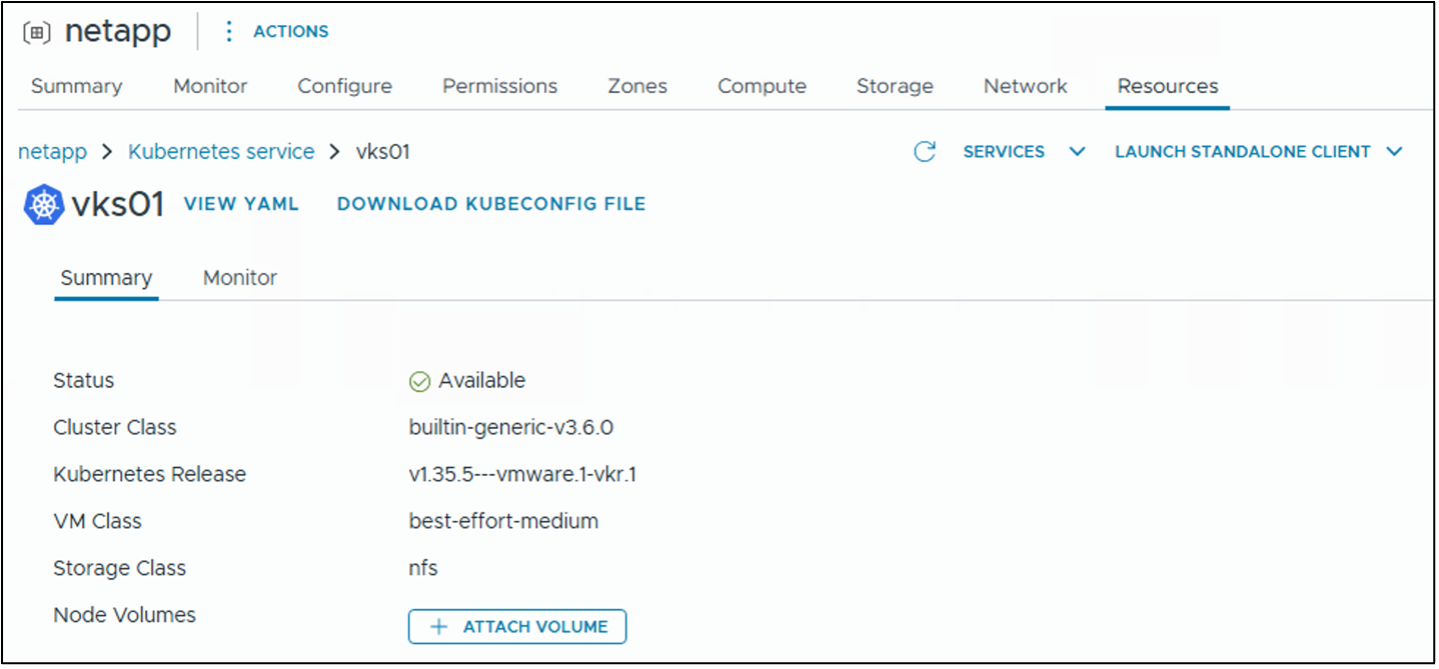
Go to the Resources tab, select the Kubernetes cluster you need, and download its kubeconfig file.
-
-
From a bastion host, connect to the cluster using the kubeconfig file to manage it from the CLI.

Video demonstration
The following videos demonstrate two ways to create a vSphere Kubernetes cluster.