


 Suggest changes

 PDFs
PDFs
VMware configuration Datastore and VM creation
Create the datastore using the previously created LUNs for the VM used for SAP HANA followed by creating the VM using these datastores.
Each LUN will be used for one datastore, so datastores for data, log, shared, and OS will be created.
Datastore creation
-
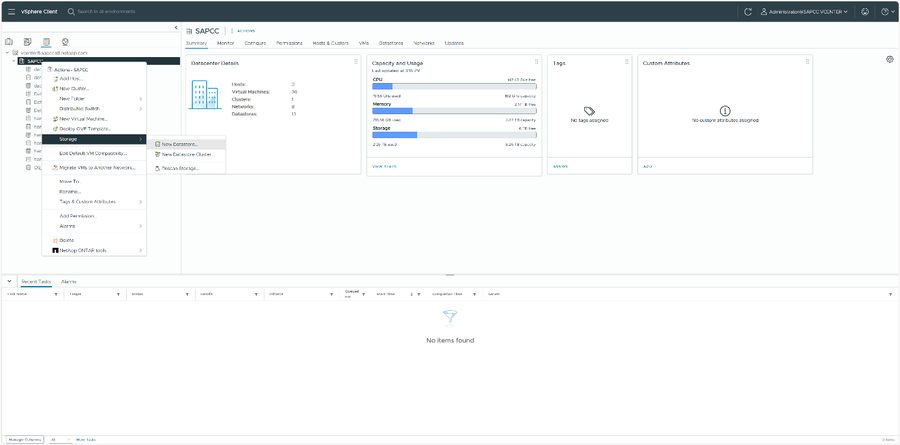
Logon to the VSphere client and navigate to the datastore tab. Choose “Storage” -> “New Datastore …” from the context menu of your datacenter
-
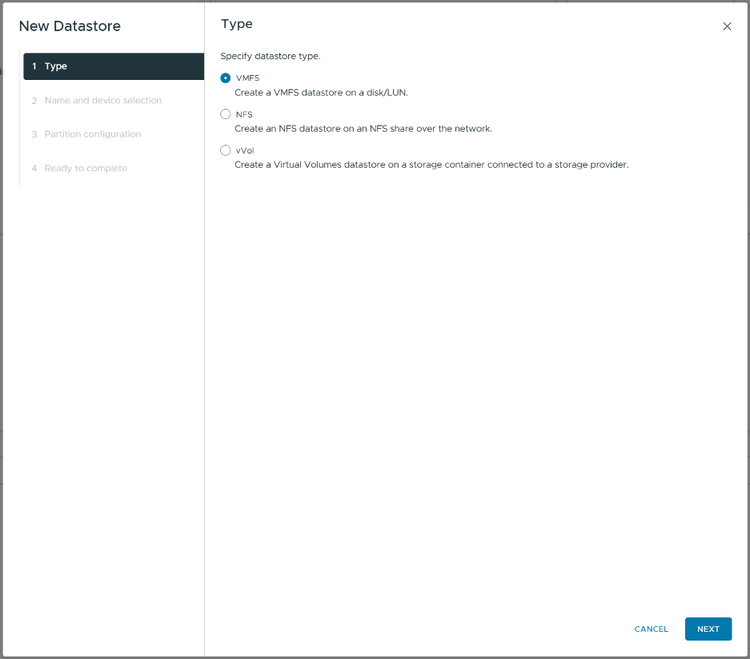
Check “VMFS” as datastore type.
-
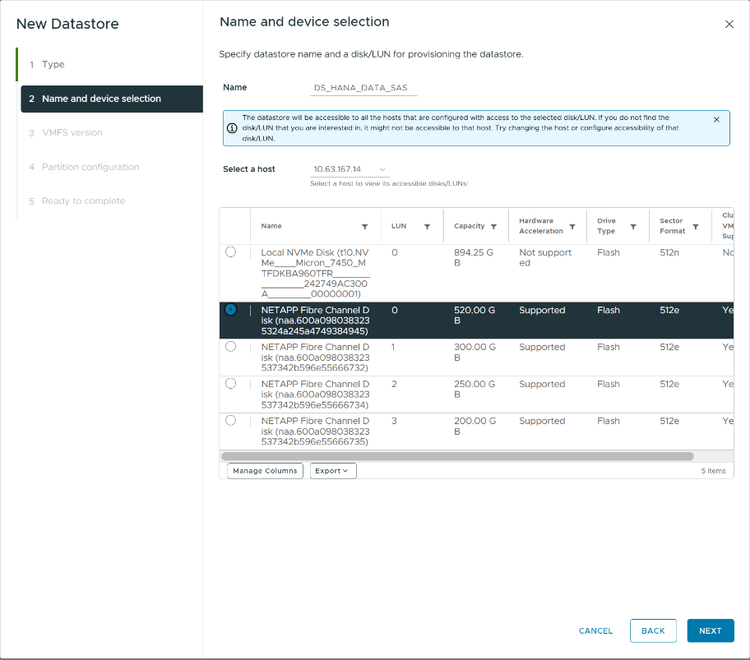
Specify the name for the datastore containing the SAP HANA data files and choose the storage unit (LUN) created before.
-
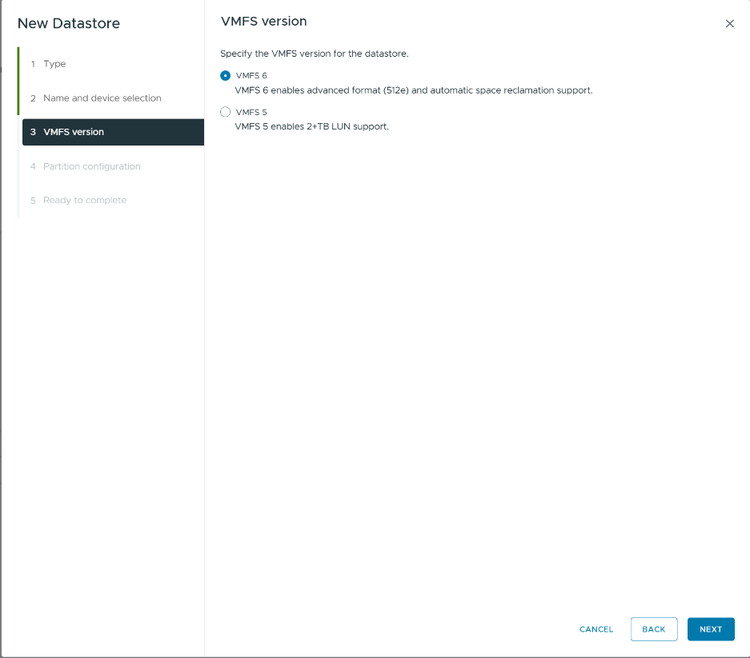
Choose the latest VMFS version.
-
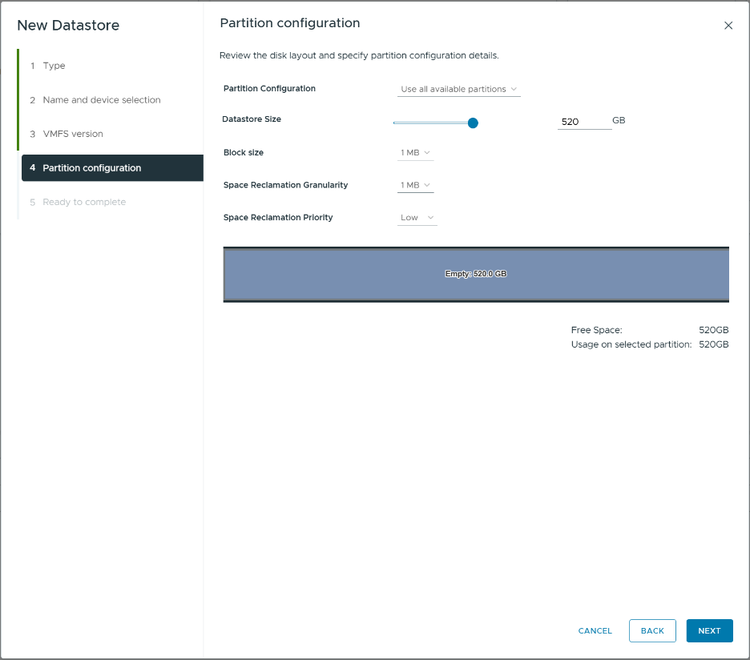
Use the complete available space for the partition. Keep the default settings.
-
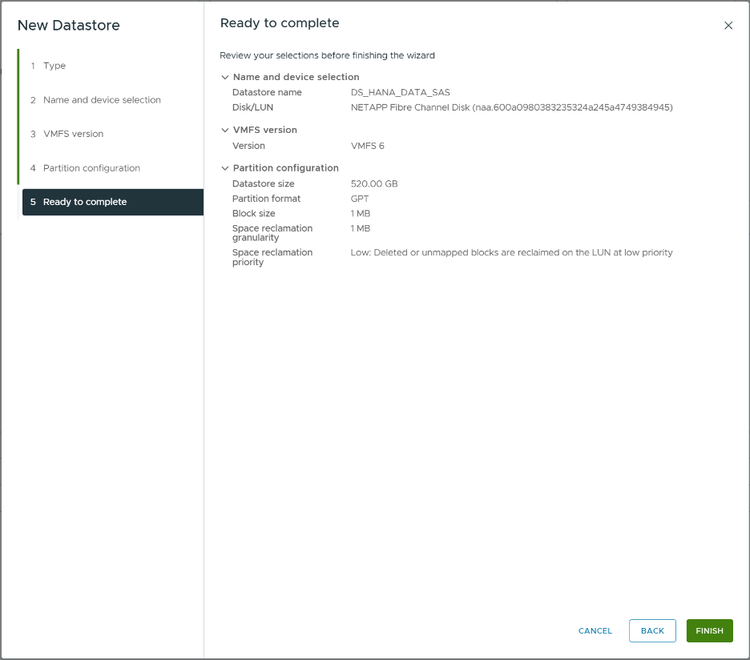
Review the summary and press “Finish”.
-
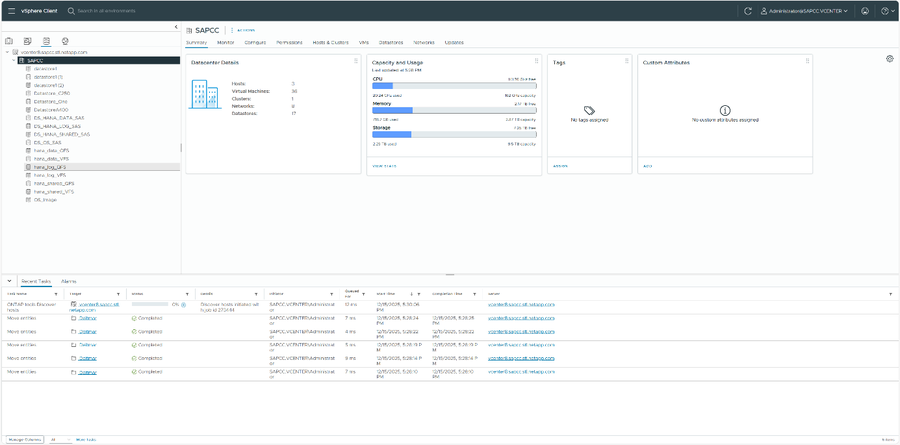
Repeat the previous steps for the datastores for log, shared, and the OS.
VM creation
-
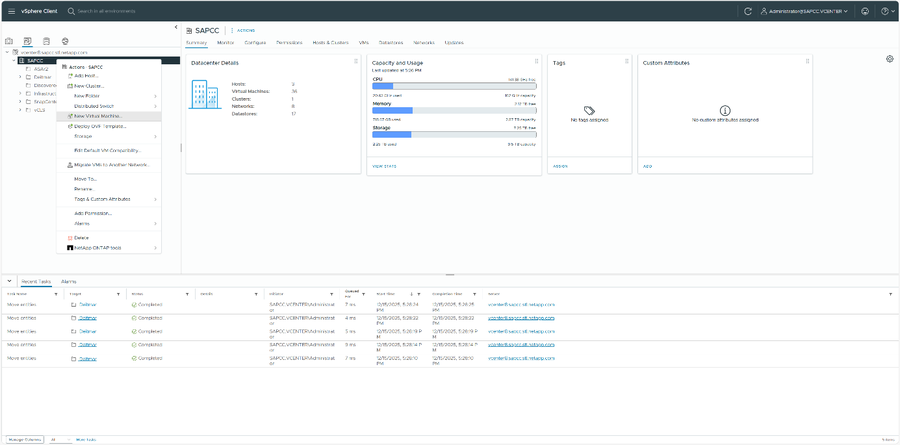
After all datastores have been created, navigate to “VMs and templates” tab. Choose “New Virtual Machine…” from the context menu of your datacenter.
-
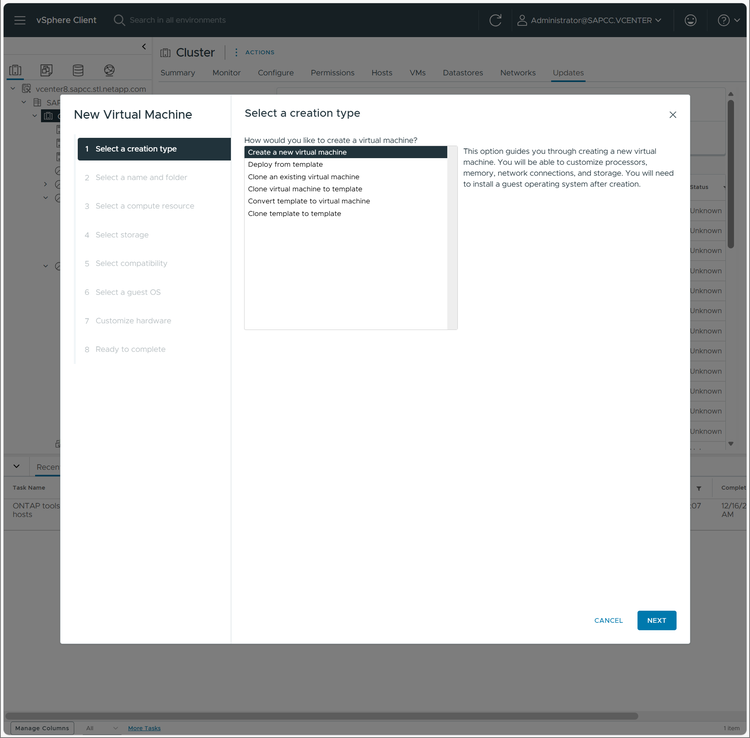
Select the way ho to create a VM. This example uses the “Create a new virtual machine” workflow.
-
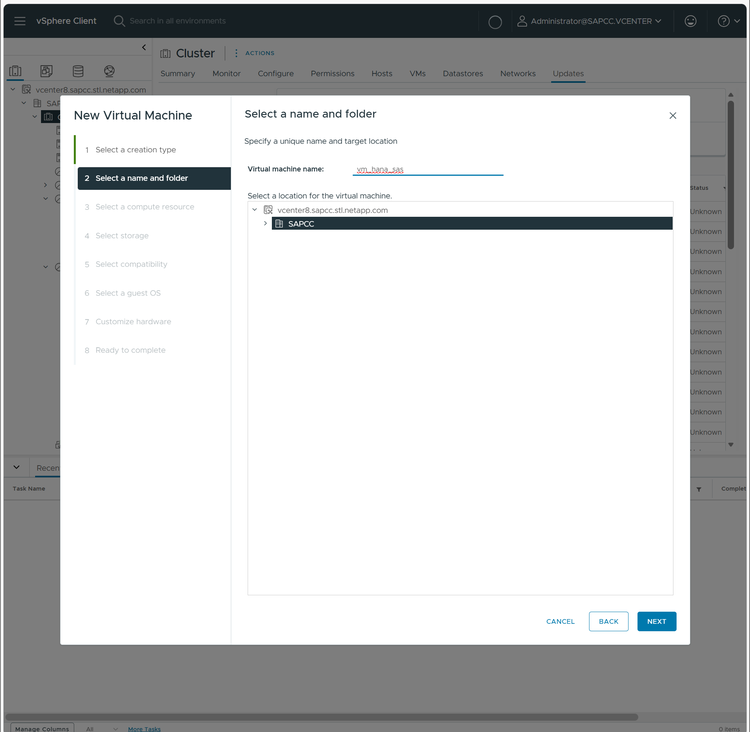
Provide a VM name and choose yor datacenter.
-
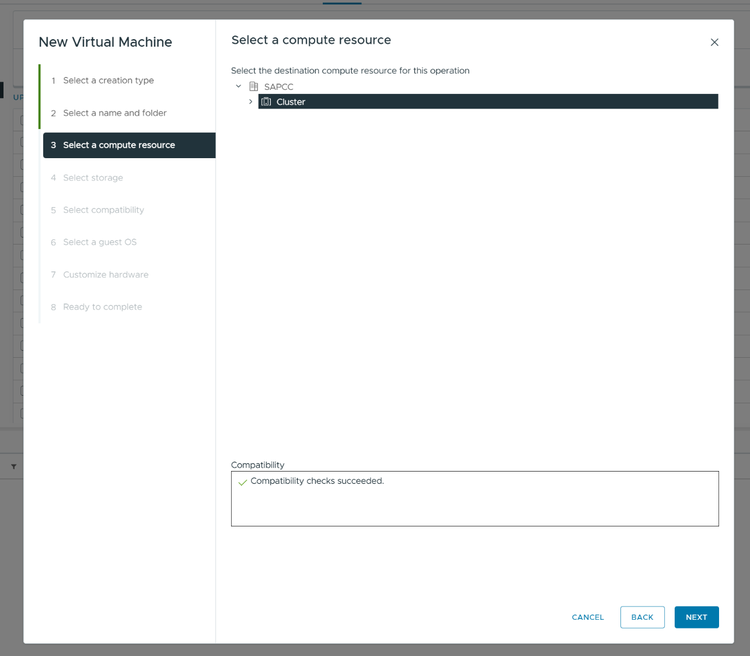
Choose your compute hardware
-
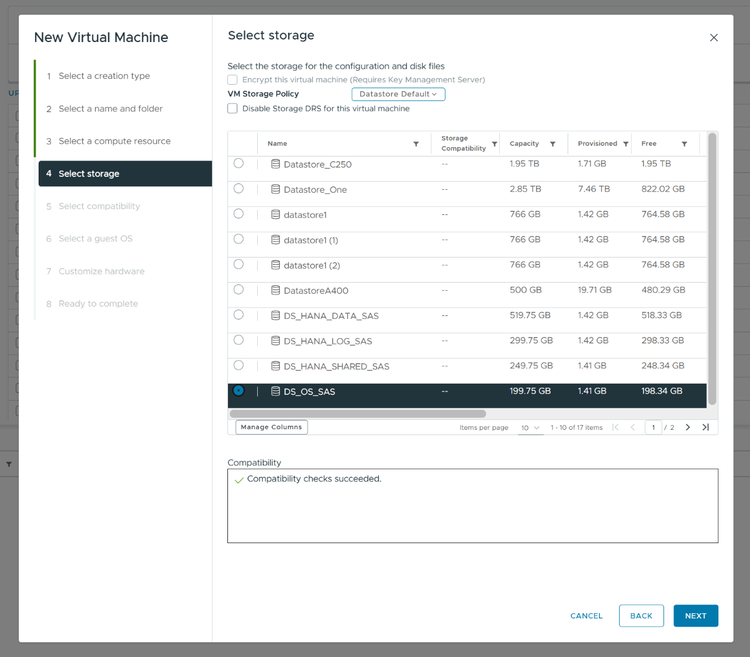
Select the OS datastore create before.
-
Select the desired virtual machine.
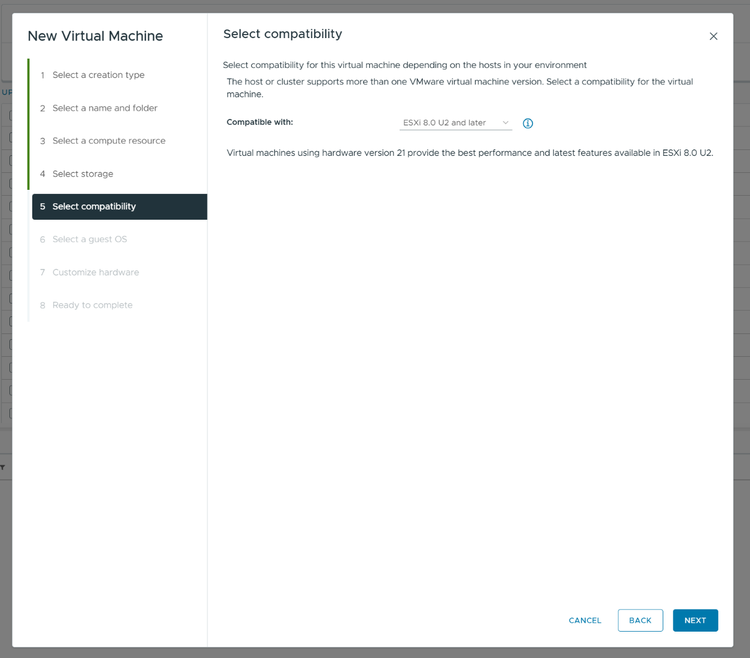
-
Select the OS version being used for the SAP HANA system. This example uses SUSE Linux Enterprise (SLES) 15.
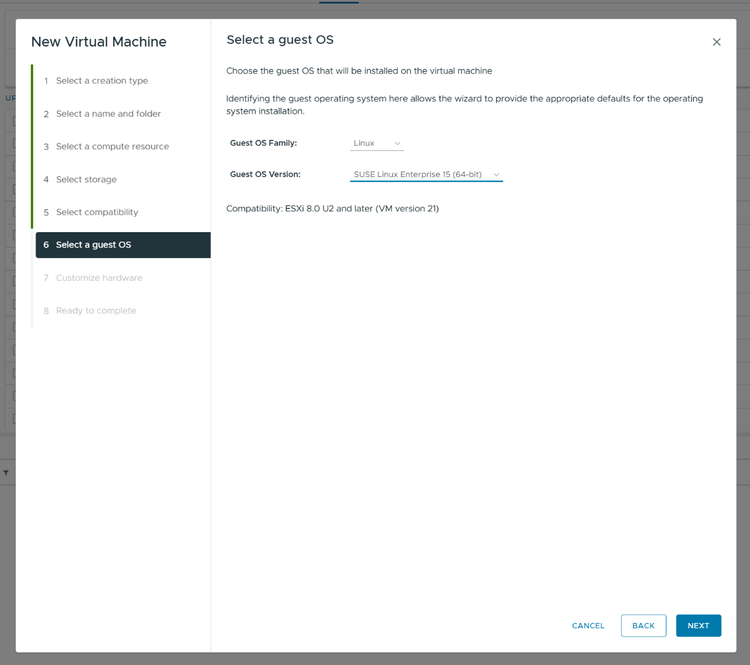
-
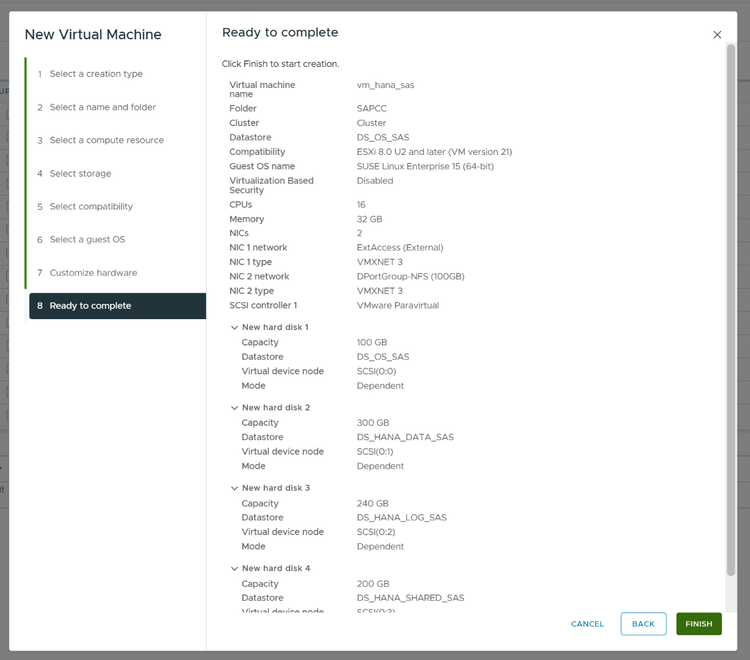
Configure the VM with the required CPU and Memory. Beside the hard disk for the OS, add additional disks for the data, log and shared using the datastores created before.
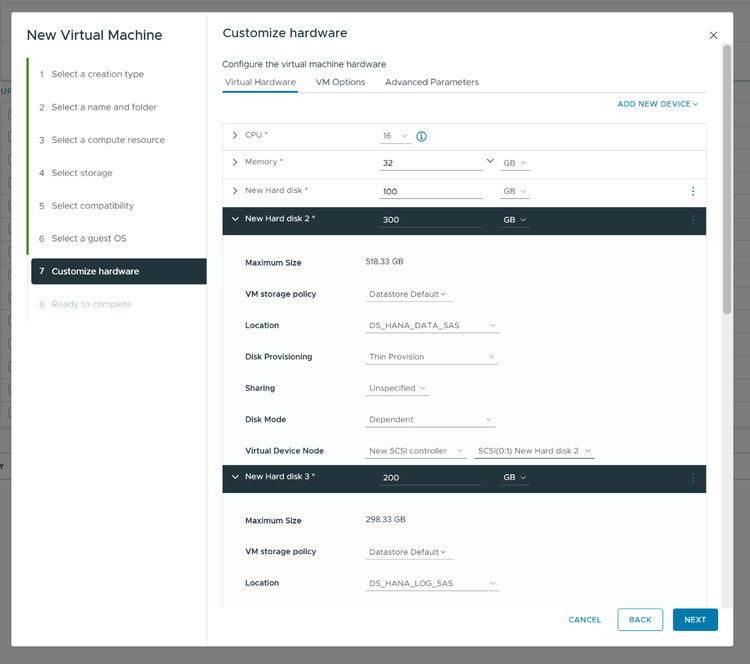
-
Attach an ISO file for the OS installation as DVD drive and check “Connect At Power On”.
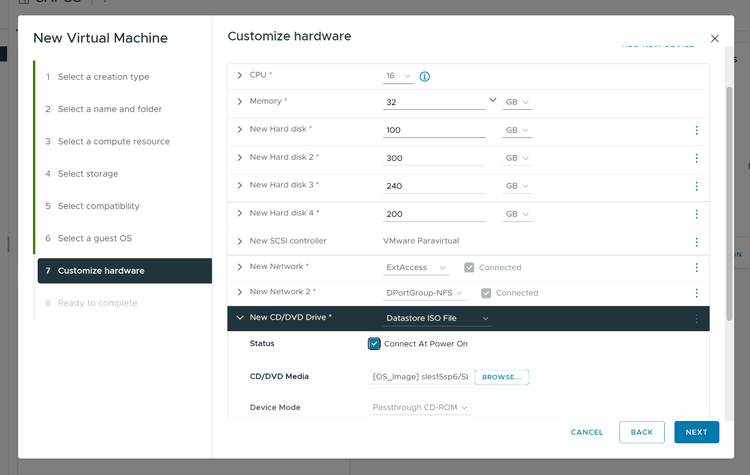
-
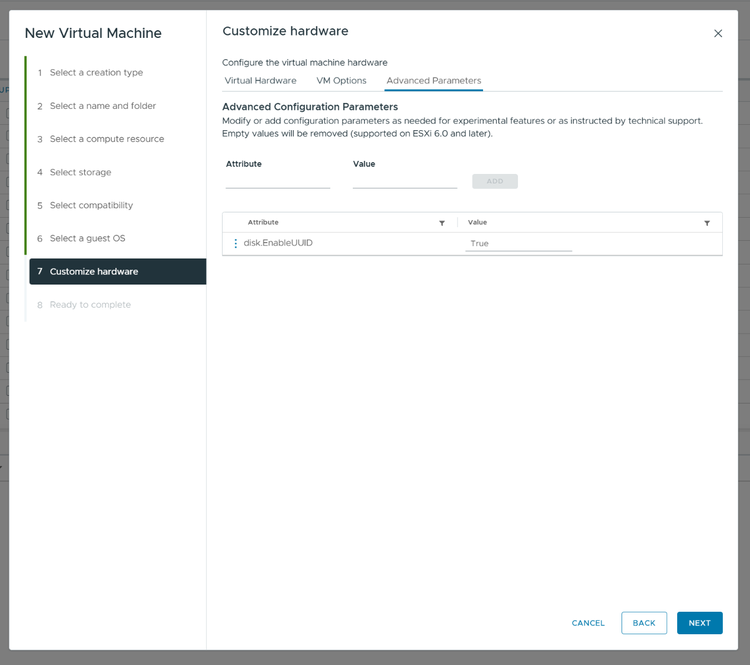
Within the tab “Advanced Parameters” add the attribute “disk.EnableUUID” with values “True”. This enables SnapCenter to discover the disk details later.
-
Review your settings and press “Finish” to create the new VM.
-
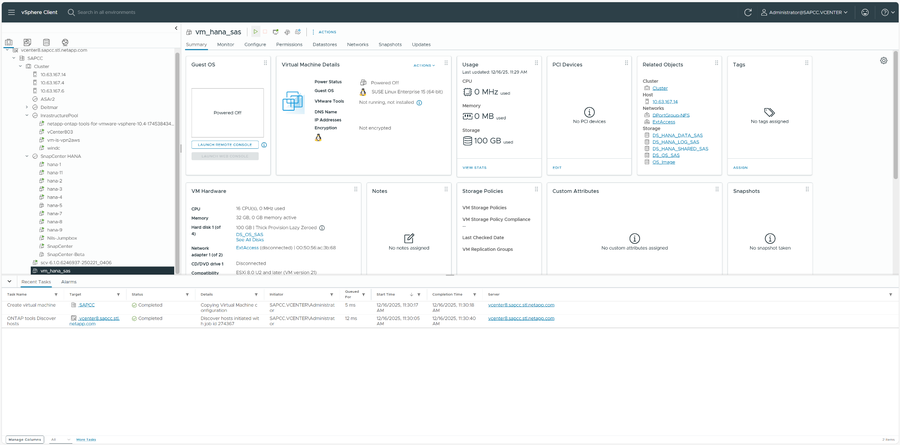
Power On the new VM.
-
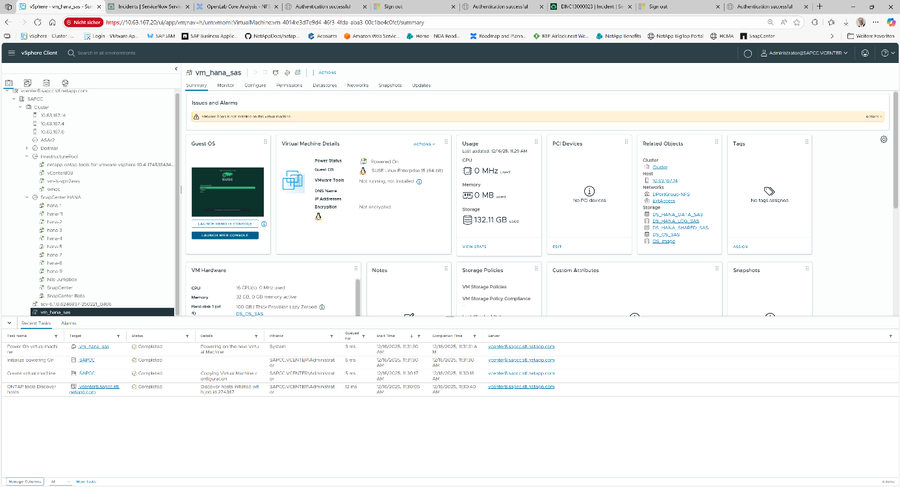
Connect to the Console and install the operating system according SAP’s guidelines.
-
Install your SAP HANA system after the OS installation. Use the dedicated disks for the /hana/data, /hana/log, and /hana/shared directories.