Storage migration of VMs between storage classes in OpenShift Virtualization

 Suggest changes

 PDFs
PDFs
In OpenShift Virtualization, you can migrate a virtual machine's (VM) disks to a different storage class directly through the web console without deleting the VM. This process allows you to move either the entire VM storage or specific volumes.
The following steps outline how to migrate a VM's storage class:
-
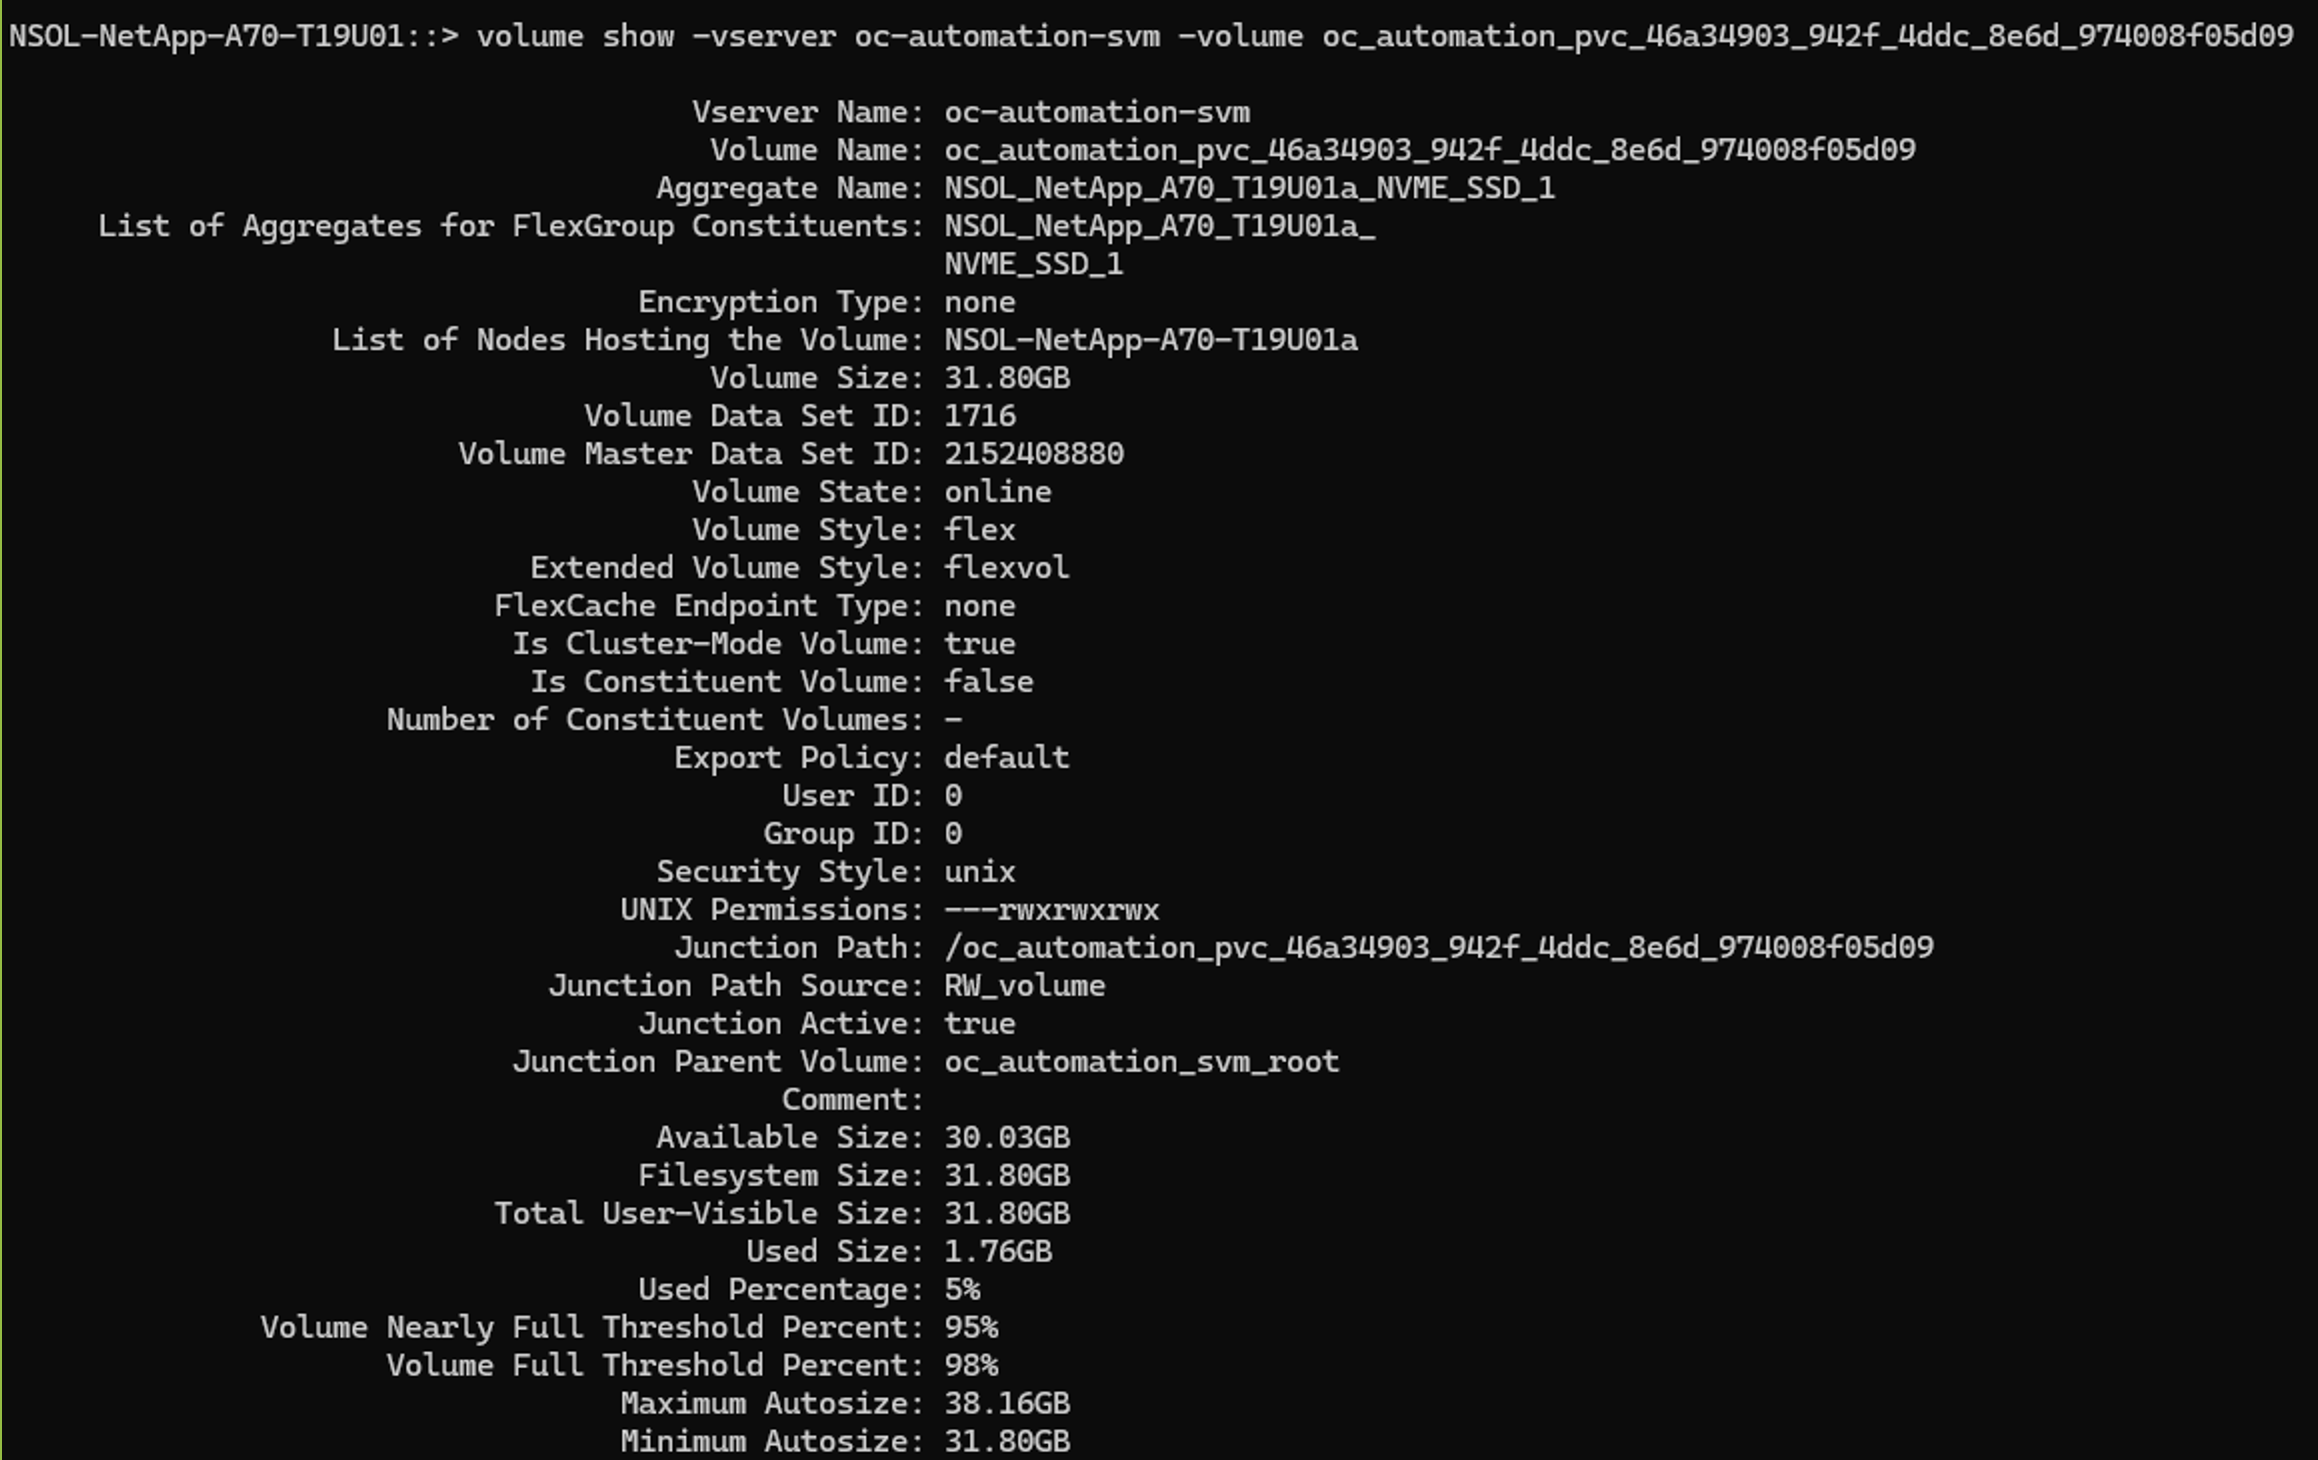
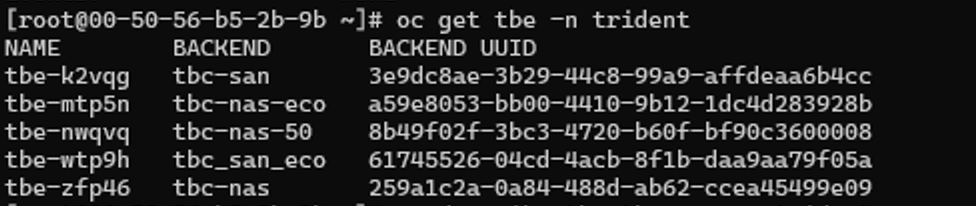
Ensure that the target storage class is properly configured and available in your OpenShift cluster. This includes having the necessary storage backend (e.g., NetApp ONTAP) set up and accessible.
Show example

-
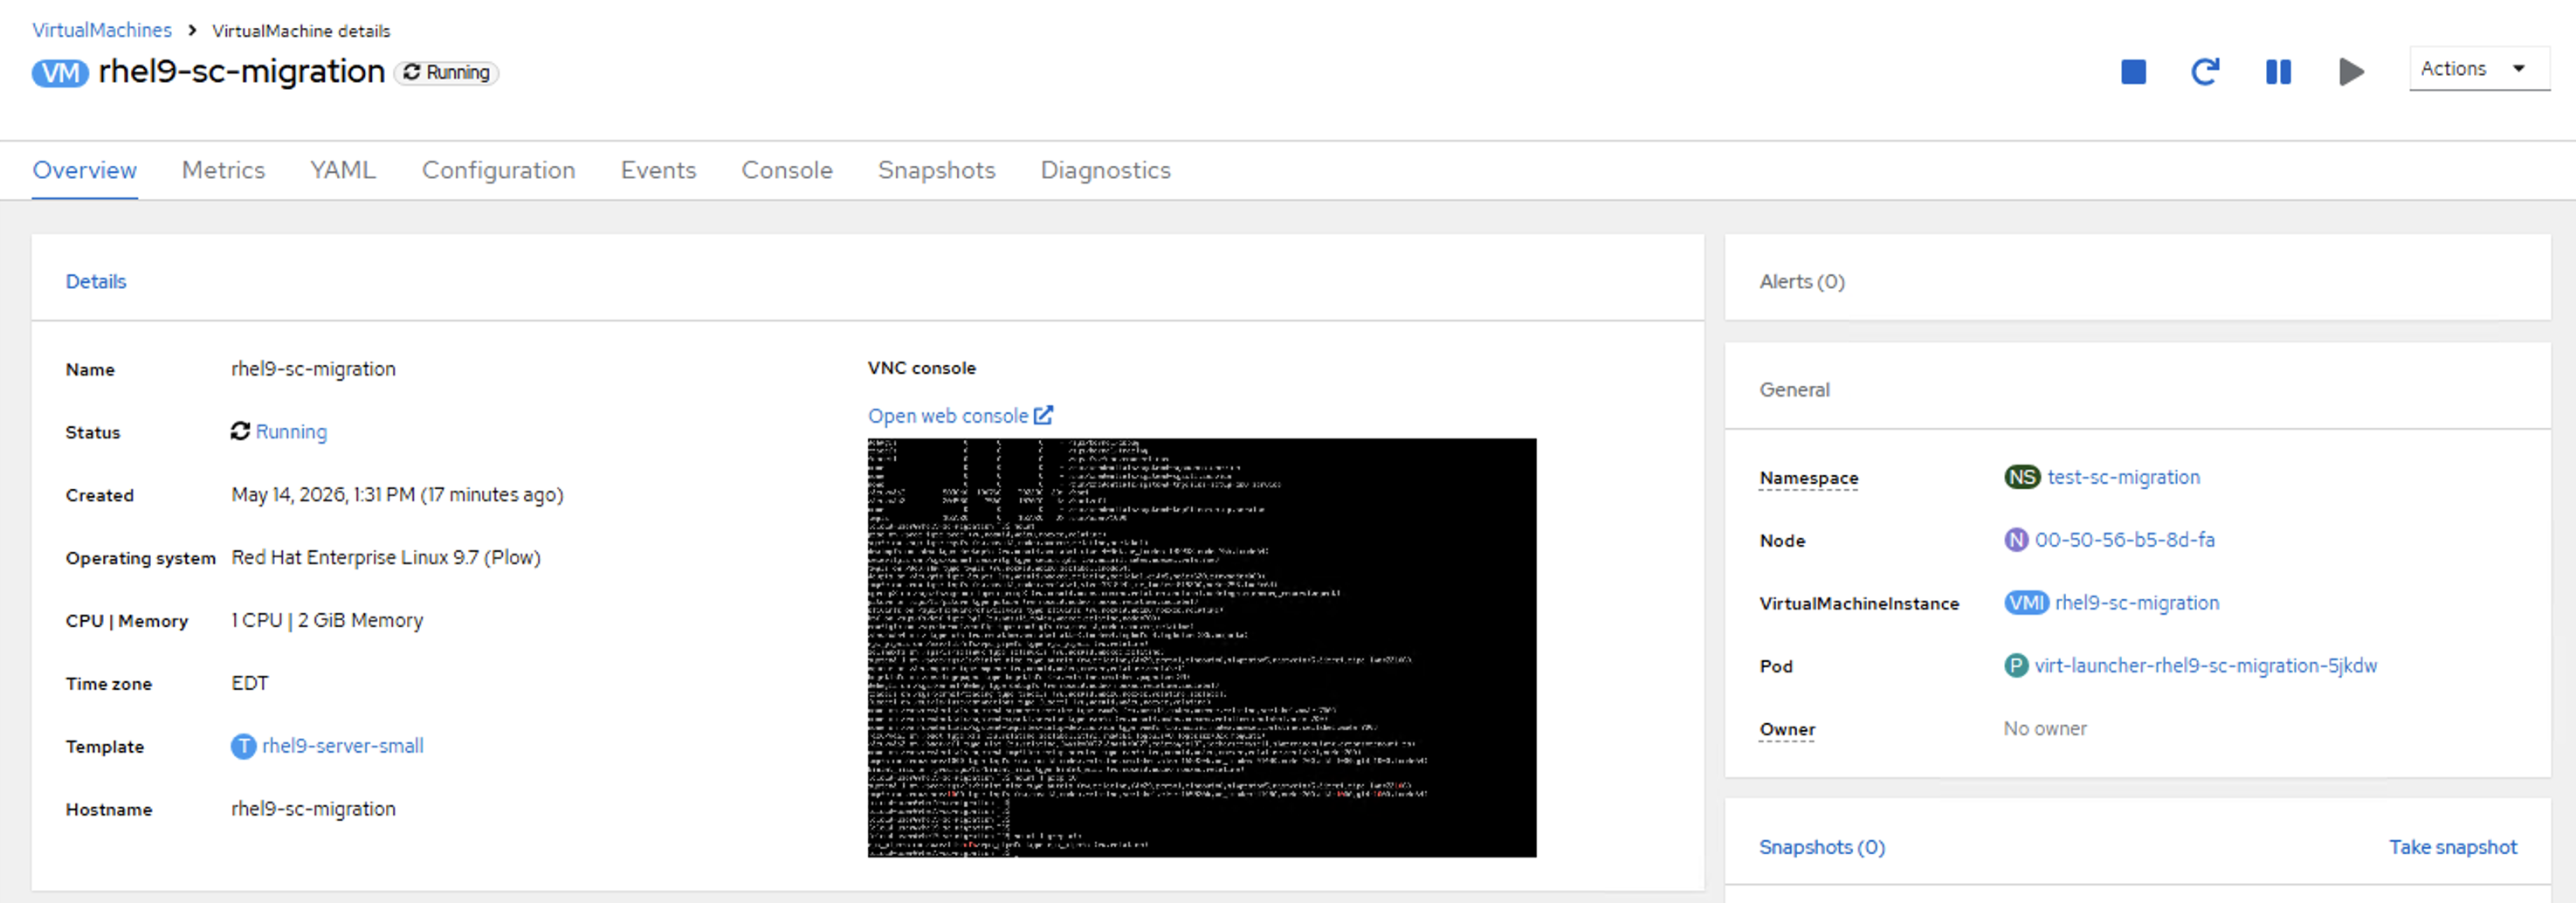
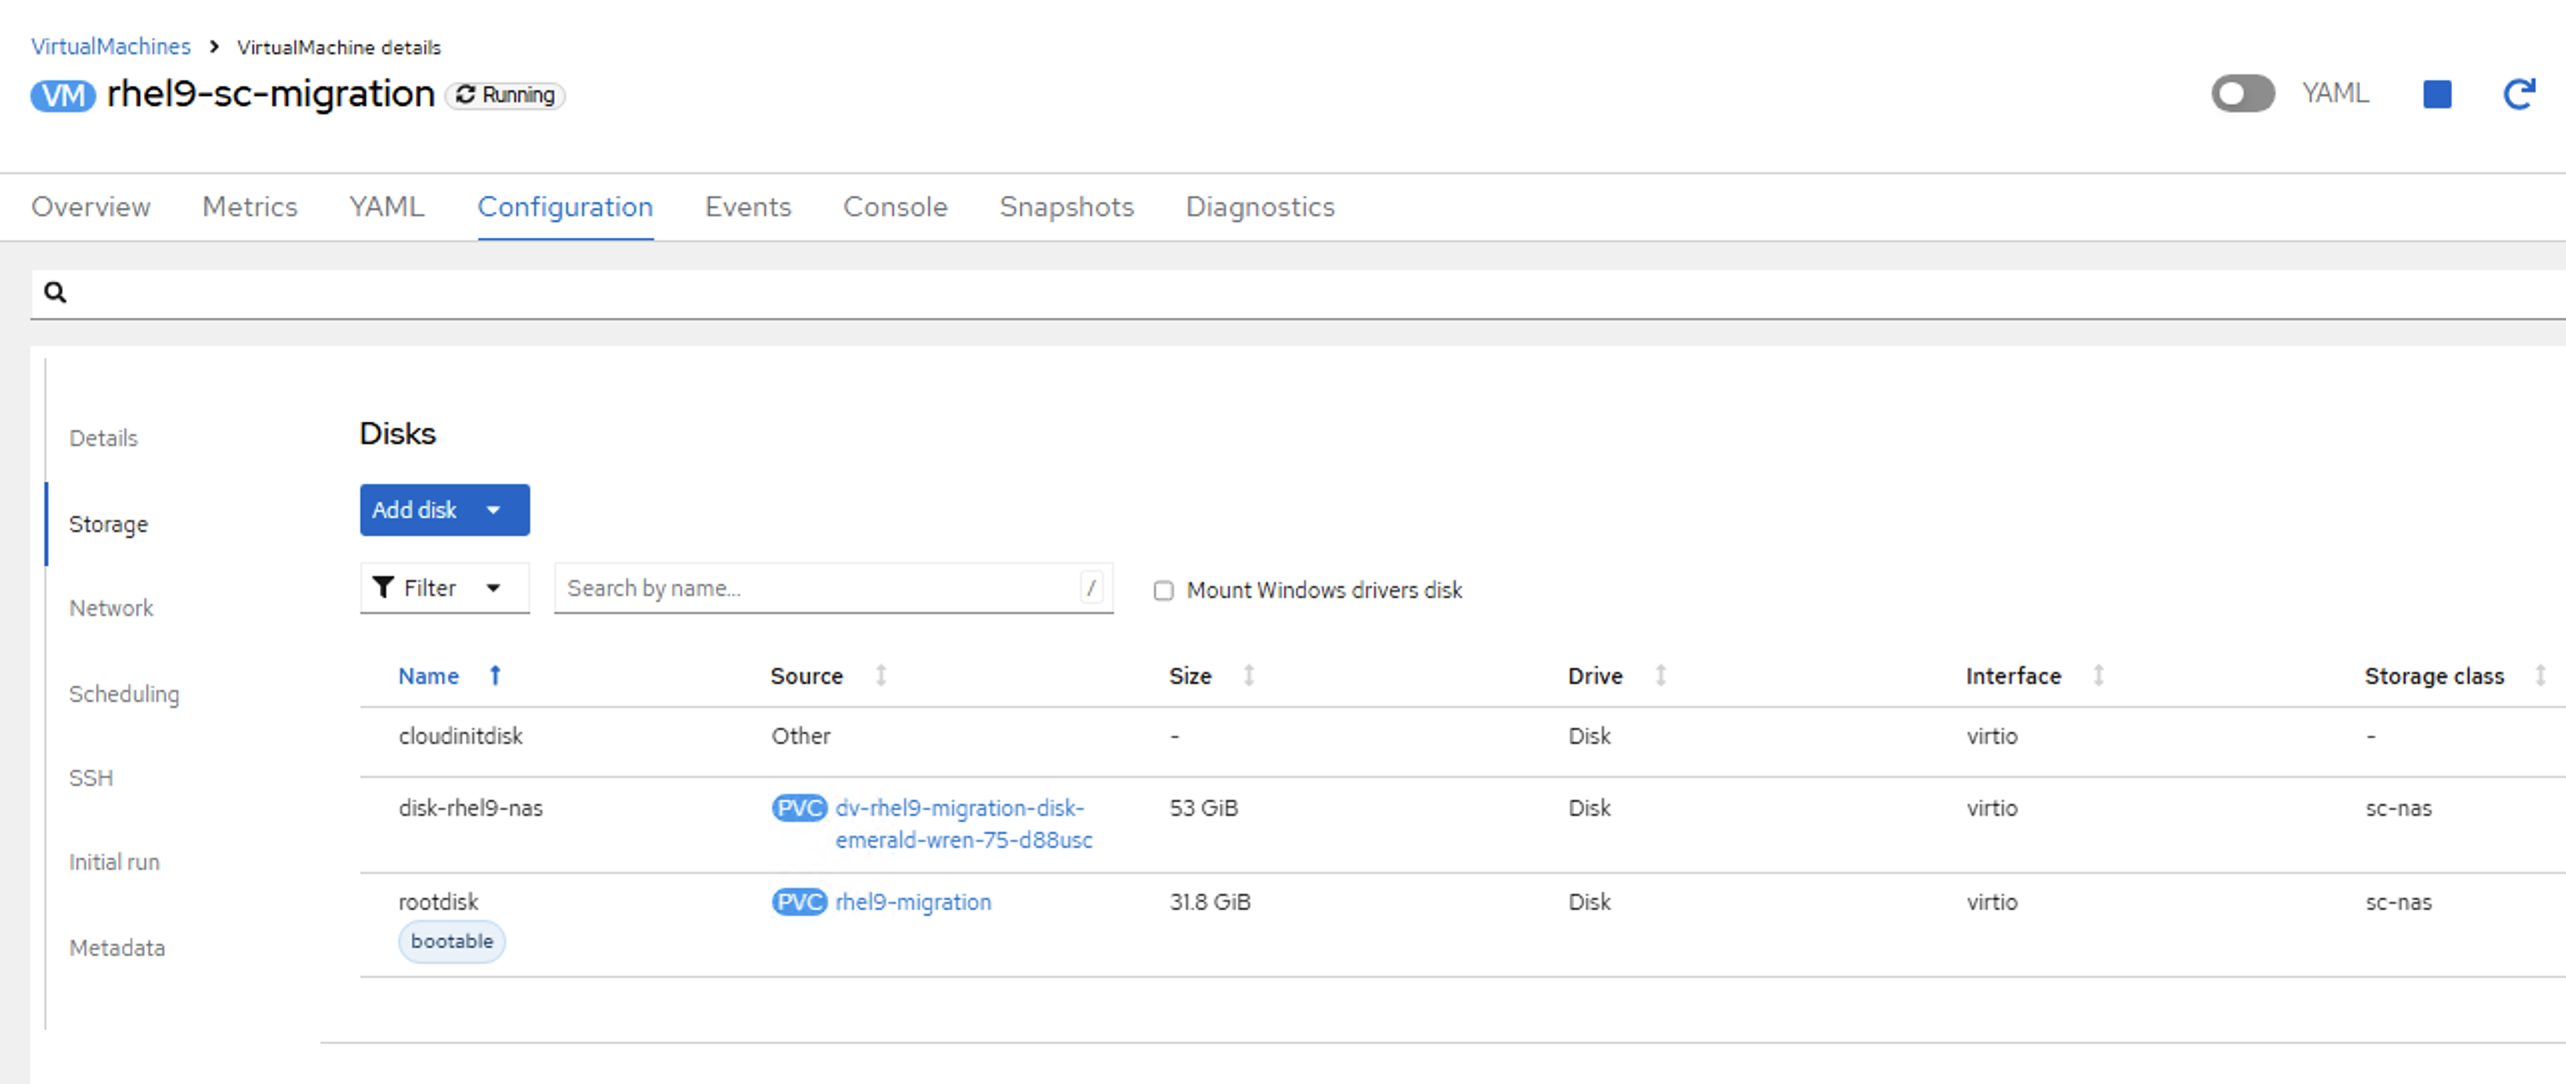
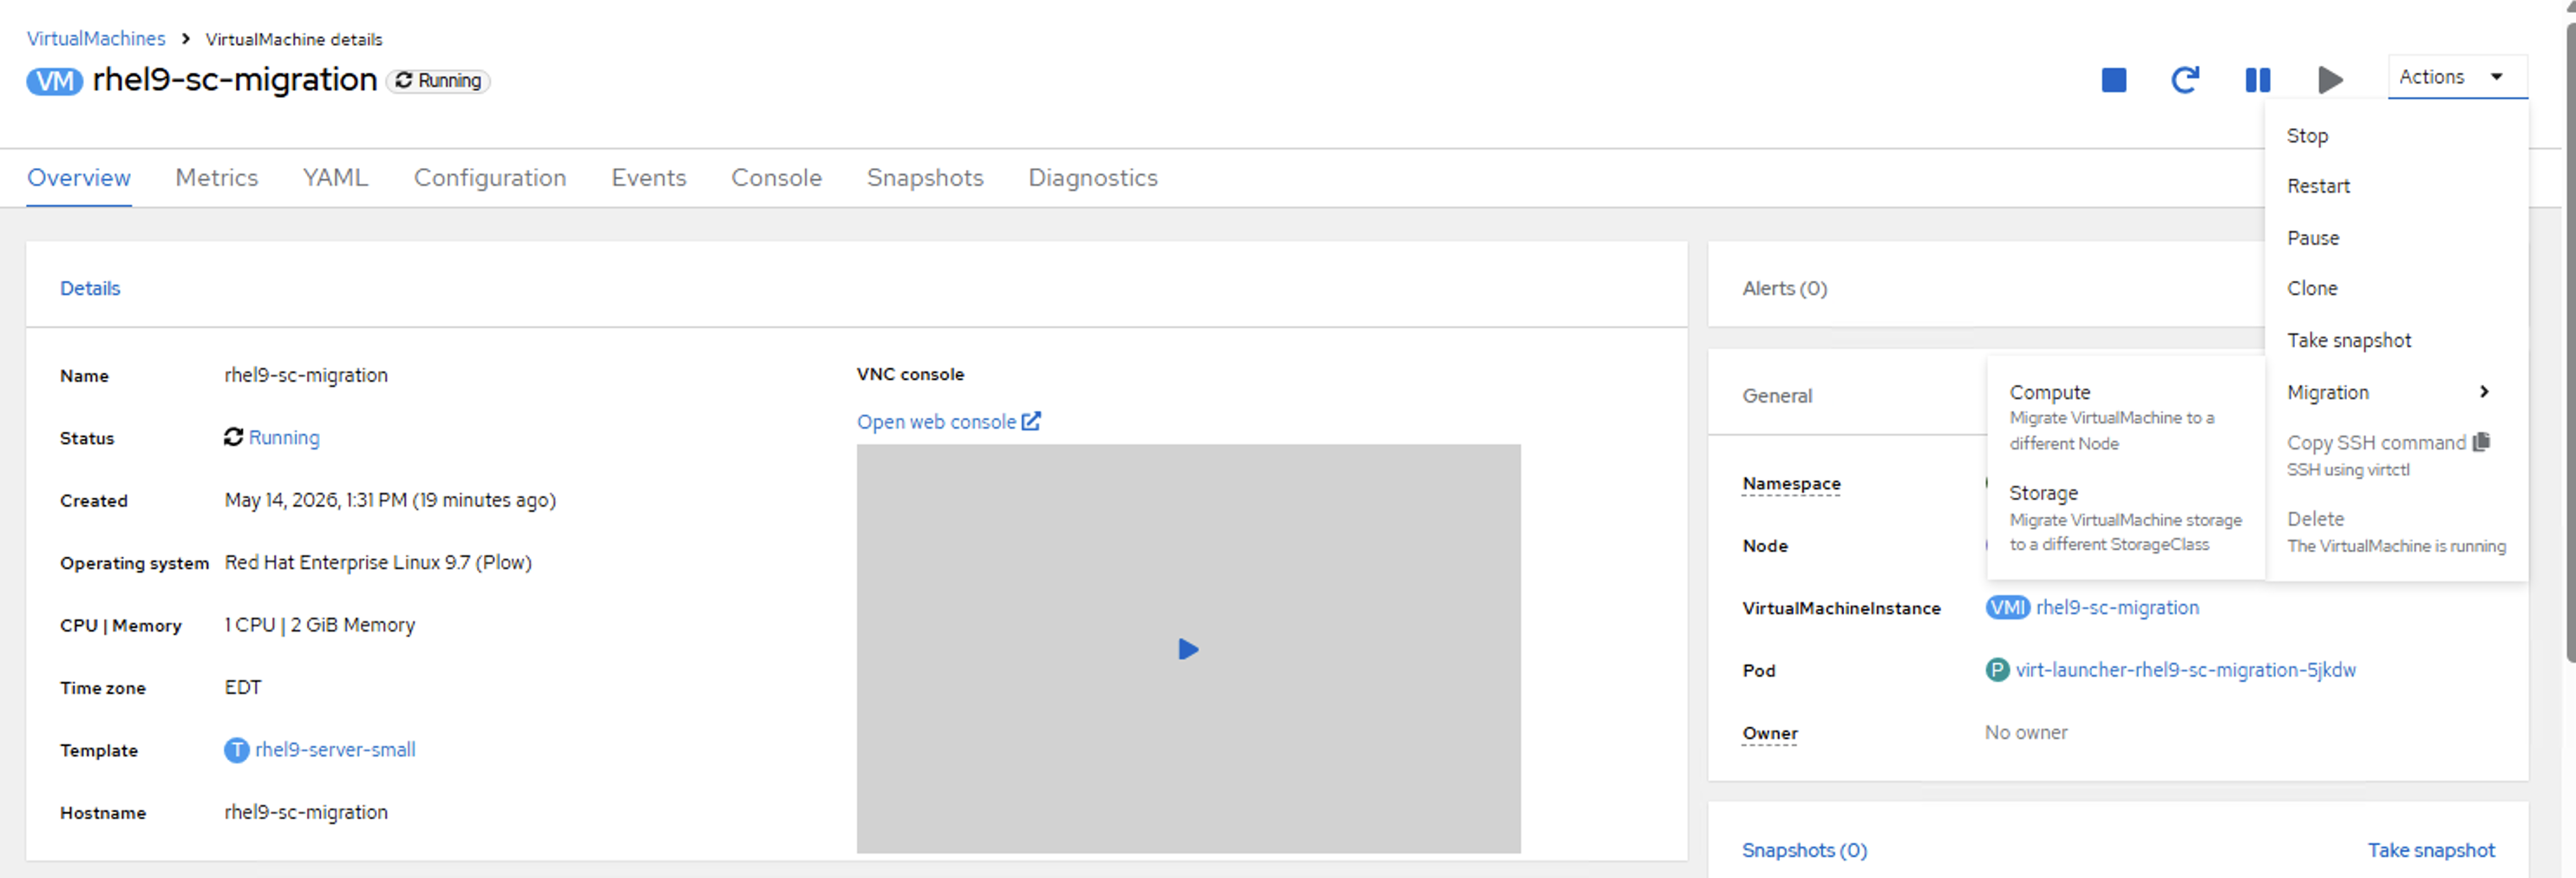
In the OpenShift Container Platform web console, navigate to the Virtualization perspective and select the VM you want to migrate.
Show example

-
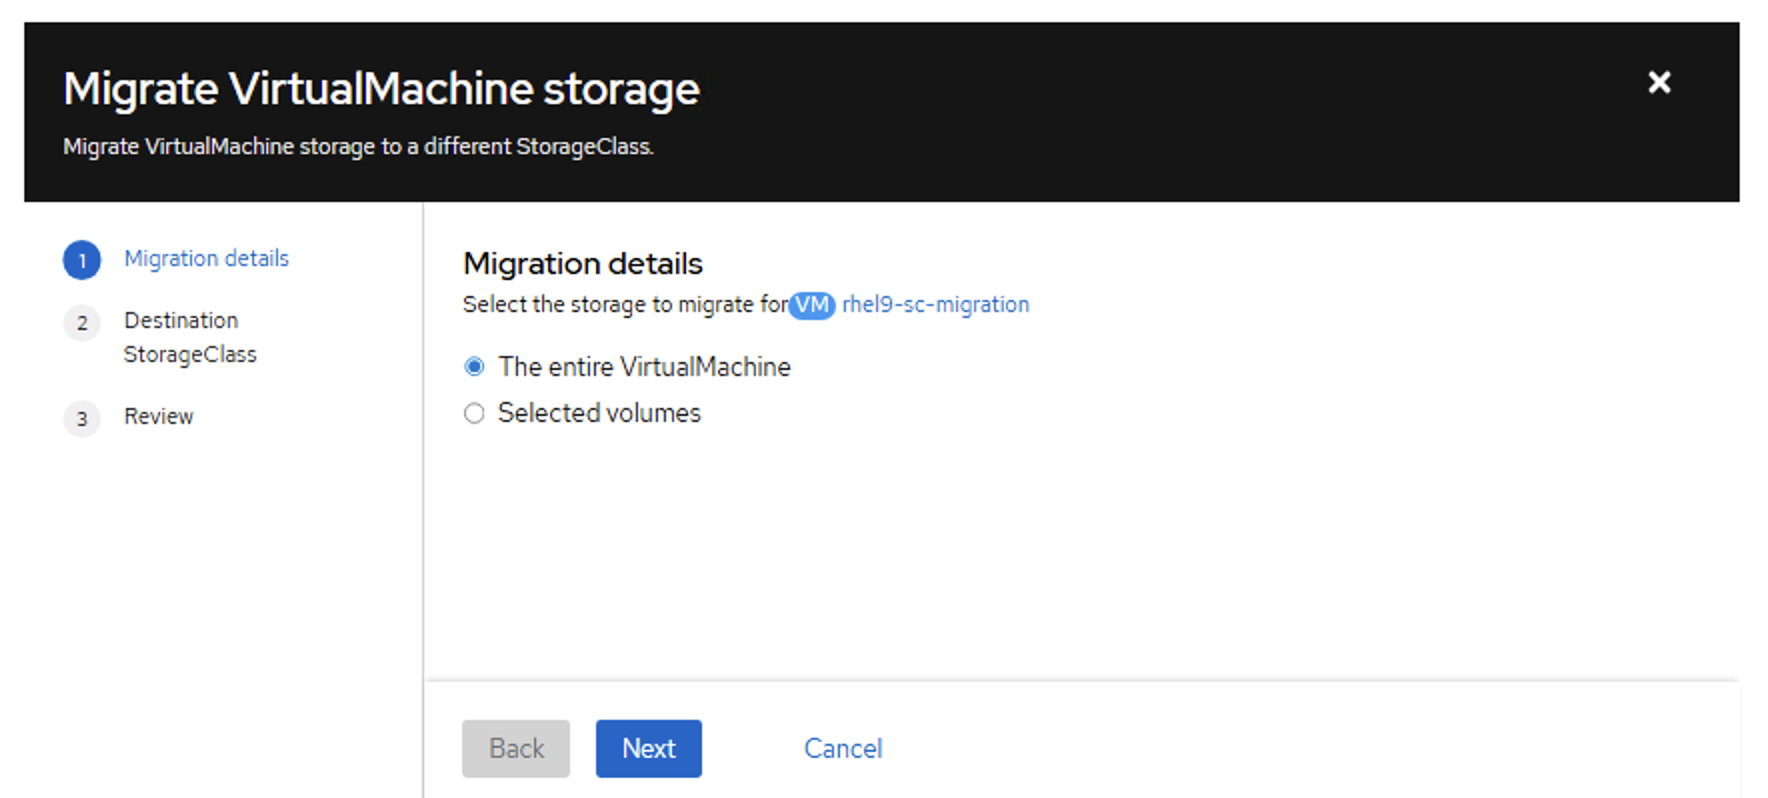
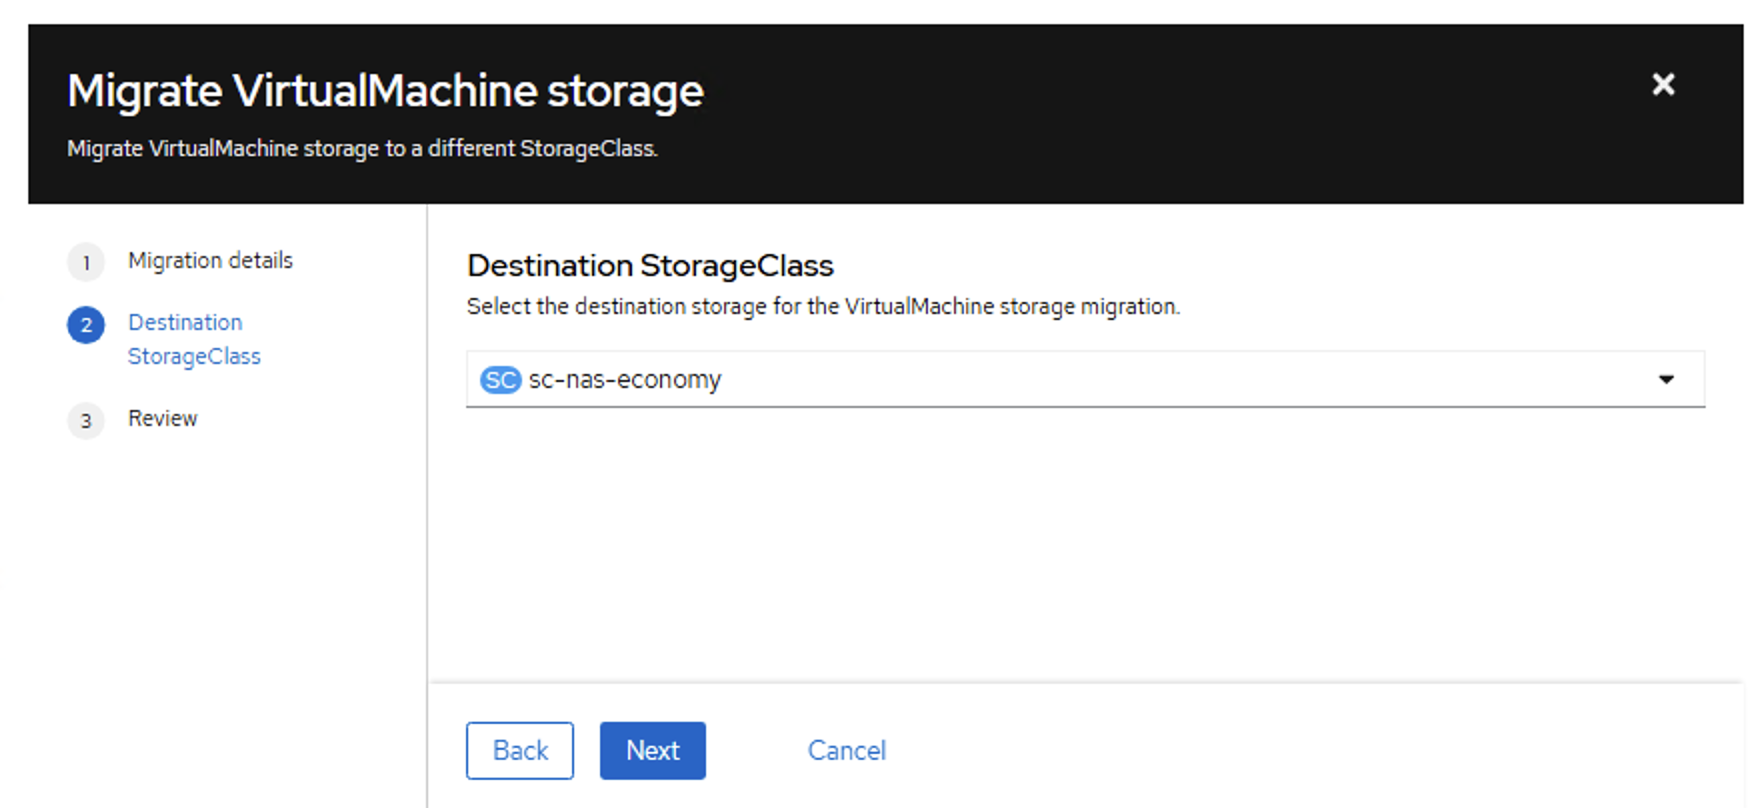
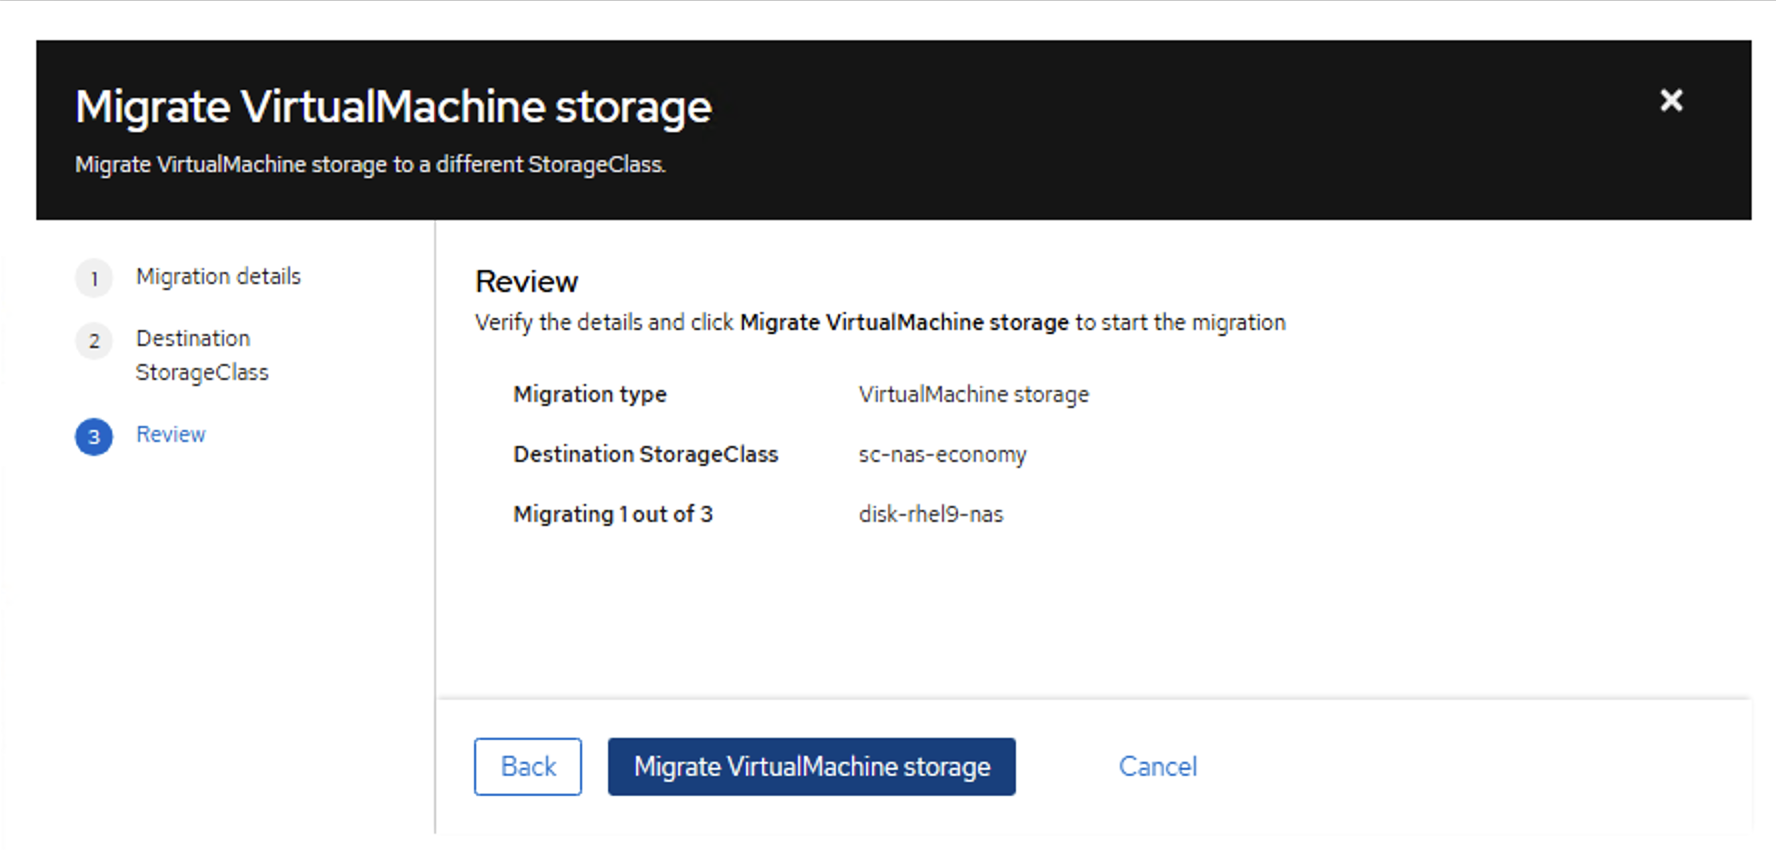
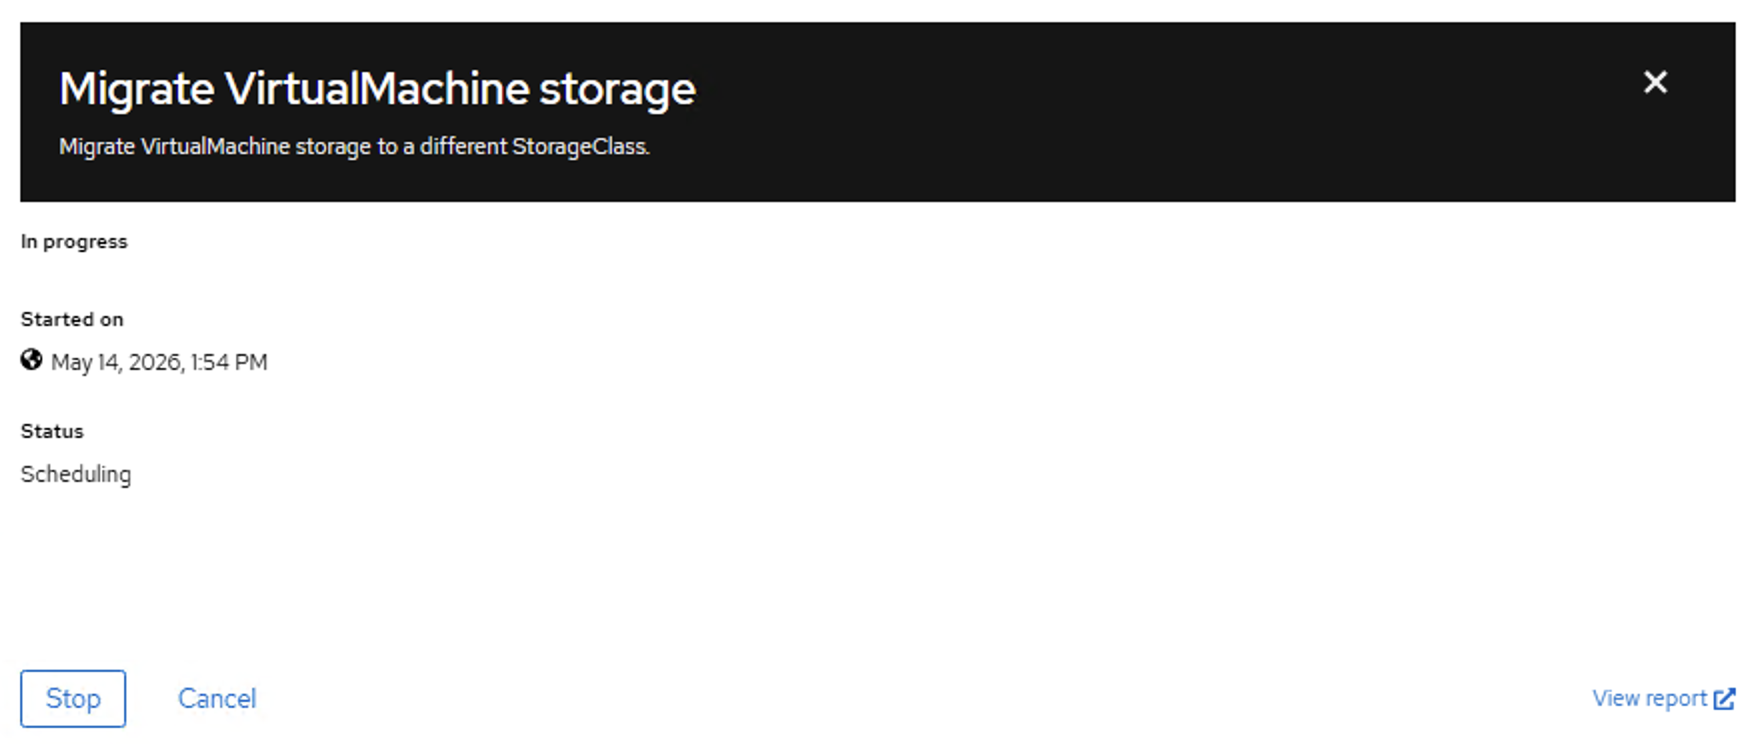
Click Actions→Migrate→Migrate Storage. Select the volumes to migrate and the target storage class, then click Migrate. The migration process will start and you can monitor the progress in the Events tab of the VM. Once the migration is complete, the VM's disks will be using the new storage class.
Show example
-
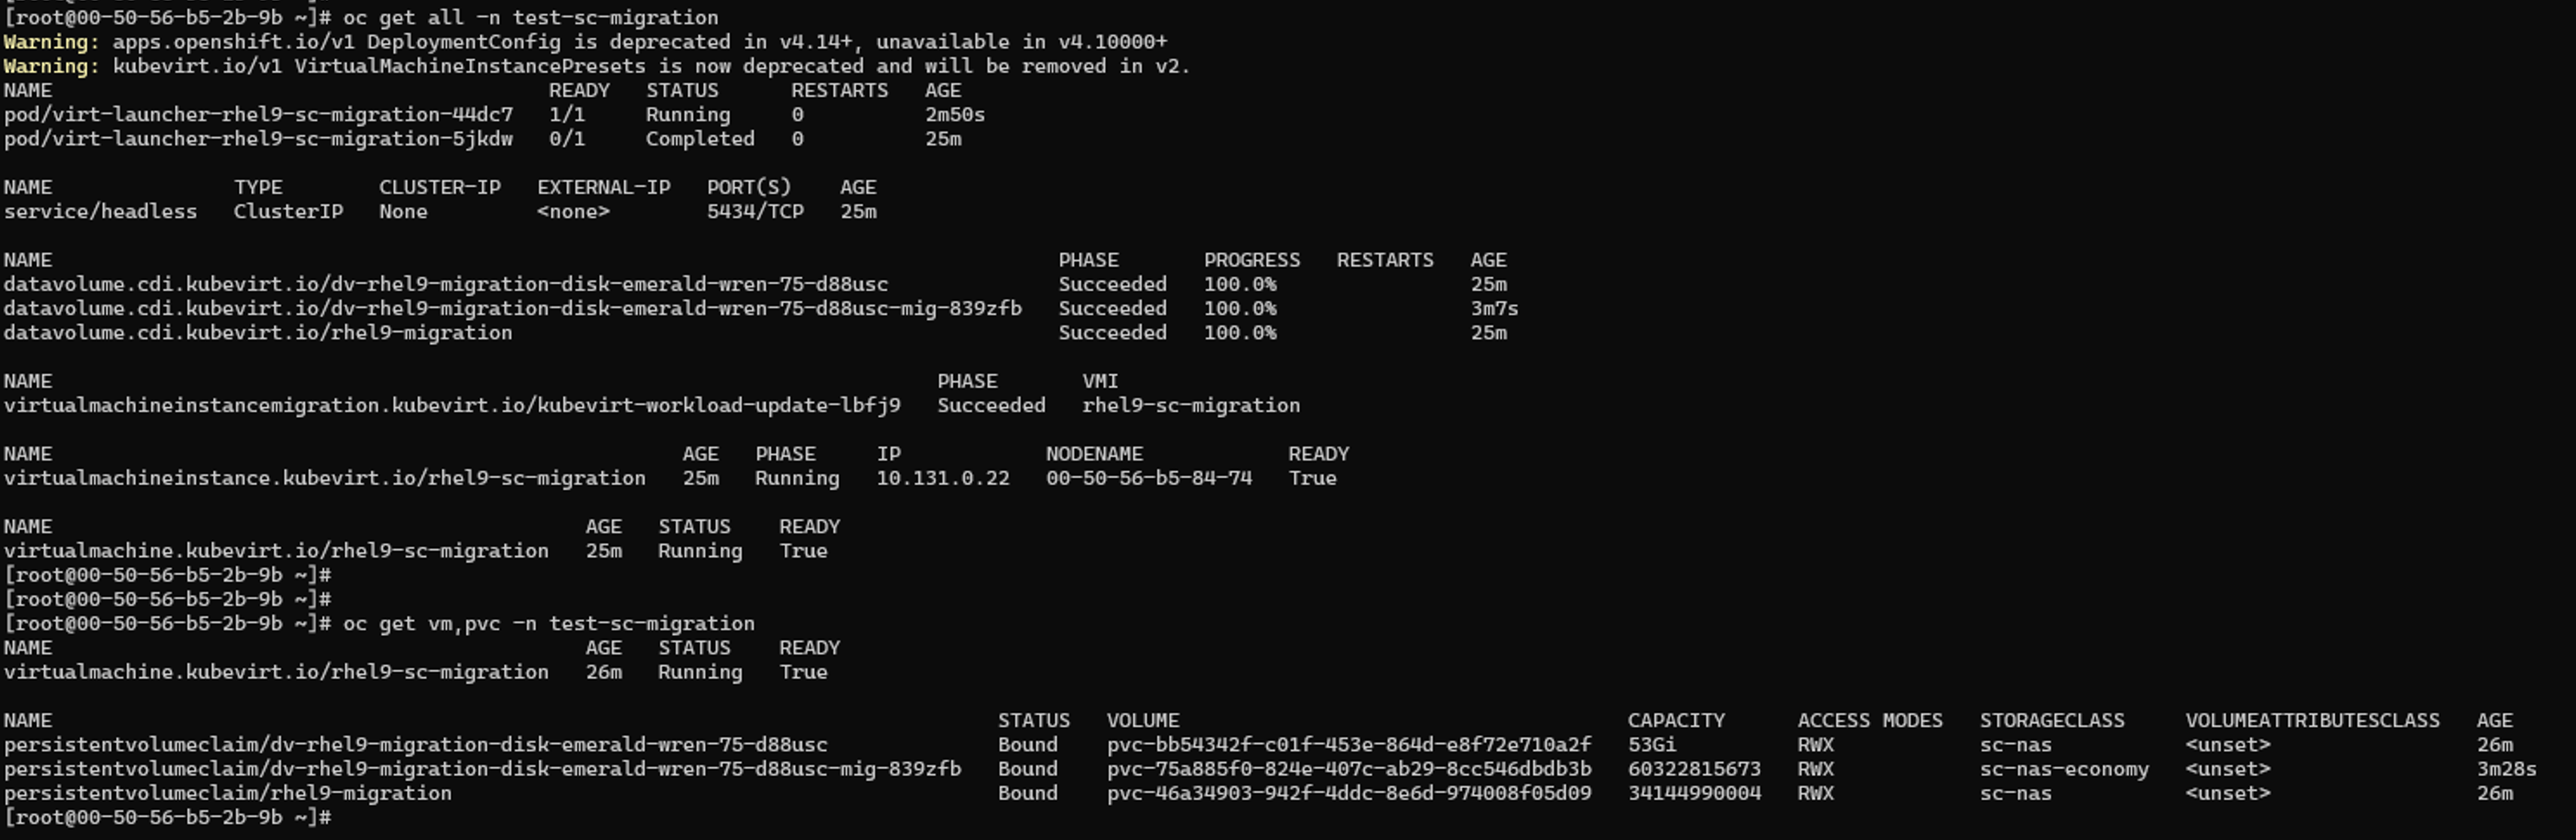
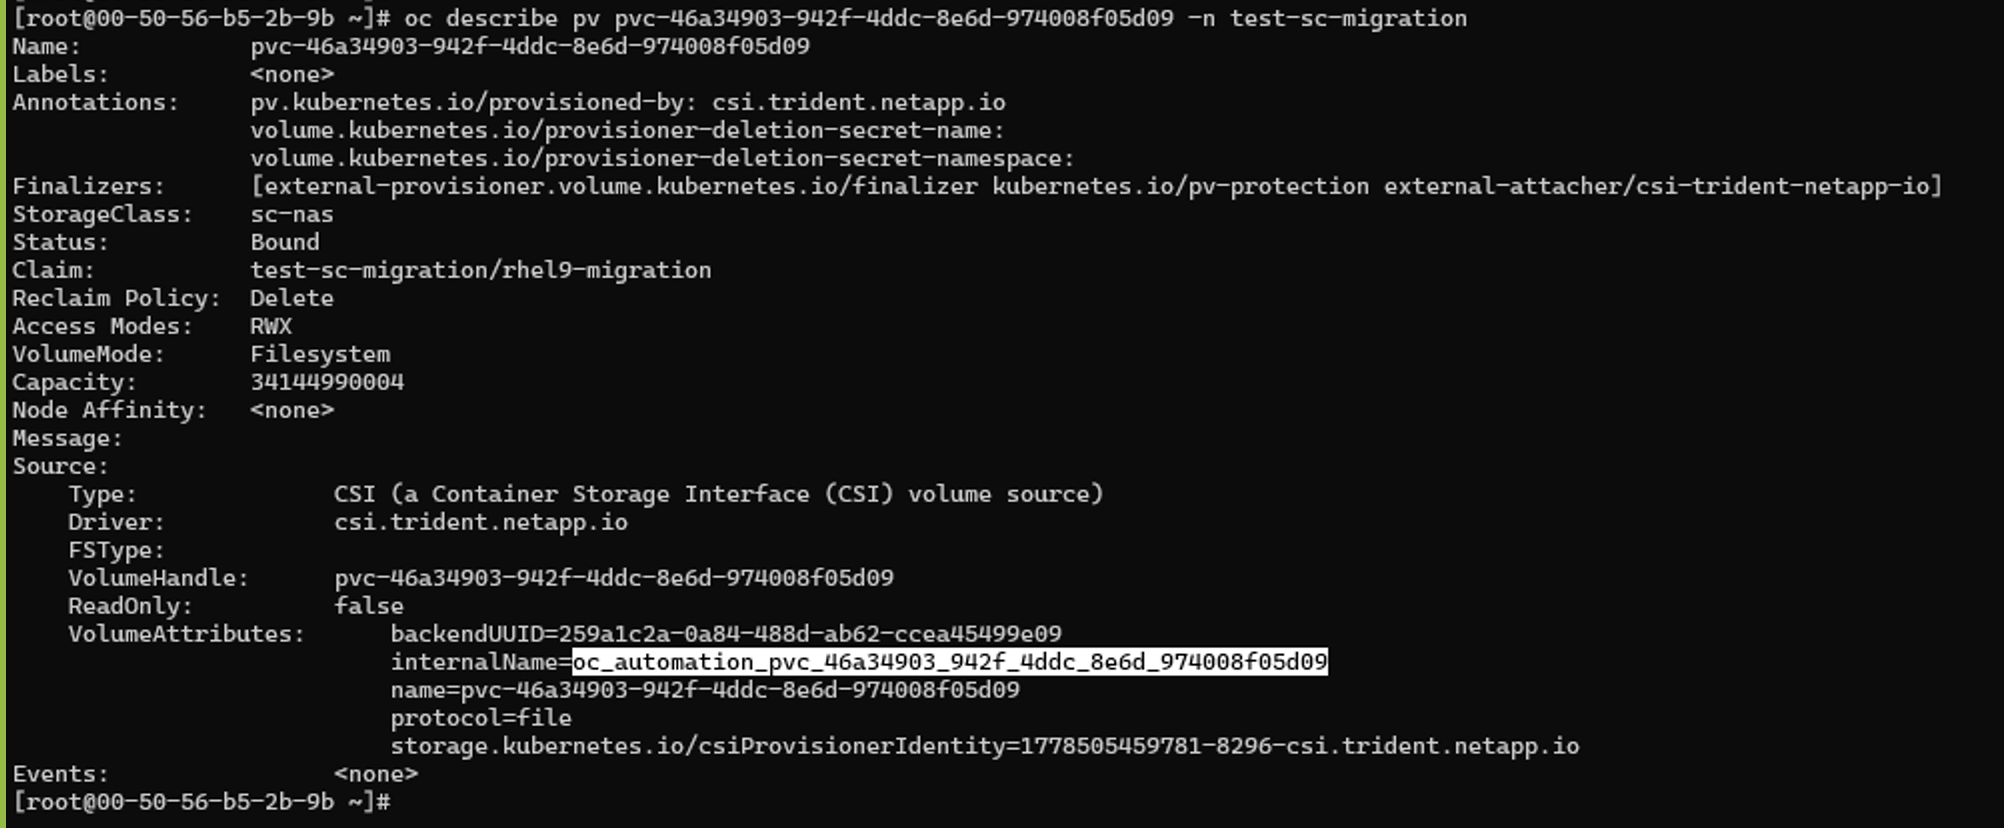
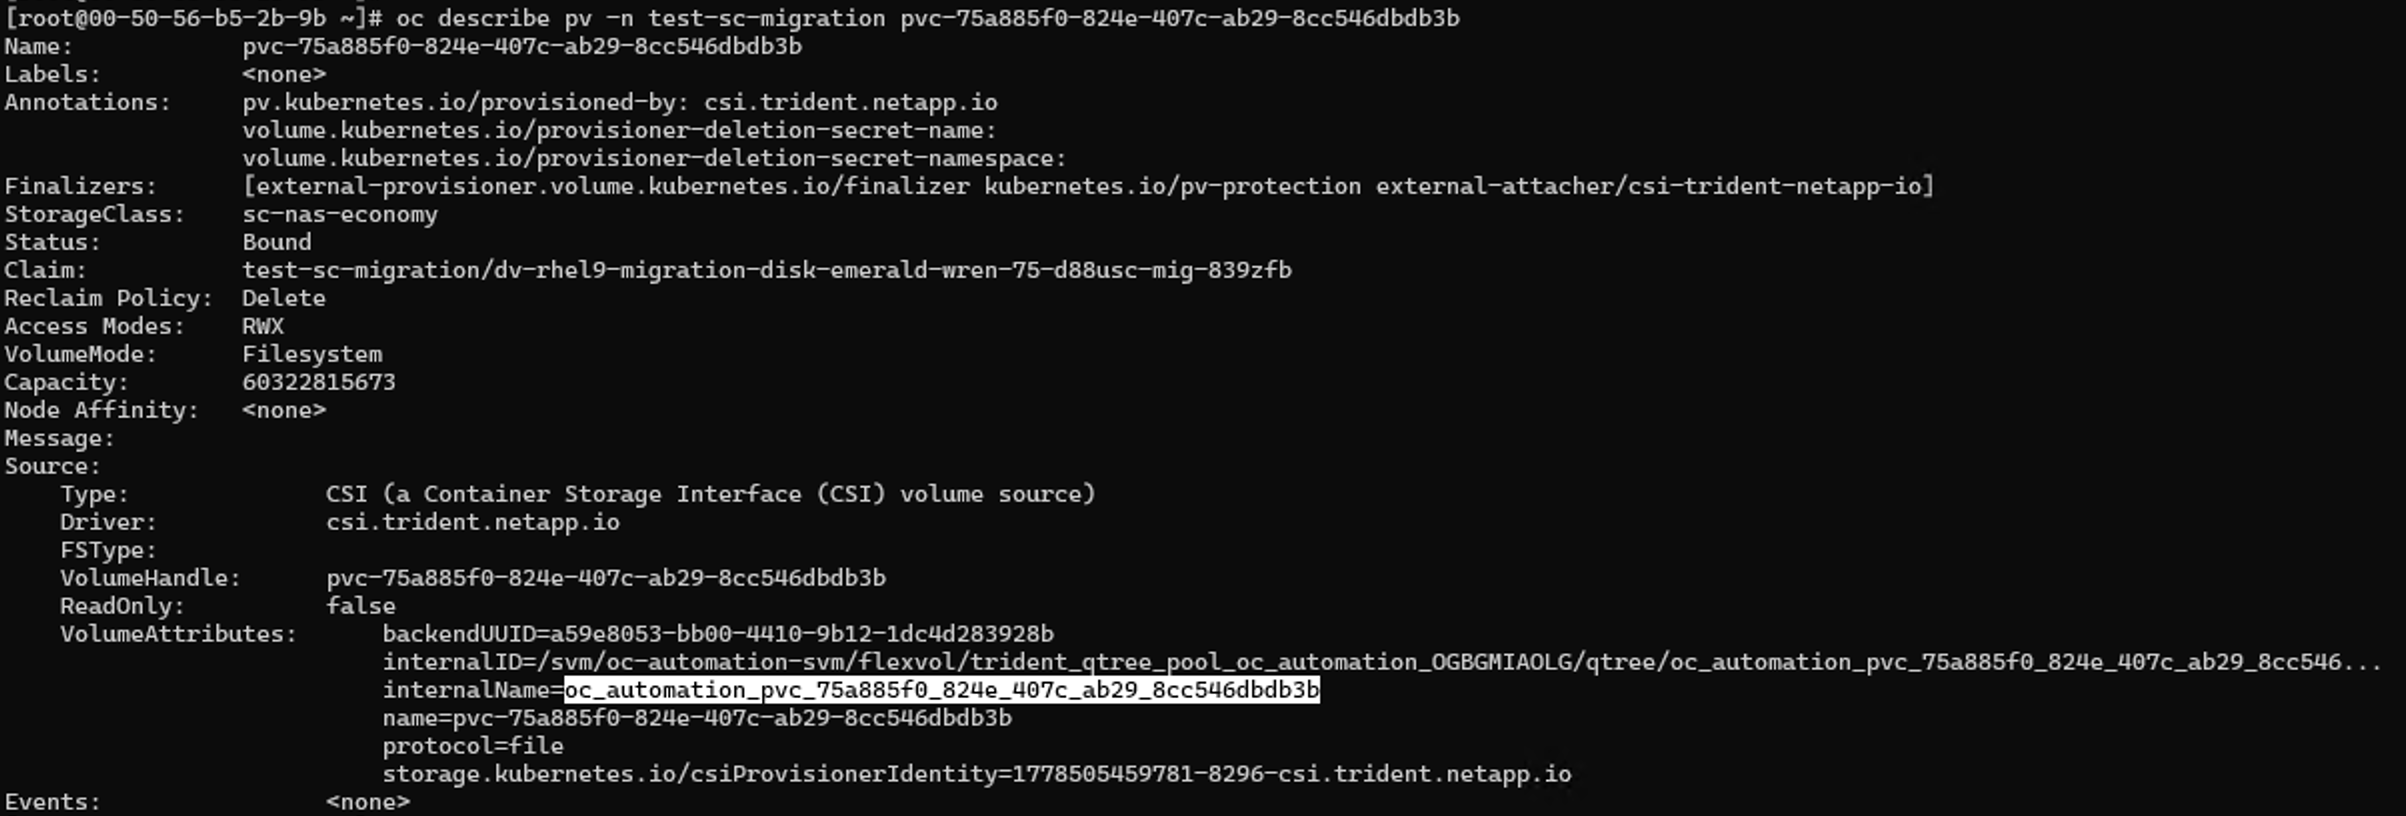
After the migration is complete, you can verify that the VM's disks are now using the new storage class by checking the VM's details in the web console or using the OpenShift CLI.
Show example