

Create and mount volumes
 Suggest changes
After you set up your system, you can create Azure NetApp Files accounts, capacity pools, and volumes.
Create volumes
You can create NFS or SMB volumes in a new or existing Azure NetApp Files account.
-
If you want to use SMB, you must have set up DNS and Active Directory.
-
When planning to create an SMB volume, you must have a Windows Active Directory server available to which you can connect. You will enter this information when creating the volume.
-
Open the Azure NetApp Files system.
-
Select Add New Volume.
-
Provide the required information on each page:
-
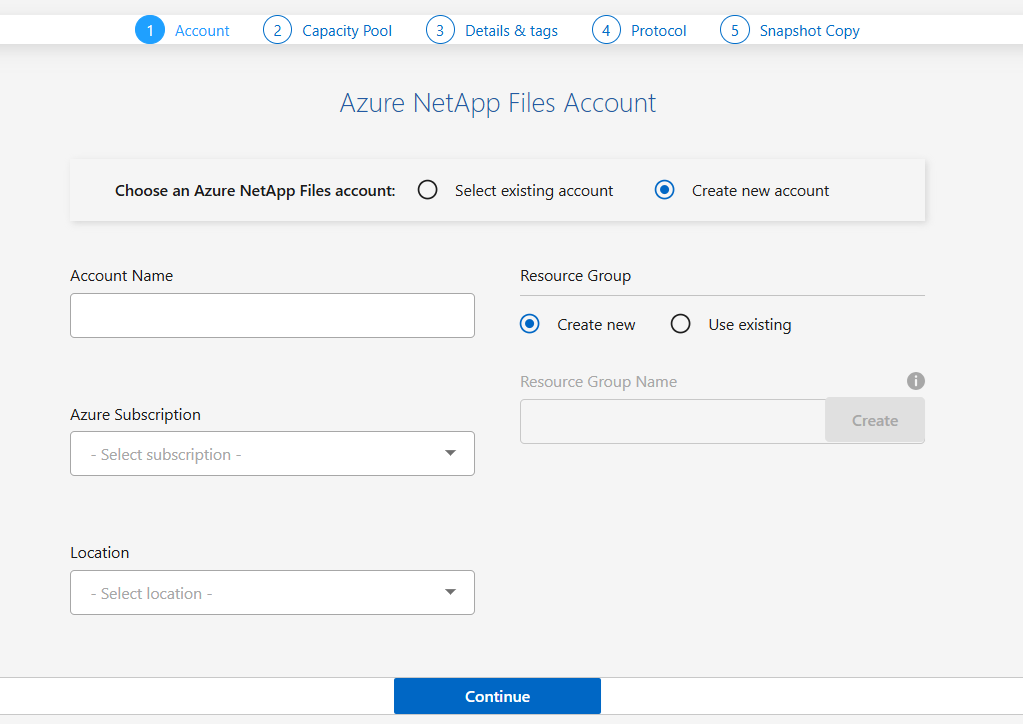
Azure NetApp Files Account: Choose an existing Azure NetApp Files account or create a new account. When creating a new account, you must also select the resource group. You can use an existing resource group or create a new one.
-
Capacity Pool: Select an existing capacity pool or create a new capacity pool.
If you create a new capacity pool, specify the size and service level.
The minimum size for a capacity pool is 1 TB.

-
Details & Tags: Enter the volume name and size, the VNet and subnet where the volume should reside, and optionally specify tags for the volume. Choose Standard or Basic networking. Standard supports virtual network (VNet) features while Basic has reduced IP limits and no additional VNet features for the volume. For more information, see Configure network features.
-
Protocol: Choose the NFS or SMB protocol and enter the required information.
If you choose NFS, you must enter the Volume path, choose the NFS version, and set the Export Policy.
If you choose SMB, you must enter the Volume path then configure SMB connectivity with the DNS Primary IP Address and Active Directory configuration details.
-
-
If you want this volume to be created based on a snapshot of an existing volume, select the snapshot from the Snapshot Name drop-down list.
-
Select Add Volume.
-
After you create the volume, you should proceed to mount the cloud volume.
Mount volumes
Access mounting instructions from within the NetApp Console so you can mount the volume to a host.
-
In the NetApp Console, open the Azure NetApp Files system.
-
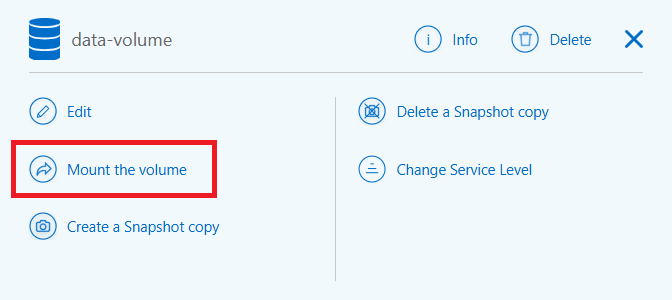
Move the cursor over the volume then select the three dots
…next to the volume status. -
Select Mount the volume.
-
Follow the instructions to mount the volume.