Apache Airflow デプロイメント
 変更を提案
変更を提案
このセクションでは、Kubernetes クラスターに Airflow をデプロイするために完了する必要があるタスクについて説明します。

|
Airflow は Kubernetes 以外のプラットフォームにもデプロイできます。 Kubernetes 以外のプラットフォームに Airflow をデプロイすることは、このソリューションの範囲外です。 |
前提条件
このセクションで説明する展開演習を実行する前に、次のタスクが既に実行されていることを前提としています。
-
すでに動作中の Kubernetes クラスターがあります。
-
Kubernetes クラスターにNetApp Tridentがすでにインストールされ、構成されています。Tridentの詳細については、"Tridentのドキュメント" 。
Helmをインストールする
Airflow は、Kubernetes の一般的なパッケージ マネージャーである Helm を使用してデプロイされます。 Airflow をデプロイする前に、デプロイ ジャンプ ホストに Helm をインストールする必要があります。デプロイメントジャンプホストにHelmをインストールするには、 "インストール手順"公式 Helm ドキュメントに記載されています。
デフォルトのKubernetesストレージクラスを設定する
Airflow をデプロイする前に、Kubernetes クラスター内でデフォルトの StorageClass を指定する必要があります。 Airflow のデプロイメント プロセスでは、デフォルトの StorageClass を使用して新しい永続ボリュームをプロビジョニングしようとします。デフォルトの StorageClass として StorageClass が指定されていない場合、デプロイメントは失敗します。クラスター内でデフォルトのストレージクラスを指定するには、"Kubeflow デプロイメント"セクション。クラスター内でデフォルトの StorageClass をすでに指定している場合は、この手順をスキップできます。
Helm を使用して Airflow をデプロイする
Helm を使用して Kubernetes クラスターに Airflow をデプロイするには、デプロイメント ジャンプ ホストから次のタスクを実行します。
-
Helmを使用してAirflowをデプロイするには、 "展開手順" Artifact Hub の公式 Airflow チャートをご覧ください。次のサンプルコマンドは、Helm を使用した Airflow のデプロイメントを示しています。値を変更、追加、削除します。 `custom- values.yaml`環境と希望する構成に応じて、必要に応じてファイルを変更します。
$ cat << EOF > custom-values.yaml ################################### # Airflow - Common Configs ################################### airflow: ## the airflow executor type to use ## executor: "CeleryExecutor" ## environment variables for the web/scheduler/worker Pods (for airflow configs) ## # ################################### # Airflow - WebUI Configs ################################### web: ## configs for the Service of the web Pods ## service: type: NodePort ################################### # Airflow - Logs Configs ################################### logs: persistence: enabled: true ################################### # Airflow - DAGs Configs ################################### dags: ## configs for the DAG git repository & sync container ## gitSync: enabled: true ## url of the git repository ## repo: "git@github.com:mboglesby/airflow-dev.git" ## the branch/tag/sha1 which we clone ## branch: master revision: HEAD ## the name of a pre-created secret containing files for ~/.ssh/ ## ## NOTE: ## - this is ONLY RELEVANT for SSH git repos ## - the secret commonly includes files: id_rsa, id_rsa.pub, known_hosts ## - known_hosts is NOT NEEDED if `git.sshKeyscan` is true ## sshSecret: "airflow-ssh-git-secret" ## the name of the private key file in your `git.secret` ## ## NOTE: ## - this is ONLY RELEVANT for PRIVATE SSH git repos ## sshSecretKey: id_rsa ## the git sync interval in seconds ## syncWait: 60 EOF $ helm install airflow airflow-stable/airflow -n airflow --version 8.0.8 --values ./custom-values.yaml ... Congratulations. You have just deployed Apache Airflow! 1. Get the Airflow Service URL by running these commands: export NODE_PORT=$(kubectl get --namespace airflow -o jsonpath="{.spec.ports[0].nodePort}" services airflow-web) export NODE_IP=$(kubectl get nodes --namespace airflow -o jsonpath="{.items[0].status.addresses[0].address}") echo http://$NODE_IP:$NODE_PORT/ 2. Open Airflow in your web browser -
すべての Airflow ポッドが稼働していることを確認します。すべてのポッドが起動するまでに数分かかる場合があります。
$ kubectl -n airflow get pod
NAME                                READY   STATUS    RESTARTS   AGE
airflow-flower-b5656d44f-h8qjk      1/1     Running   0          2h
airflow-postgresql-0                1/1     Running   0          2h
airflow-redis-master-0              1/1     Running   0          2h
airflow-scheduler-9d95fcdf9-clf4b   2/2     Running   2          2h
airflow-web-59c94db9c5-z7rg4        1/1     Running   0          2h
airflow-worker-0                    2/2     Running   2          2h
-
手順 1 で Helm を使用して Airflow をデプロイしたときにコンソールに表示された手順に従って、Airflow Web サービス URL を取得します。
$ export NODE_PORT=$(kubectl get --namespace airflow -o jsonpath="{.spec.ports[0].nodePort}" services airflow-web) $ export NODE_IP=$(kubectl get nodes --namespace airflow -o jsonpath="{.items[0].status.addresses[0].address}") $ echo http://$NODE_IP:$NODE_PORT/ -
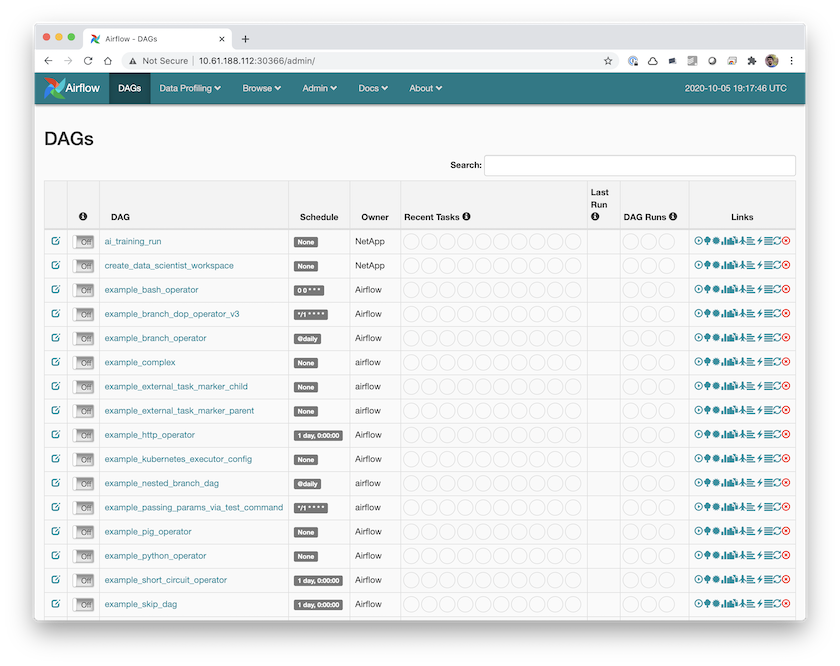
Airflow Web サービスにアクセスできることを確認します。