

Perform the initial setup of the Unified Manager web UI
 Suggest changes
To use Unified Manager, you must first configure the initial setup options, including the NTP server, the maintenance user email address, the SMTP server host, and adding ONTAP clusters.
You must have performed the following operations:
-
Launched the Unified Manager web UI using the URL provided after installation
-
Logged in using the maintenance user name and password (umadmin user for Linux installations) created during installation
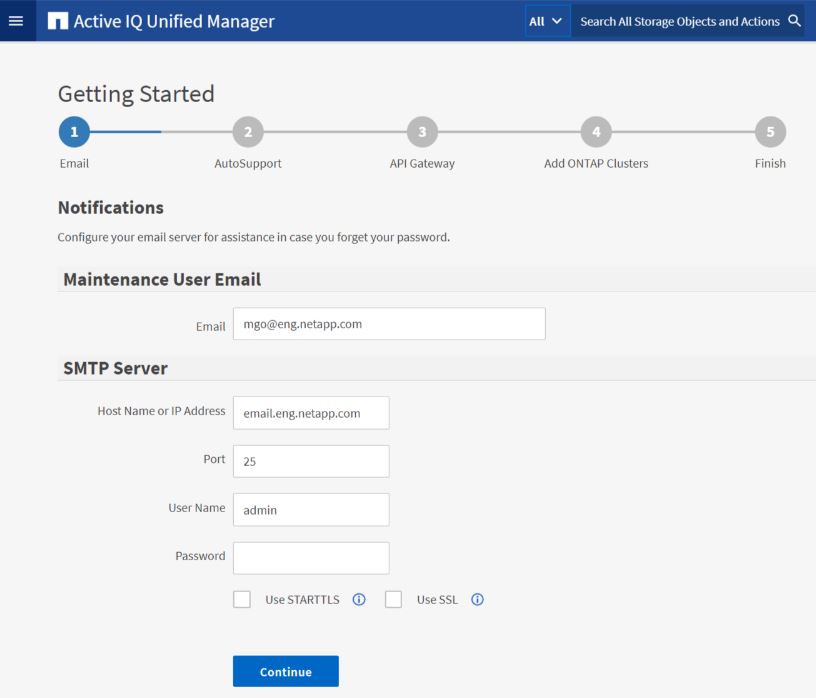
The Active IQ Unified ManagerGetting Started page appears only when you first access the web UI. The page below is from an installation on VMware.
If you want to change any of these options later, you can select your choice from the General options in the Unified Manager left-navigation pane. Note that the NTP setting is only for VMware installations, and it can be changed later using the Unified Manager maintenance console.
-
In the Active IQ Unified Manager Initial Setup page, enter the maintenance user email address, the SMTP server host name and any additional SMTP options, and the NTP server (VMware installations only). Then click Continue.

If you have selected the Use STARTTLS or Use SSL option, a certificate page displays after you click the Continue button. Verify the certificate details and accept the certificate to continue with the initial setup settings of the web UI.
-
In the AutoSupport page click Agree and Continue to enable the sending of AutoSupport messages from Unified Manager to NetAppActive IQ.
If you need to designate a proxy to provide internet access in order to send AutoSupport content, or if you want to disable AutoSupport, use the General > AutoSupport option from the web UI.
-
On Red Hat systems, change the umadmin user password from the default “admin” string to a personalized string.
-
In the Set up API Gateway page, select whether you want to use the API Gateway feature that allows Unified Manager to manage the ONTAP clusters you are planning to monitor using ONTAP REST APIs. Then click Continue.
You can enable or disable this setting later in the web UI from General > Feature Settings > API Gateway. For more information about the APIs, see Getting started with Active IQ Unified Manager REST APIs.
-
Add the clusters that you want Unified Manager to manage, and then click Next. For each cluster you plan to manage, you must have the host name or cluster management IP address (IPv4 or IPv6) along with the user name and password credentials - the user must have the “admin” role.
This step is optional. You can add clusters later in the web UI from Storage Management > Cluster Setup.
-
In the Summary page, verify that all the settings are correct and click Finish.
The Getting Started page closes and the Unified Manager Dashboard page is displayed.