

NetApp Virtual Storage Console 9.6 deployment procedures
 Suggest changes
This section describes the deployment procedures for the NetApp Virtual Storage Console (VSC).
Install Virtual Storage Console 9.6
To install the VSC 9.6 software by using an Open Virtualization Format (OVF) deployment, follow these steps:
-
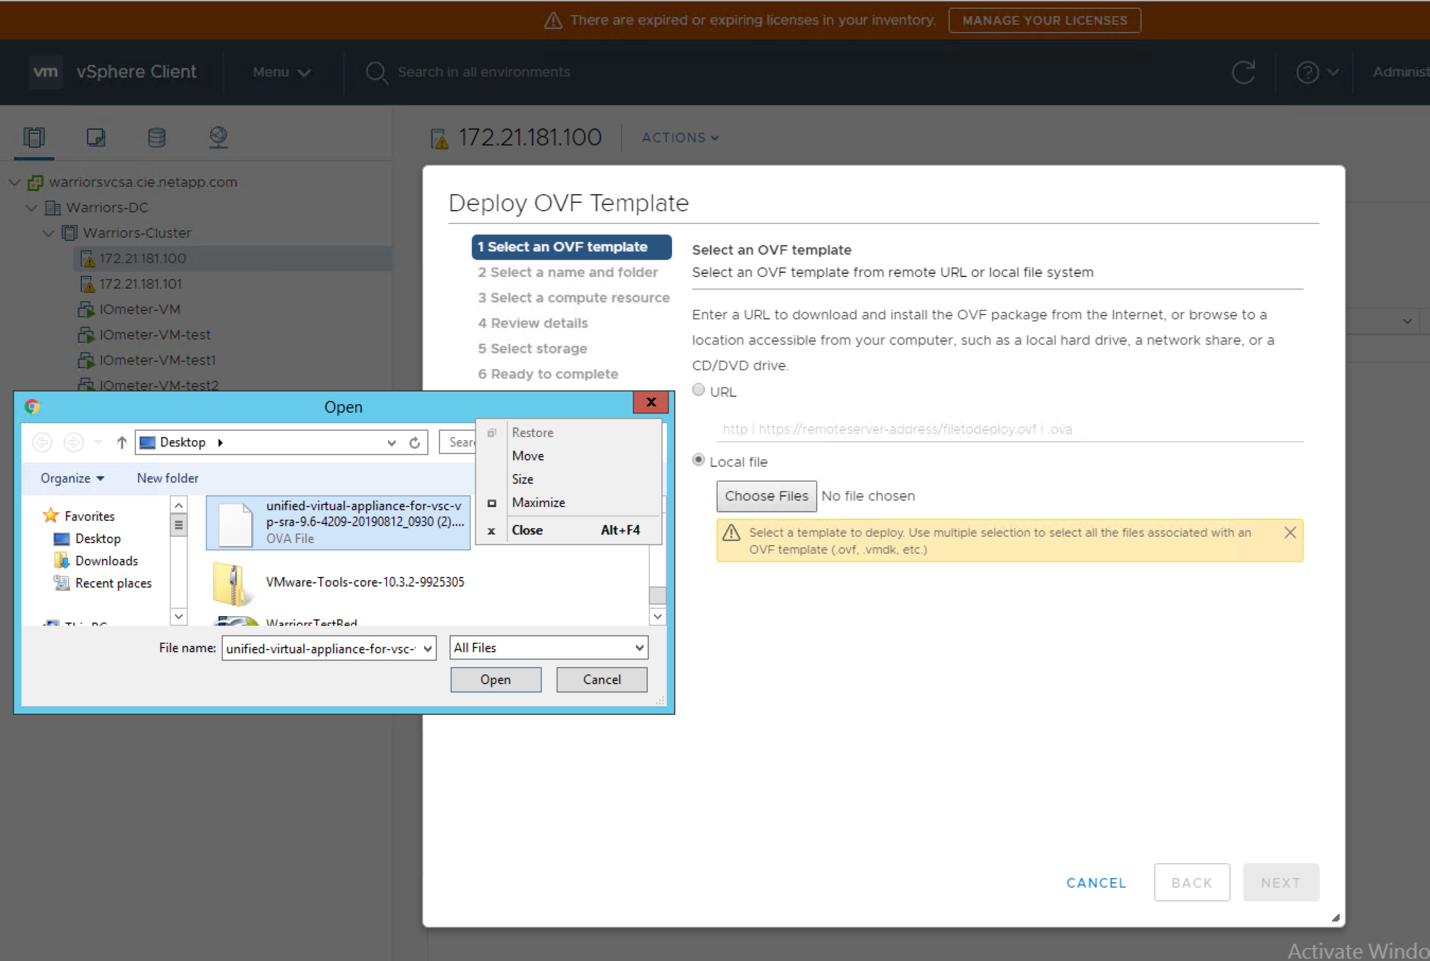
Go to vSphere Web Client > Host Cluster > Deploy OVF Template.
-
Browse to the VSC OVF file downloaded from the NetApp Support site.
-
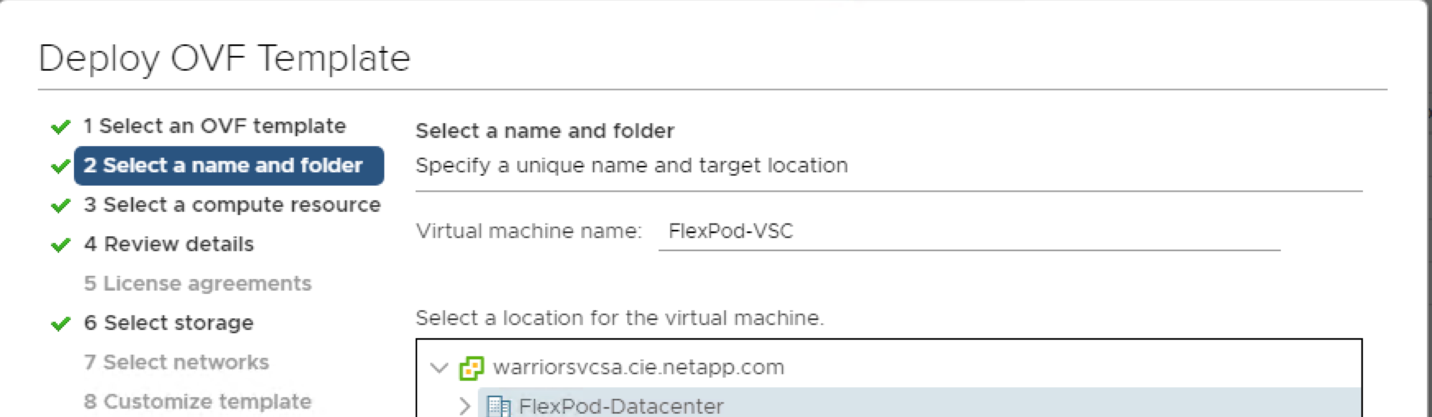
Enter the VM name and select a datacenter or folder in which to deploy. Click Next.
-
Select the FlexPod-Cluster ESXi cluster and click Next.
-
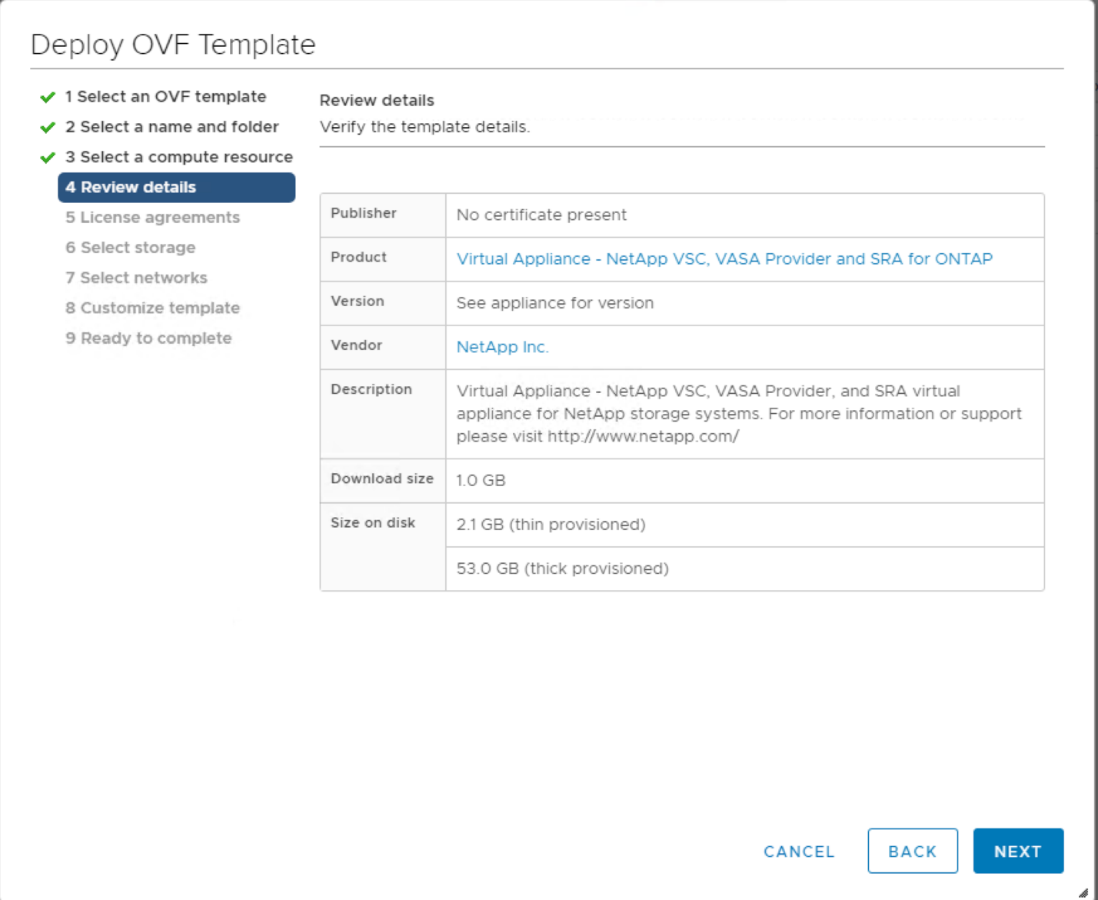
Review the details and click Next.
-
Click Accept to accept the license and click Next.
-
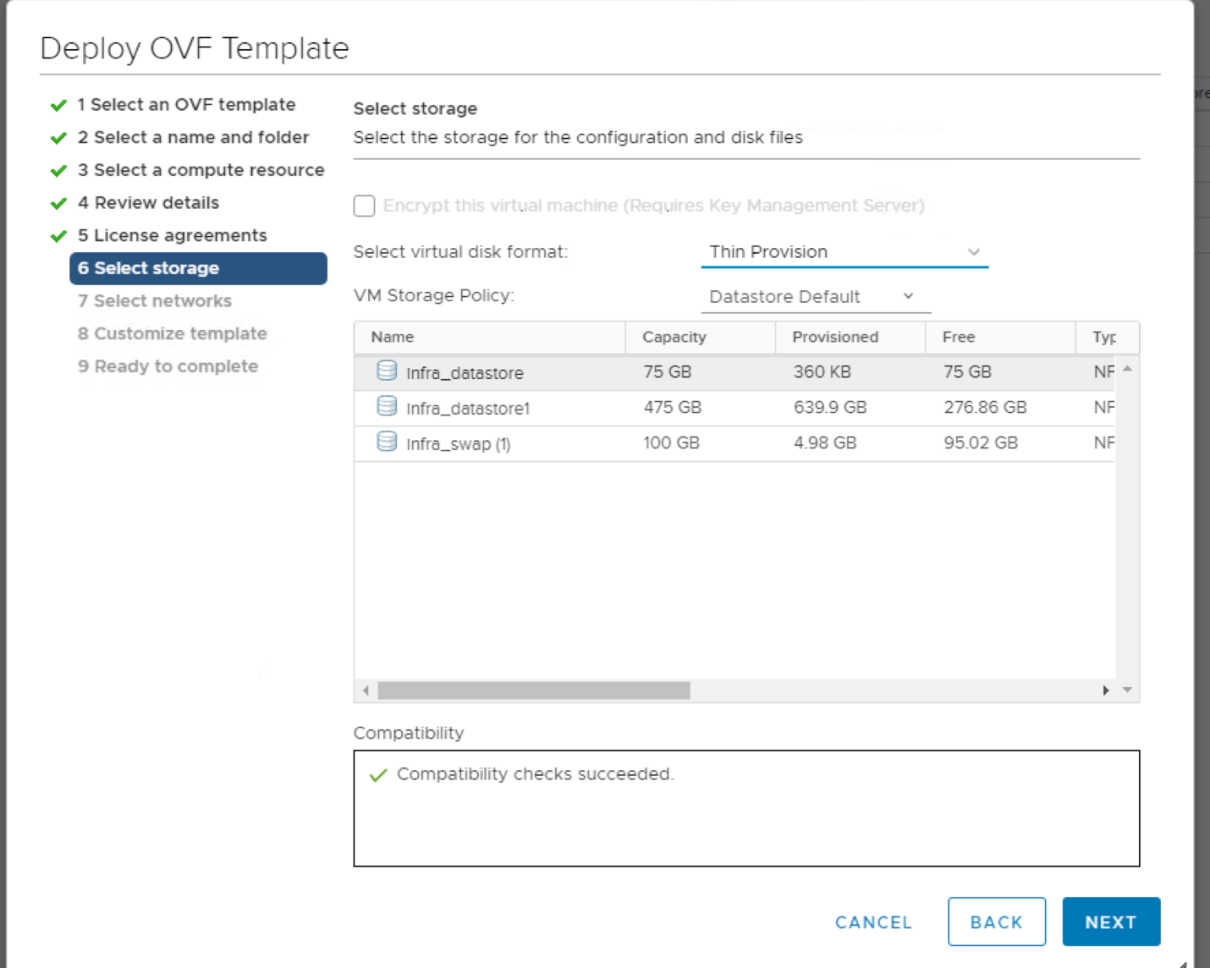
Select the Thin Provision virtual disk format and one of the NFS datastores. Click Next.
-
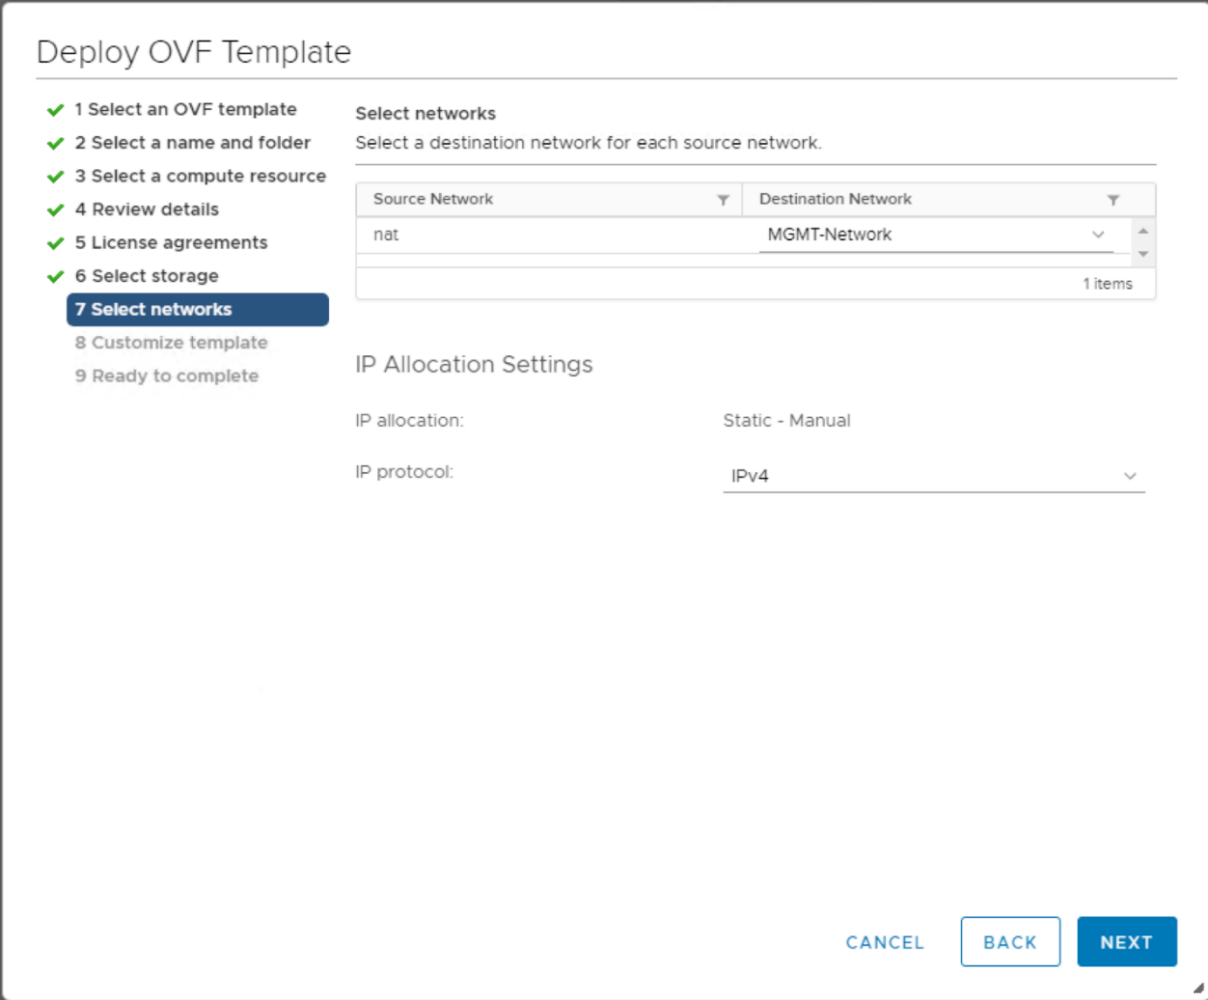
From Select Networks, choose a destination network and click Next.
-
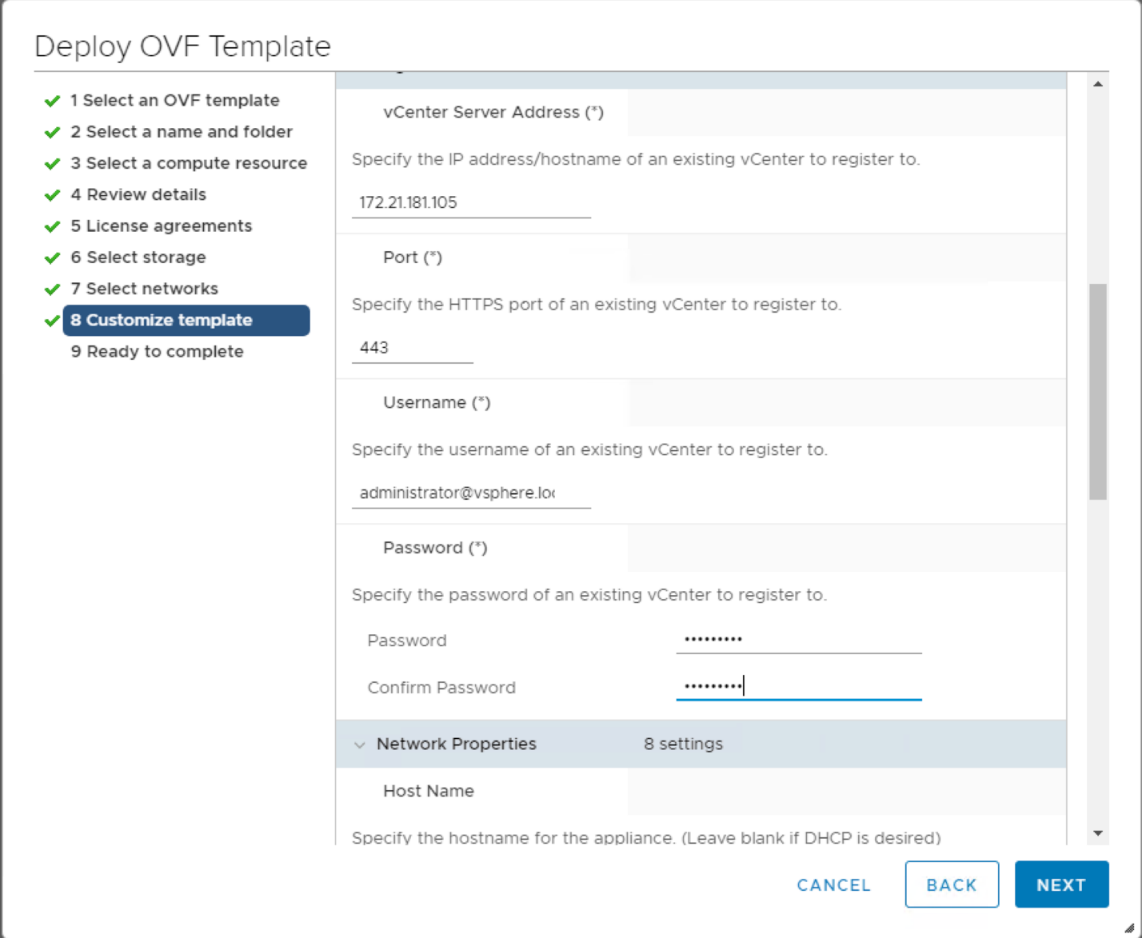
From Customize Template, enter the VSC administrator password, vCenter name or IP address, and other configuration details and click Next.
-
Review the configuration details entered and click Finish to complete the deployment of NetApp-VSC VM.
-
Power on the NetApp-VSC VM and open the VM console.
-
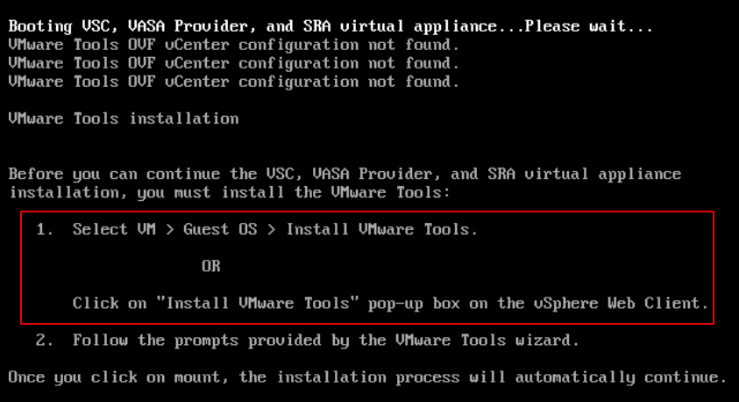
During the NetApp-VSC VM boot process, you see a prompt to install VMware Tools. From vCenter, select NetApp-VSC VM > Guest OS > Install VMware Tools.
-
Networking configuration and vCenter registration information was provided during OVF template customization. Therefore, after the NetApp-VSC VM is running, VSC, vSphere API for Storage Awareness (VASA), and VMware Storage Replication Adapter (SRA) are registered with vCenter.
-
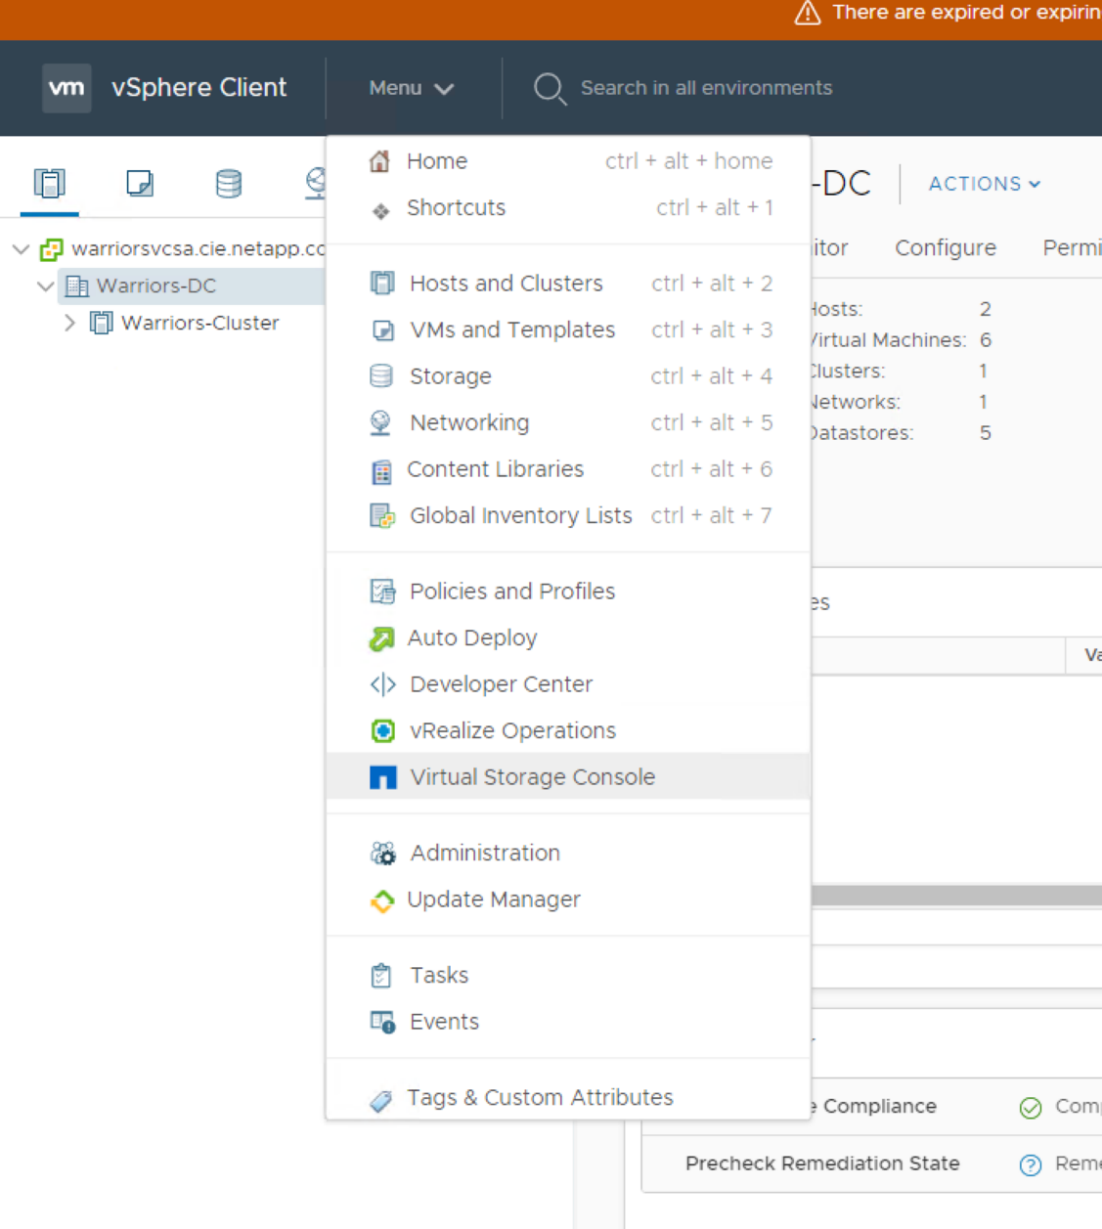
Log out of the vCenter Client and log in again. From the Home menu, confirm that the NetApp VSC is installed.
Download and install the NetApp NFS VAAI Plug-In
To download and install the NetApp NFS VAAI Plug-In, complete the following steps:
-
Download the NetApp NFS Plug-In 1.1.2 for VMware
. vibfile from the NFS Plugin Download page and save it to your local machine or admin host. -
Download the NetApp NFS Plug-in for VMware VAAI:
-
Go to the software download page.
-
Scroll down and click NetApp NFS Plug-in for VMware VAAI.
-
From the Home screen in the vSphere web client, select Virtual Storage Console.
-
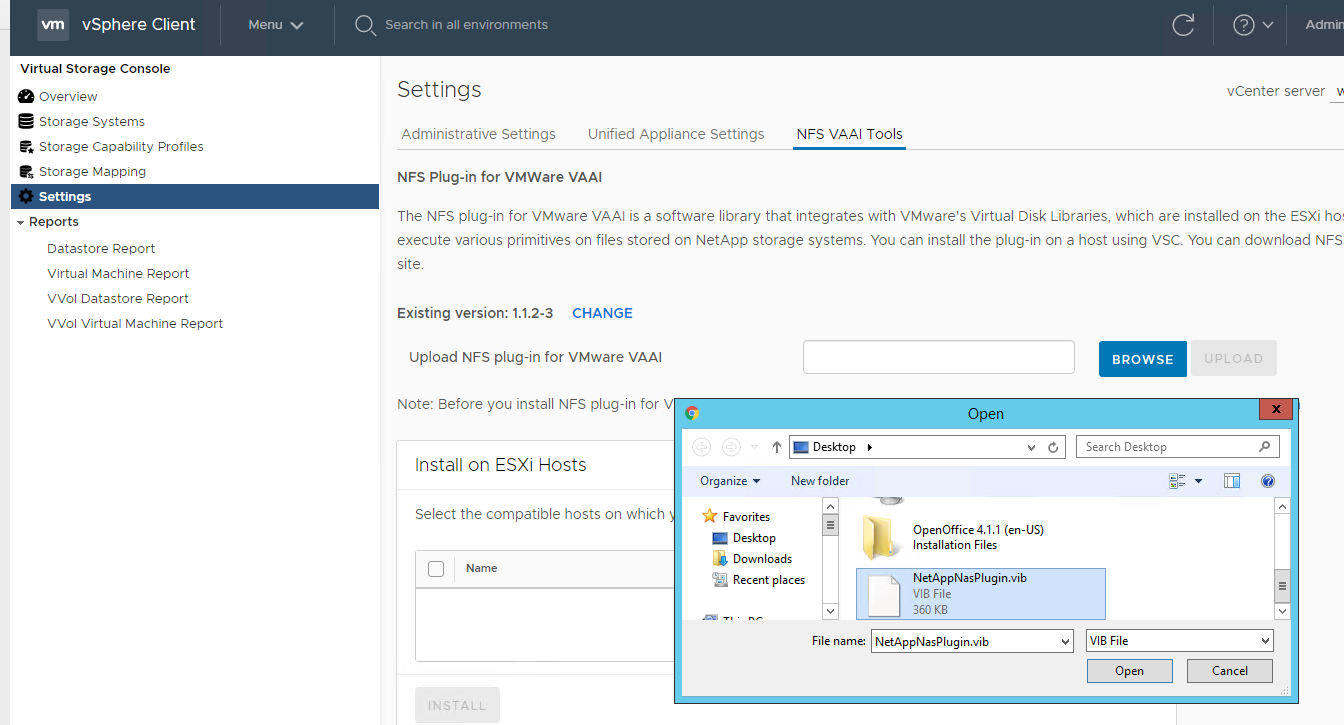
Under Virtual Storage Console > Settings > NFS VAAI Tools, upload the NFS Plug-in by choosing Select File and browsing to the location where the downloaded plug-in is stored.
-
-
Click Upload to transfer the plug-in to vCenter.
-
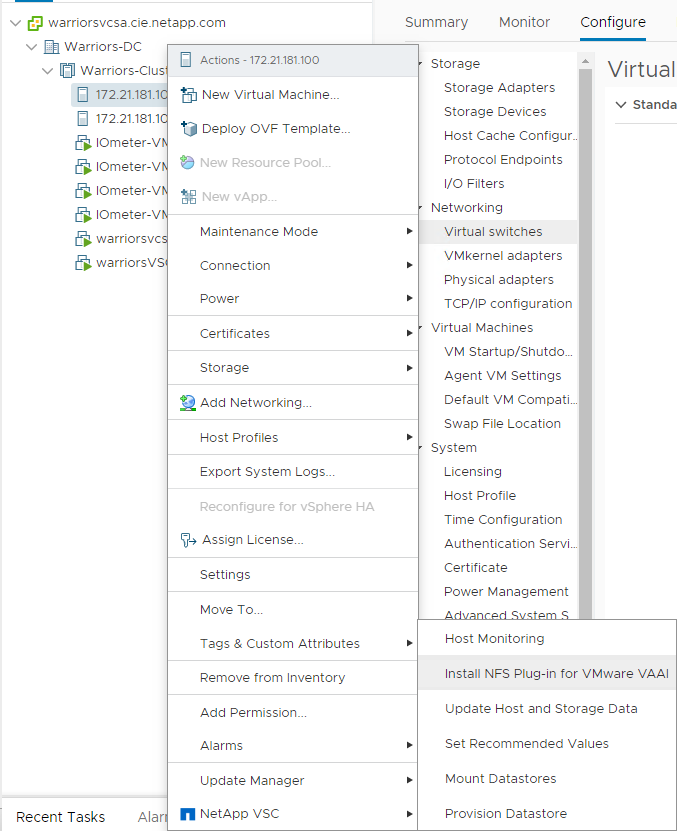
Select the host and then select NetApp VSC > Install NFS Plug-in for VMware VAAI.
Use the optimal storage settings for the ESXi hosts
VSC enables the automated configuration of storage-related settings for all ESXi hosts that are connected to NetApp storage controllers. To use these settings, complete the following steps:
-
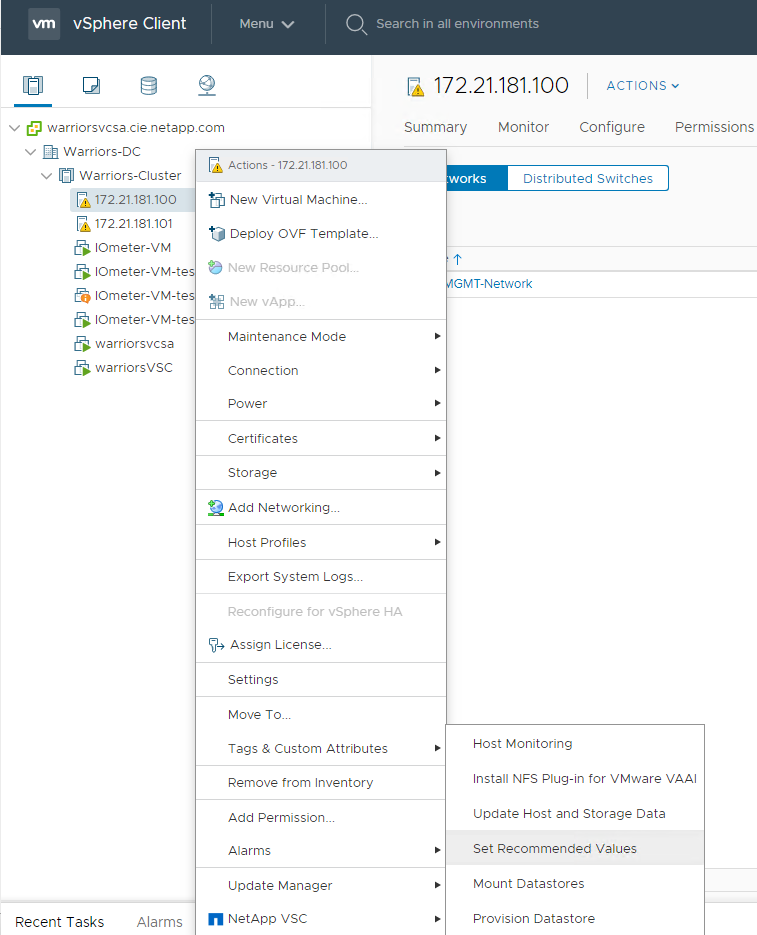
From the Home screen, select vCenter > Hosts and Clusters. For each ESXi host, right-click and select NetApp VSC > Set Recommended Values.
-
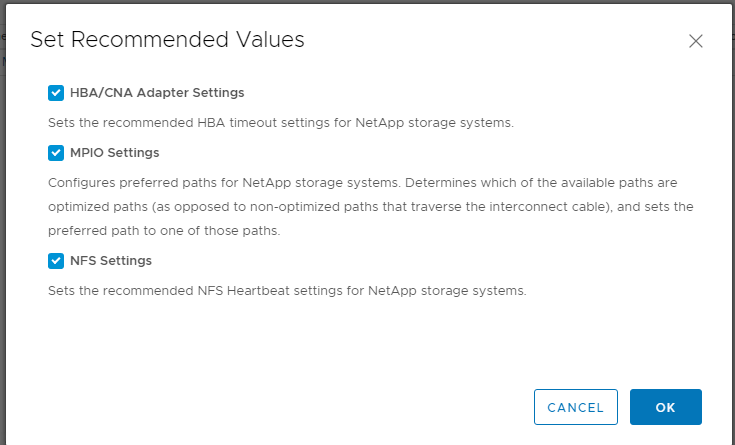
Check the settings that you would like to apply to the selected vSphere hosts. Click OK to apply the settings.
-
Reboot the ESXI host after these settings are applied.