Protect and recover data on FlexPod


 Suggest changes

 PDFs
PDFs
This section describes how an end user’s data can be recovered in the event of an attack and how attacks can be prevented by using a FlexPod system.
Testbed overview
To showcase FlexPod detection, remediation, and prevention, a testbed was built based on the guidelines that are specified in the latest platform CVD available at the time this document was authored: FlexPod Datacenter with VMware vSphere 6.7 U1, Cisco UCS 4th Generation, and NetApp AFF A-Series CVD.
A Windows 2016 VM, which provided a CIFS share from NetApp ONTAP software, was deployed in the VMware vSphere infrastructure. Then NetApp FPolicy was configured on the CIFS share to prevent the execution of files with certain extension types. NetApp SnapCenter software was also deployed to manage the Snapshot copies of the VMs in the infrastructure to provide application- consistent Snapshot copies.
State of VM and its files prior to an attack
This section provides shows the state of the files prior to an attack on the VM and the CIFS share that was mapped to it.
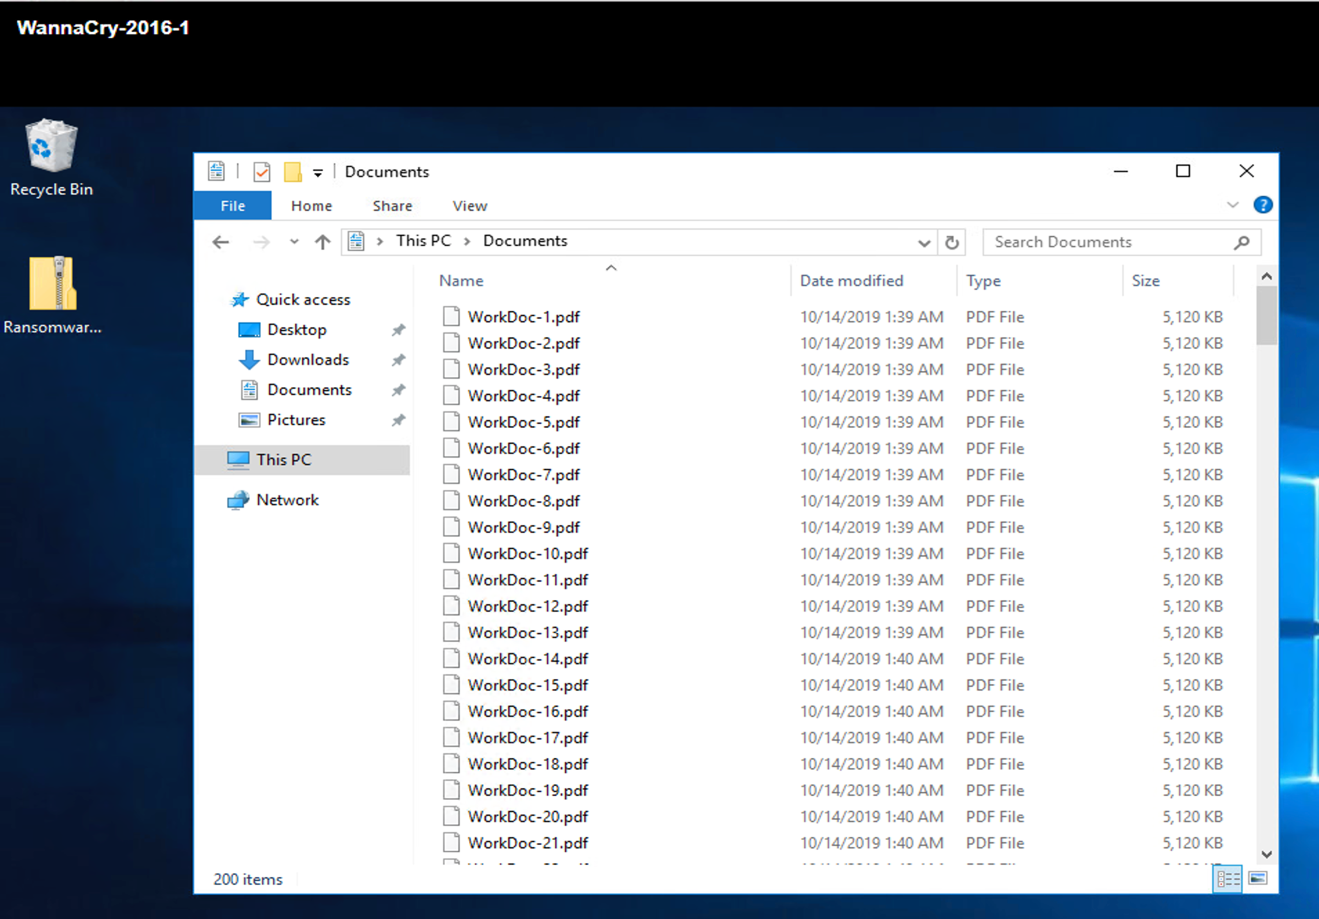
The Documents folder of the VM had a set of PDF files that have not yet been encrypted by the WannaCry malware.
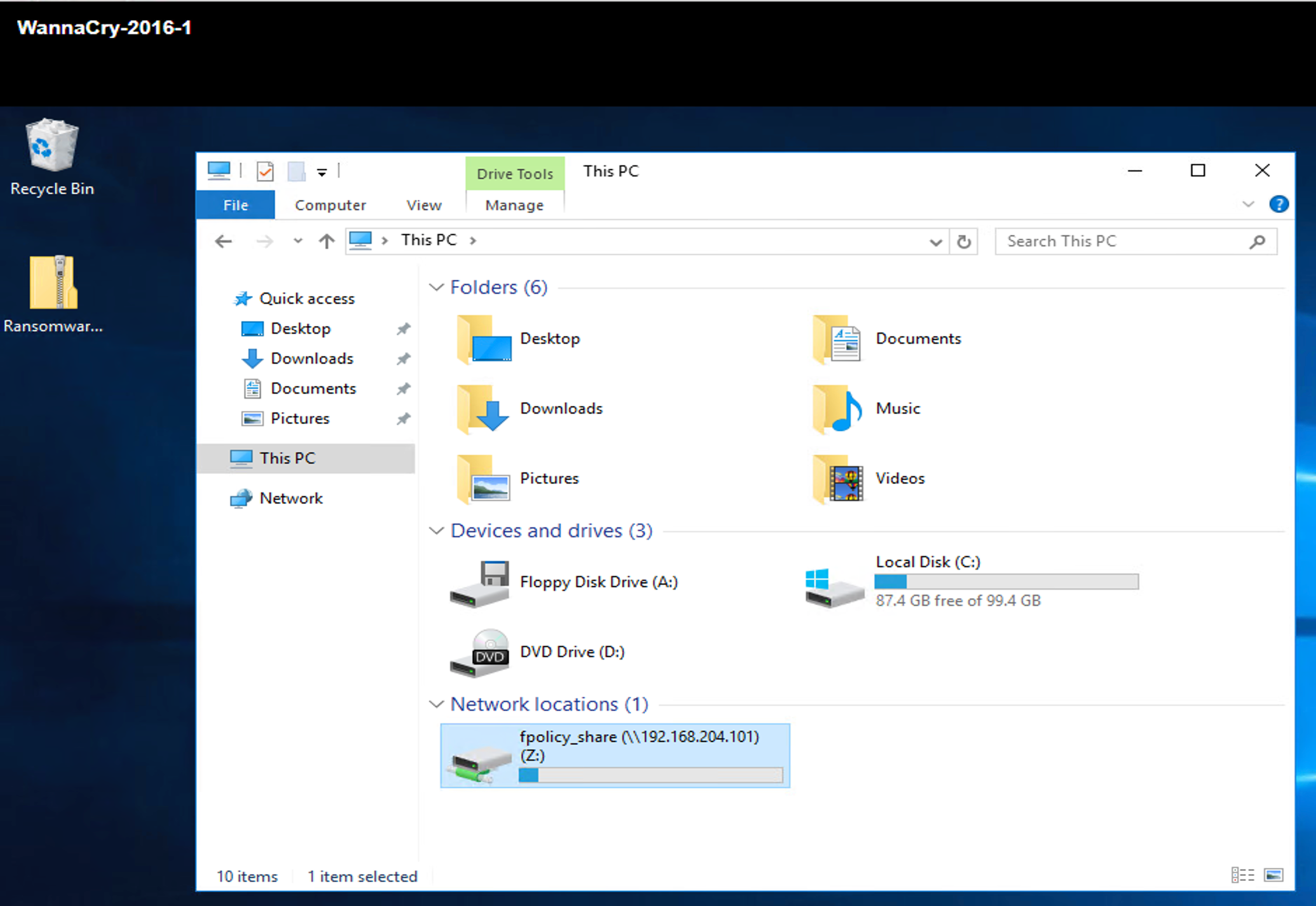
The following screenshot shows the CIFS share that was mapped to the VM.
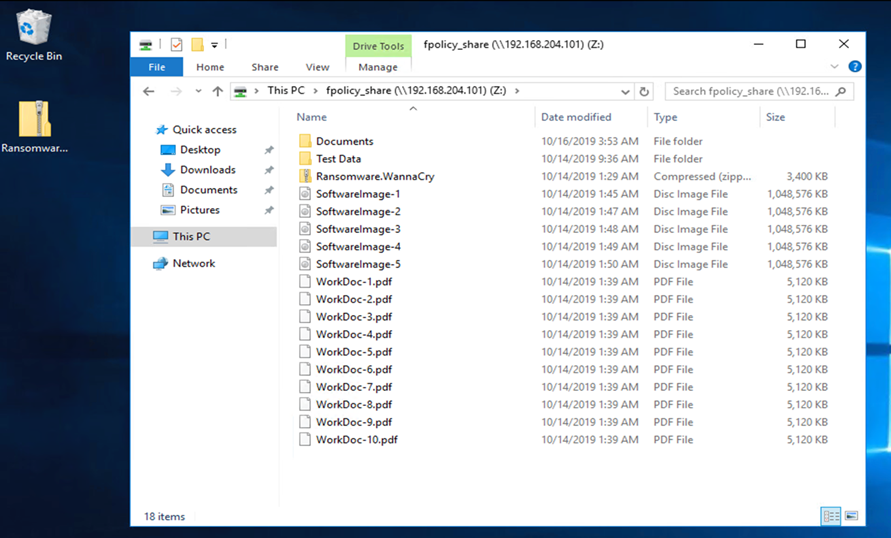
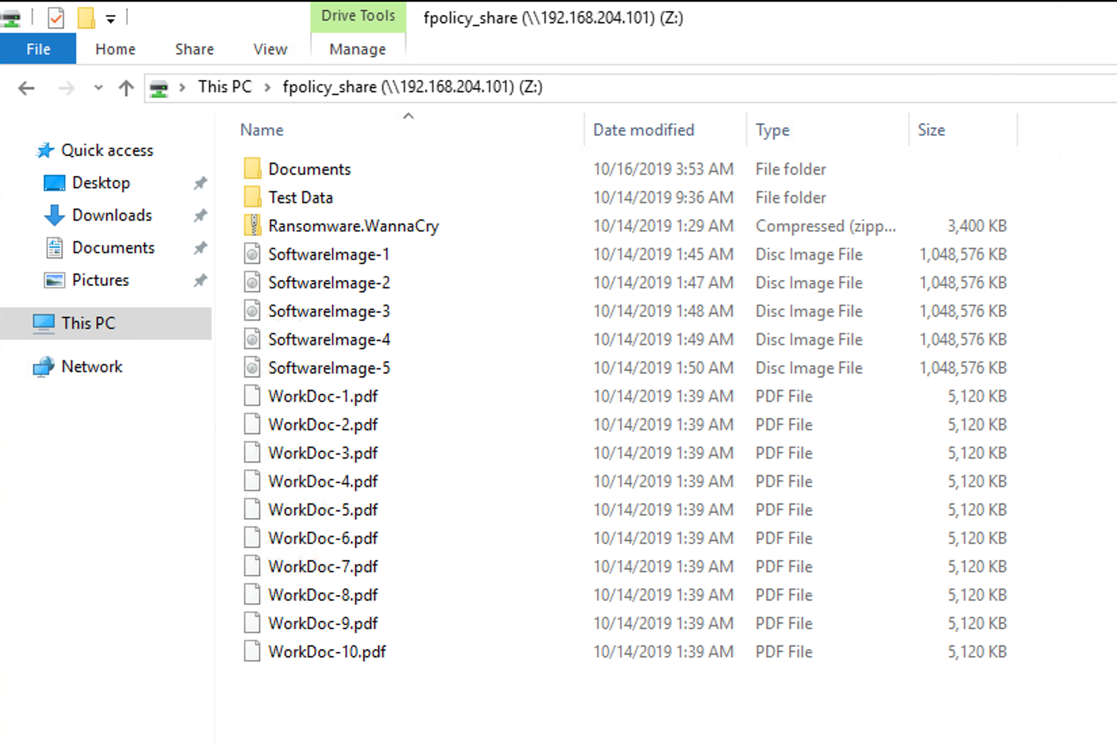
The following screenshot shows the files on the CIFS share fpolicy_share that have not yet been encrypted by the WannaCry malware.
Deduplication and Snapshot information before an attack
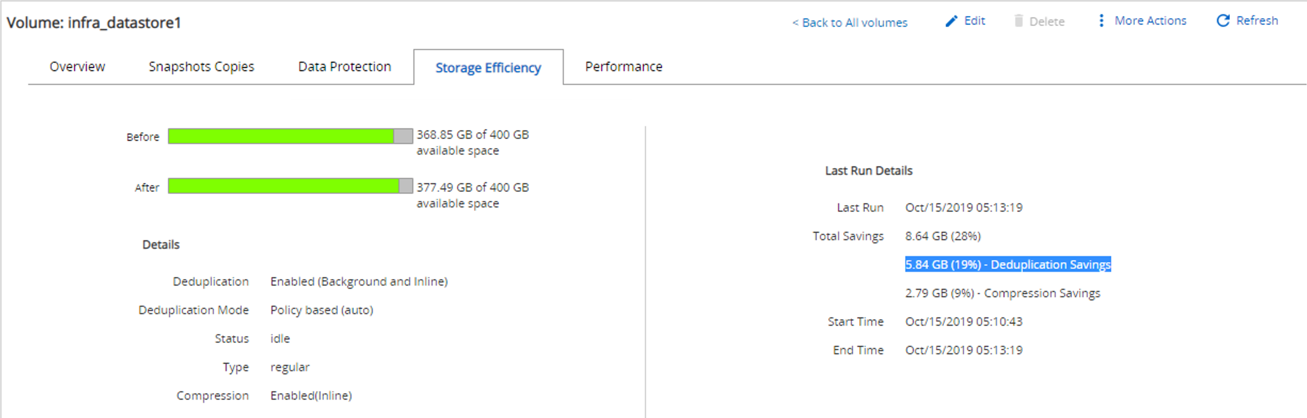
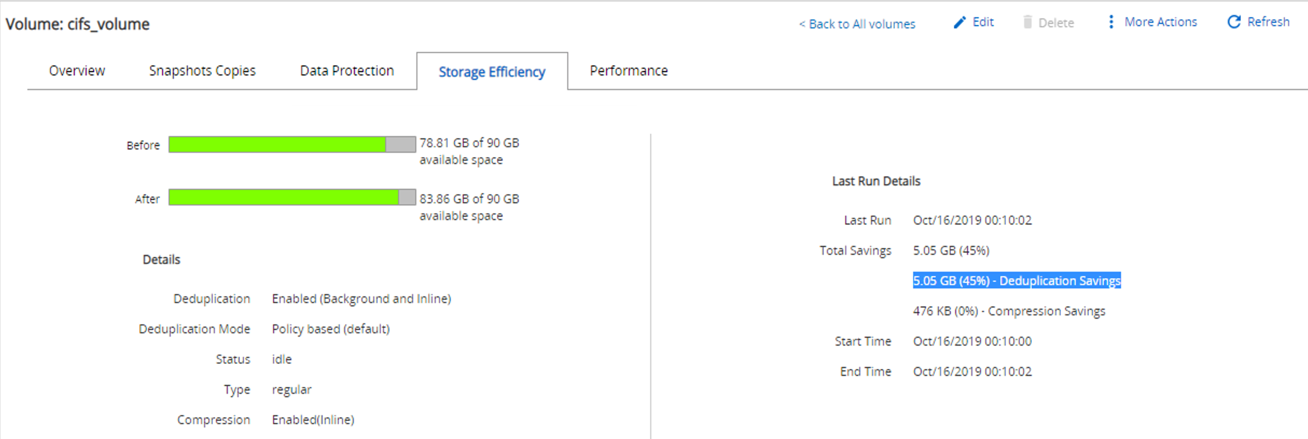
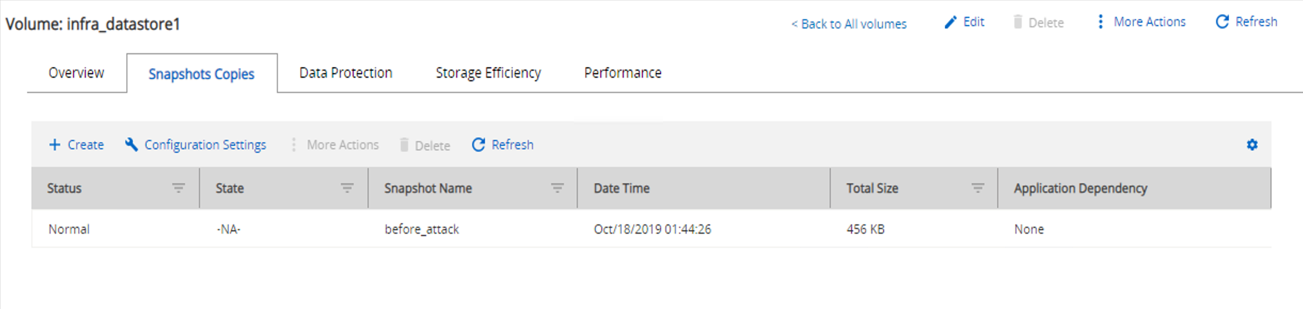
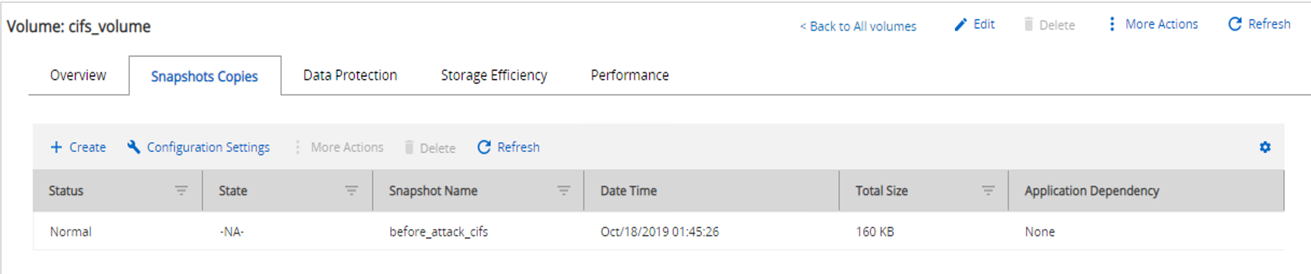
The storage efficiency details and size of the Snapshot copy prior to an attack are indicated and used as a reference during the detection phase.
Storage savings of 19% were achieved with deduplication on the volume hosting the VM.
Storage savings of 45% were achieved with deduplication on the CIFS share fpolicy_share.
A Snapshot copy size of 456KB was observed for the volume hosting the VM.
A Snapshot copy size of 160KB was observed for the CIFS share fpolicy_share.
WannaCry infection on VM and CIFS share
In this section, we show how the WannaCry malware was introduced into the FlexPod environment and the subsequent changes to the system that were observed.
The following steps demonstrate how the WannaCry malware binary was introduced into the VM:
-
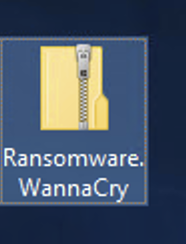
The secured malware was extracted.
-
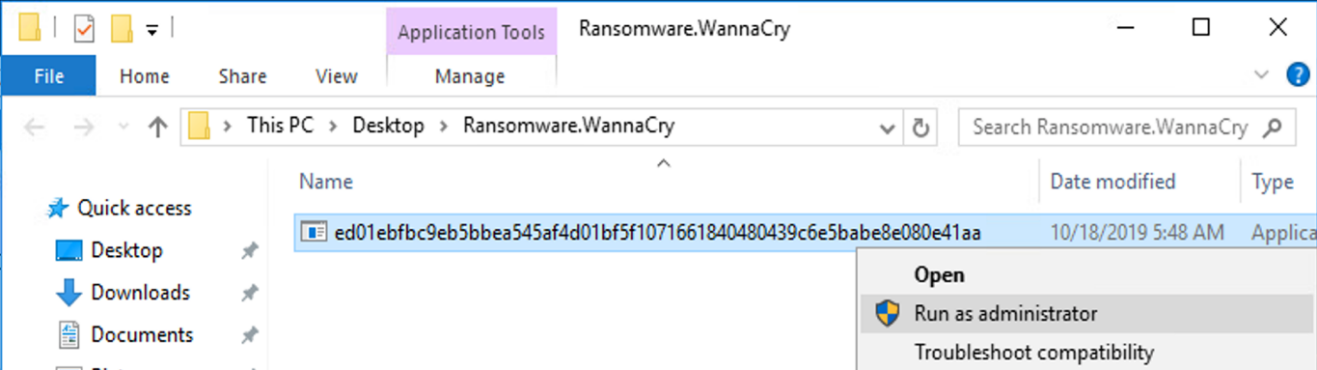
The binary was executed.
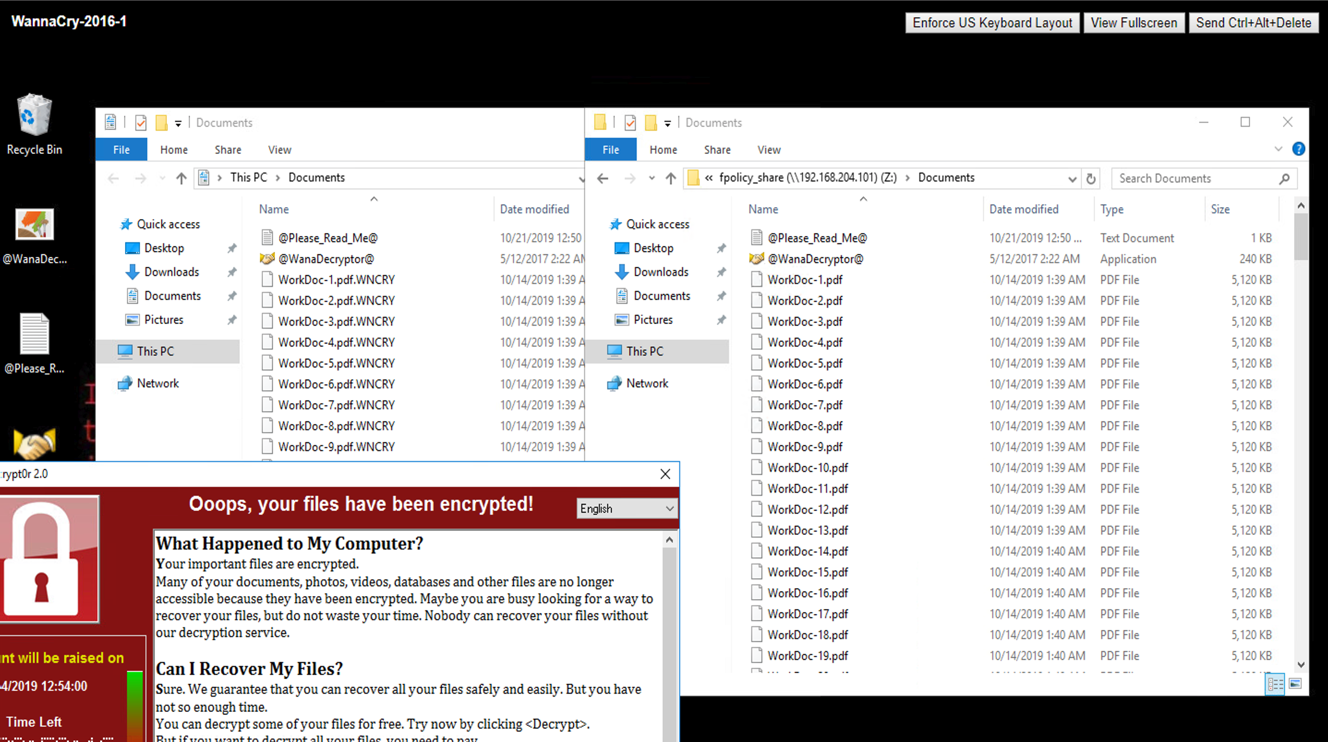
Case 1: WannaCry encrypts the file system within the VM and mapped CIFS share
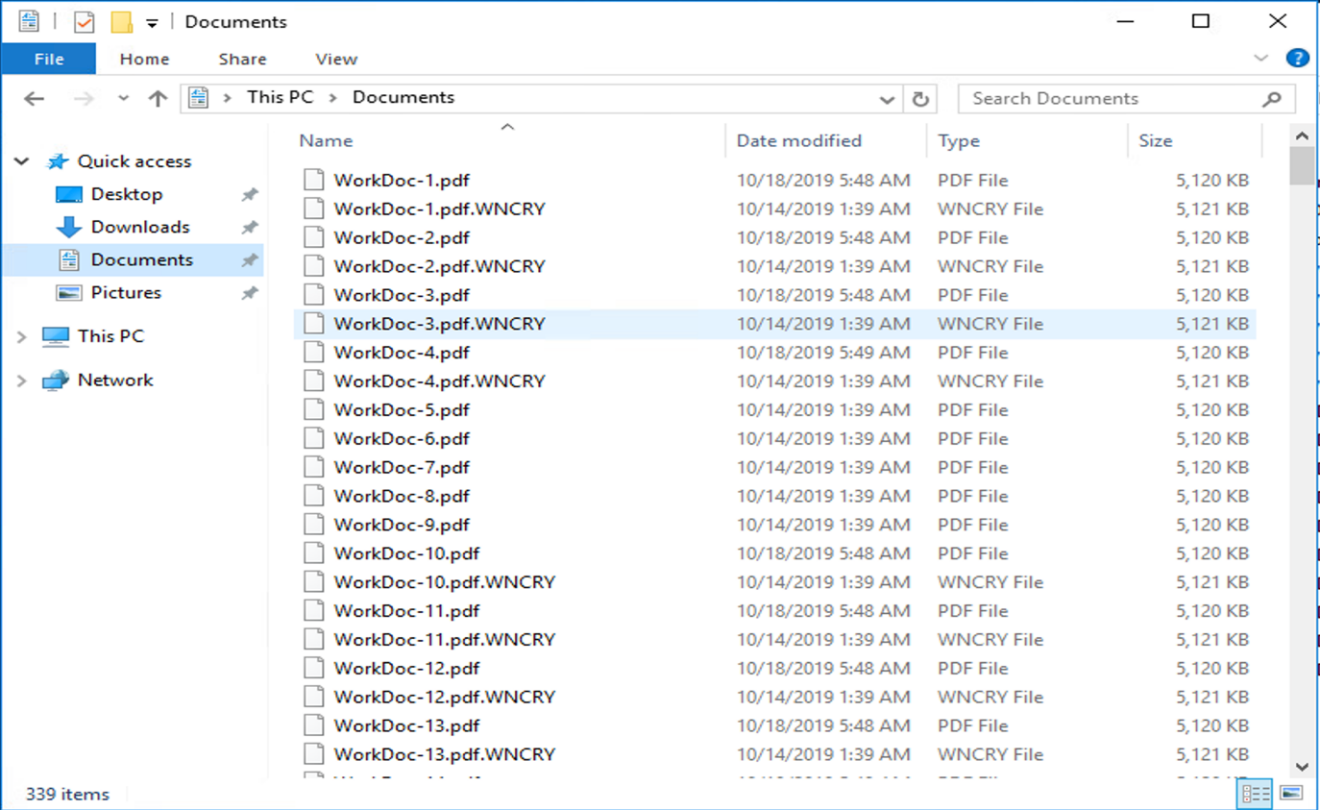
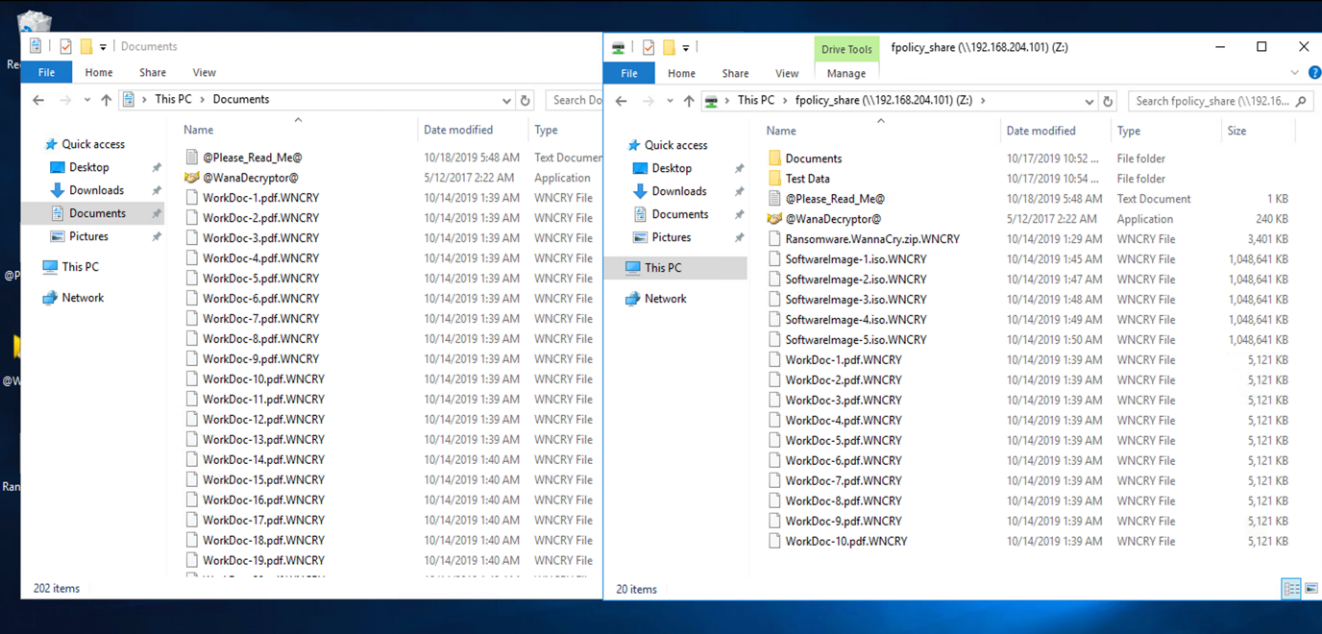
The local file system and the mapped CIFS share were encrypted by the WannaCry malware.
Malware starts to encrypt files with WNCRY extensions.
The malware encrypts all the files in the local VM and the mapped share.
Detection
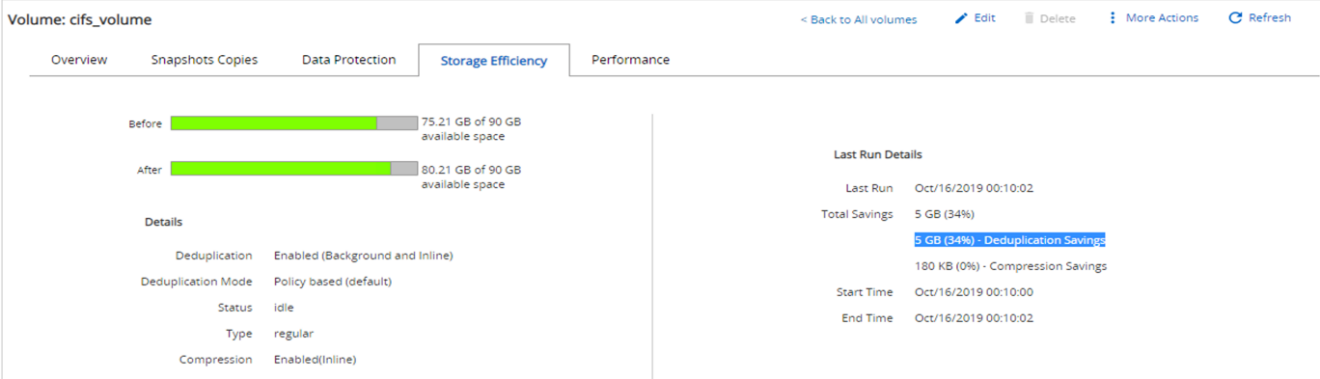
From the moment the malware started to encrypt the files, it triggered an exponential increase in the size of the Snapshot copies and an exponential decrease in the storage efficiency percentage.
We detected a dramatic increase in the Snapshot size to 820.98MB for the volume hosting the CIFS share during the attack.

We detected an increase in the Snapshot copy size to 404.3MB for the volume hosting the VM.

The storage efficiency for the volume hosting the CIFS share decreased to 34%.
Remediation
Restore the VM and mapped CIFS share by using a clean Snapshot copy create prior to the attack.
Restore VM
To restore the VM, complete the following steps:
-
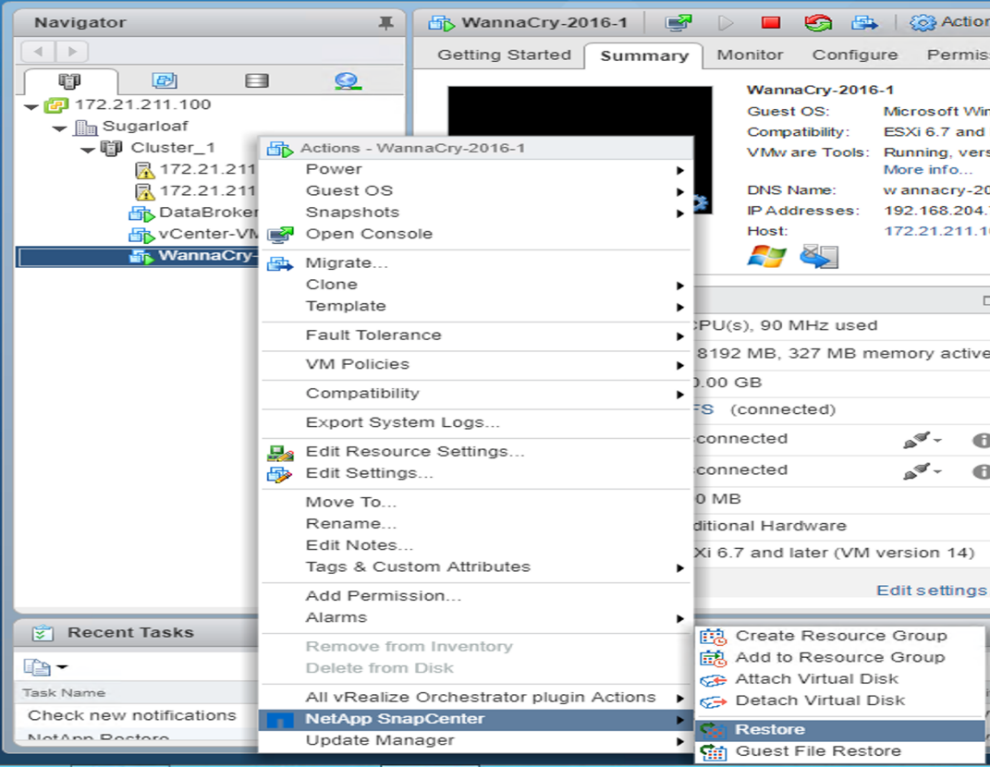
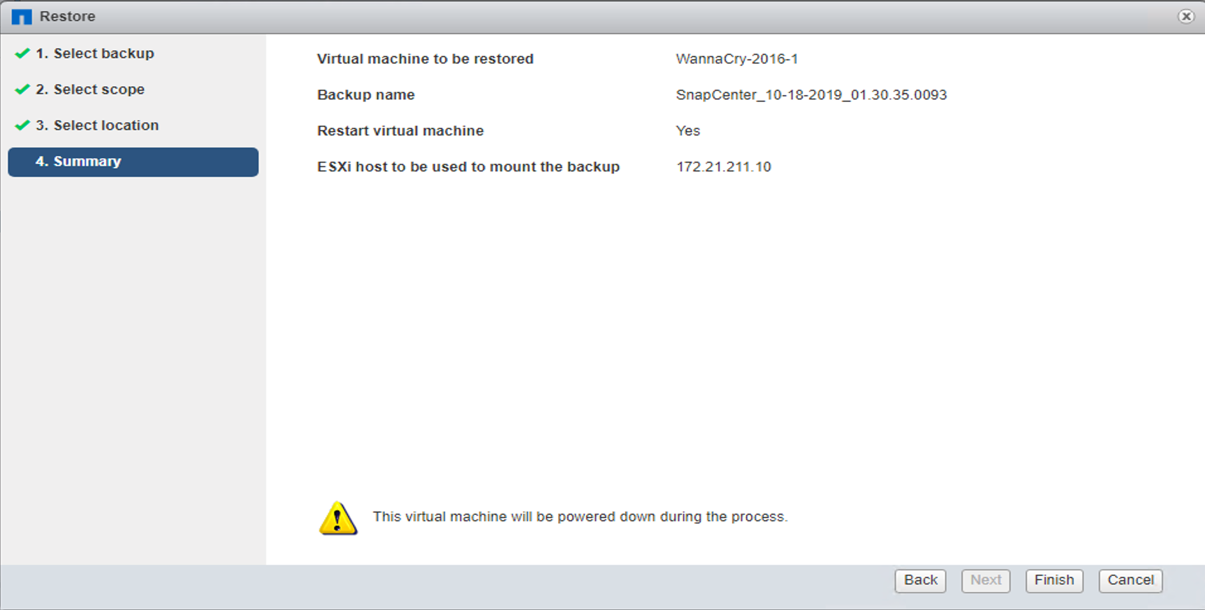
Use the Snapshot copy you created with SnapCenter to restore the VM.
-
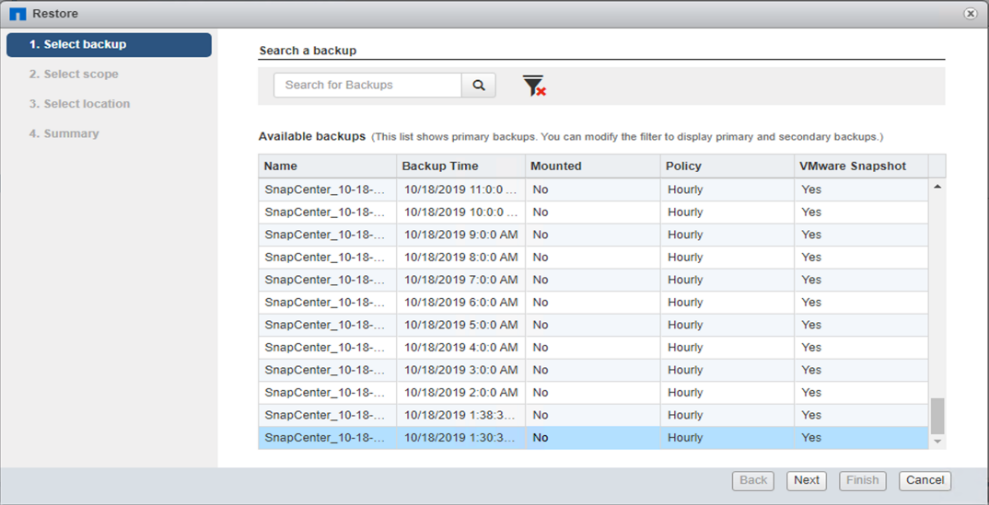
Select the desired VMware- consistent Snapshot copy for restore.
-
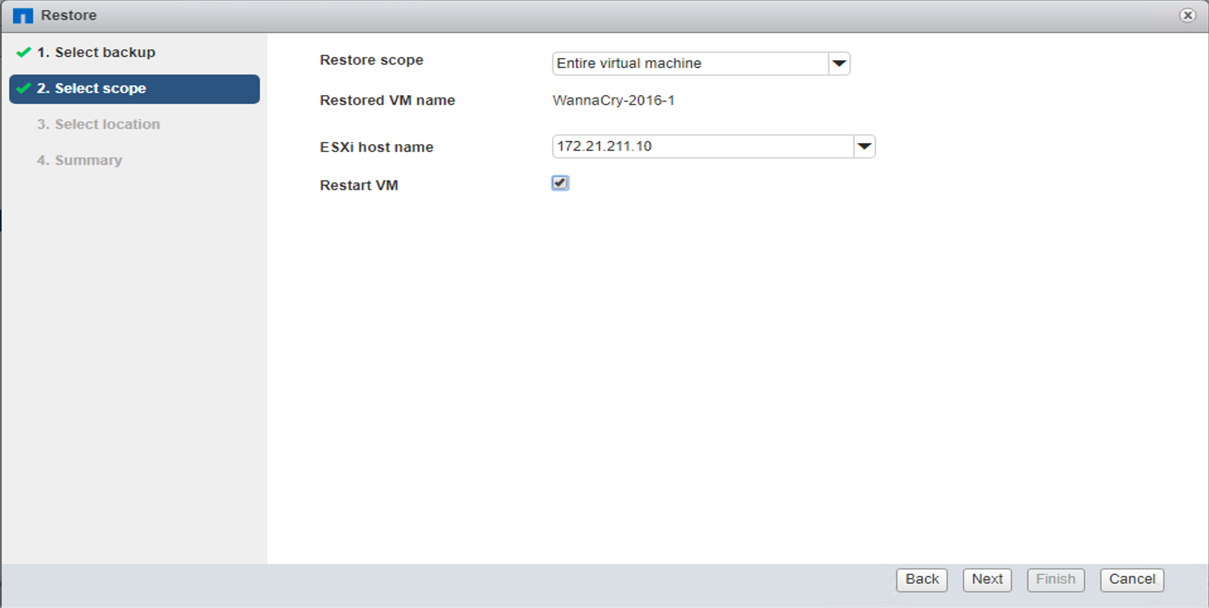
The entire VM is restored and restarted.
-
Click Finish to start the restore process.
-
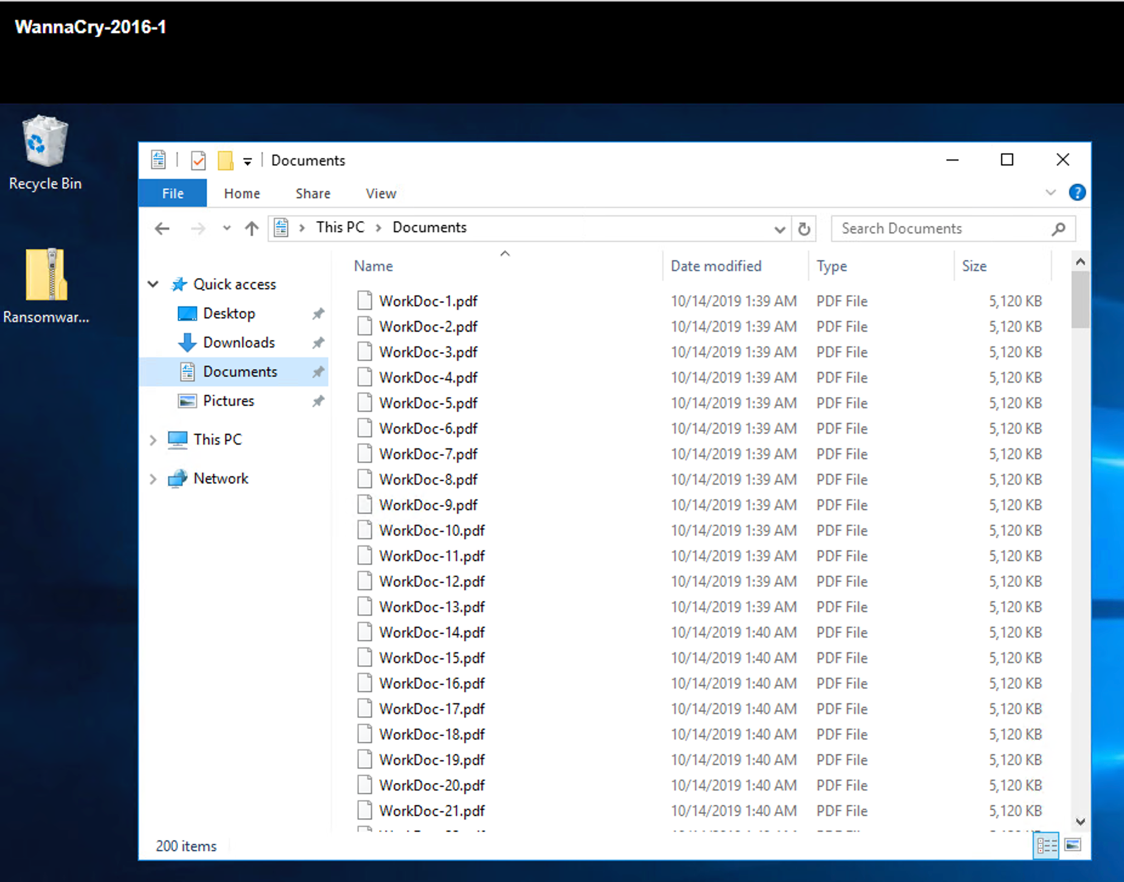
The VM and its files are restored.
Restore CIFS Share
To restore the CIFS share, complete the following steps:
-
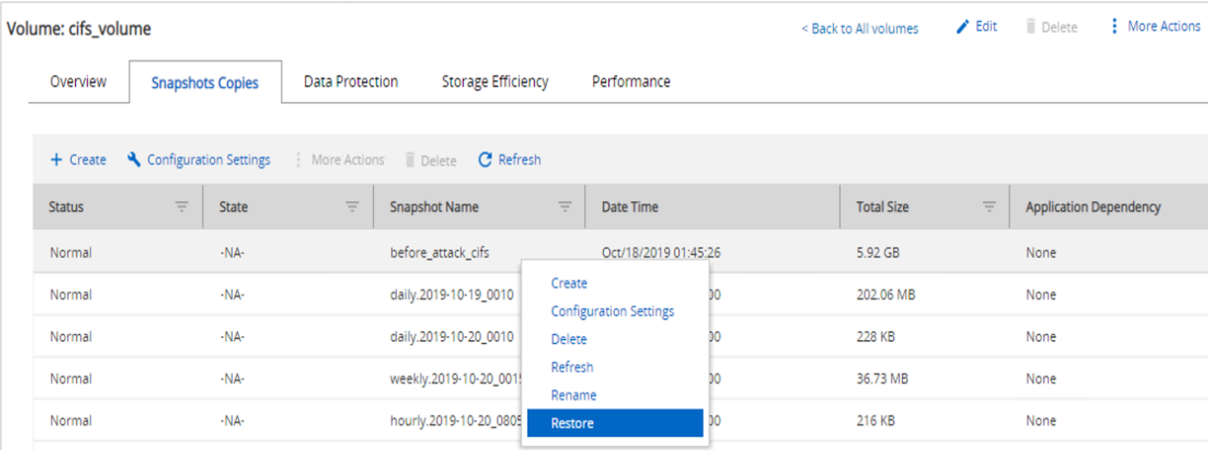
Use the Snapshot copy of the volume taken prior to the attack to restore the share.
-
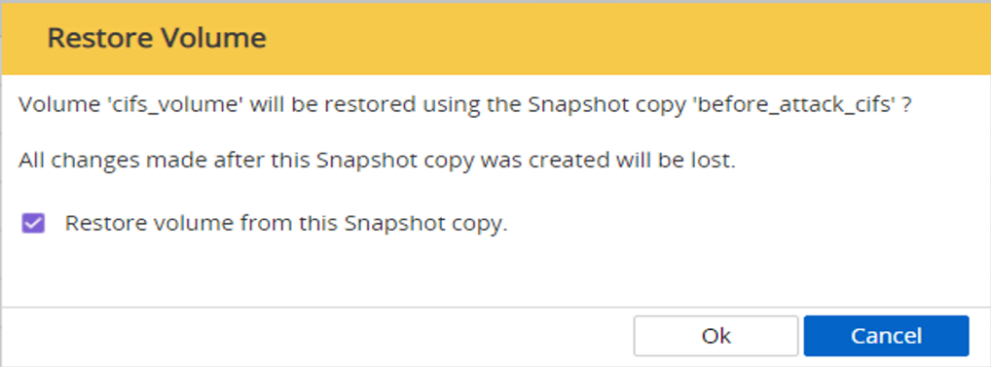
Click OK to initiate the restore operation.
-
View the CIFS share after the restore.
Case 2: WannaCry encrypts file system within the VM and tries to encrypt the mapped CIFS share that is protected through FPolicy
Prevention
Configure FPolicy
To configure FPolicy on the CIFS share, run the following commands on the ONTAP cluster:
vserver fpolicy policy event create -vserver infra_svm -event-name Ransomware_event -protocol cifs -file-operations create,rename,write,open
vserver fpolicy policy create -vserver infra_svm -policy-name Ransomware_policy -events Ransomware_event -engine native
vserver fpolicy policy scope create -vserver infra_svm -policy-name Ransomware_policy -shares-to-include fpolicy_share -file-extensions-to-include WNCRY,Locky,ad4c
vserver fpolicy enable -vserver infra_svm -policy-name Ransomware_policy -sequence-number 1
With this policy, files with extensions WNCRY, Locky, and ad4c are not allowed to perform the file operations create, rename, write, or open.
View the status of files prior to attack—they are unencrypted and in a clean system.
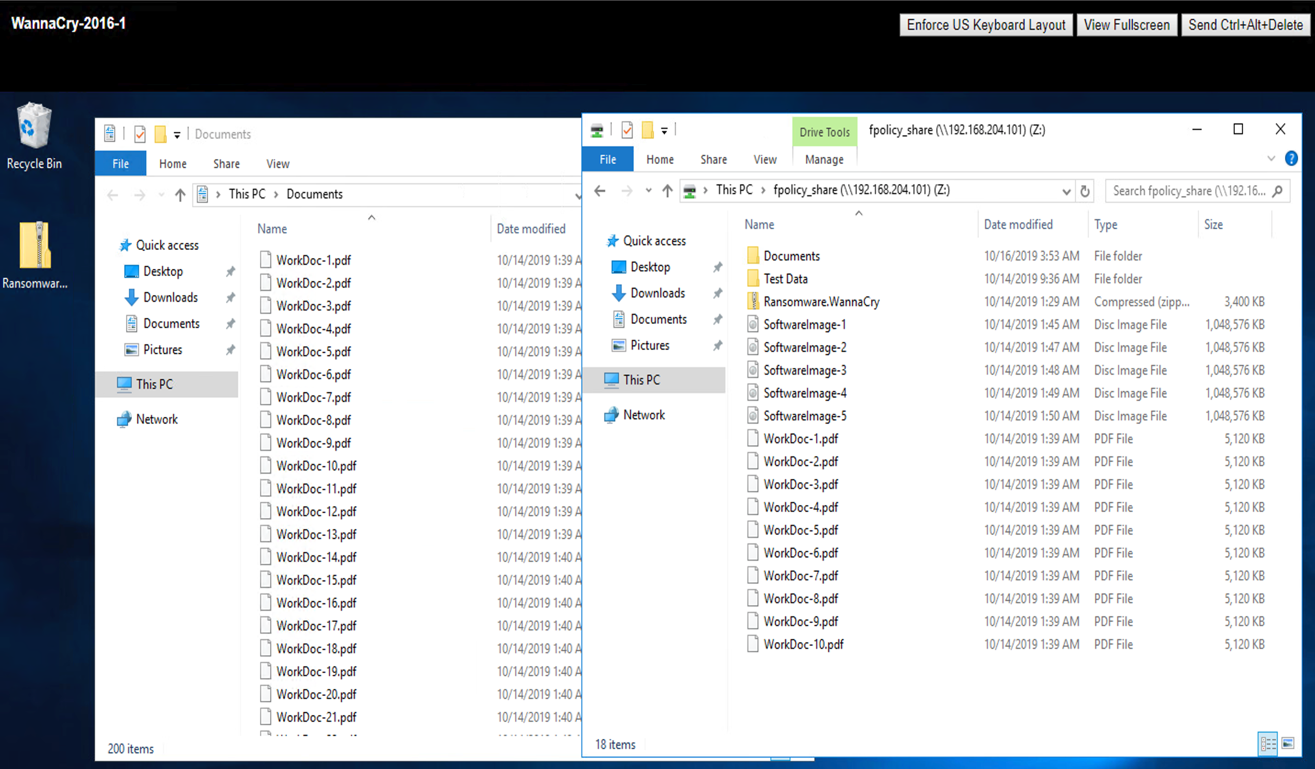
The files on the VM are encrypted. The WannaCry malware tries to encrypt the files in the CIFS share, but FPolicy prevents it from affecting the files.