

Recovery Planning: NetApp HCI DR with Cleondris
 Suggest changes
This section discusses successful failover of applications in a crisis or in a planned migration. It first looks at protecting complex multitier applications, and then simpler applications. You can build disaster recovery plans that are slow or fast, so this section provides examples of the highest-performing plans.
Multitier Applications
-
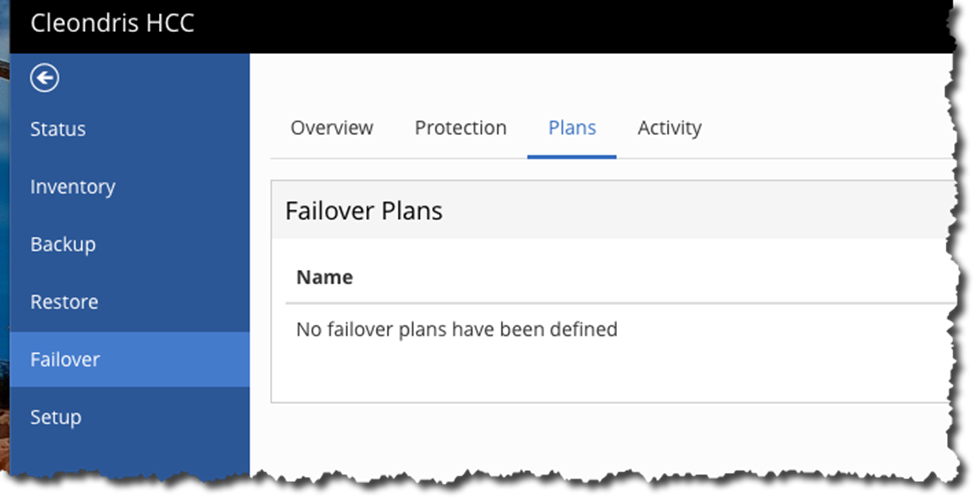
From the Failover page, select the Plans tab.
-
On the far right is an +Add Failover Group button.
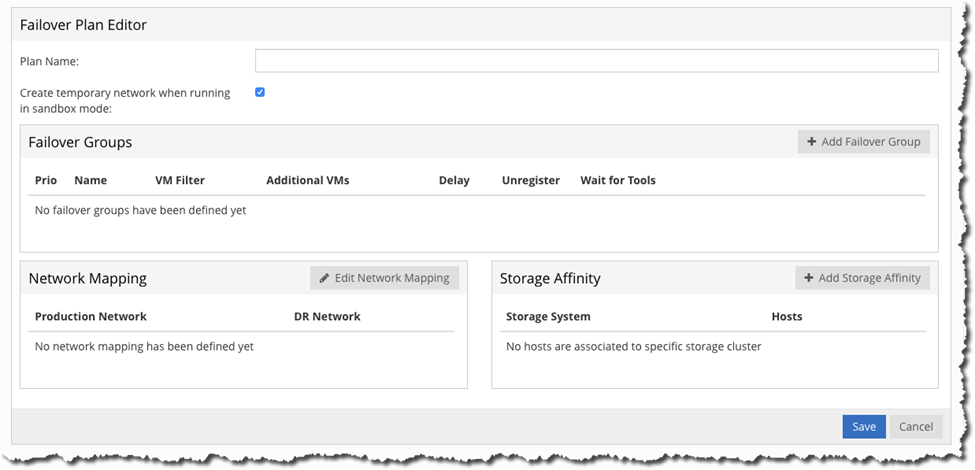
In this example, we called this plan Multi-Tier. We will use the network mapping in the bottom left to change the virtual switch that is in use on production to the one in use on DR.
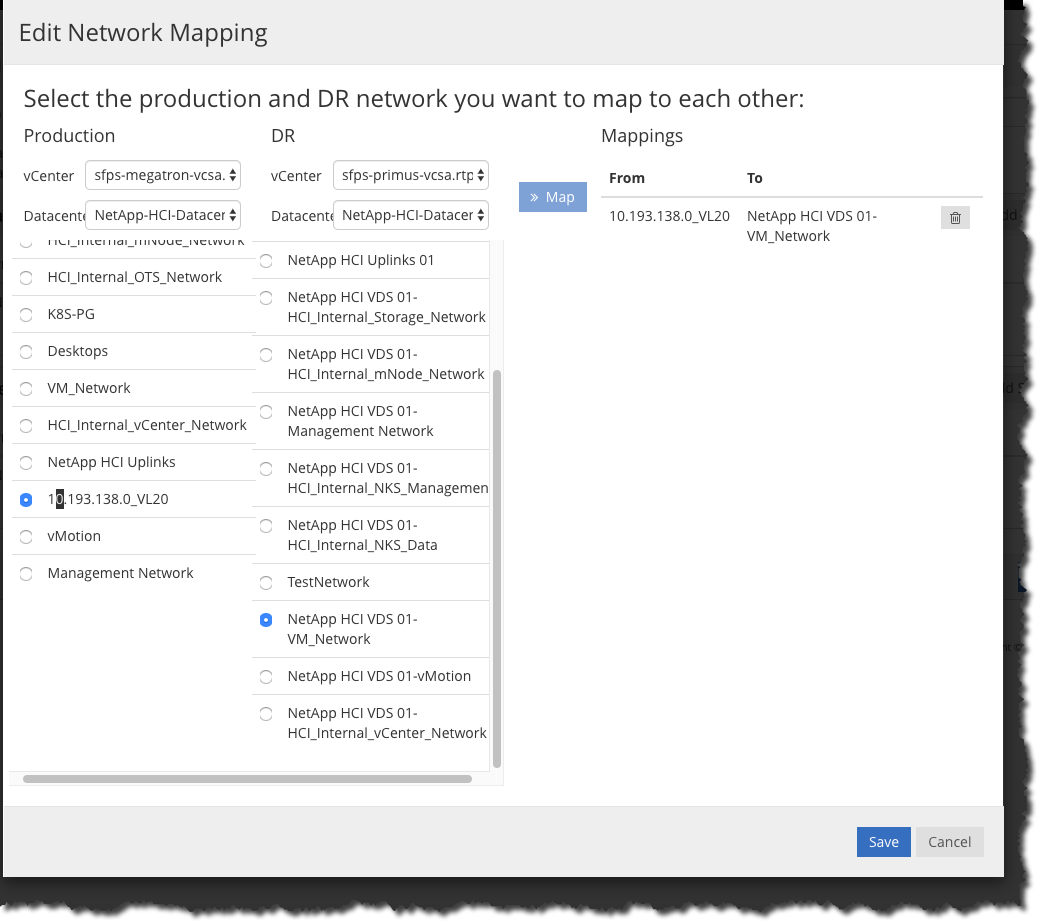
The previous screenshot shows how you can choose the network switch in production and then in DR, use the Map button to select them, and then use Save. You can have more than one mapping if necessary.
-
To select the VMs to protect, click Add Failover Group.
Because this plan will protect multitier applications, the first group will be for databases.
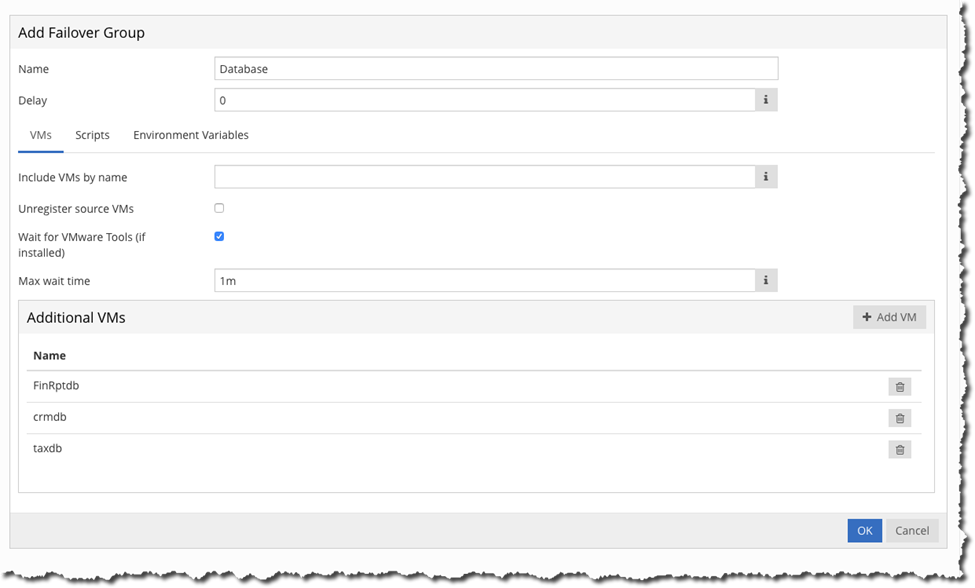
Notice how this example enables Wait for VMware Tools. This setting is important, because it helps make sure that the applications are running. We used the Add VM button to add VMs that are databases. We didn’t enable Unregister Source VMs, because it will slow down the failover. We now use the Add Failover button to protect the applications.
-
Do the same thing for web servers. When that is done, the screen resembles the following example.
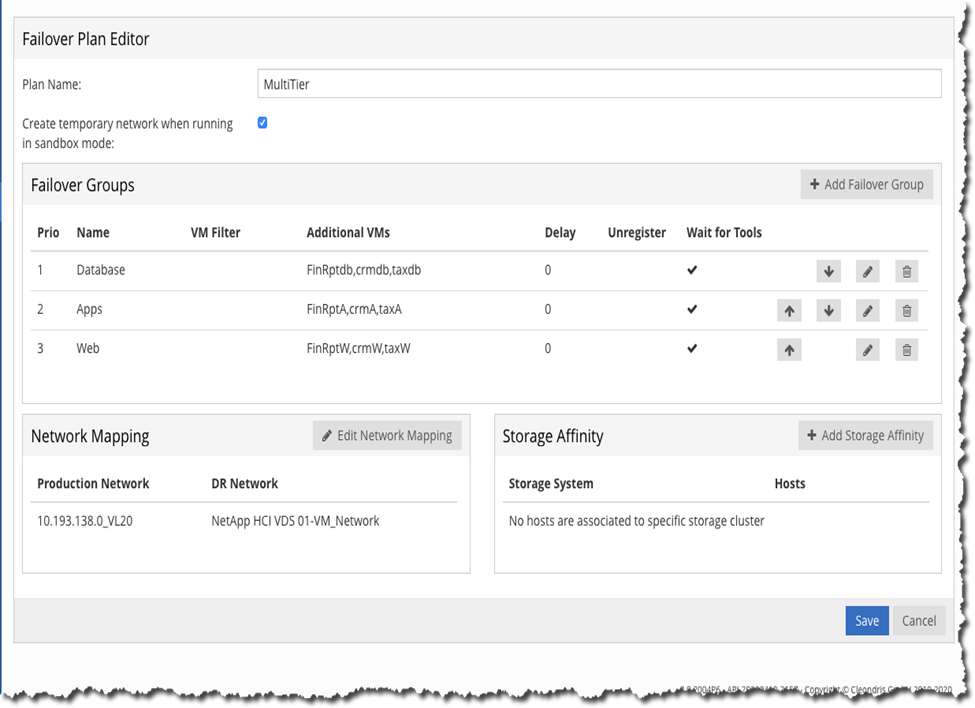
The important part of this plan is to get all the databases working; then the applications start, find the databases, and start working. Then the web servers start, and the applications are complete and working. This approach is the fastest way to set up this sort of recovery.
-
Click Save before you continue.
Simple or Mass Applications to Fail Over
The order in which the VMs start is important, so that they work; that is what the previous section accomplished. Now we will fail over a set of VMs for which order is unimportant.
Let’s create a new failover plan, with one failover group that has several VMs. We still need to do the network mapping.
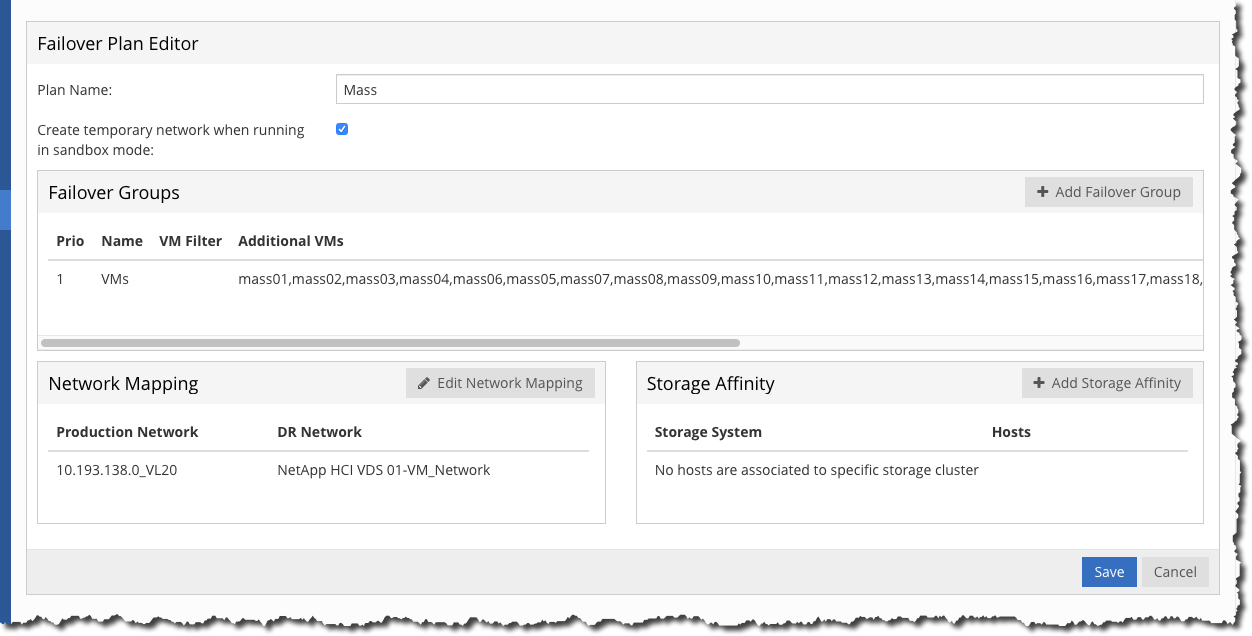
Notice that there are several VMs in this plan. They will also start at different times, but that is OK because they are not related to each other.
Planned Migration
Planned migration is similar to a disaster recovery failover, but because it is not a disaster recovery situation, it can be handled slightly differently. It is still good to practice the planned migration, but you can add something to your failover group: You can unregister the VM from the source. That takes a little more time, but in a planned migration that is not a bad thing.
A planned migration is usually a move to a new data center. Sometimes it is also used if destructive weather is approaching but has not yet arrived.
Plan of Plans
With a plan of plans, you can trigger one plan and it will take care of all the failover plans.
The Plans tab contains a Plan of Plans section. You can use the +Add Sub-Plan to start a plan and add other plans to it.
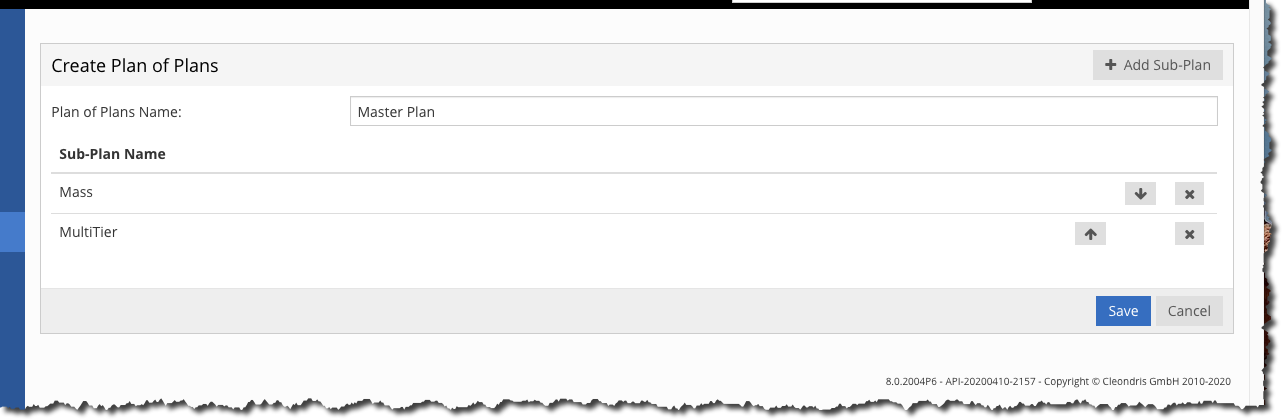
In this example, the plan of plans is called Master Plan, and we added the two plans to it. Now when we execute a failover, or test failover, we will have the option for the Master Plan too.
This approach is good because it is best to test your application failovers in their own plan. Each plan is much easier to troubleshoot and fix, and when it is working well, you add it to your master plan.
Script Support
You can use scripts as part of a test failover or for a wide range of other purposes. Uses include the following:
-
Turning on anti-spam hardware
-
Turning on security hardware
-
Populating signage
-
Updating IPAM hardware
-
Changing the language settings in a database
If you edit your plan and then edit your failover group, you will see entries under Scripts.
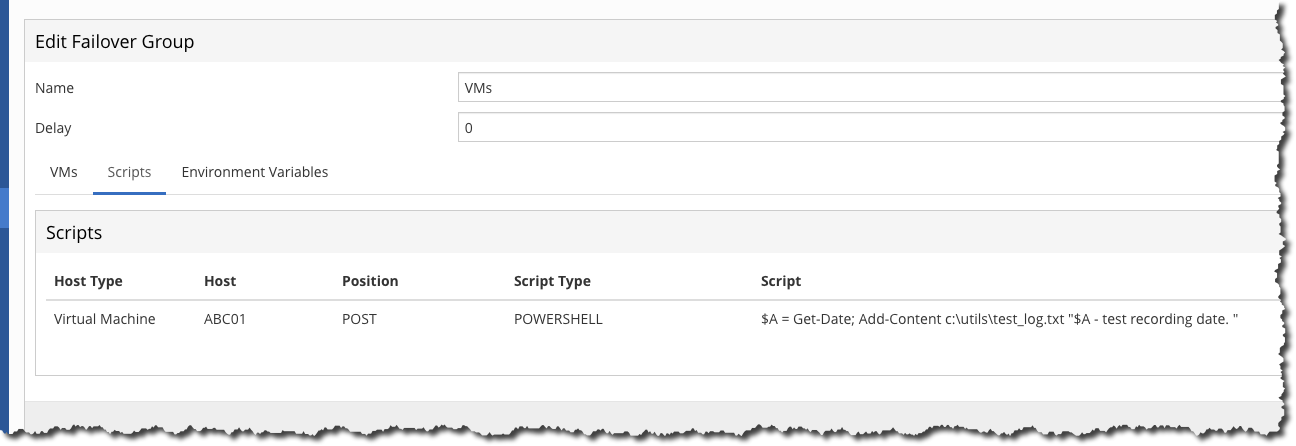
In the following screenshot, the word Host refers to the VM that executes scripts. Click the edit button to see the Edit Script window:
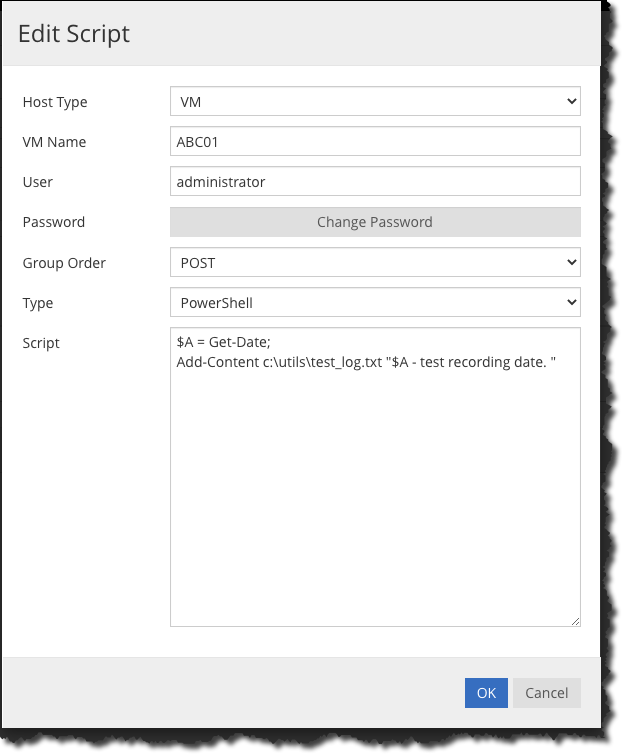
You should make sure to test your script before you copy and paste it into this dialog box. You should also select Post in the Group Order field. Make sure to use the right credentials.
If you follow the execution, the following screenshot indicates that the script ran successfully.
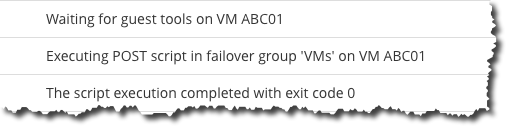
If the exit code is anything other than 0, then the script was not successful.
Script Troubleshooting
If a script does not execute properly, then check the following issues:
-
VMware Tools only let one external process run at a time. Therefore, if VMware Tools is updating itself, then the script will not execute. This can occur if you set your VMs to automatically upgrade VMware Tools. This is done in VM settings > VM Options > VMware Tools.
-
Check for credentials issues.
-
Check for script issues, such as a prompt or other functionality that requires human input.
It is a best practice to run simple scripts that only perform essential tasks. You might also want to include a log file for troubleshooting purposes.
Environment Variables
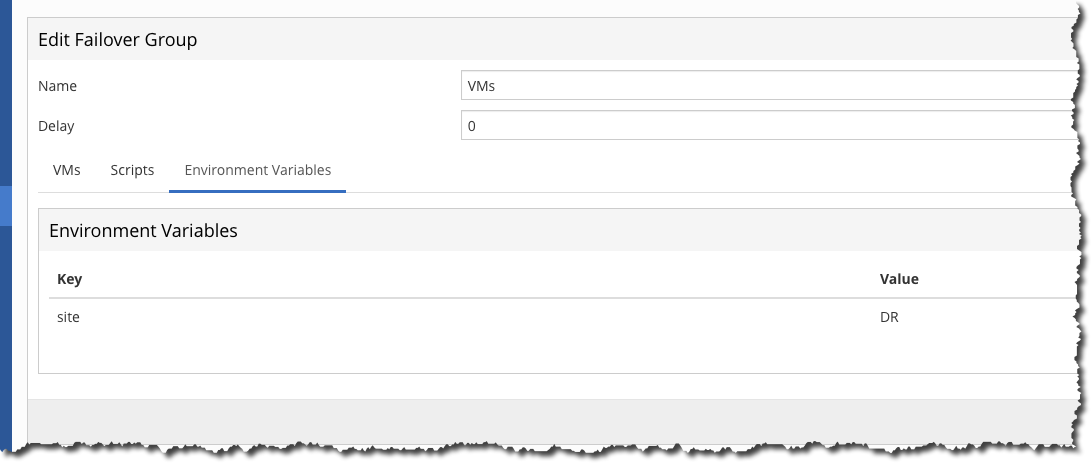
Environmental variables allow a running script to pull information from the environment whether the script is running at the production site or a DR site. Environment variables can be entered in Edit Failover Group dialog box. You can first edit your plan and then edit your failover group.
Note that these environment variables are not in the environment that we normally think of, and you cannot use the set command to see them. To see the full list of variables, run the script from the following screenshot. This script contains Get-Variable * > c:\utils\var_log.txt to capture all variables.
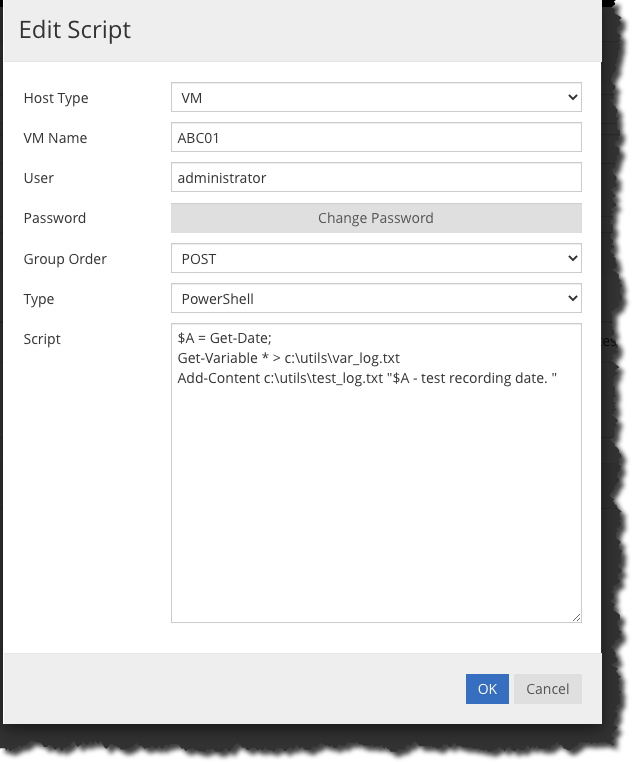
This lists the 50+ variables available plus any variable that you have added, which are seen at the end of the list.