5. Deploy the RHV Manager as a Self-Hosted Engine: NetApp HCI with RHV
 Suggest changes
This section describes the detailed steps for installing the Red Hat Virtualization Manager as a self-hosted engine. These steps begin after the RHV hosts are registered and the Cockpit GUI is accessible.
-
Log in to the Cockpit GUI of one of the RHV hosts at
https://<HostFQDN/IP>:9090using the root credentials. Navigate to the Virtualization sub-tab and click Hosted Engine. Then click the Start button below the Hosted Engine content to initiate the engine deployment.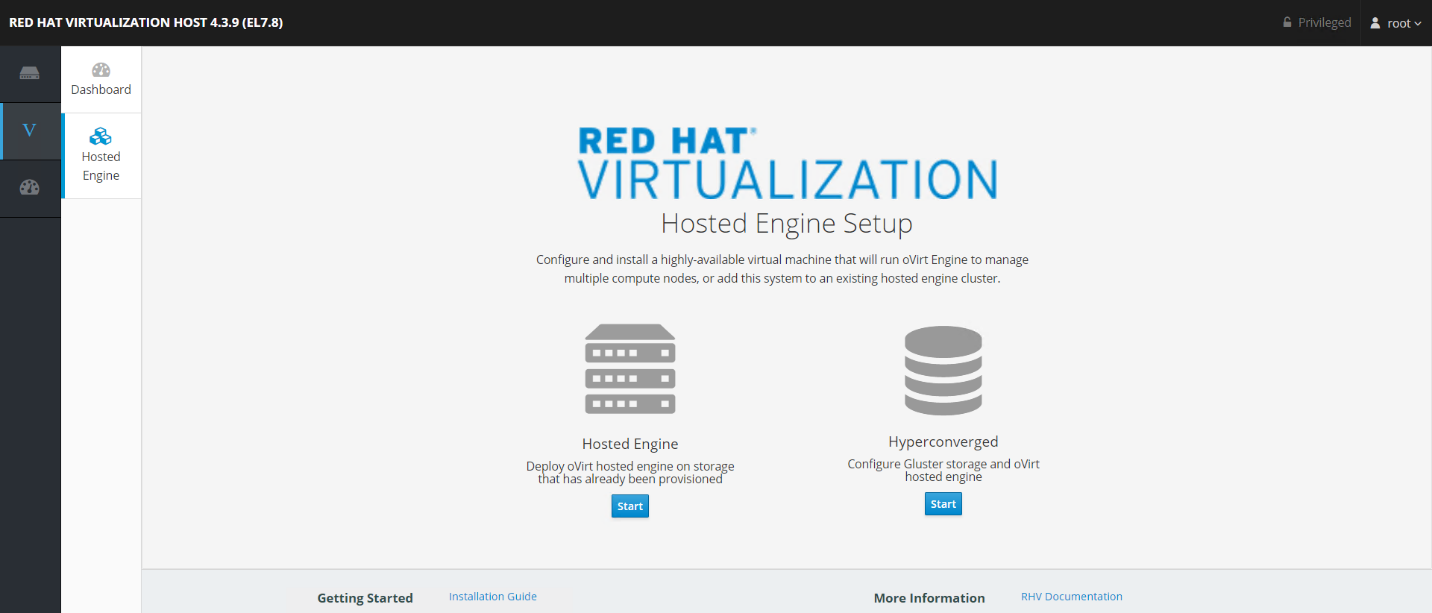
-
In the first screen of engine deployment, configure the RHV-M FQDN, network related configuration, root password, and resources for the engine VM (at least 4 CPUs and 16GB memory). Confirm the other configuration settings as required and click Next.
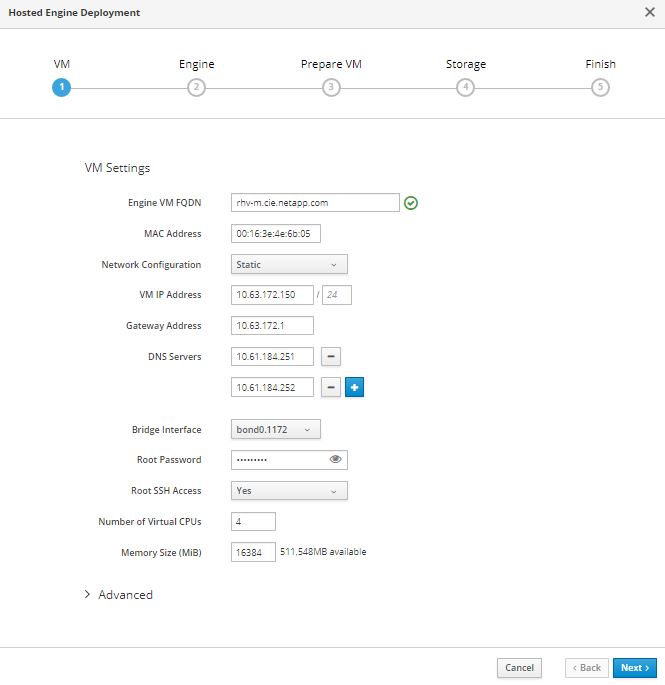

Make sure that the engine VM FQDN is resolvable by the specified DNS servers. -
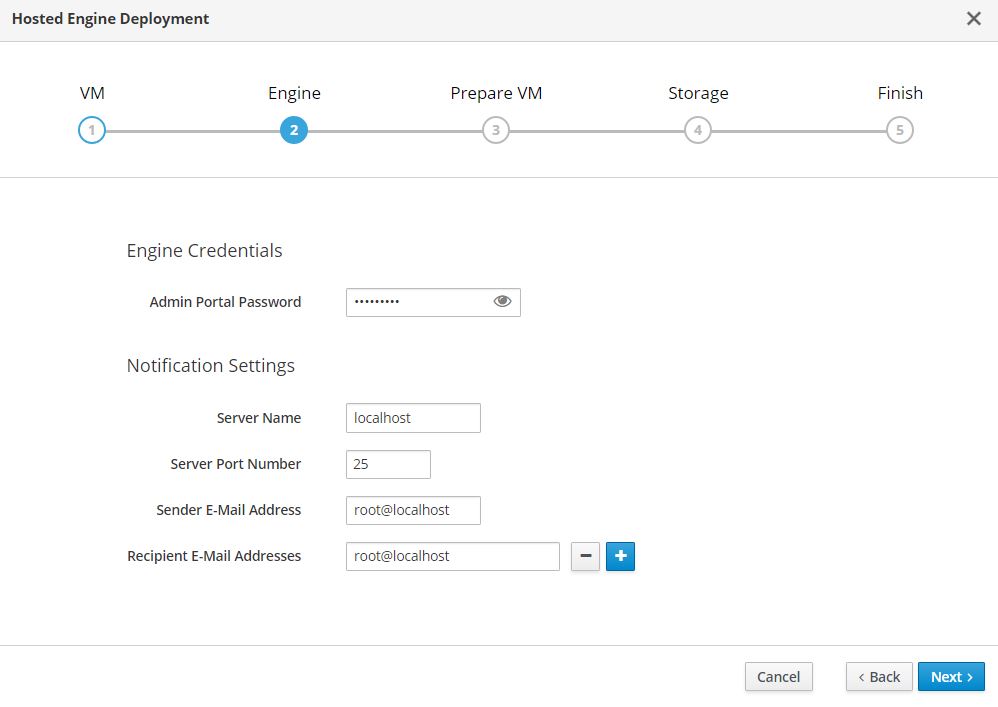
In the next screen, enter the admin portal password. Optionally, enter the notification settings for alerts to be sent by email. Then click Next.
-
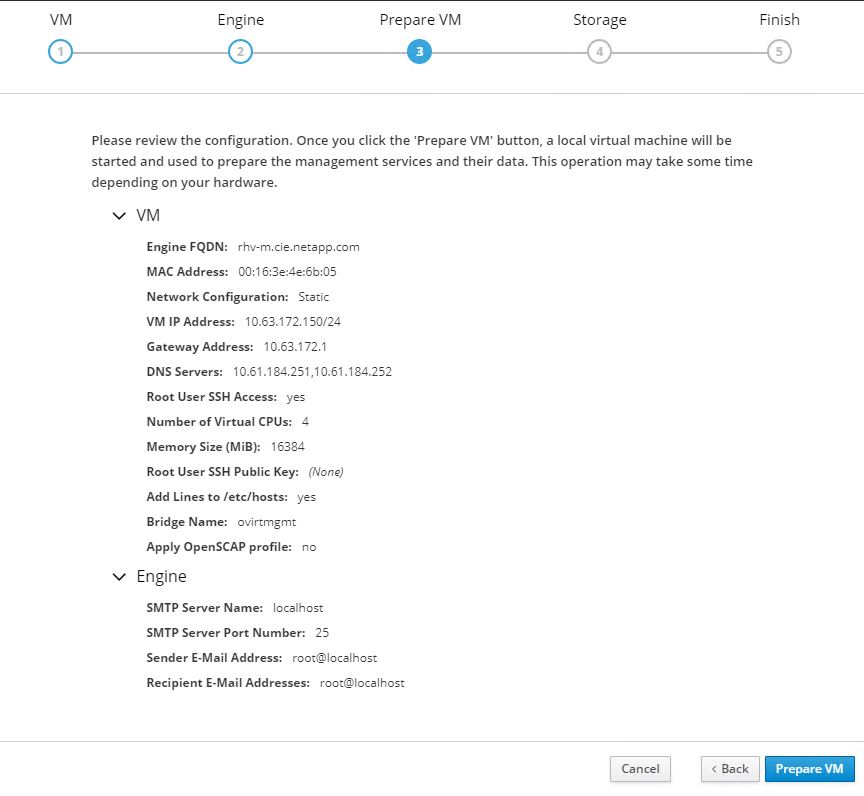
In the next screen, review the configuration for the engine VM. If any changes are desired, go back at this point and make them. If the information is correct, click Prepare the VM.
-
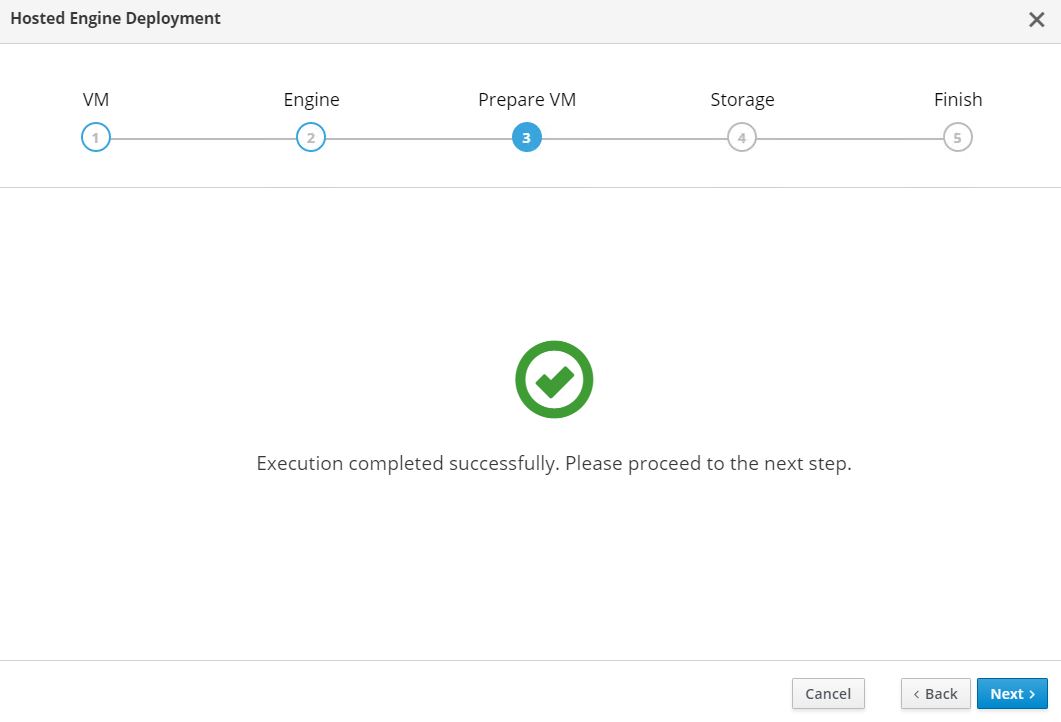
The VM installation begins and can take some time to complete as it downloads a machine image and stages the VM locally. After it has completed, it displays the Execution Completed Successfully message. Click Next.
-
After RHV-M is installed, enter the details of the hosted engine storage domain where it copies the VM from local storage to the shared storage domain to facilitate a high availability engine quorum.
-
Enter the Storage Type as iSCSI, provide the iSCSI portal details, click Retrieve Target List, which fetches the iSCSI target list corresponding to the portal, and select the volume and LUN to be mapped to the hosted engine storage domain. Click Next.

If the Hosted Engine setup is unable to discover the storage, open an interactive SSH session to the node and verify that you can reach the SVIP IP address through your node’s storage interface. If the network is reachable, you might need to manually discover or log in to the iSCSI LUN intended for the Hosted Engine install. -
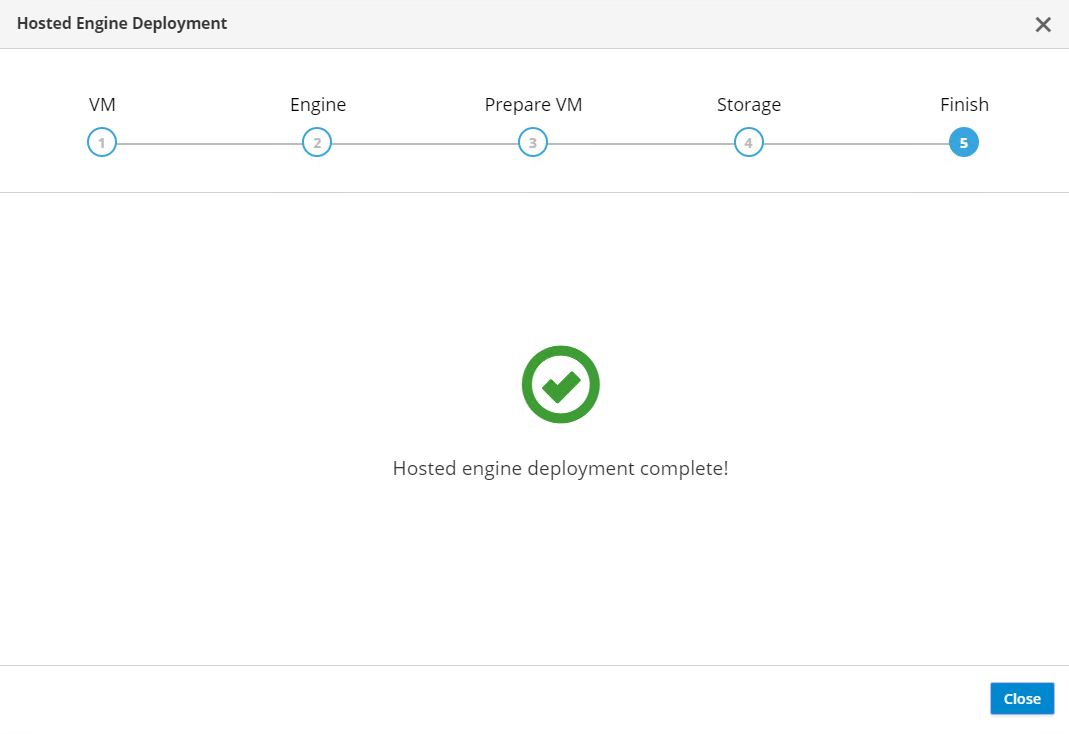
On the next screen, review the storage configuration and, if any changes are desired, go back and make them. If the information is correct, click Finish Deployment. It takes some time as the VM is copied to the storage domain. After deployment is complete, click Close.
-
The next step is to register and enable the Red Hat Virtualization Manager repositories. Log in to the RHV-M VM with SSH to register it with Subscription Manager.
# subscription-manager register
Registering to: subscription.rhsm.redhat.com:443/subscription
Username: redhat_user
Password:  redhat_password
The system has been registered with ID: 99d06fcb-a3fd74-41230f-bad583-0ae61264f9a3
The registered system name is: rhv-m.cie.netapp.com
-
After registration, list the available subscriptions and record the pool ID for RHV-M.
# subscription-manager list --available <snip> Subscription Name: Red Hat Virtualization Manager Provides: Red Hat Beta Red Hat Enterprise Linux Server Red Hat CodeReady Linux Builder for x86_64 Red Hat Enterprise Linux for x86_64 Red Hat Virtualization Manager Red Hat OpenShift Container Platform Red Hat Ansible Engine Red Hat Enterprise Linux Fast Datapath Red Hat JBoss Core Services JBoss Enterprise Application Platform SKU: RV00045 Contract: Pool ID: 8a85f9937a1a2a57c0171a366b5682540112a313 ß Pool ID Provides Management: No Available: 6 Suggested: 0 Service Type: L1-L3 Roles: Service Level: Layered Usage: Add-ons: Subscription Type: Stackable Starts: 04/22/2020 Ends: 04/21/2021 Entitlement Type: Physical <snip> -
Attach the RHV-M subscription using the recorded pool ID.
# subscription-manager attach --pool=8a85f9937a1a2a57c0171a366b5682540112a313
Successfully attached a subscription for: Red Hat Virtualization Manager
-
Enable the required RHV-M repositories.
# subscription-manager repos \ --disable='*' \ --enable=rhel-7-server-rpms \ --enable=rhel-7-server-supplementary-rpms \ --enable=rhel-7-server-rhv-4.3-manager-rpms \ --enable=rhel-7-server-rhv-4-manager-tools-rpms \ --enable=rhel-7-server-ansible-2-rpms \ --enable=jb-eap-7.2-for-rhel-7-server-rpms Repository 'rhel-7-server-ansible-2-rpms' is enabled for this system. Repository 'rhel-7-server-rhv-4-manager-tools-rpms' is enabled for this system. Repository 'rhel-7-server-rhv-4.3-manager-rpms' is enabled for this system. Repository 'rhel-7-server-rpms' is enabled for this system. Repository 'jb-eap-7.2-for-rhel-7-server-rpms' is enabled for this system. Repository 'rhel-7-server-supplementary-rpms' is enabled for this system. -
Next, create a storage domain to hold the VM disks or OVF files for all VMs in the same datacenter as that of the hosts.
-
To log into the RHV-M Administrative portal using a browser, log into
https://<ManagerFQDN>/ovirt-engine, select Administrative Portal, and log in as theadmin@internaluser. -
Navigate to Storage > Storage Domains and click New Domain.
-
From the dropdown menu, select Data for the Domain Function, select iSCSI for the Storage Type, select the host to map the volume, enter a name of your choice, confirm that the data center is correct, and then expand the data domain iSCSI target and add the LUN. Click OK to create the domain.
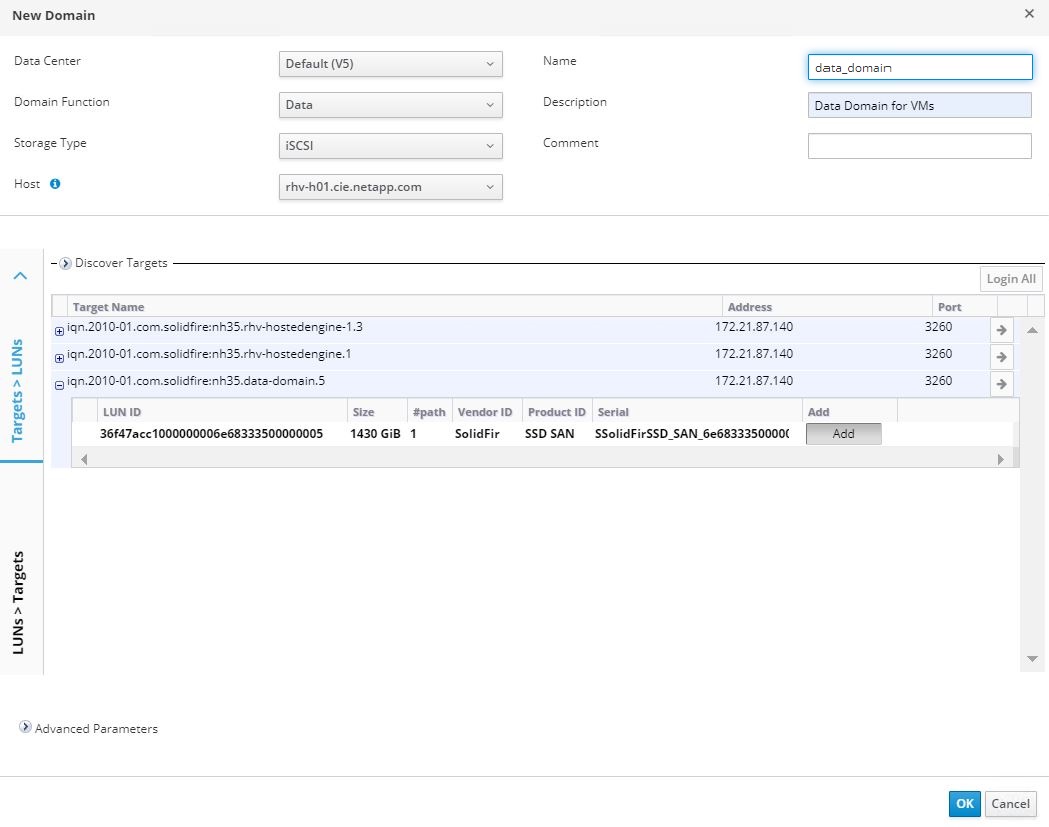
If the Hosted Engine setup is unable to discover the storage, you might need to manually discover or log in to the iSCSI LUN intended for the data domain. -
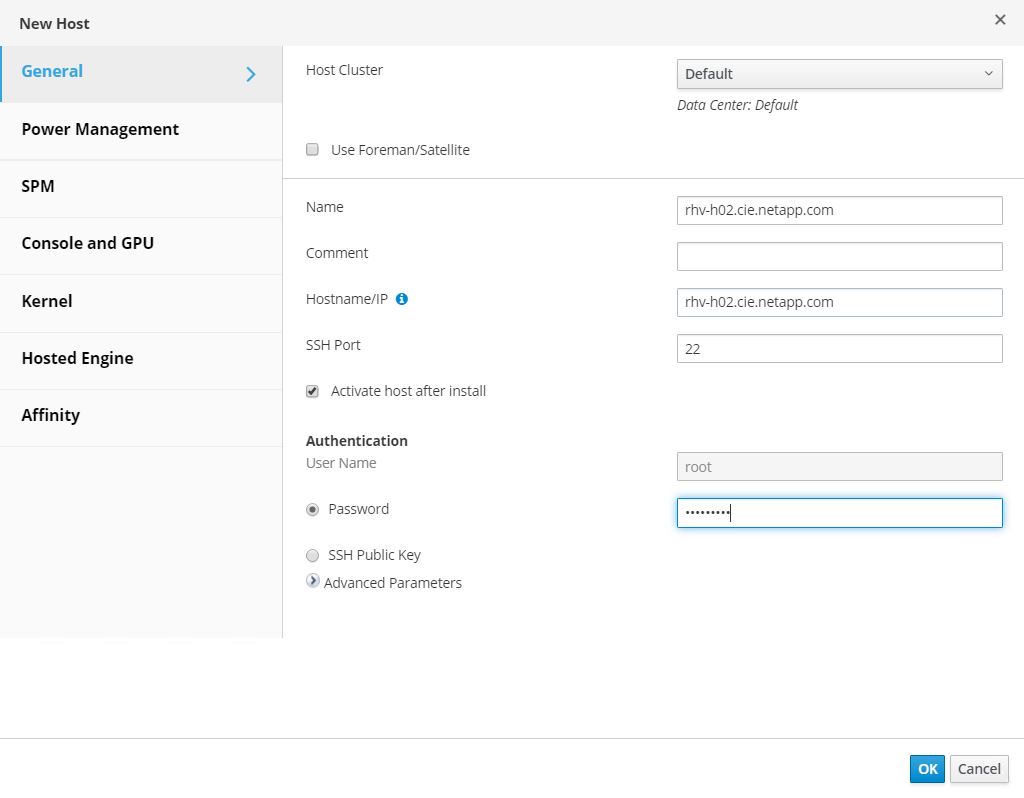
Add the second host to the hosted engine quorum. Navigate to Compute > Hosts and click New. In the New Host pane, select the appropriate cluster, provide the details of the second host, and check the Activate Host After Install checkbox.
-
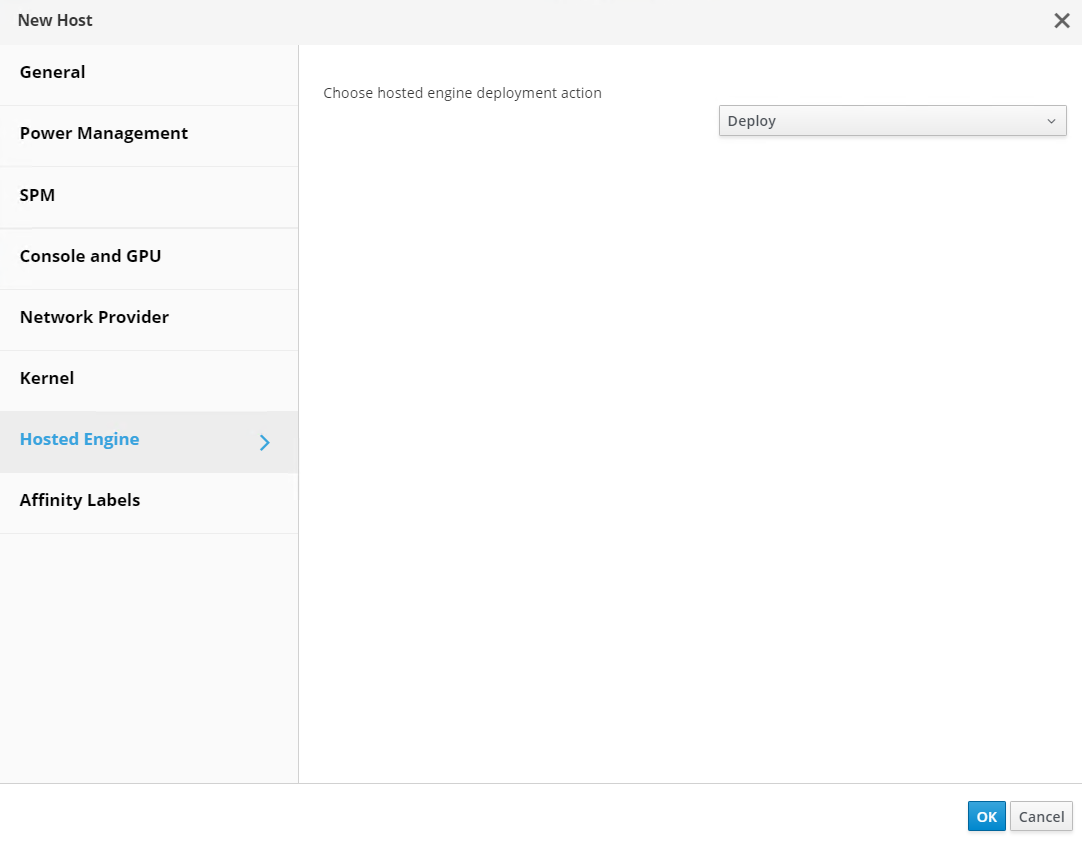
Click the Hosted Engine sub-tab in the New Host pane dropdown and select Deploy from the hosted engine deployment action. Click OK to add the host to the quorum. This begins the installation of the necessary packages to support the hosted engine and activate the host. This process might take a while.
-
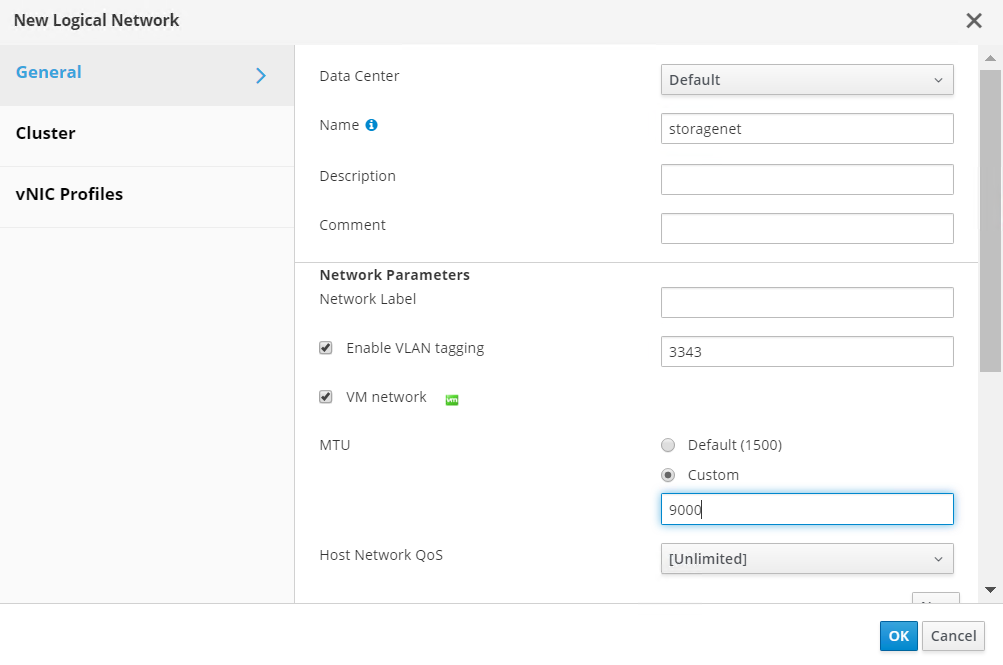
Next, create a storage virtual network for hosts. Navigate to Network > Networks and click New. Enter the name of your choice, enable VLAN tagging, and enter the VLAN ID for the Storage network. Confirm that the VM Network checkbox is checked and that the MTU is set to 9000. Go to the Cluster sub-tab and make sure that Attach and Require are checked. Then click OK to create the storage network.
-
Assign the storage logical network to the second host in the cluster or to whichever host is not currently hosting the hosted engine VM.
-
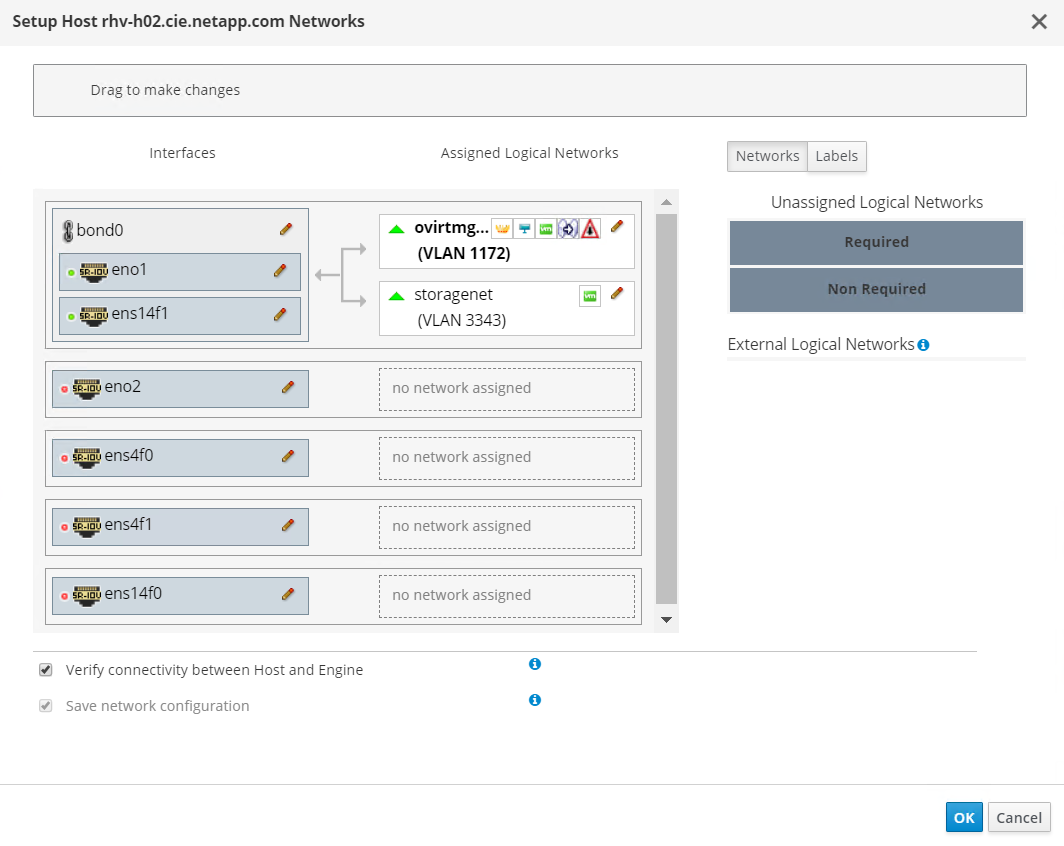
Navigate to Compute > Hosts, and click the host that has silver crown in the second column. Then navigate to the Network Interfaces sub-tab, click Setup Host Networks, and drag and drop the storage logical network into the Assigned Logical Networks column to the right of bond0.
-
Click the pen symbol on the storage network interface under bond0. Configure the IP address and the netmask, and then click OK. Click OK again in the Setup Host Networks pane.

-
Migrate the hosted engine VM to the host that was just configured so that the storage logical network can be configured on the second host. Navigate to Compute > Virtual Machines, click HostedEngine and then click Migrate. Select the second host from the dropdown menu Destination Host and click Migrate.
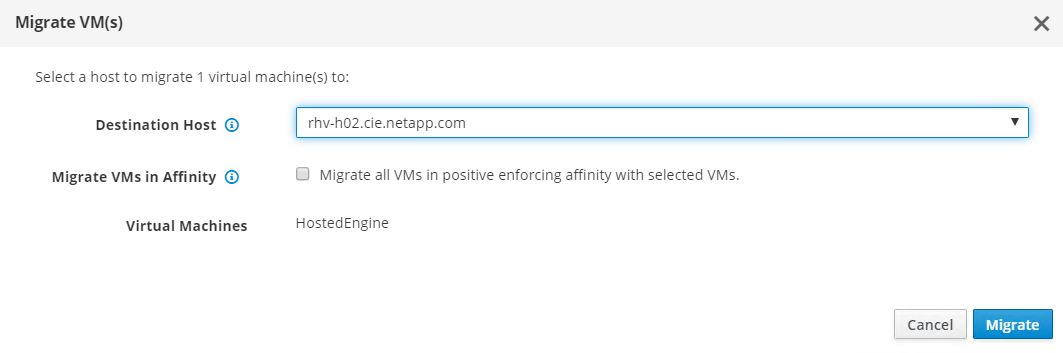
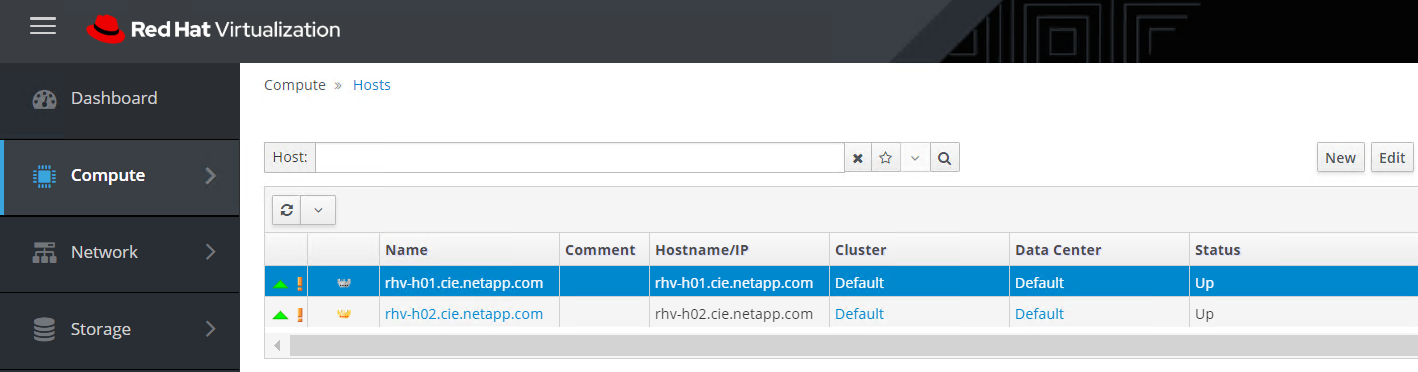
After the migration is successful and the hosted engine VM is migrated to the second host, repeat steps 21 and 22 for the host that currently possesses the silver crown.
-
After you have completed this process, you should see that both the hosts are up. One of the hosts has a golden crown, indicating that it is hosting the hosted engine VM, and the other host has a silver crown indicating that it is capable of hosting the hosted engine VM.