Requirements to deploy Red Hat OpenShift Virtualization with ONTAP


 Suggest changes

 PDFs
PDFs
Review the prerequisites and additional details to deploy OpenShift virtualization with ONTAP storage systems.
Prerequisites
-
A Red Hat OpenShift cluster (later than version 4.6) installed on bare-metal infrastructure with RHCOS worker nodes
-
Deploy Machine Health Checks to maintain HA for VMs
-
A NetApp ONTAP cluster, with SVM configured with the correct protocol.
-
Trident installed on the OpenShift cluster
-
A Trident backend configuration created
-
A StorageClass configured on the OpenShift cluster with Trident as the provisioner
-
A Trident VolumeSnapshotClass configured on the OpenShift cluster with Trident as the provisioner
-
Trident StorageClass configured as default for the OpenShift cluster or OpenShift Virtualization.
For the above Trident prerequisites, see Trident installation section for details.
-
Cluster-admin access to Red Hat OpenShift cluster
-
Admin access to NetApp ONTAP cluster
-
An admin workstation with tridentctl and oc tools installed and added to $PATH
Because OpenShift Virtualization is managed by an operator installed on the OpenShift cluster, it imposes additional overhead on memory, CPU, and storage, which must be accounted for while planning the hardware requirements for the cluster. See the documentation here for more details.
Optionally, you can also specify a subset of the OpenShift cluster nodes to host the OpenShift Virtualization operators, controllers, and VMs by configuring node placement rules. To configure node placement rules for OpenShift Virtualization, follow the documentation here.
For the storage backing OpenShift Virtualization, NetApp recommends having a dedicated StorageClass that requests storage from a particular Trident backend, which in turn is backed by a dedicated SVM. This maintains a level of multitenancy with regard to the data being served for VM-based workloads on the OpenShift cluster.
NetApp Trident CSI, Storage Profiles, volume access modes for OpenShift Virtualization
In OpenShift Virtualization, boot sources are disk images used to provision virtual machines (VMs) from templates. They are typically stored as DataVolumes or Persistent Volume Claims (PVCs) within the openshift-virtualization-os-images namespace. In order for OpenShift Virtualization to function correctly, there are two storage configuration tasks that are mandatory, prior to installing the OpenShift Virtualization using the operator:
-
You must configure a default StorageClass for the cluster. Otherwise, OpenShift Virtualization cannot automatically import boot source images.
-
You must configure storage profiles if your storage provider is not recognized by CDI. A storage profile provides recommended storage settings based on the associated StorageClass. One of the critical functions of StorageProfile is defining cloning strategies for a StorageClass. This determines how volumes are cloned (e.g., using snapshots, CSI clones, or host-assisted copies), optimizing performance and resource usage based on the capabilities of the underlying storage vendor.
Trident CSI driver is recognized by CDI, and a default storage profile is automatically created for any Trident StorageClass created in the cluster. The cloning strategy for this default storage profile is set to snapshot, which is the recommended cloning strategy for Trident CSI driver. You must create the VolumeSnapshotClass and StorageClass for Trident and set the StorageClass as default before installing OpenShift Virtualization. This ensures that the boot source images are available as VolumeSnapshots in the openshift-virtualization-os-images namespace, to be able to provision VMs efficiently without any errors.
For certain supported operating systems (like RHEL, Fedora, or CentOS), OpenShift Virtualization automatically provides and updates boot sources. These are downloaded when OpenShift Virtualization is installed and they are managed and updated to the latest OS version automatically. If an OS is not automatically provided, an administrator must manually prepare and attach a custom image.
When you use NetApp Trident as the CSI, you get the following additional benefits:
-
The boot source images will be available as snapshots in the openshift-virtualization-os-images namespace. When VMs are provisioned, the boot image is cloned from the snapshot, thus making the VM boot much faster.
-
A storage profile is automatically created for each Trident StorageClass created and is automatically configured with clone strategy set to snapshot. Access Mode is set to ReadWriteMany. There is no need for manual configuration.
It is very critical that you create a Trident StorageClass and Trident VolumeSnapshotClass and set them as default prior to installing the OpenShift Virtualization in your cluster. This will ensure that the boot source images will be available as VolumeSnapshots in openshift-virtualization-os-images namespace, to be able to provision VMs efficiently without any errors.
Another advantage of using Trident CSI:
. In OpenShift Virtualization, the boot disks of the VMs need to have RWX access modes to do Live migration of VMs. Trident supports ReadWriteMany access mode for volumes provisioned using NAS protocols as well as using SAN protocols (when volumeMode is set to Block and not FileSystem). You can use either protocol for the boot disk. The Storage profile object will be automatically configured based on the StorageClass settings and the boot disk access modes will be appropriately set when provisioning the VMs.
After you have set the Trident StorageClass as default for the cluster, you can create additional StorageClasses for Trident with different parameters and they will be automatically recognized by OpenShift Virtualization with appropriate storage profiles created for them. You can then specify the StorageClass to be used for the VM's boot disk and data disks in the VM definition.
Installing OpenShift Virtualization on the OpenShift cluster is a straightforward process using the OpenShift Virtualization operator available in the OpenShift OperatorHub. For detailed steps on how to install OpenShift Virtualization, see the documentation here.
Install OpenShift Virtualization on a Red Hat OpenShift bare-metal cluster. This procedure includes logging in with cluster-admin access, navigating to the OperatorHub, and installing the OpenShift Virtualization operator.
-
Log into the Red Hat OpenShift bare-metal cluster with cluster-admin access.
-
Select Administrator from the Perspective drop down.
-
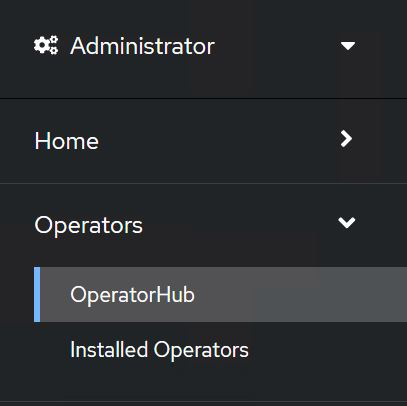
Navigate to Operators > OperatorHub and search for OpenShift Virtualization.
-
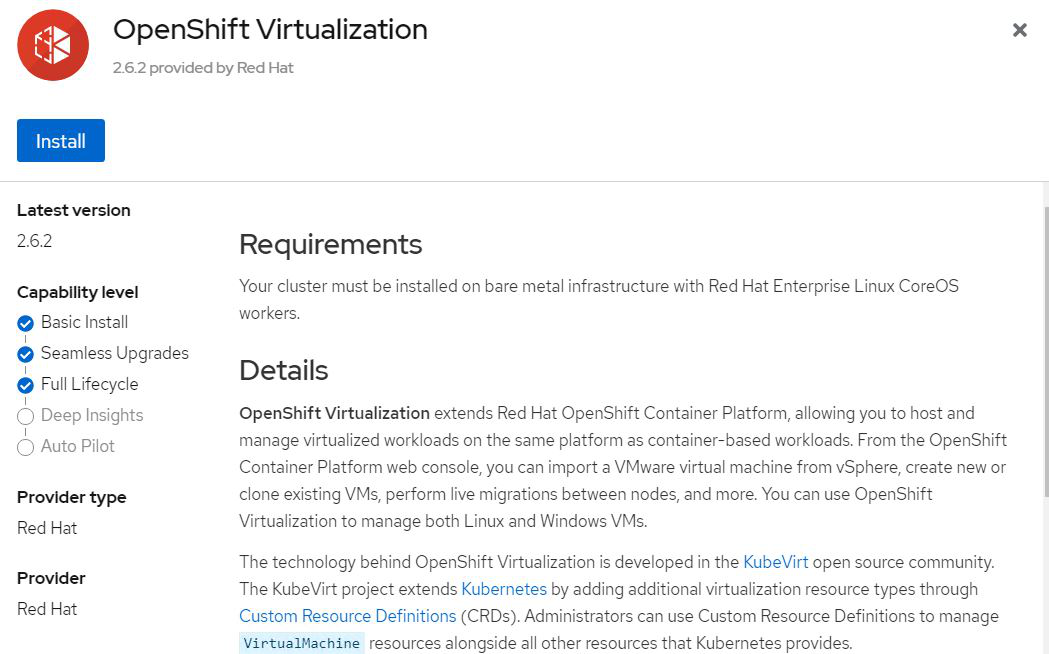
Select the OpenShift Virtualization tile and click Install.
-
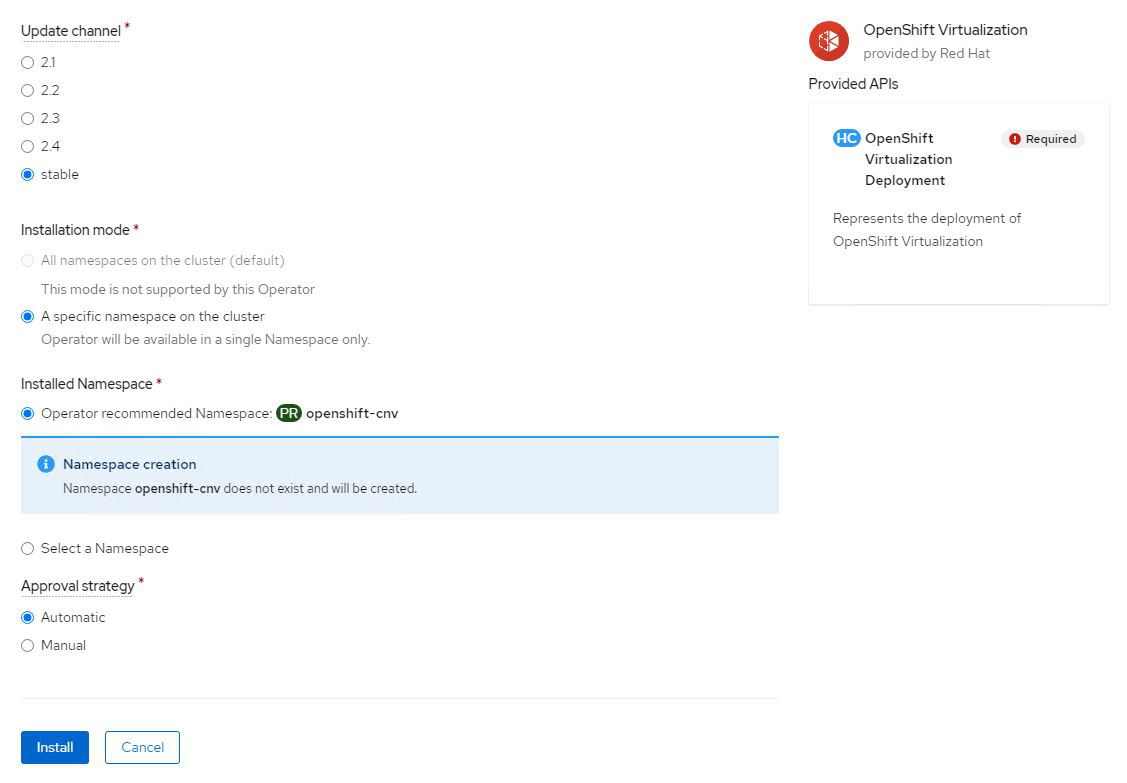
On the Install Operator screen, leave all default parameters and click Install.
-
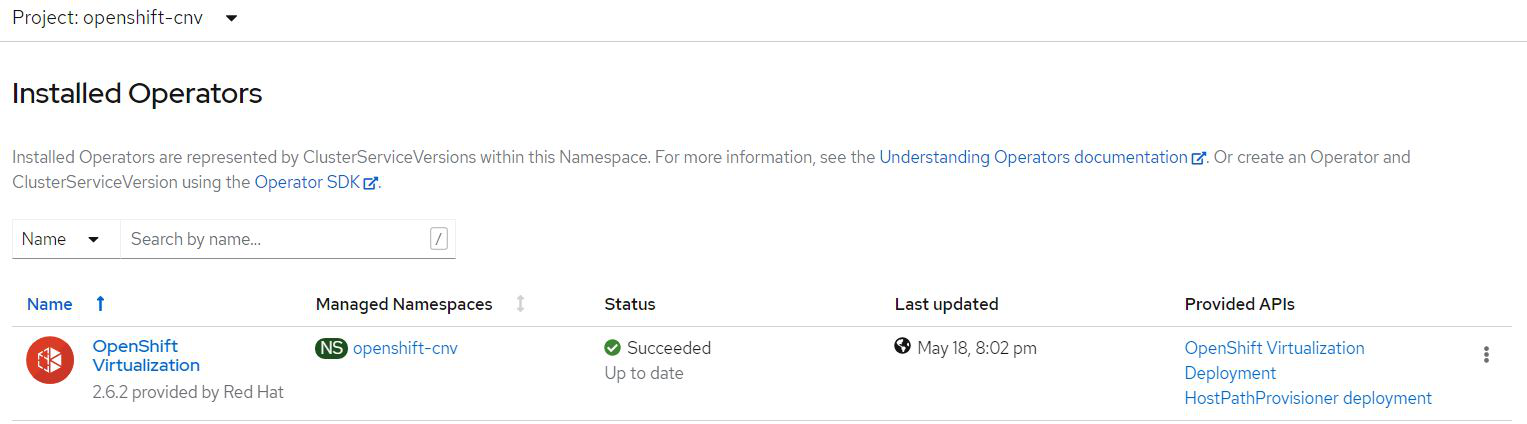
Wait for the operator installation to complete.
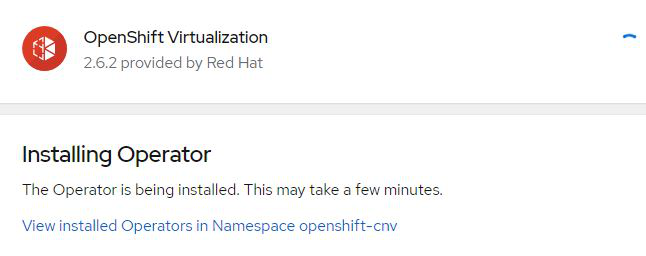
-
After the operator has installed, click Create HyperConverged.
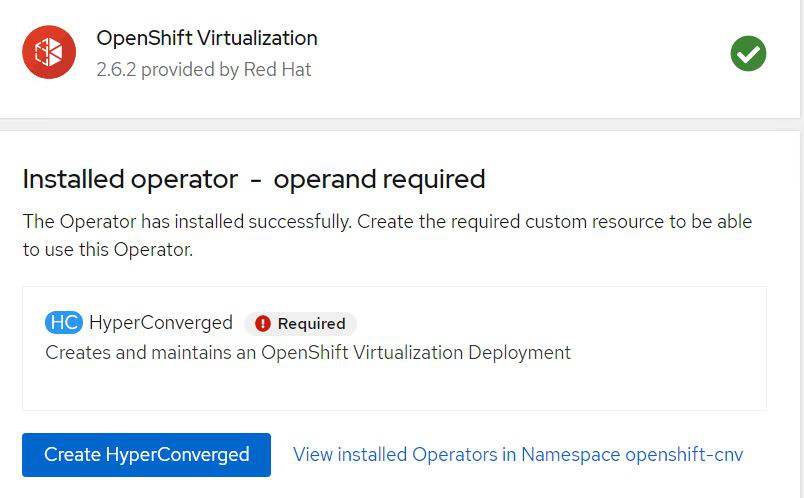
-
On the Create HyperConverged screen, click Create, accepting all default parameters. This step starts the installation of OpenShift Virtualization.
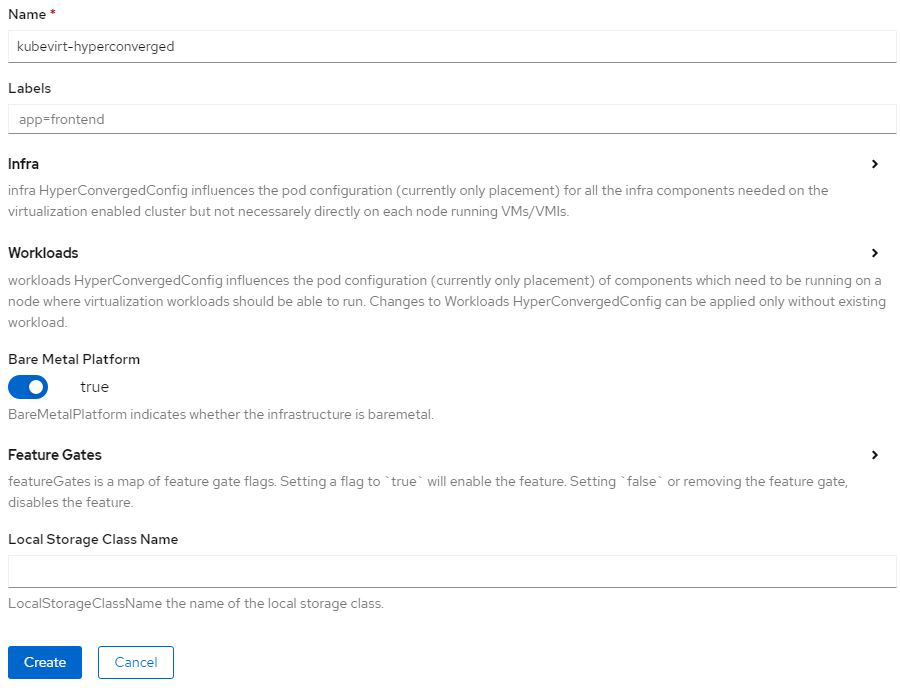
-
After all the pods move to the Running state in the openshift-cnv namespace and the OpenShift Virtualization operator is in the Succeeded state, the operator is ready to use. VMs can now be created on the OpenShift cluster.