


Create a VM using ONTAP storage with Red Hat OpenShift Virtualization

 Suggest changes

 PDFs
PDFs
Create a VM with OpenShift Virtualization. This procedure includes selecting an operating system template, configuring StorageClasses, and customizing VM parameters to meet specific requirements.
As a prerequisite, you should have already created the Trident backend, the StorageClass and the volume snapshot class objects. You can refer to the Trident installation section for details.
Create VM
VMs are stateful deployments that require volumes to host the operating system and data. With CNV, because the VMs are run as pods, the VMs are backed by PVs hosted on NetApp ONTAP through Trident. These volumes are attached as disks and store the entire filesystem including the boot source of the VM.

|
Trident StorageClass must be set as default StorageClass on the cluster to ensure that the PVCs created for the VM disks are provisioned using the Trident backend. You can have multiple StorageClasses on the cluster, but the default StorageClass must be used for provisioning the PVC for VM boot disks. Additional disks can use other StorageClasses if required. |
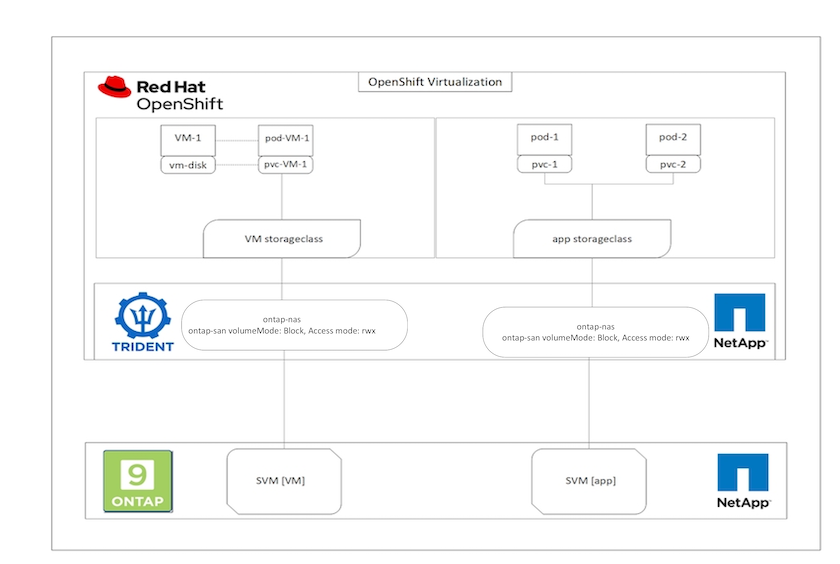
To quickly create a virtual machine on the OpenShift cluster, complete the following steps:
-
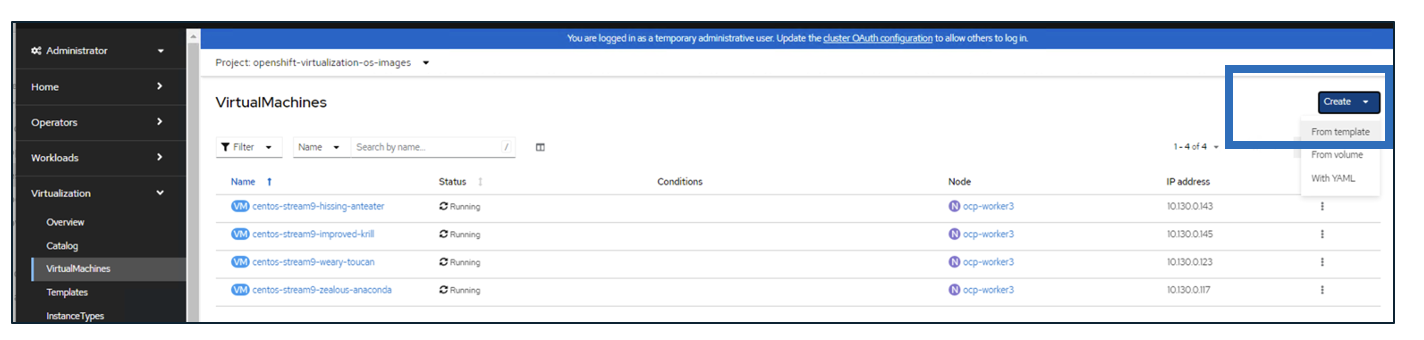
Navigate to Virtualization > Virtual Machines and click Create.
-
Select From template.
-
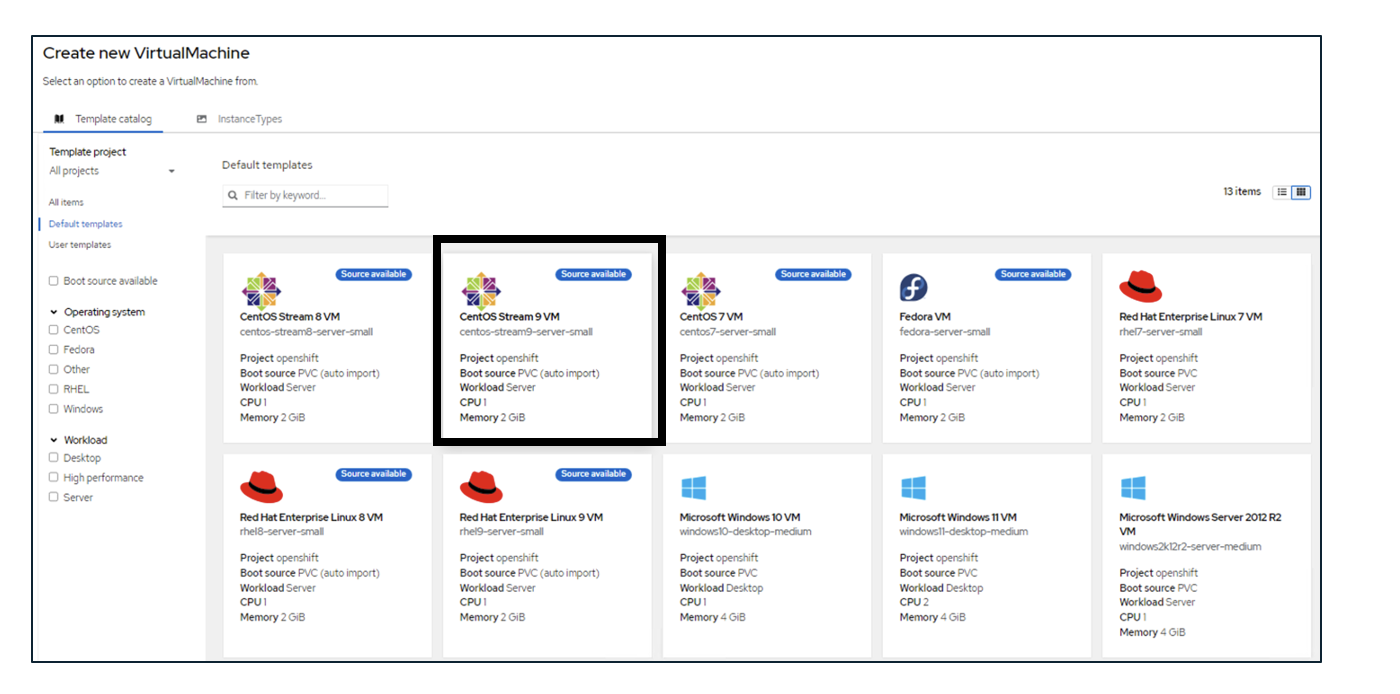
Select the desired operating system for which the boot source is available.
-
Check the checkbox Start the VirtualMachine after creation.
-
Click Quick create VirtualMachine.
The virtual machine is created and started and comes to the Running state. It automatically creates a PVC and a corresponding PV for the boot disk using the default StorageClass. In order to be able to live migrate the VM in the future, you must ensure that the StorageClass used for the disks can support RWX volumes. This is a requirement for live migration. ontap-nas and ontap-san (volumeMode block for iSCSI and NVMe/TCP protocols) can support RWX access modes for the volumes created using the respective StorageClasses.
To configure ontap-san StorageClass on the cluster see the Section for configuring StorageClass.
|
|
Clicking on Quick create VirtualMachine will use the default StorageClass to create the PVC and PV for the bootable root disk for the VM. You can select a different StorageClass for the disk, by selecting Customize VirtualMachine > Customize VirtualMachine parameters > Disks and then editing the disk to use the required StorageClass. |
Typically block access mode is preferred compared to file systems while provisioning the VM disks.
To customize the virtual machine creation after you have selected the OS template, click on Customize VirtualMachine instead of Quick create.
-
If the selected operating system has boot source configured, you can click on Customize VirtualMachine parameters.
-
If the selected operating system has no boot source configured, you must configure it. You can see details about the procedures shown in the documentation.
-
After Configuring the boot disk, you can click on Customize VirtualMachine parameters.
-
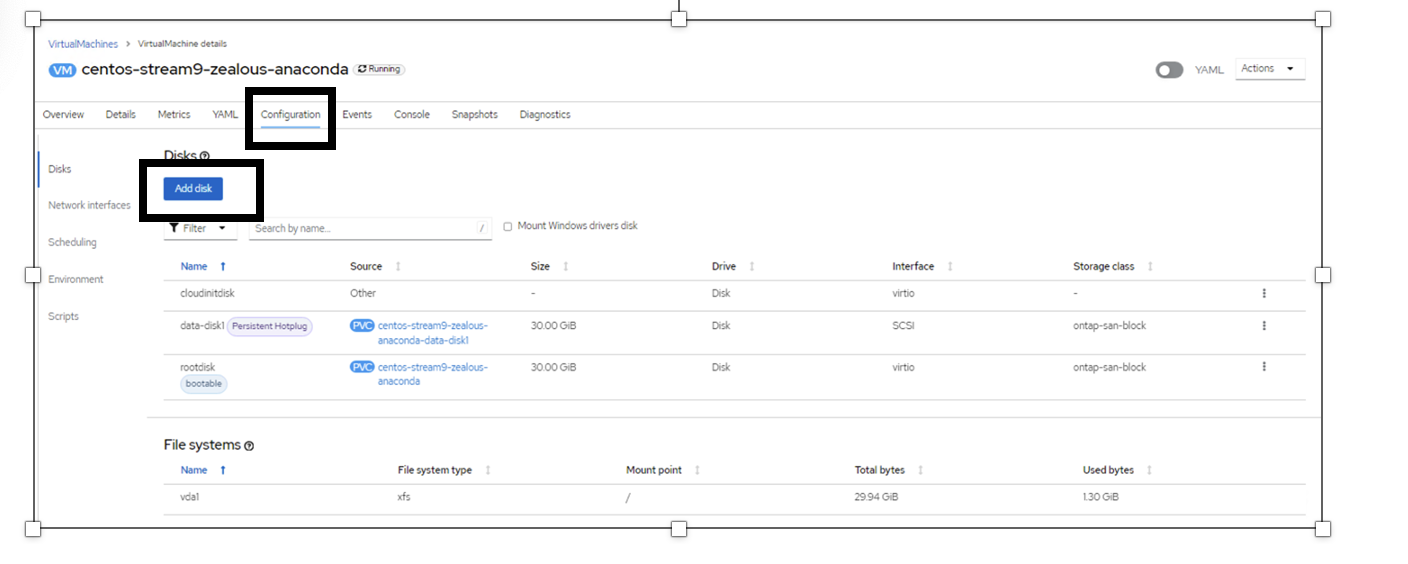
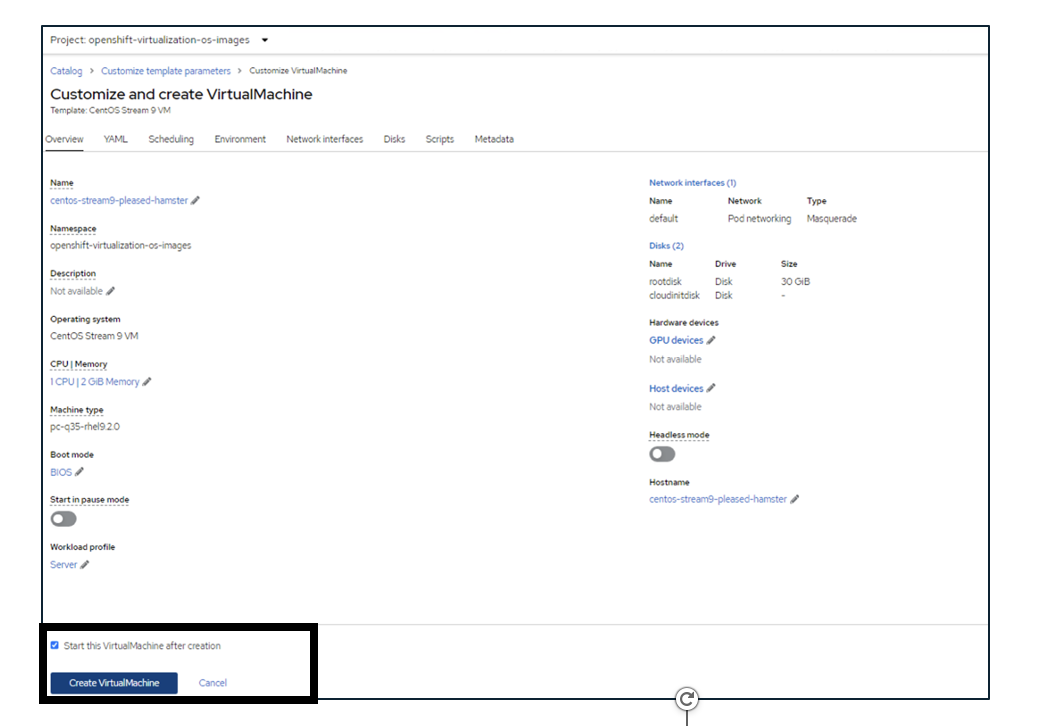
You can customize the VM from the tabs on this page. For eg. click on the Disks tab and then click on Add disk to add another disk to the VM.
-
Click Create Virtual Machine to create the virtual machine; this spins up a corresponding pod in the background.
|
|
When a boot source is configured for a template or an operating system from an URL or from a registry, it creates a PVC in the openshift-virtualization-os-images project and downloads the KVM guest image to the PVC. You must make sure that template PVCs have enough provisioned space to accommodate the KVM guest image for the corresponding OS. These PVCs are then cloned and attached as rootdisk to virtual machines when they are created using the respective templates in any project.
|
Video Demonstration
The following video shows a demonstration of creating a VM in OpenShift Virtualization using iSCSI storage.