

Deploy ONTAP tools and provision NFS datastore for VCF management domain conversion
 Suggest changes
Deploy ONTAP tools for VMware vSphere 10 and provision an NFS datastore to enable seamless integration with VMware Cloud Foundation. You'll deploy ONTAP tools, configure storage backends, and create an NFS datastore to support the conversion of a vSphere 8 cluster to a VCF management domain.
Step 1: Deploy ONTAP tools for VMware vSphere
In this step, ONTAP tools are deployed in a non-HA configuration. For additional deployment details on HA and non-HA configurations refer to Deploy ONTAP tools for VMware vSphere.
-
Download the ONTAP tools OVA template from the NetApp support site.
-
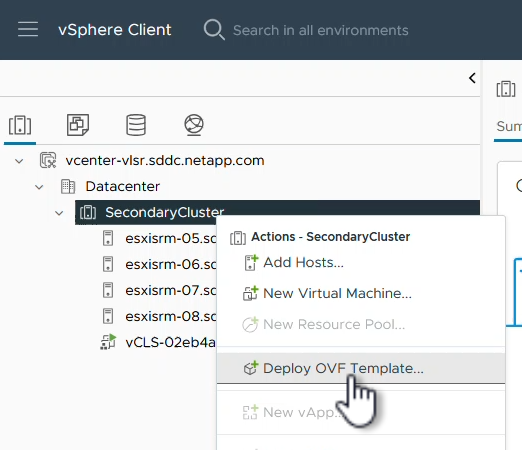
In the vSphere client, right-click the cluster and click Deploy OVF Template.
Show example
-
In the Deploy OVF Template complete the steps to:
-
Select an OVF template.
-
Select a name and folder.
-
Select a compute resource.
-
Review Details.
-
Agree to the license agreement.
-
-
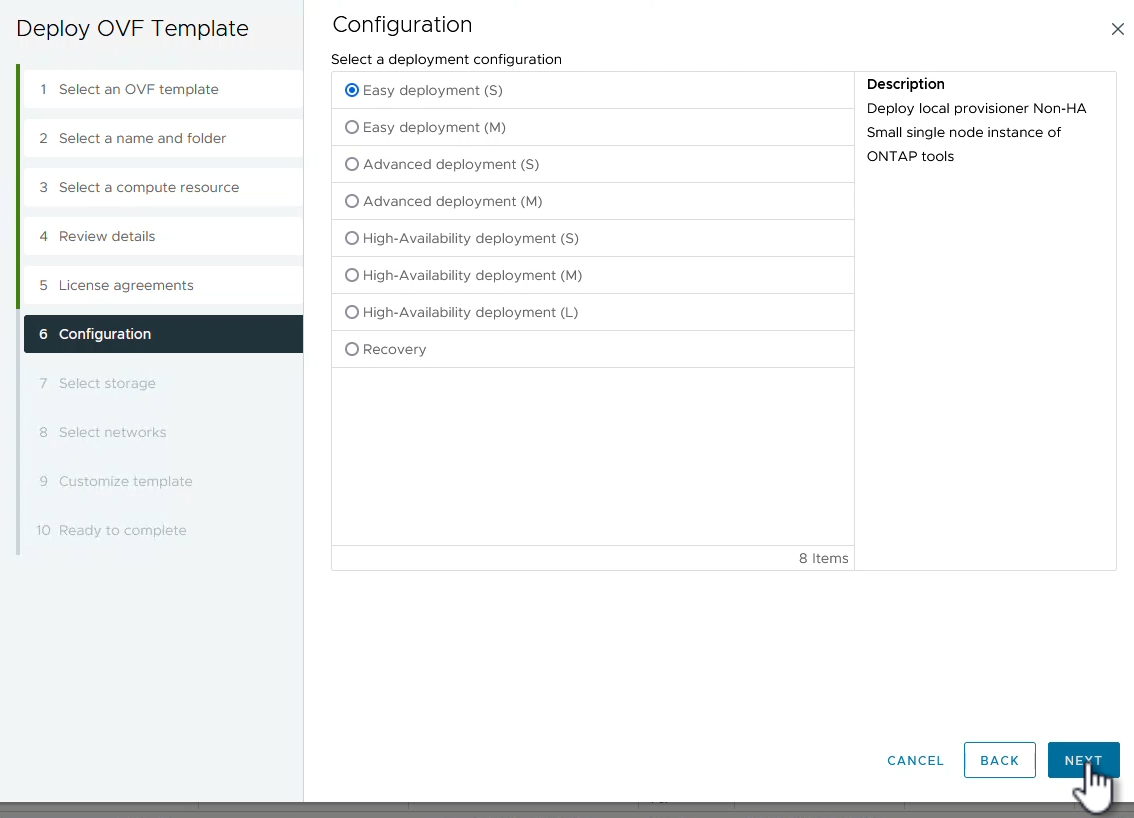
On the Configuration page of the template, select the deployment type, including whether to deploy ONTAP tools in an HA configuration. Click Next to continue.
Show example
-
On the Select storage page, choose the datastore on which to install the VM, and click Next.
-
Select the network that the ONTAP tools VM will communicate on. Click Next to continue.
-
On the Customize template window, complete all required information.
-
Application username and password
-
Choose whether to enable ASUP (AutoSupport). Include a proxy URL.
-
Administrator username and password.
-
NTP servers.
-
Maintenance username and password ("maint" account used at the console).
-
Provide the required IP addresses for the deployment configuration.
-
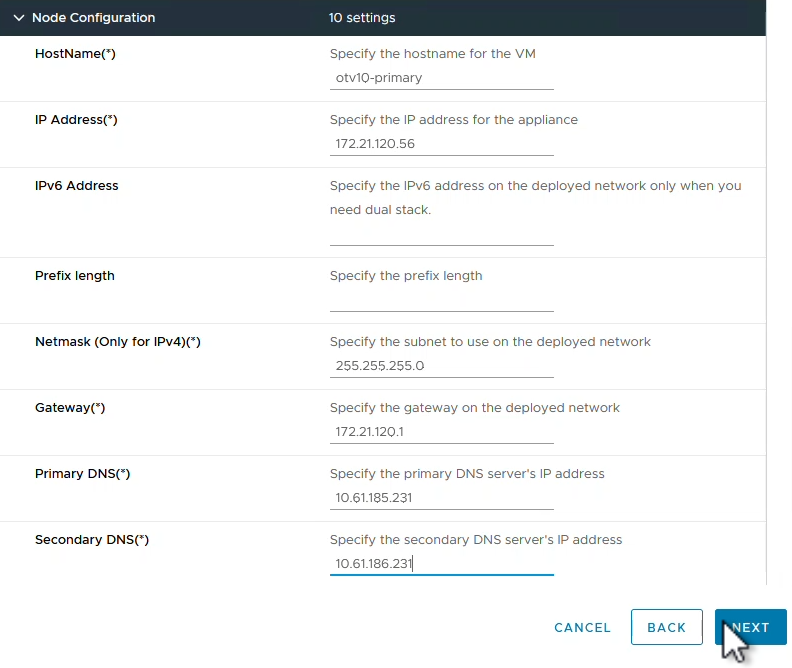
Provide all networking information for the node configuration.
Show example
-
-
Click Next to continue, and then click Finish to begin the deployment.
Step 2: Configure ONTAP tools
After the ONTAP tools VM is installed and powered up, add the vCenter servers and the ONTAP storage systems you want to manage.
-
Add vCenter instances by following the instructions in the ONTAP tools for VMware vSphere documentation: Add vCenter instances.
-
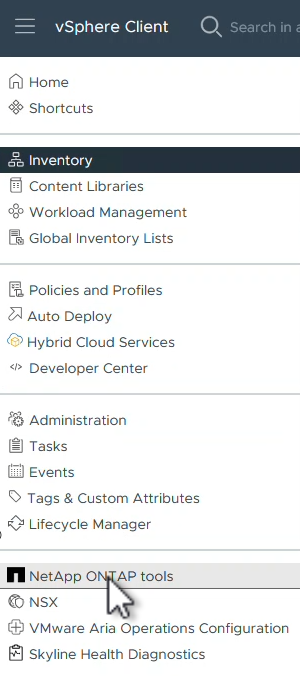
To add an ONTAP storage system, log into the vSphere client and navigate to the main menu on the left. Click NetApp ONTAP tools to launch the user interface.
Show example
-
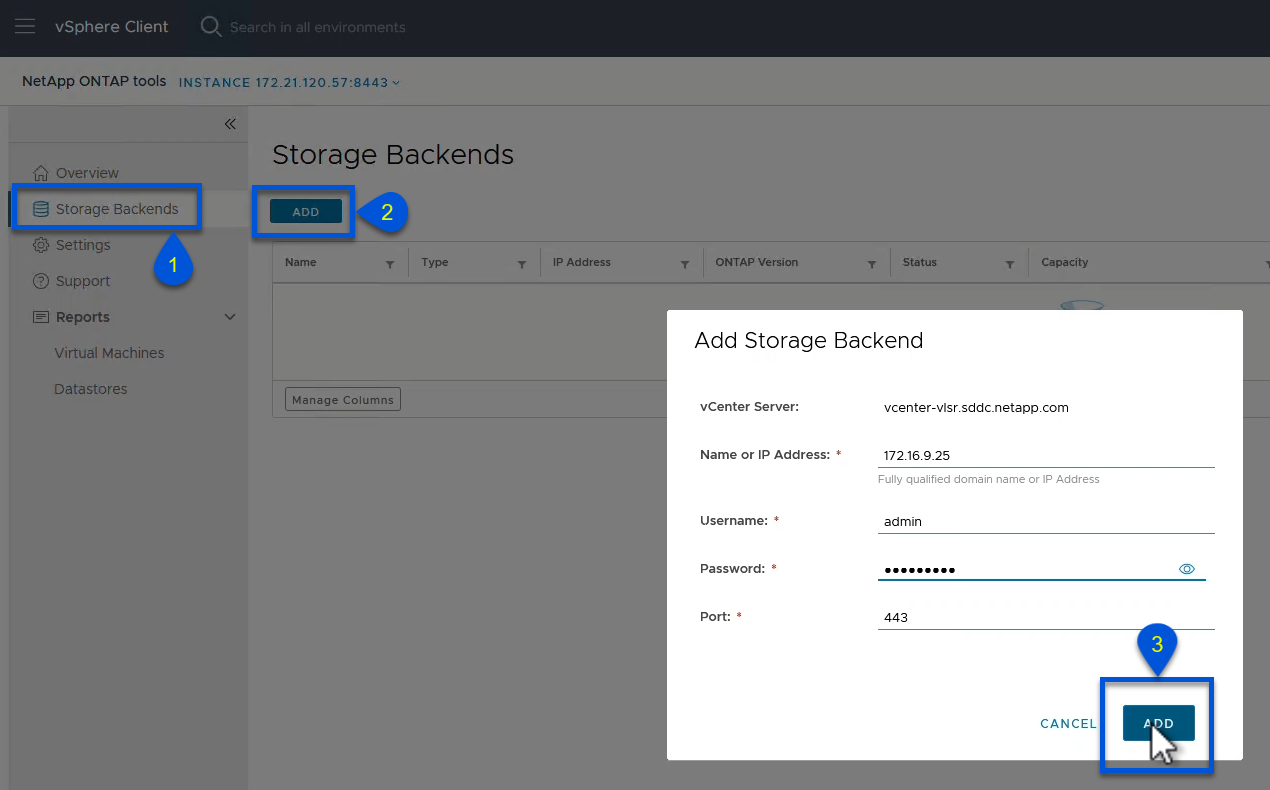
Navigate to Storage Backends in the left hand menu and click Add to access the Add Storage Backend window.
-
Enter the IP address and credentials for the ONTAP storage system to be managed. Click Add to finish.
Show example

To allow full management over all SVMs in the storage system, add the storage backend in the vSphere client UI using the cluster IP address. Alternately, the storage backend can be added and associated with a vCenter instance using ONTAP tools Manager at https://loadBalanceIP:8443/virtualization/ui/. This alternate method allows you to add only SVM credentials at the vSphere client UI, which provides more granular control over storage access.
Step 3: Provision the NFS datastore
ONTAP tools integrates functionality throughout the vSphere client UI. In this step, an NFS datastore is provisioned from the storage inventory page.
-
In the vSphere client, navigate to the storage inventory.
-
Navigate to ACTIONS > NetApp ONTAP tools > Create datastore.
Show example

-
In the Create Datastore wizard, select the type of datastore to create. Options are NFS or VMFS.
-
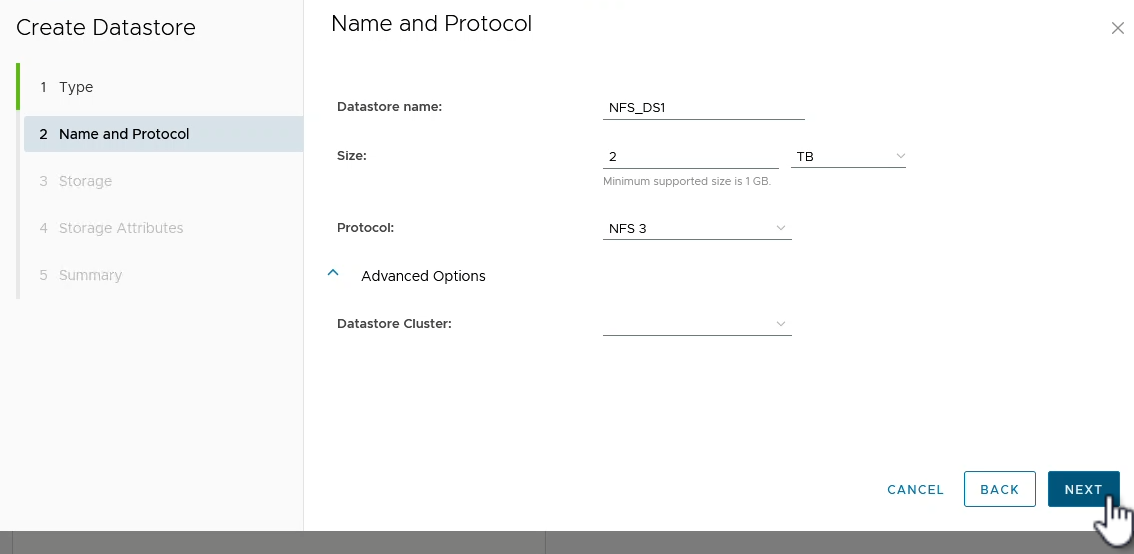
On the Name and Protocol page, enter a name for the datastore, the size, and the NFS protocol to be used.
Show example
-
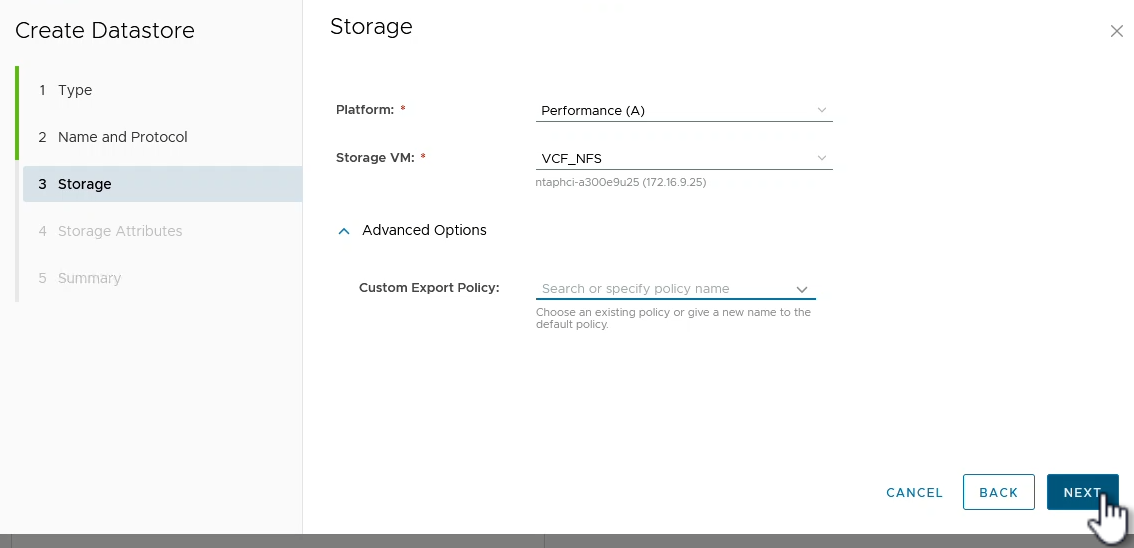
On the Storage page, select the ONTAP storage platform and the storage virtual machine (SVM). You can also select any available custom export policies here. Click Next to continue.
Show example
-
On the Storage Attributes page, select the storage aggregate to be used. Click on Next to continue.
-
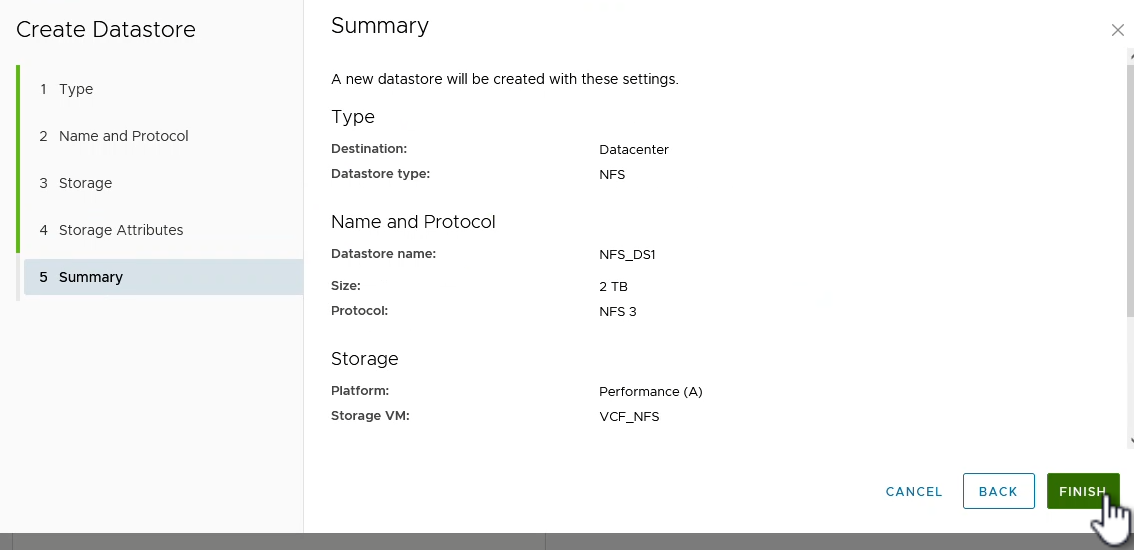
On the Summary page, review the information and click Finish to begin the provisioning process.
ONTAP tools creates a volume on the ONTAP storage system and mounts it as an NFS datastore to all ESXi hosts in the cluster.
Show example
What's next?
After you've deployed ONTAP tools and provisioned the NFS datastore, convert the vSphere cluster to VCF management domain.