

Set up a Microsoft Entra application
 Suggest changes
The NetApp Console needs permissions to set up and manage Azure NetApp Files. You can grant the required permissions to an Azure account by creating and setting up a Microsoft Entra application and by obtaining the Azure credentials that the Console needs.
Step 1: Create the application
Create a Microsoft Entra application and service principal that the Console can use for role-based access control.
You must have the right permissions in Azure to create an Active Directory application and to assign the application to a role. For details, refer to Microsoft Azure Documentation: Required permissions.
-
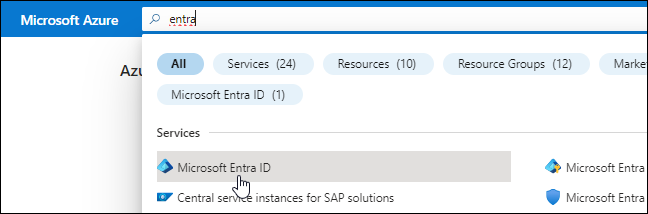
From the Azure portal, open the Microsoft Entra ID service.
-
In the menu, select App registrations.
-
Create the application:
-
Select New registration.
-
Specify details about the application:
-
Name: Enter a name for the application.
-
Account type: Select an account type (any will work with the Console).
-
Redirect URI: You can leave this blank.
-
-
Select Register.
-
-
Copy the Application (client) ID and the Directory (tenant) ID.
When you create the Azure NetApp Files system in the Console, you need to provide the application (client) ID and the directory (tenant) ID for the application. The Console uses the IDs to programmatically sign in.
-
Create a client secret for the application so the Console can use it to authenticate with Microsoft Entra ID:
-
Select Certificates & secrets > New client secret.
-
Provide a description of the secret and a duration.
-
Select Add.
-
Copy the value of the client secret.
-
Your AD application is now setup and you should have copied the application (client) ID, the directory (tenant) ID, and the value of the client secret. You need to enter this information in the Console when you add an Azure NetApp Files system.
Step 2: Assign the app to a role
You must bind the service principal to your Azure subscription and assign it a custom role that has the required permissions.
-
Create a custom role in Azure.
The following steps describe how to create the role from the Azure portal.
-
Open the subscription and select Access control (IAM).
-
Select Add > Add custom role.
-
In the Basics tab, enter a name and description for the role.
-
Select JSON then Edit which appears at the top right of the JSON format.
-
Add the following permissions under actions:
"actions": [ "Microsoft.NetApp/*", "Microsoft.Resources/resources/read", "Microsoft.Resources/subscriptions/resourceGroups/read", "Microsoft.Resources/subscriptions/resourcegroups/resources/read", "Microsoft.Resources/subscriptions/resourceGroups/write", "Microsoft.Network/virtualNetworks/read", "Microsoft.Network/virtualNetworks/subnets/read", "Microsoft.Insights/Metrics/Read" ], -
Select Save > Next then Create.
-
-
Assign the application to the role that you just created:
-
From the Azure portal, open Subscriptions.
-
Select the subscription.
-
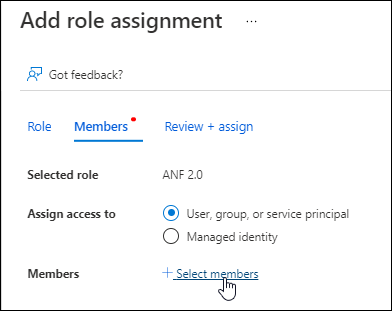
Select Access control (IAM) > Add > Add role assignment.
-
In the Role tab, select the custom role that you created then Next.
-
In the Members tab, complete the following steps:
-
Keep User, group, or service principal selected.
-
Select Select members.
-
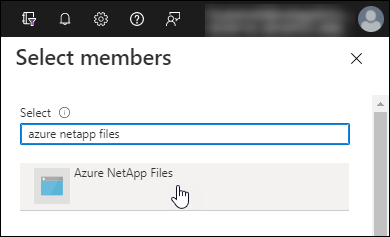
Search for the name of the application.
Here's an example:
-
Select the application then Select.
-
Select Next.
-
-
Select Review + assign.
The service principal for the Console now has the required Azure permissions for that subscription.
-
Step 3: Add the credentials to the Console
When you create the Azure NetApp Files system, you're prompted to select the credentials associated with the service principal. You need to add these credentials to the Console before you create the system.
-
In the left navigation of the Console, select Administration > Credentials.
-
Select Add Credentials and follow the steps in the wizard.
-
Credentials Location: Select Microsoft Azure > NetApp Console.
-
Define Credentials: Enter information about the Microsoft Entra service principal that grants the required permissions:
-
Client Secret
-
Application (client) ID
-
Directory (tenant) ID
You should have captured this information when you created the AD application.
-
-
Review: Confirm the details about the new credentials then select Add.
-