

Managing local users
 Suggest changes
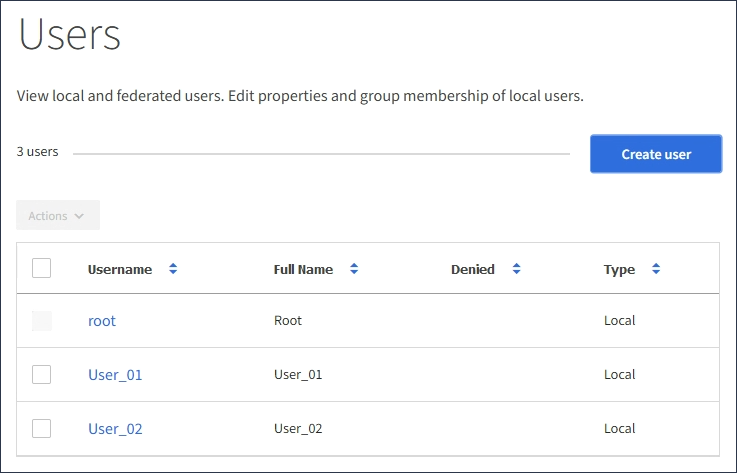
You can create local users and assign them to local groups to determine which features these users can access. The Tenant Manager includes one predefined local user, named “root.” Although you can add and remove local users, you cannot remove the root user.
-
You must be signed in to the Tenant Manager using a supported browser.
-
You must belong to a read-write user group that has the Root Access permission.

|
If single sign-on (SSO) is enabled for your StorageGRID system, local users will not be able to sign in to the Tenant Manager or the Tenant Management API, although they can use S3 or Swift client applications to access the tenant's resources, based on group permissions. |
Accessing the Users page
Select ACCESS MANAGEMENT > Users.
Creating local users
You can create local users and assign them to one or more local groups to control their access permissions.
S3 users who do not belong to any groups do not have management permissions or S3 group policies applied to them. These users might have S3 bucket access granted through a bucket policy.
Swift users who do not belong to any groups do not have management permissions or Swift container access.
-
Select Create user.
-
Complete the following fields.
-
Full name: The full name for this user, for example, the first name and last name of a person or the name of an application.
-
Username: The name this user will use to sign in. Usernames must be unique and cannot be changed.
-
Password: A password, which is used when the user signs in.
-
Confirm password: Type the same password you typed in the Password field.
-
Deny access: If you select Yes, this user cannot sign in to the tenant account, even though the user might still belong to one or more groups.
As an example, you can use this feature to temporarily suspend a user's ability to sign in.
-
-
Select Continue.
-
Assign the user to one or more local groups.
Users who do not belong to any groups will have no management permissions. Permissions are cumulative. Users will have all permissions for all groups they belong to.
-
Select Create user.
Changes might take up to 15 minutes to take effect because of caching.
Editing user details
When you edit the details for a user, you can change the user's full name and password, add the user to different groups, and prevent the user from accessing the tenant.
-
In the Users list, select the name of the user whose details you want to view or edit.
Alternatively, you can select the check box for the user, and then select Actions > View user details.
-
Make changes to the user settings as needed.
-
Change the user's full name as needed by selecting the full name or the edit icon
 in the Overview section.
You cannot change the username.
-
On the Password tab, change the user's password as needed.
-
On the Access tab, allow the user to sign in (select No), or prevent the user from signing in (select Yes) as needed.
-
On the Groups tab, add the user to groups or remove the user from groups as needed.
-
As necessary for each section, select Save changes.
Changes might take up to 15 minutes to take effect because of caching.
-
Duplicating local users
You can duplicate a local user to create a new user more quickly.
-
In the Users list, select the user you want to duplicate.
-
Select Duplicate user.
-
Modify the following fields for the new user.
-
Full name: The full name for this user, for example, the first name and last name of a person or the name of an application.
-
Username: The name this user will use to sign in. Usernames must be unique and cannot be changed.
-
Password: A password, which is used when the user signs in.
-
Confirm password: Type the same password you typed in the Password field.
-
Deny access: If you select Yes, this user cannot sign in to the tenant account, even though the user might still belong to one or more groups.
As an example, you can use this feature to temporarily suspend a user's ability to sign in.
-
-
Select Continue.
-
Select one or more local groups.
Users who do not belong to any groups will have no management permissions. Permissions are cumulative. Users will have all permissions for all groups they belong to.
-
Select Create user.
Changes might take up to 15 minutes to take effect because of caching.
Deleting local users
You can permanently delete local users who no longer need to access the StorageGRID tenant account.
Using the Tenant Manager, you can delete local users, but not federated users. You must use the federated identity source to delete federated users.
-
In the Users list, select the check box for the local user you want to delete.
-
Select Actions > Delete user.
-
In the confirmation dialog box, select Delete user to confirm you want to delete the user from the system.
Changes might take up to 15 minutes to take effect because of caching.