
Enabling enterprise-grade S3 by seamlessly migrating object-based storage from ONTAP S3 to StorageGRID
 Suggest changes
Enabling enterprise-grade S3 by seamlessly migrating object-based storage from ONTAP S3 to StorageGRID
Preparing StorageGRID
Continuing the configuration for this demo we will create a Tenant, user, security group, group policy, and bucket.
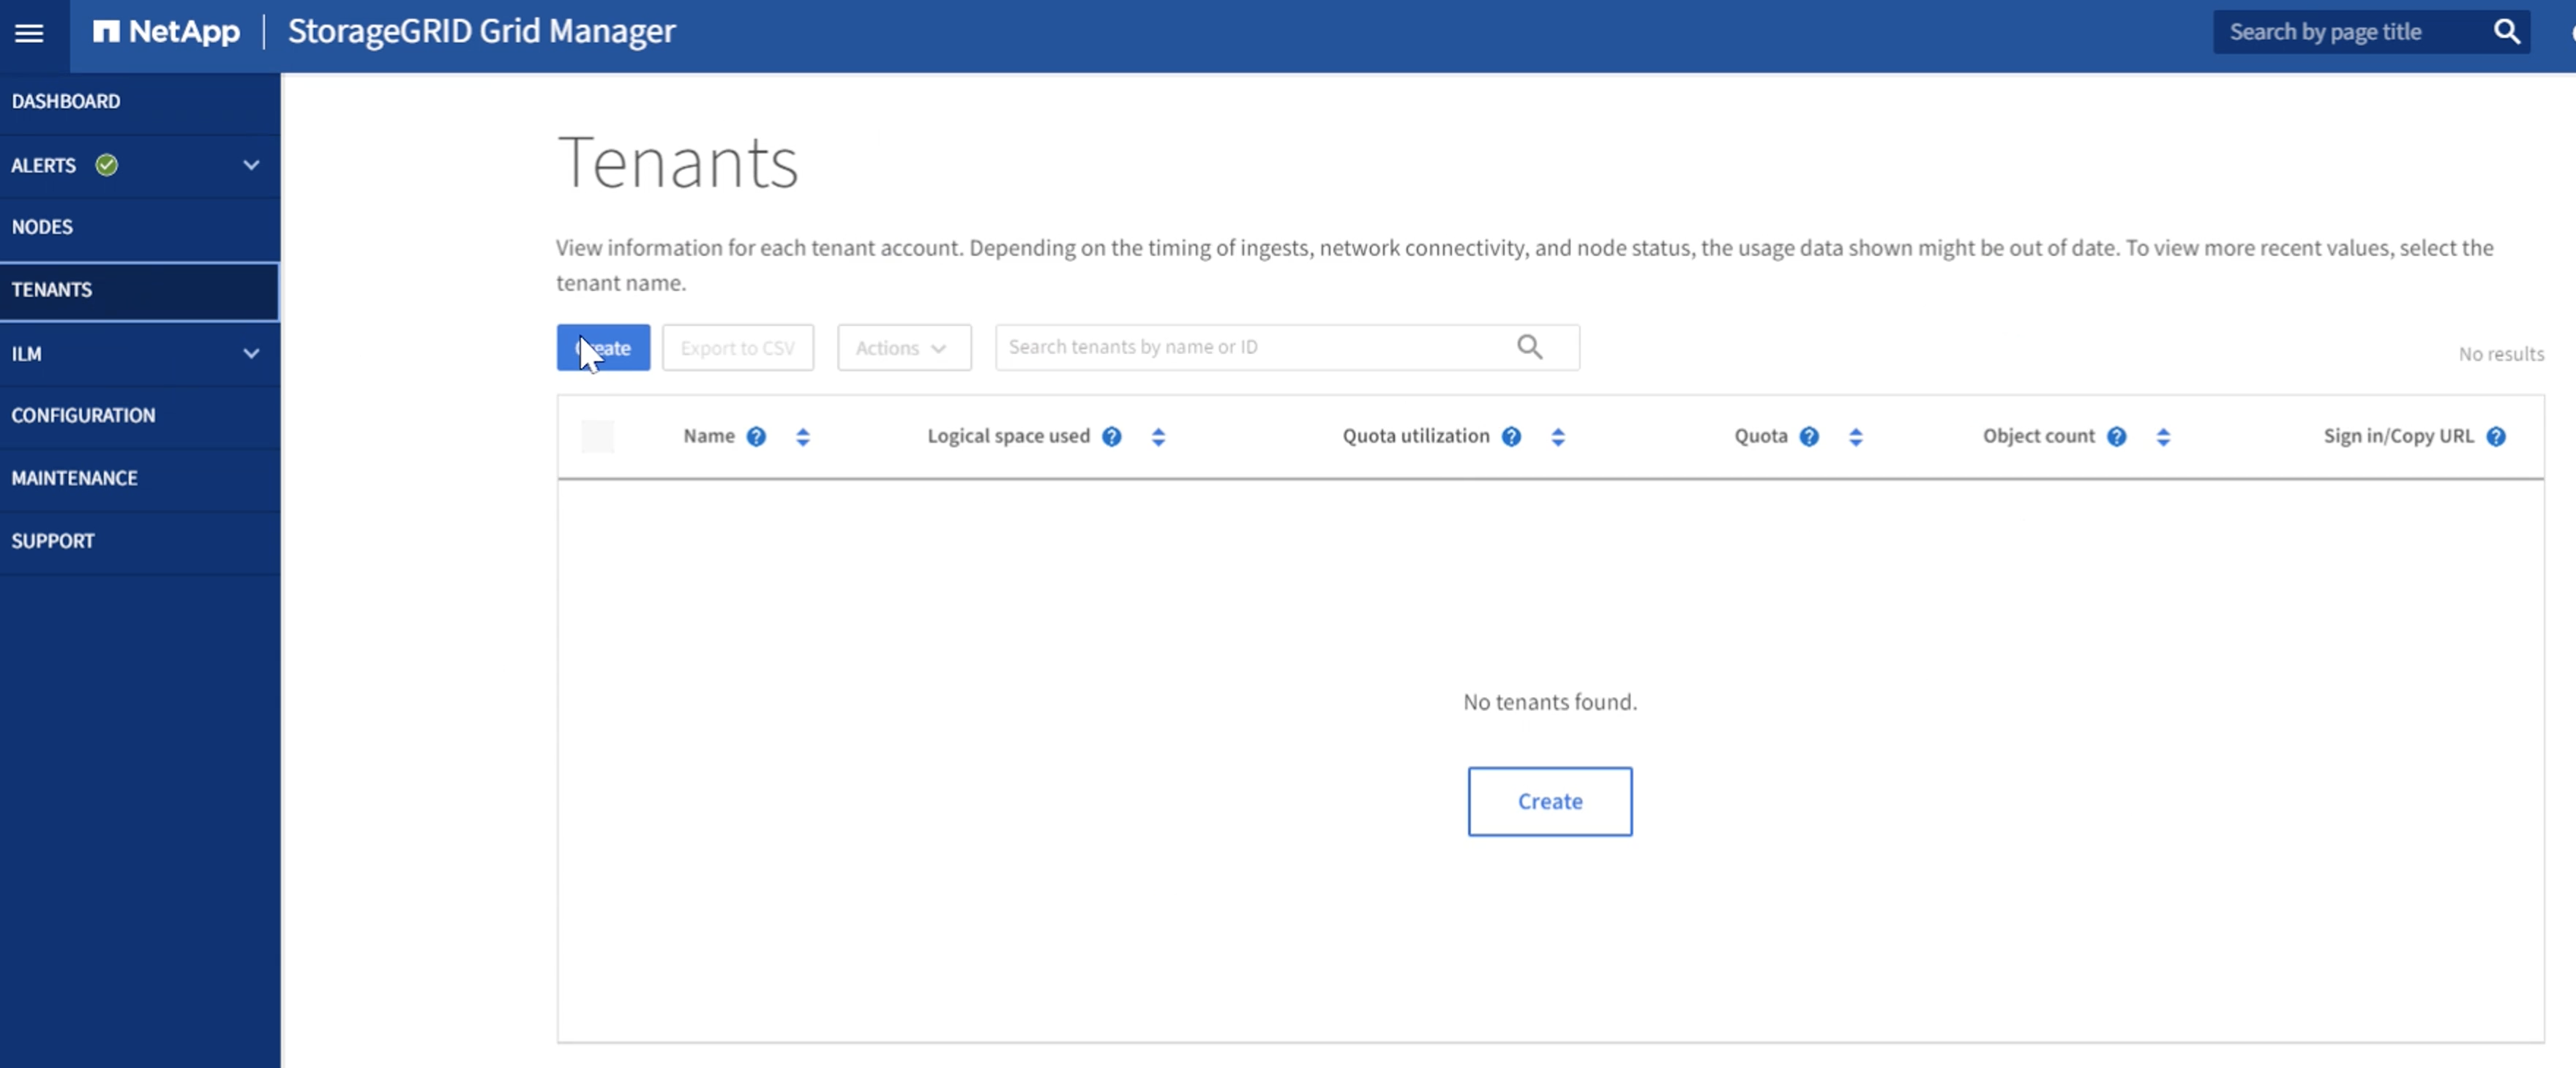
Create the tenant
Navigate to the "Tenants" tab and click on the "create" button
Fill in the details for the tenant providing a tenant name, select S3 for the client type, and no quota is required. No need to select platform services or allow S3 select. You can choose to use own Identity source if you choose. Set the root password and click on the finish button.
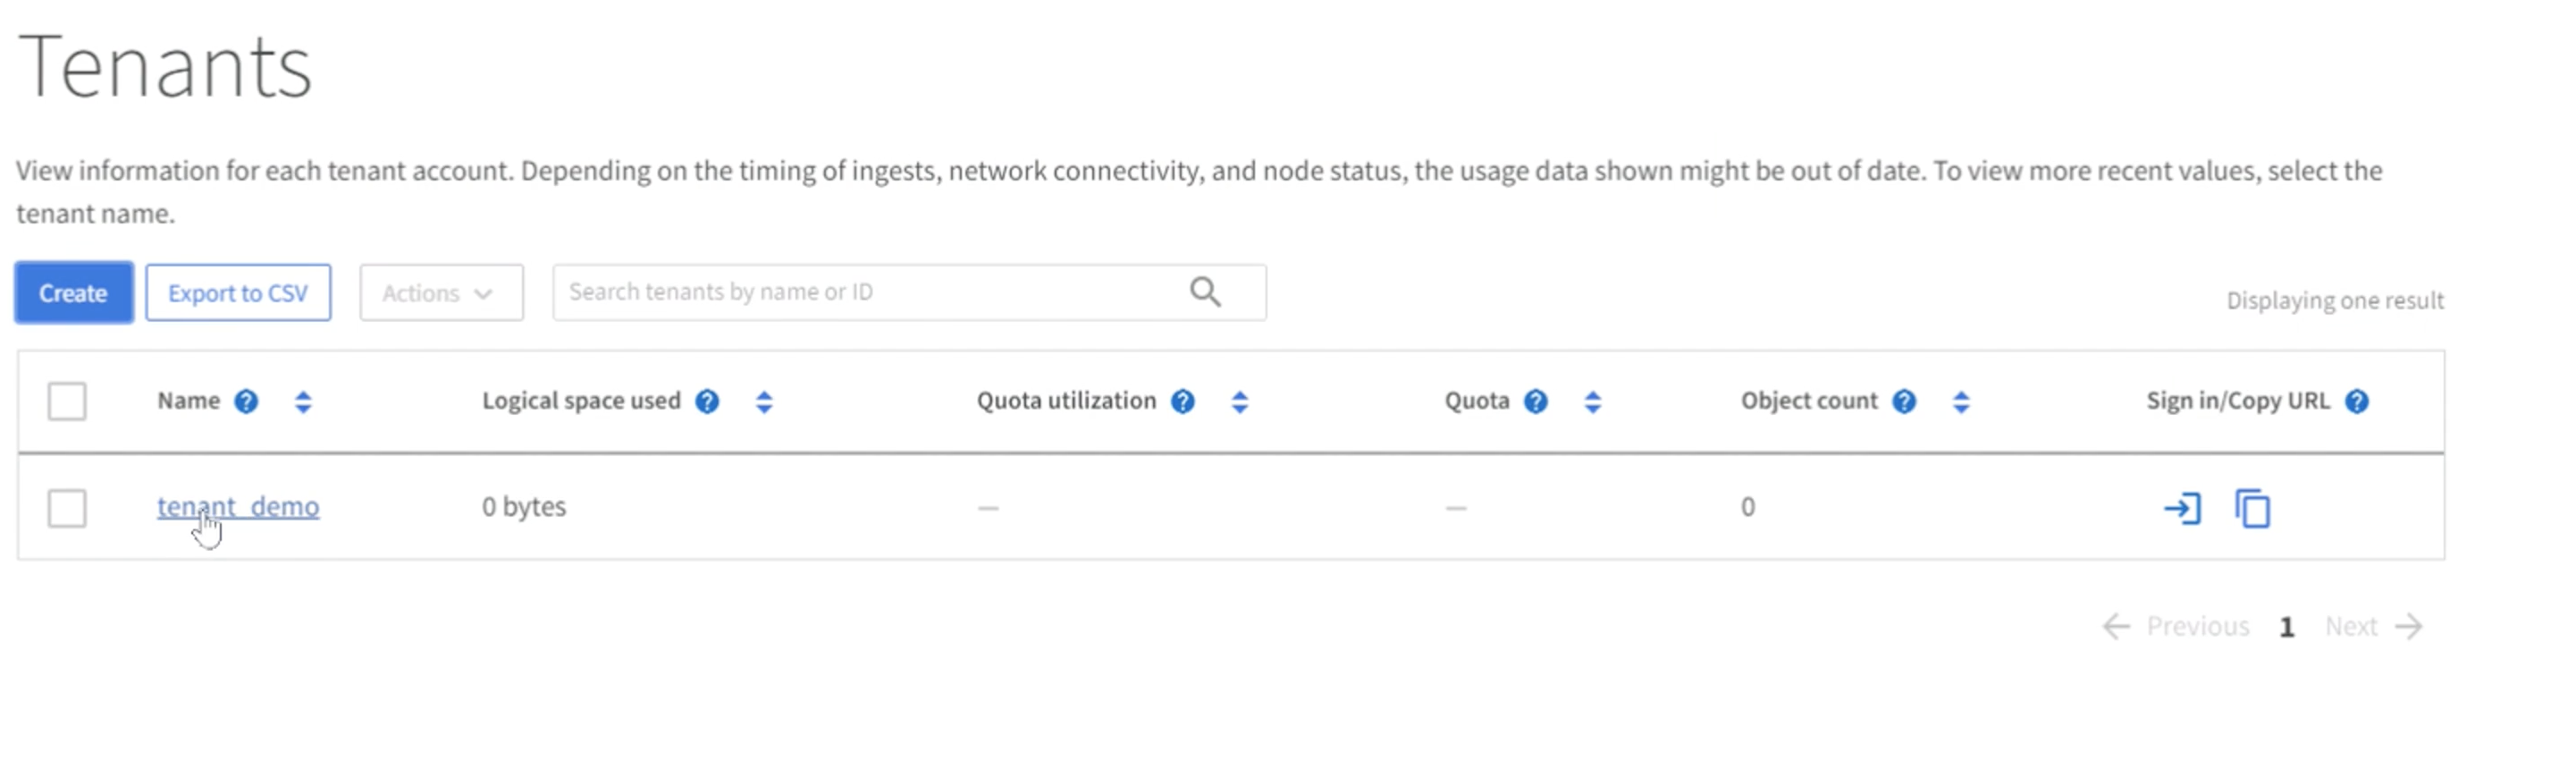
Click on the tenant name to view the tenant details. You will need the tenant ID later so copy it off.
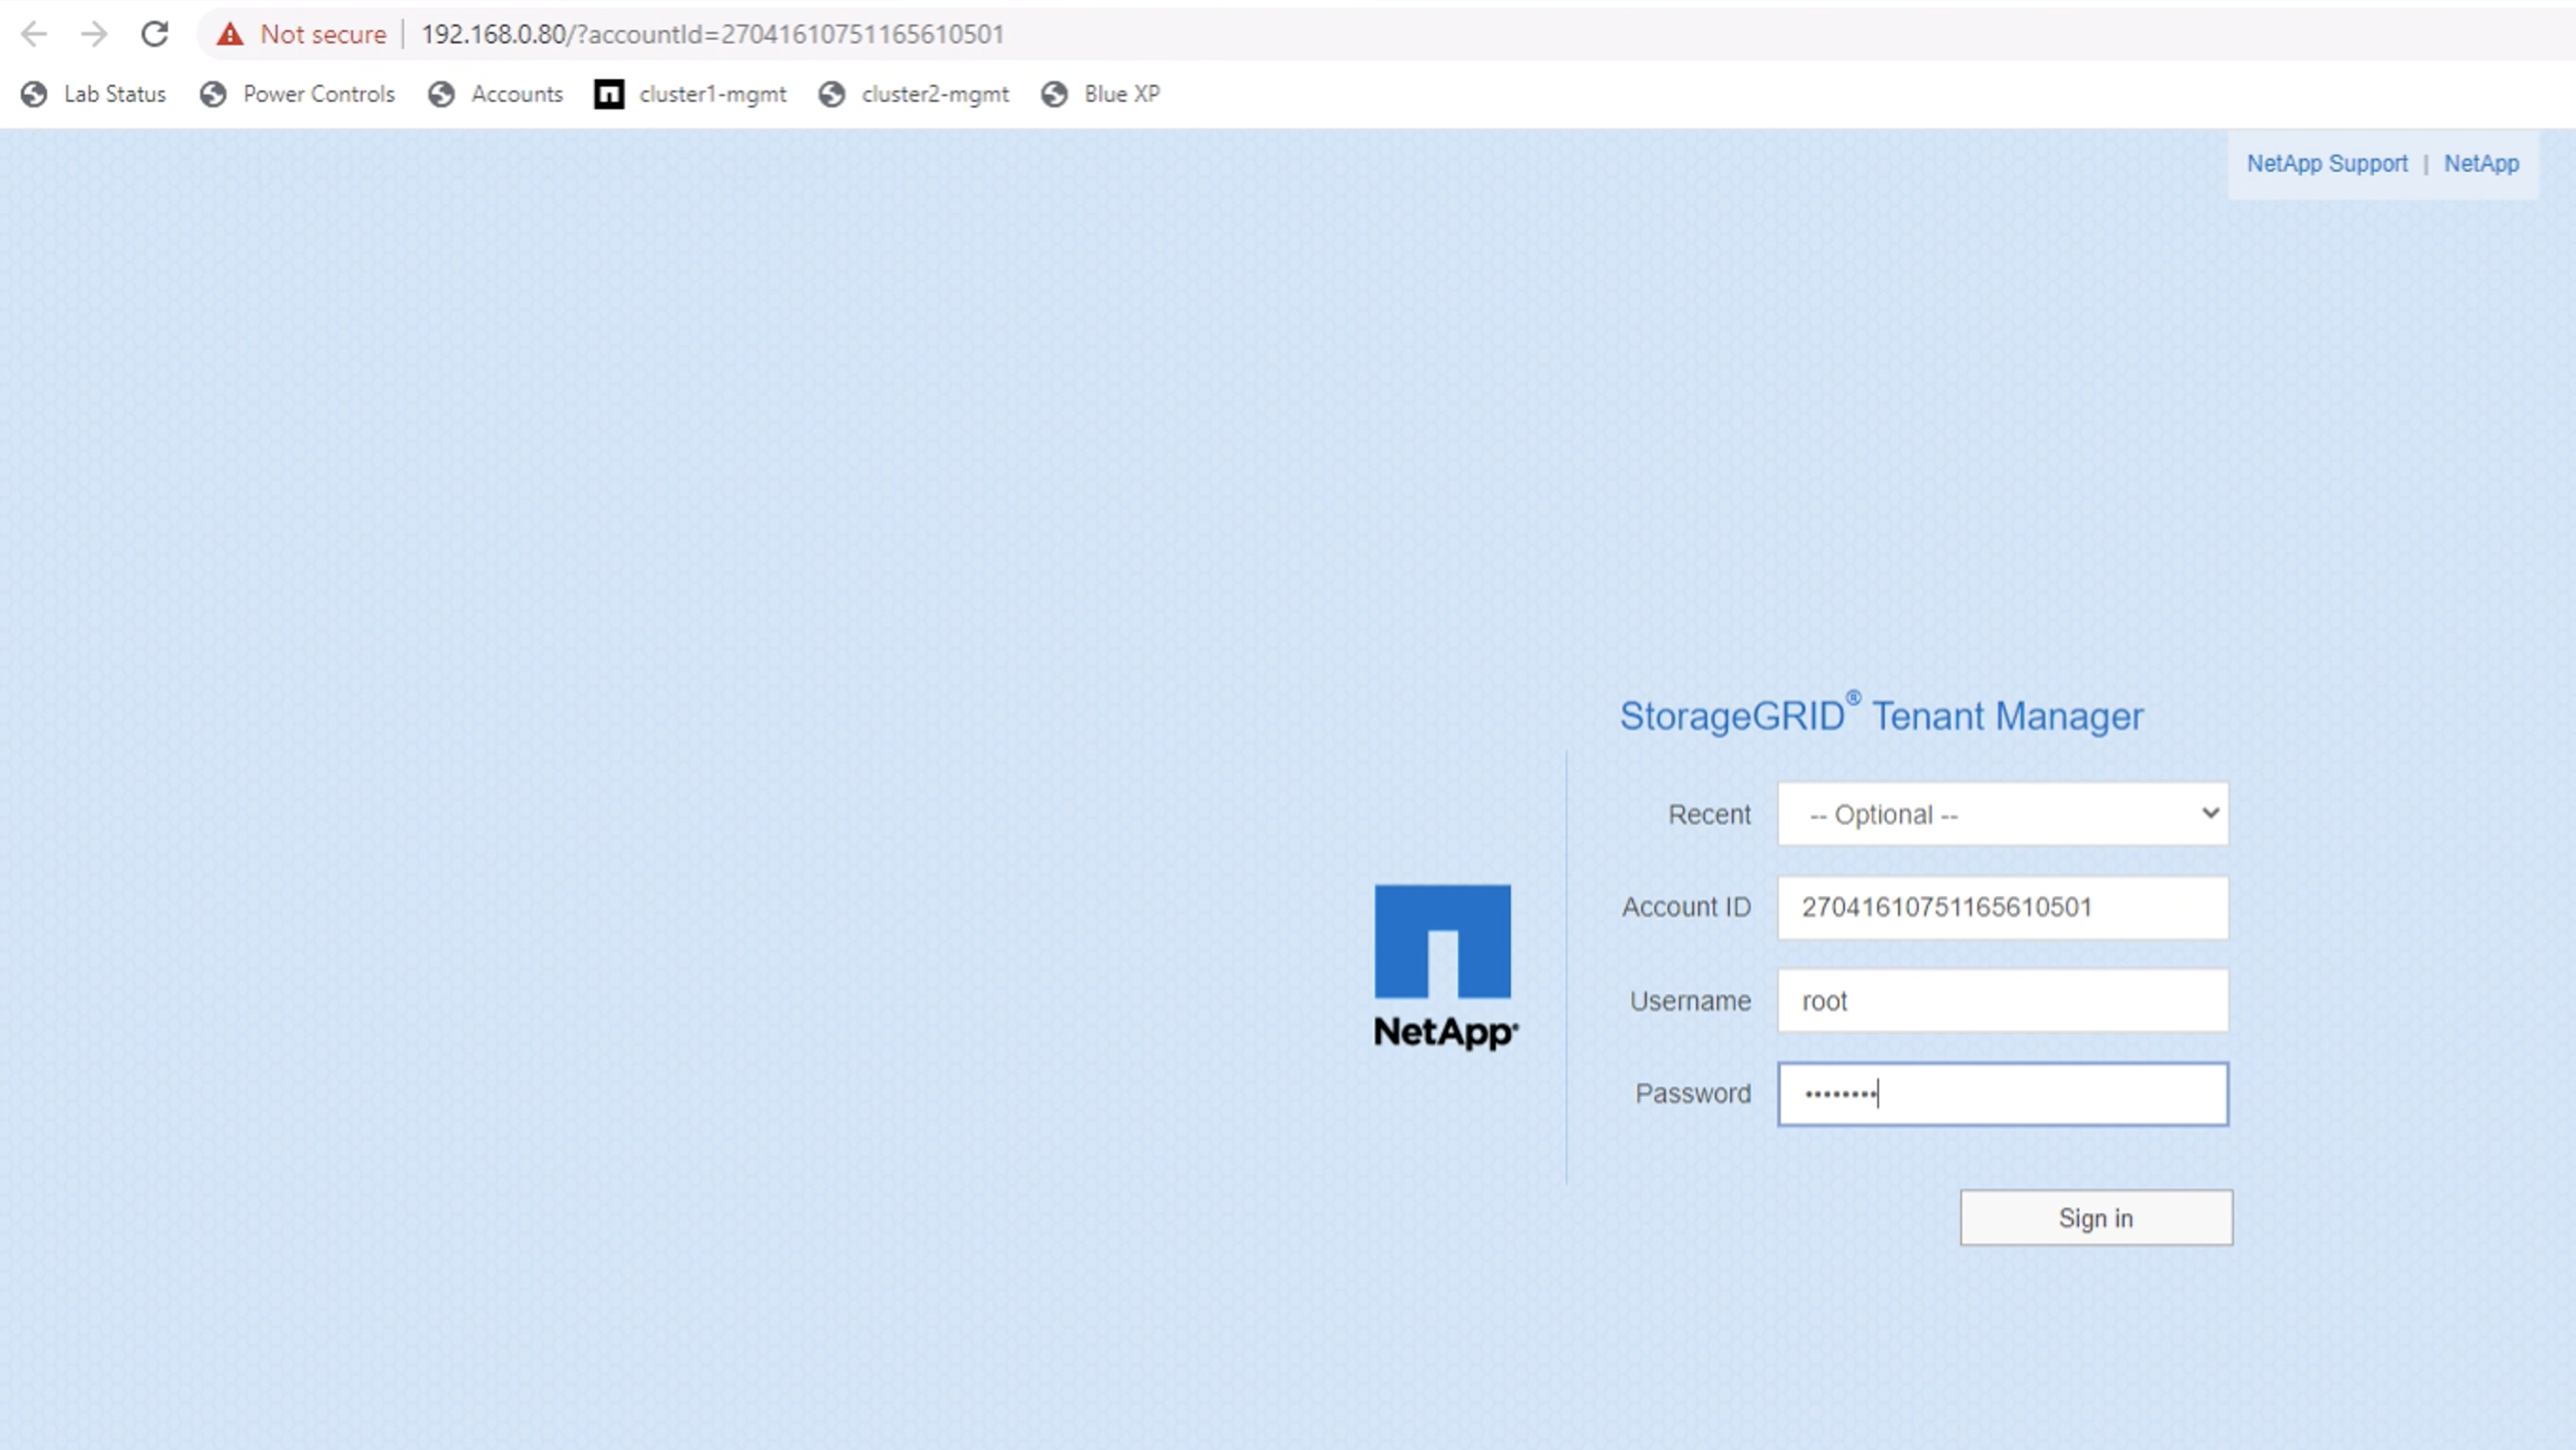
Click on the Sign in button. This will bring you to the tenant portal login. Save the URL for future use.
This will bring you to the tenant portal login. Save the URL for future use, and enter the root user credentials.
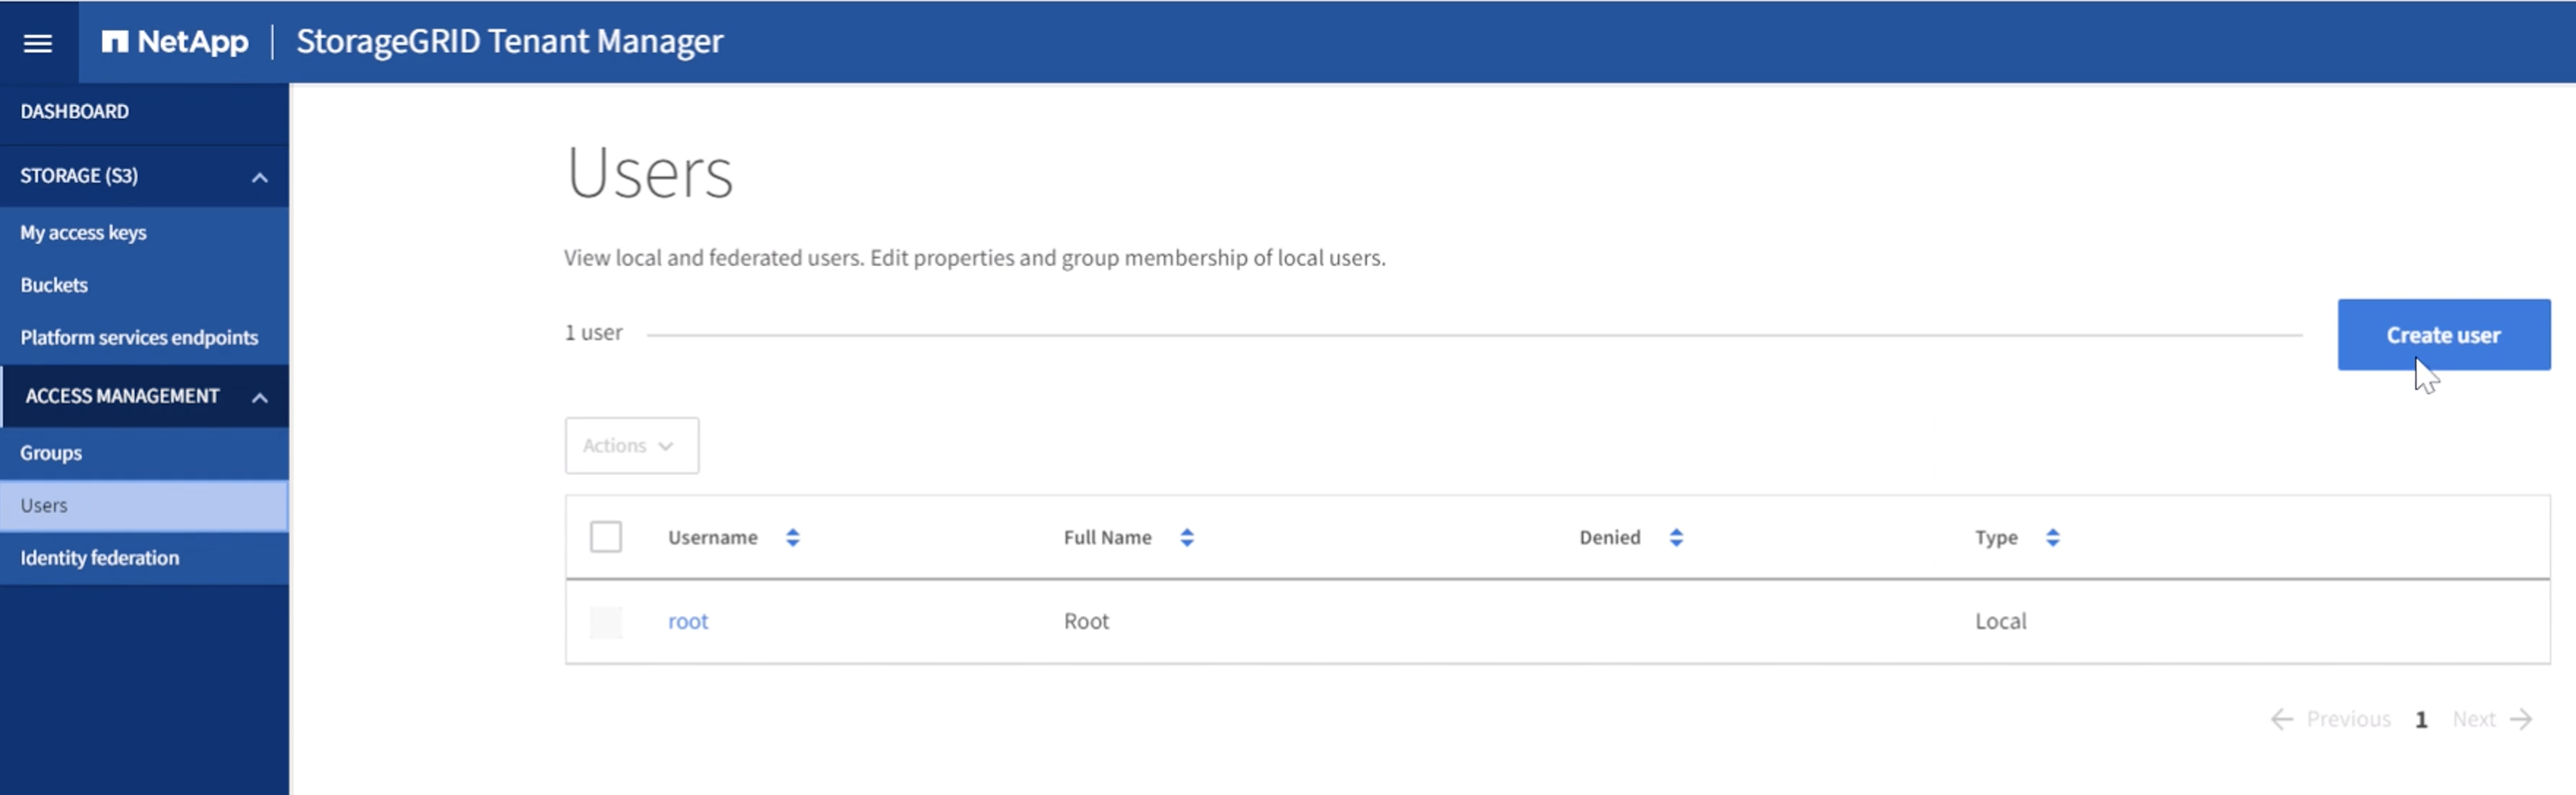
Create the user
Navigate to the Users tab and create a new user.
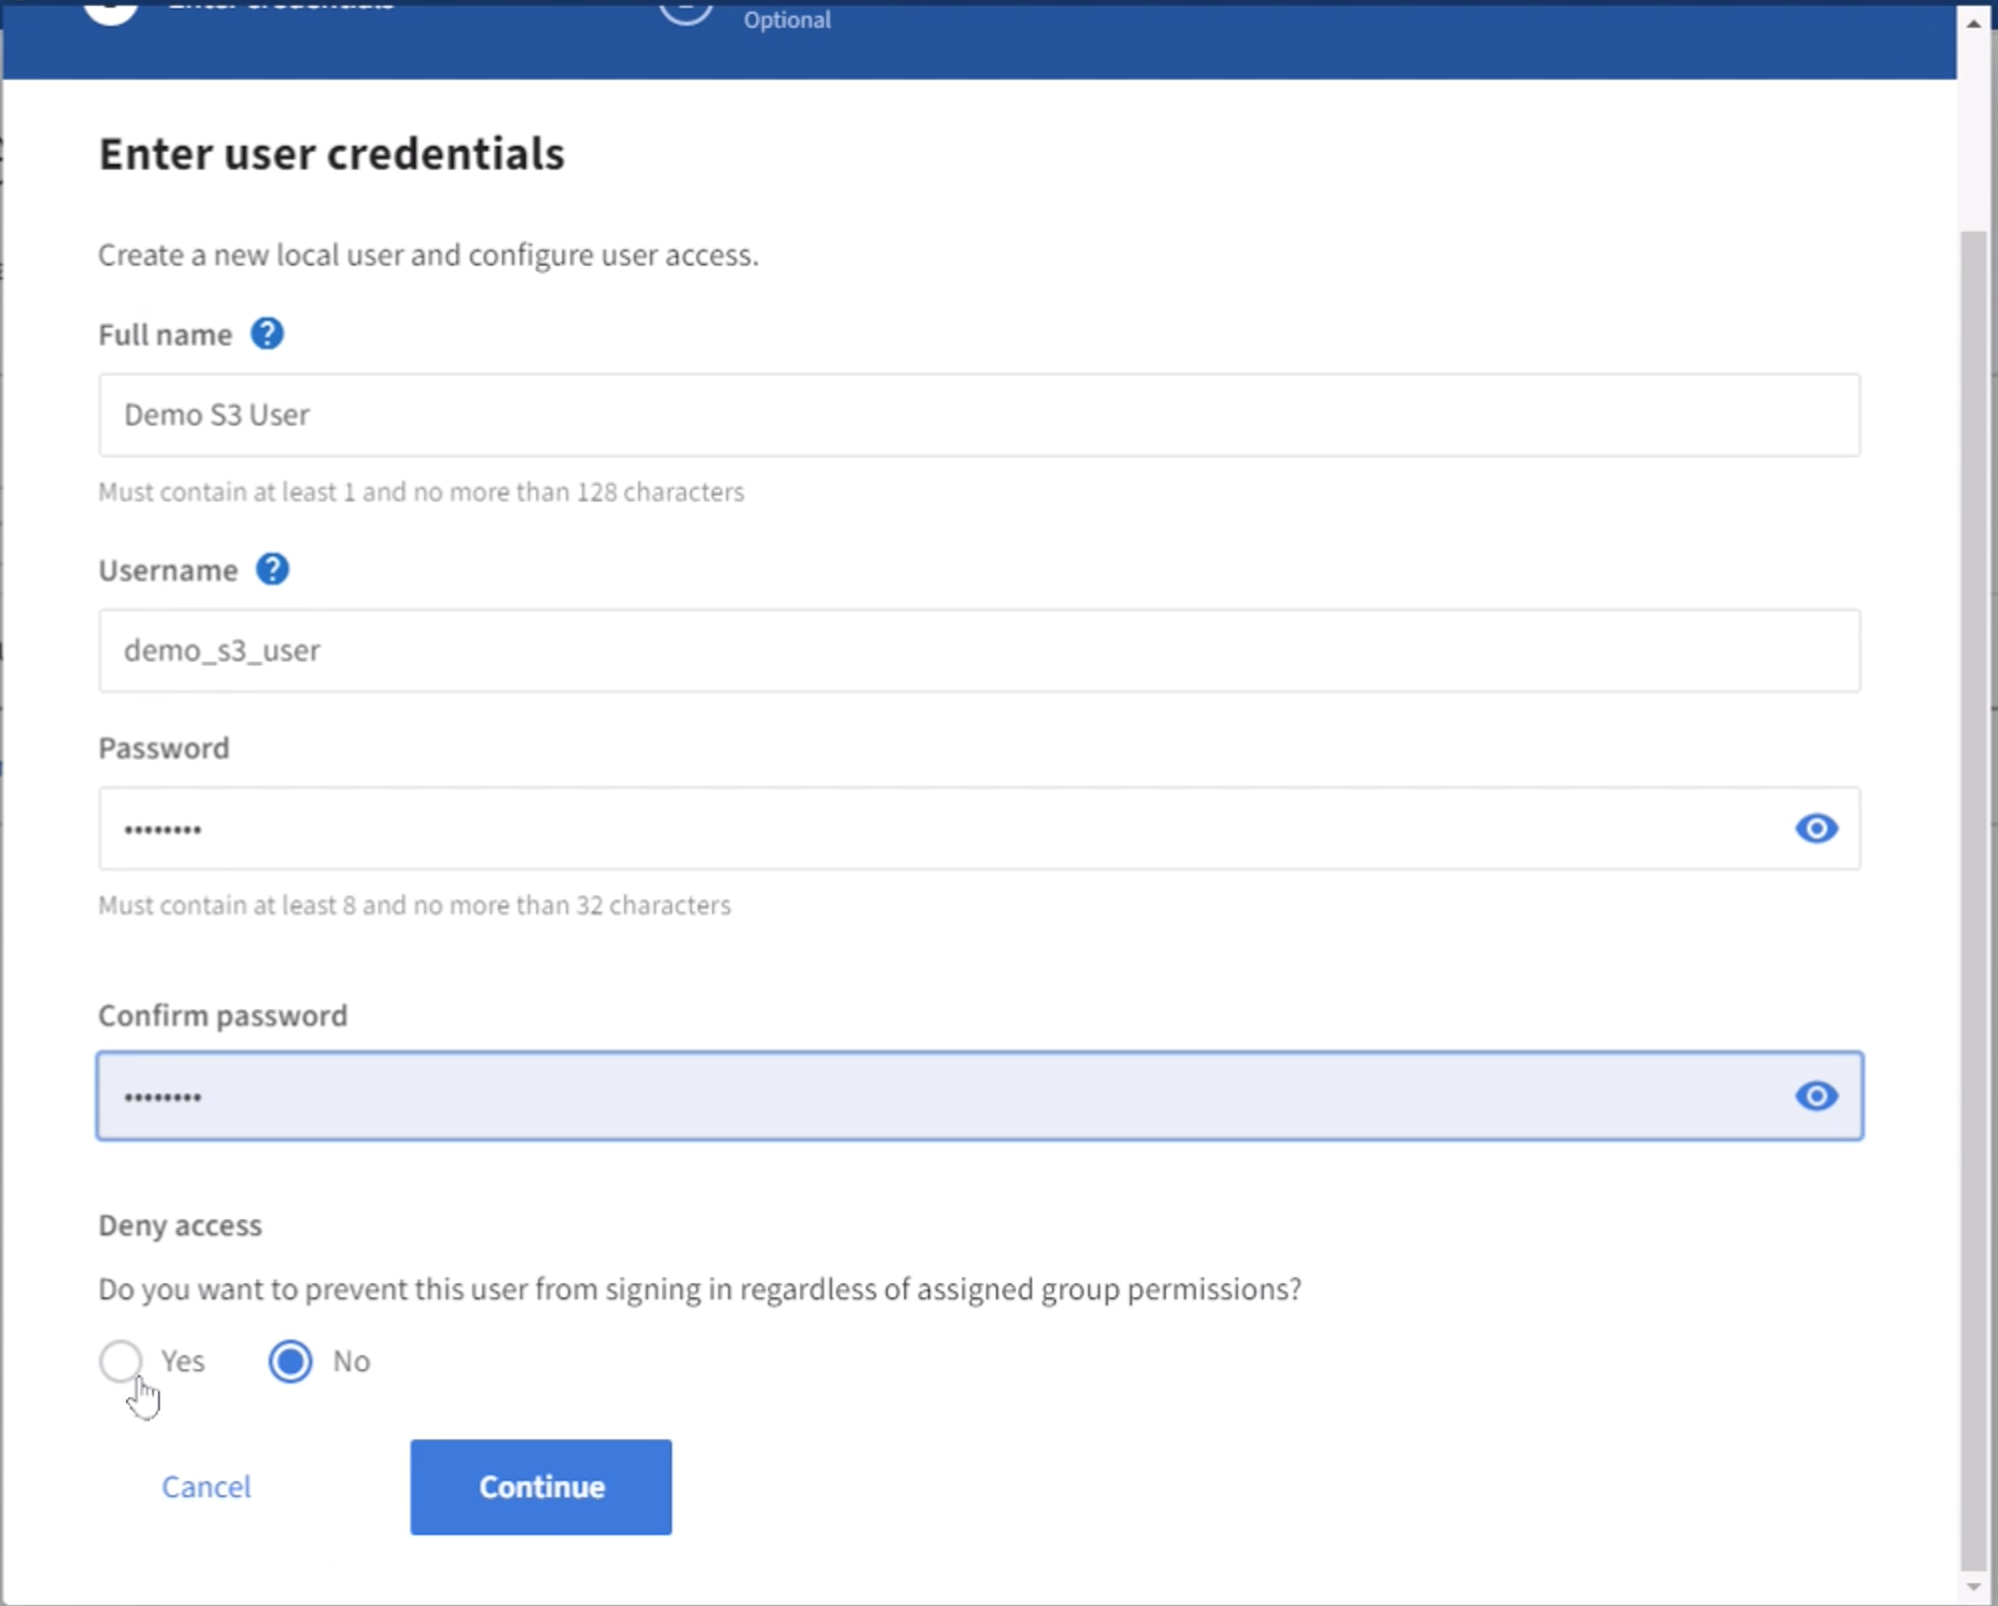
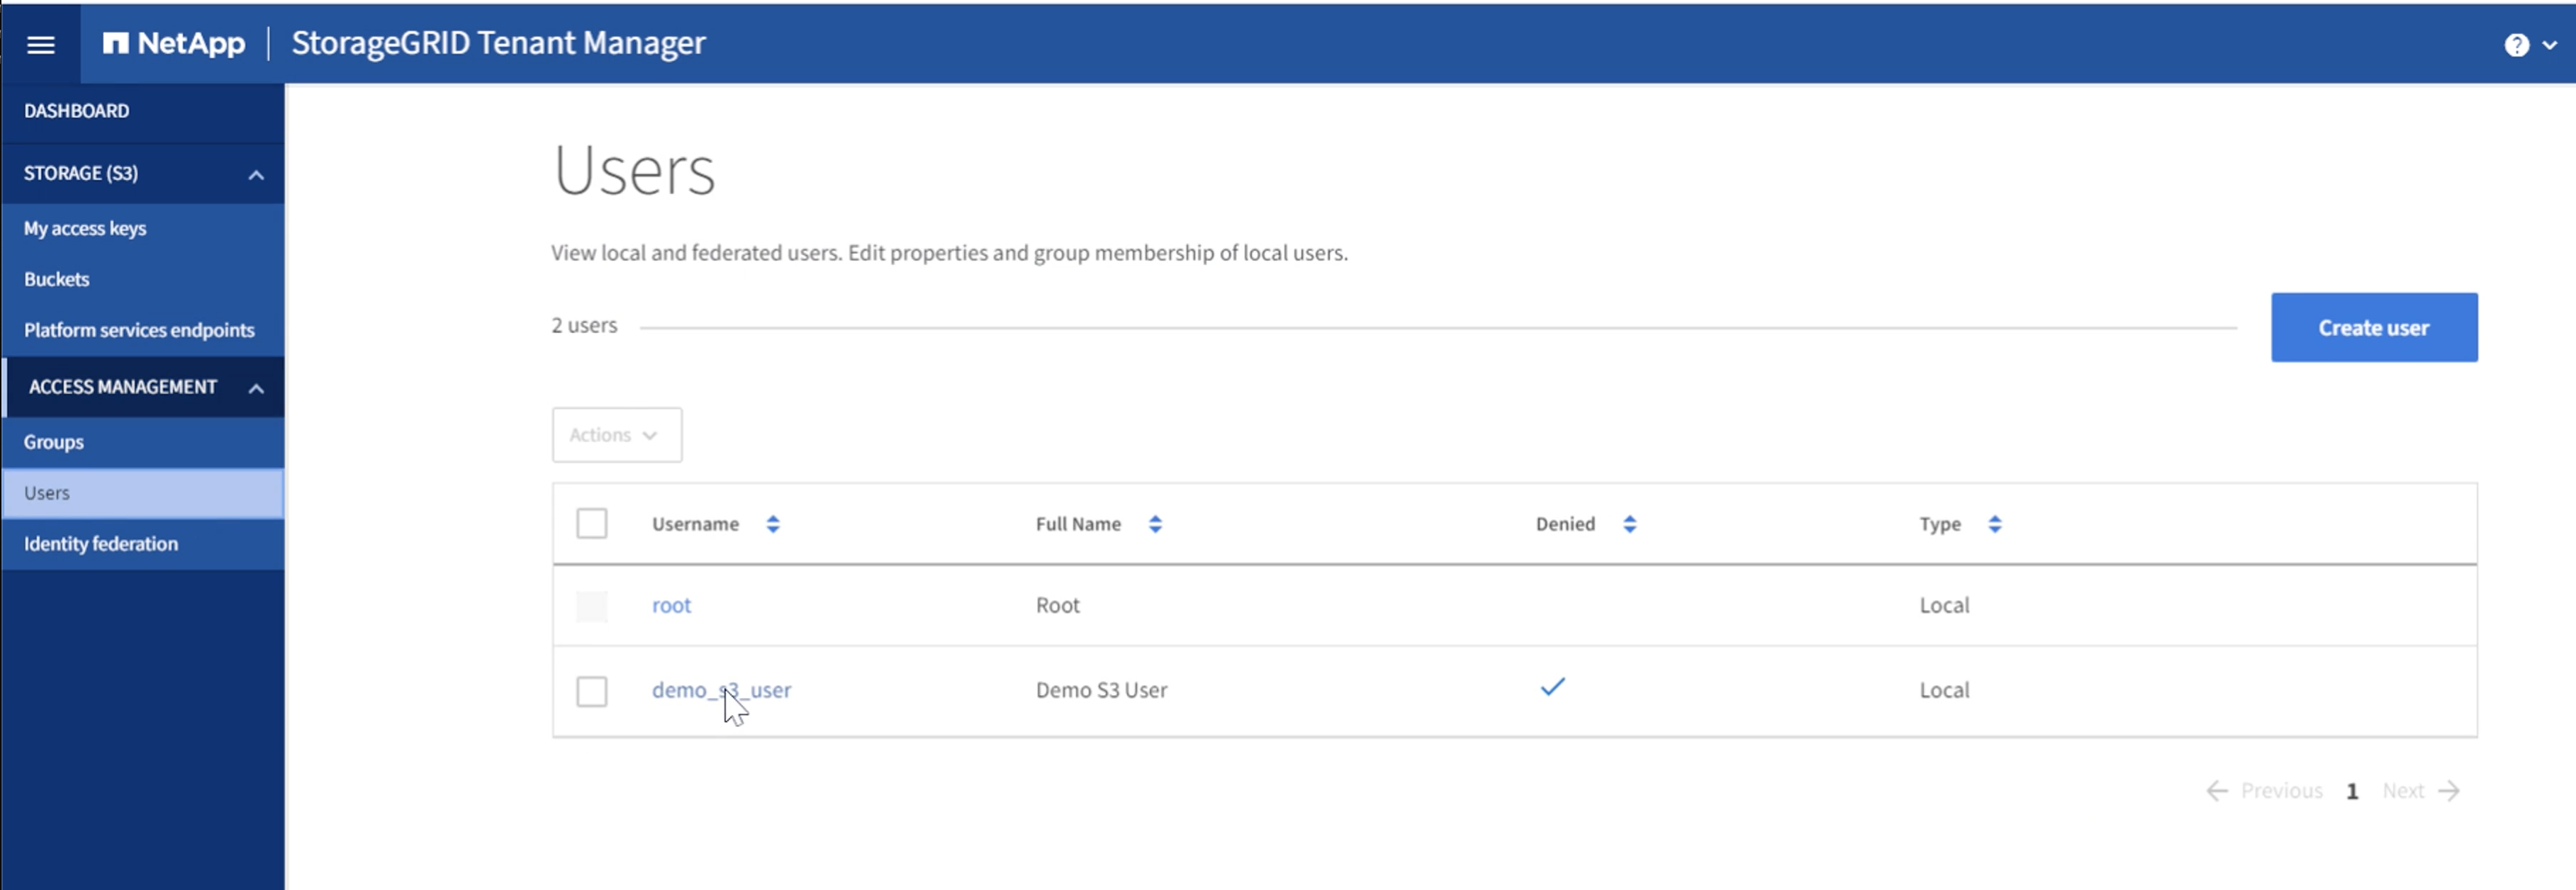
Now that the new user has been created, click on the users name to open the details of the user.
Copy the user ID from the URL to be used later.

To create the S3 keys click on the user name.
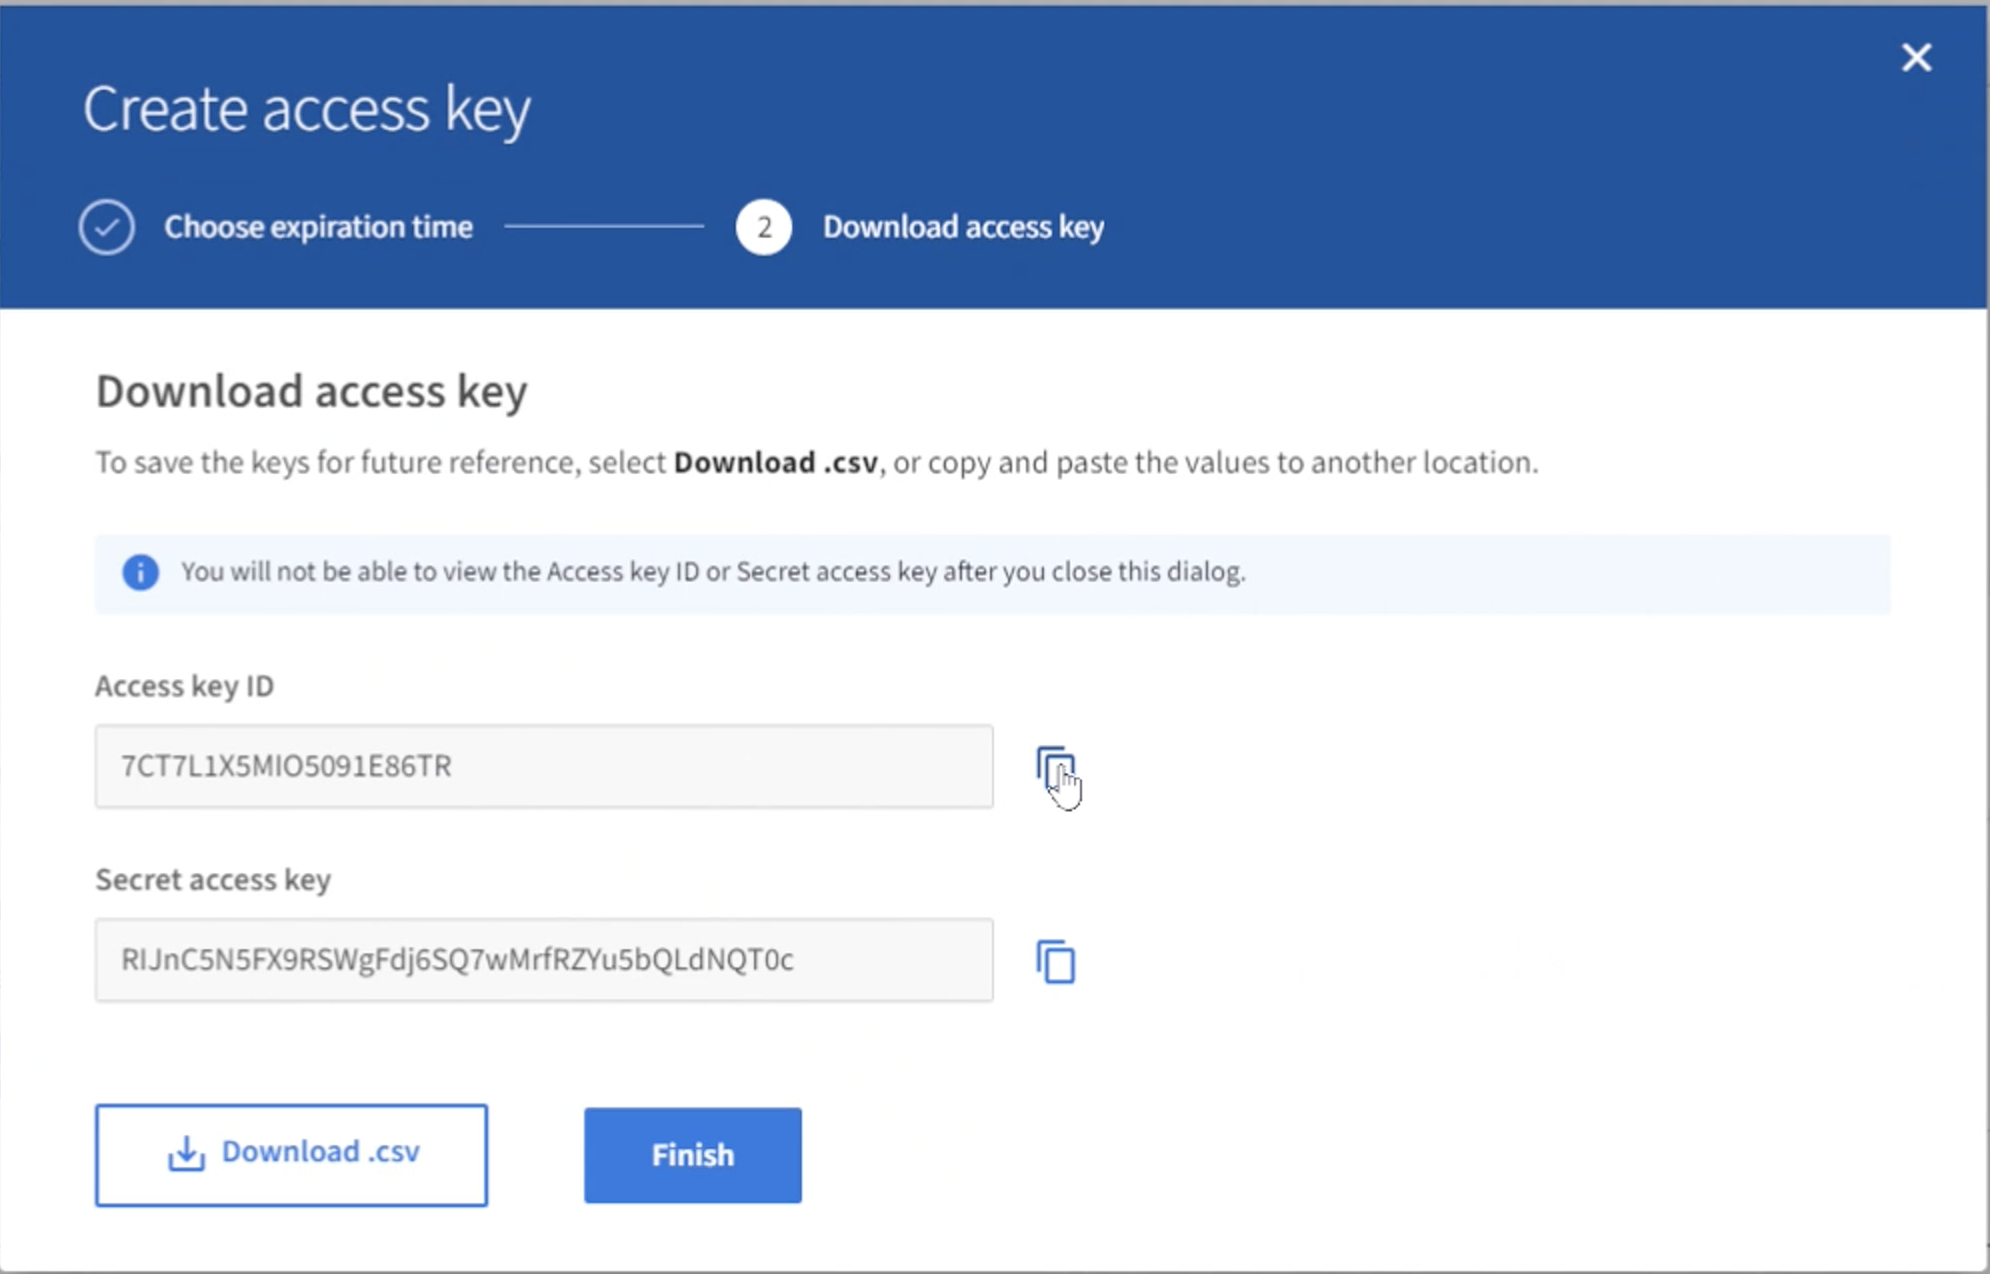
Select the "Access keys" tab and click on the "Create Key" button. There is no need to set an expiration time. Download the S3 keys as they cannot be retrieved again once the window is closed.
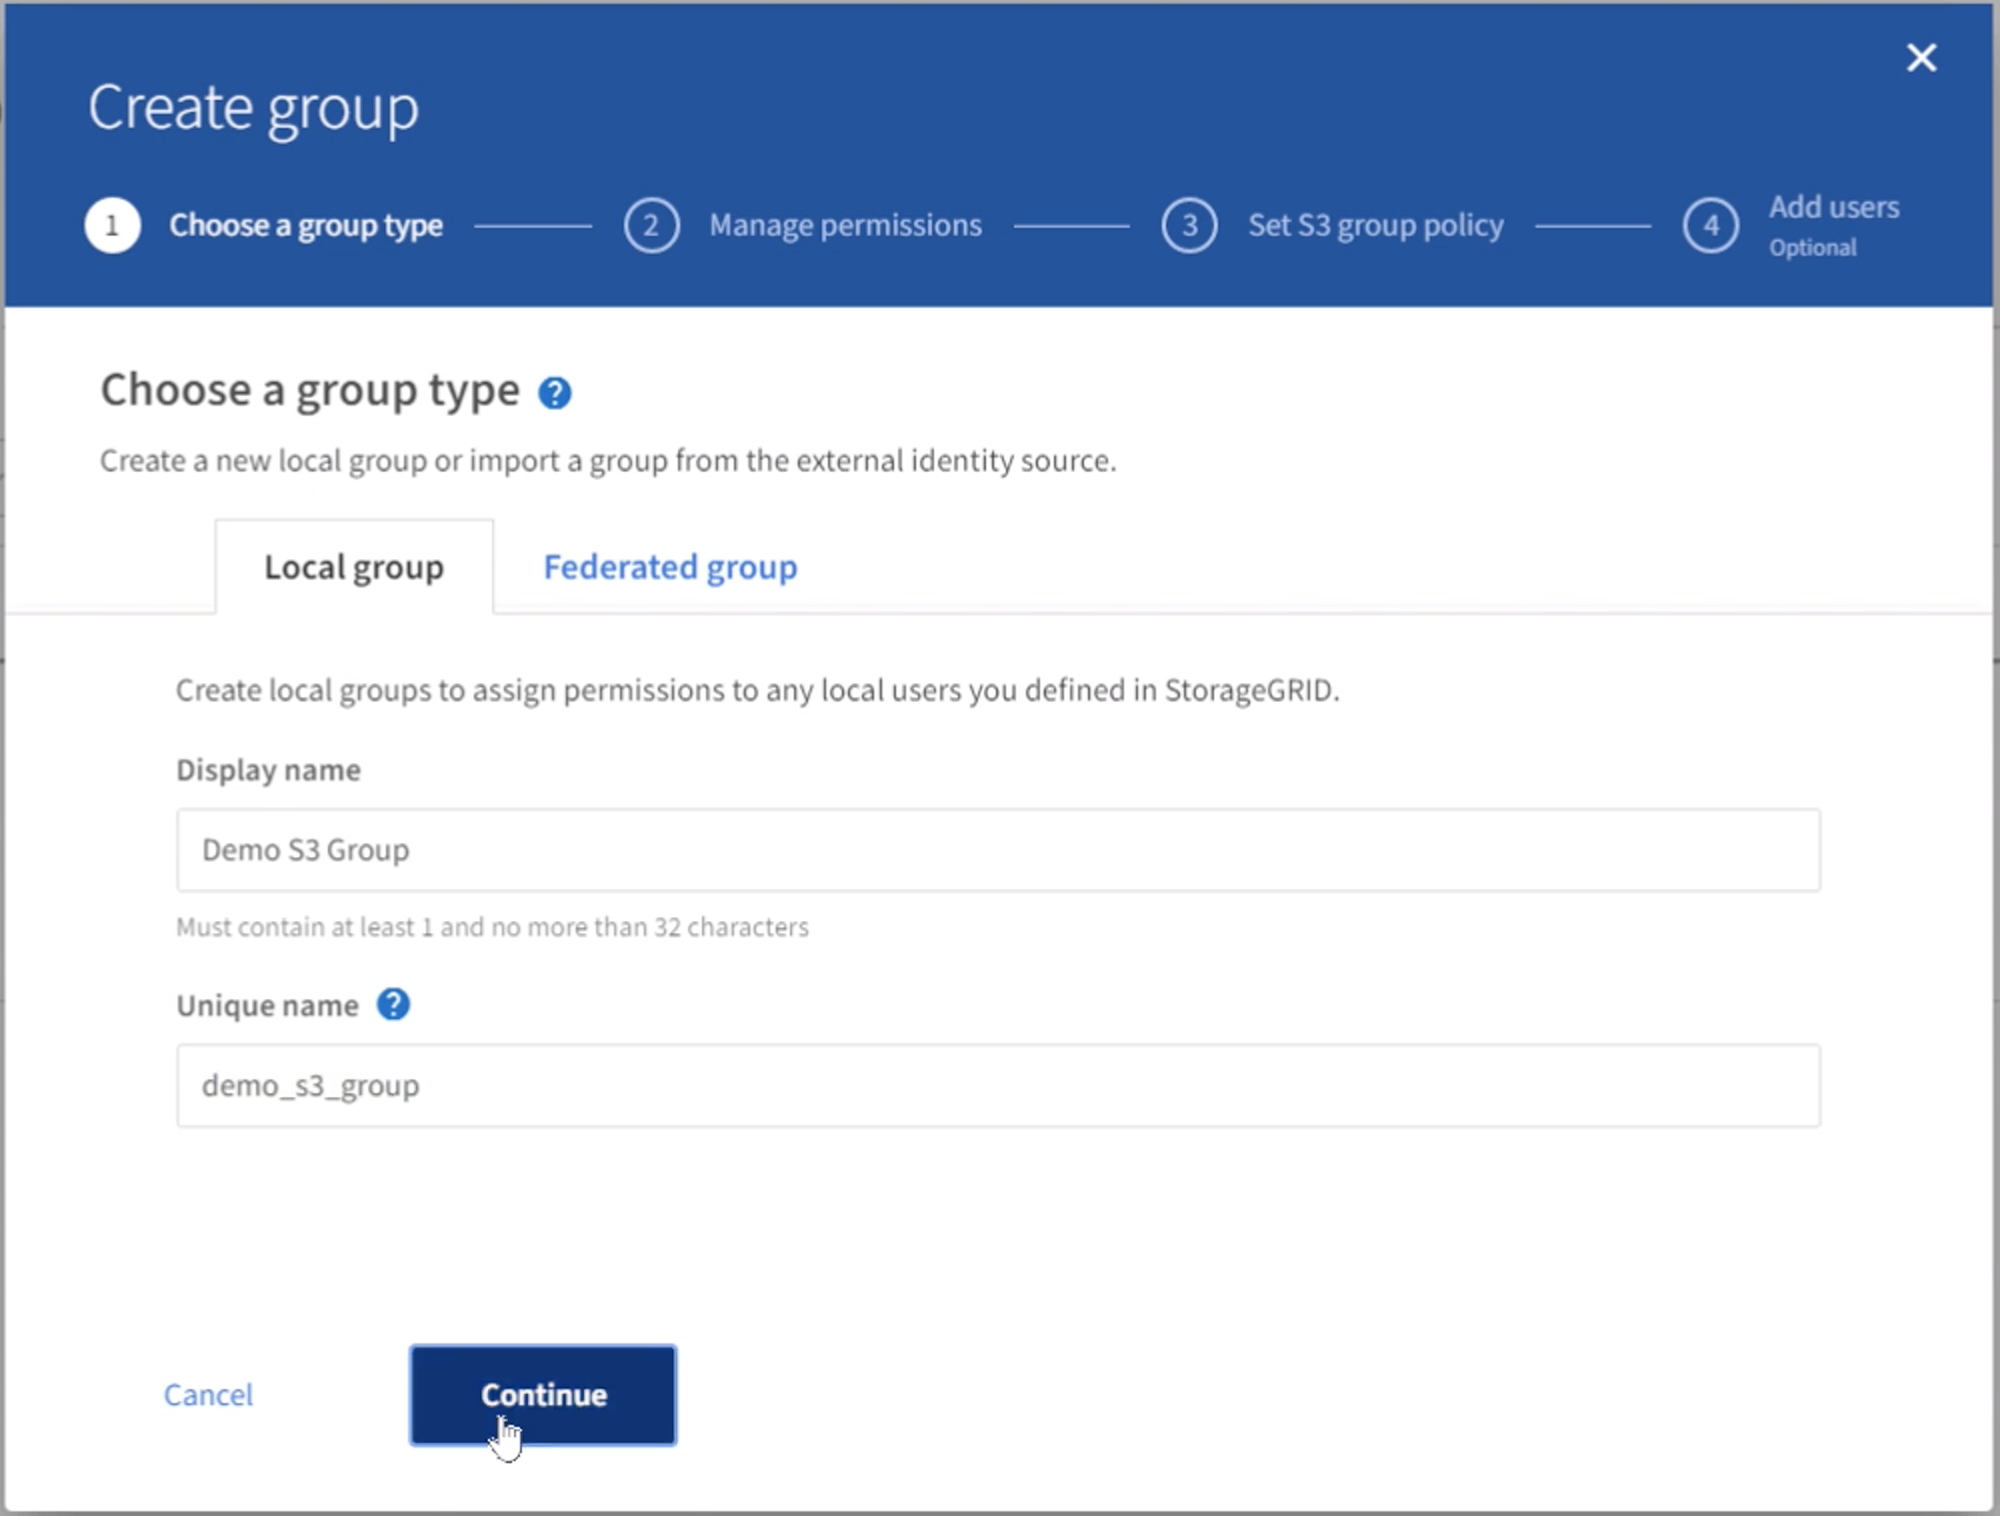
Create the security group
Now go to the Groups page and create a new group.
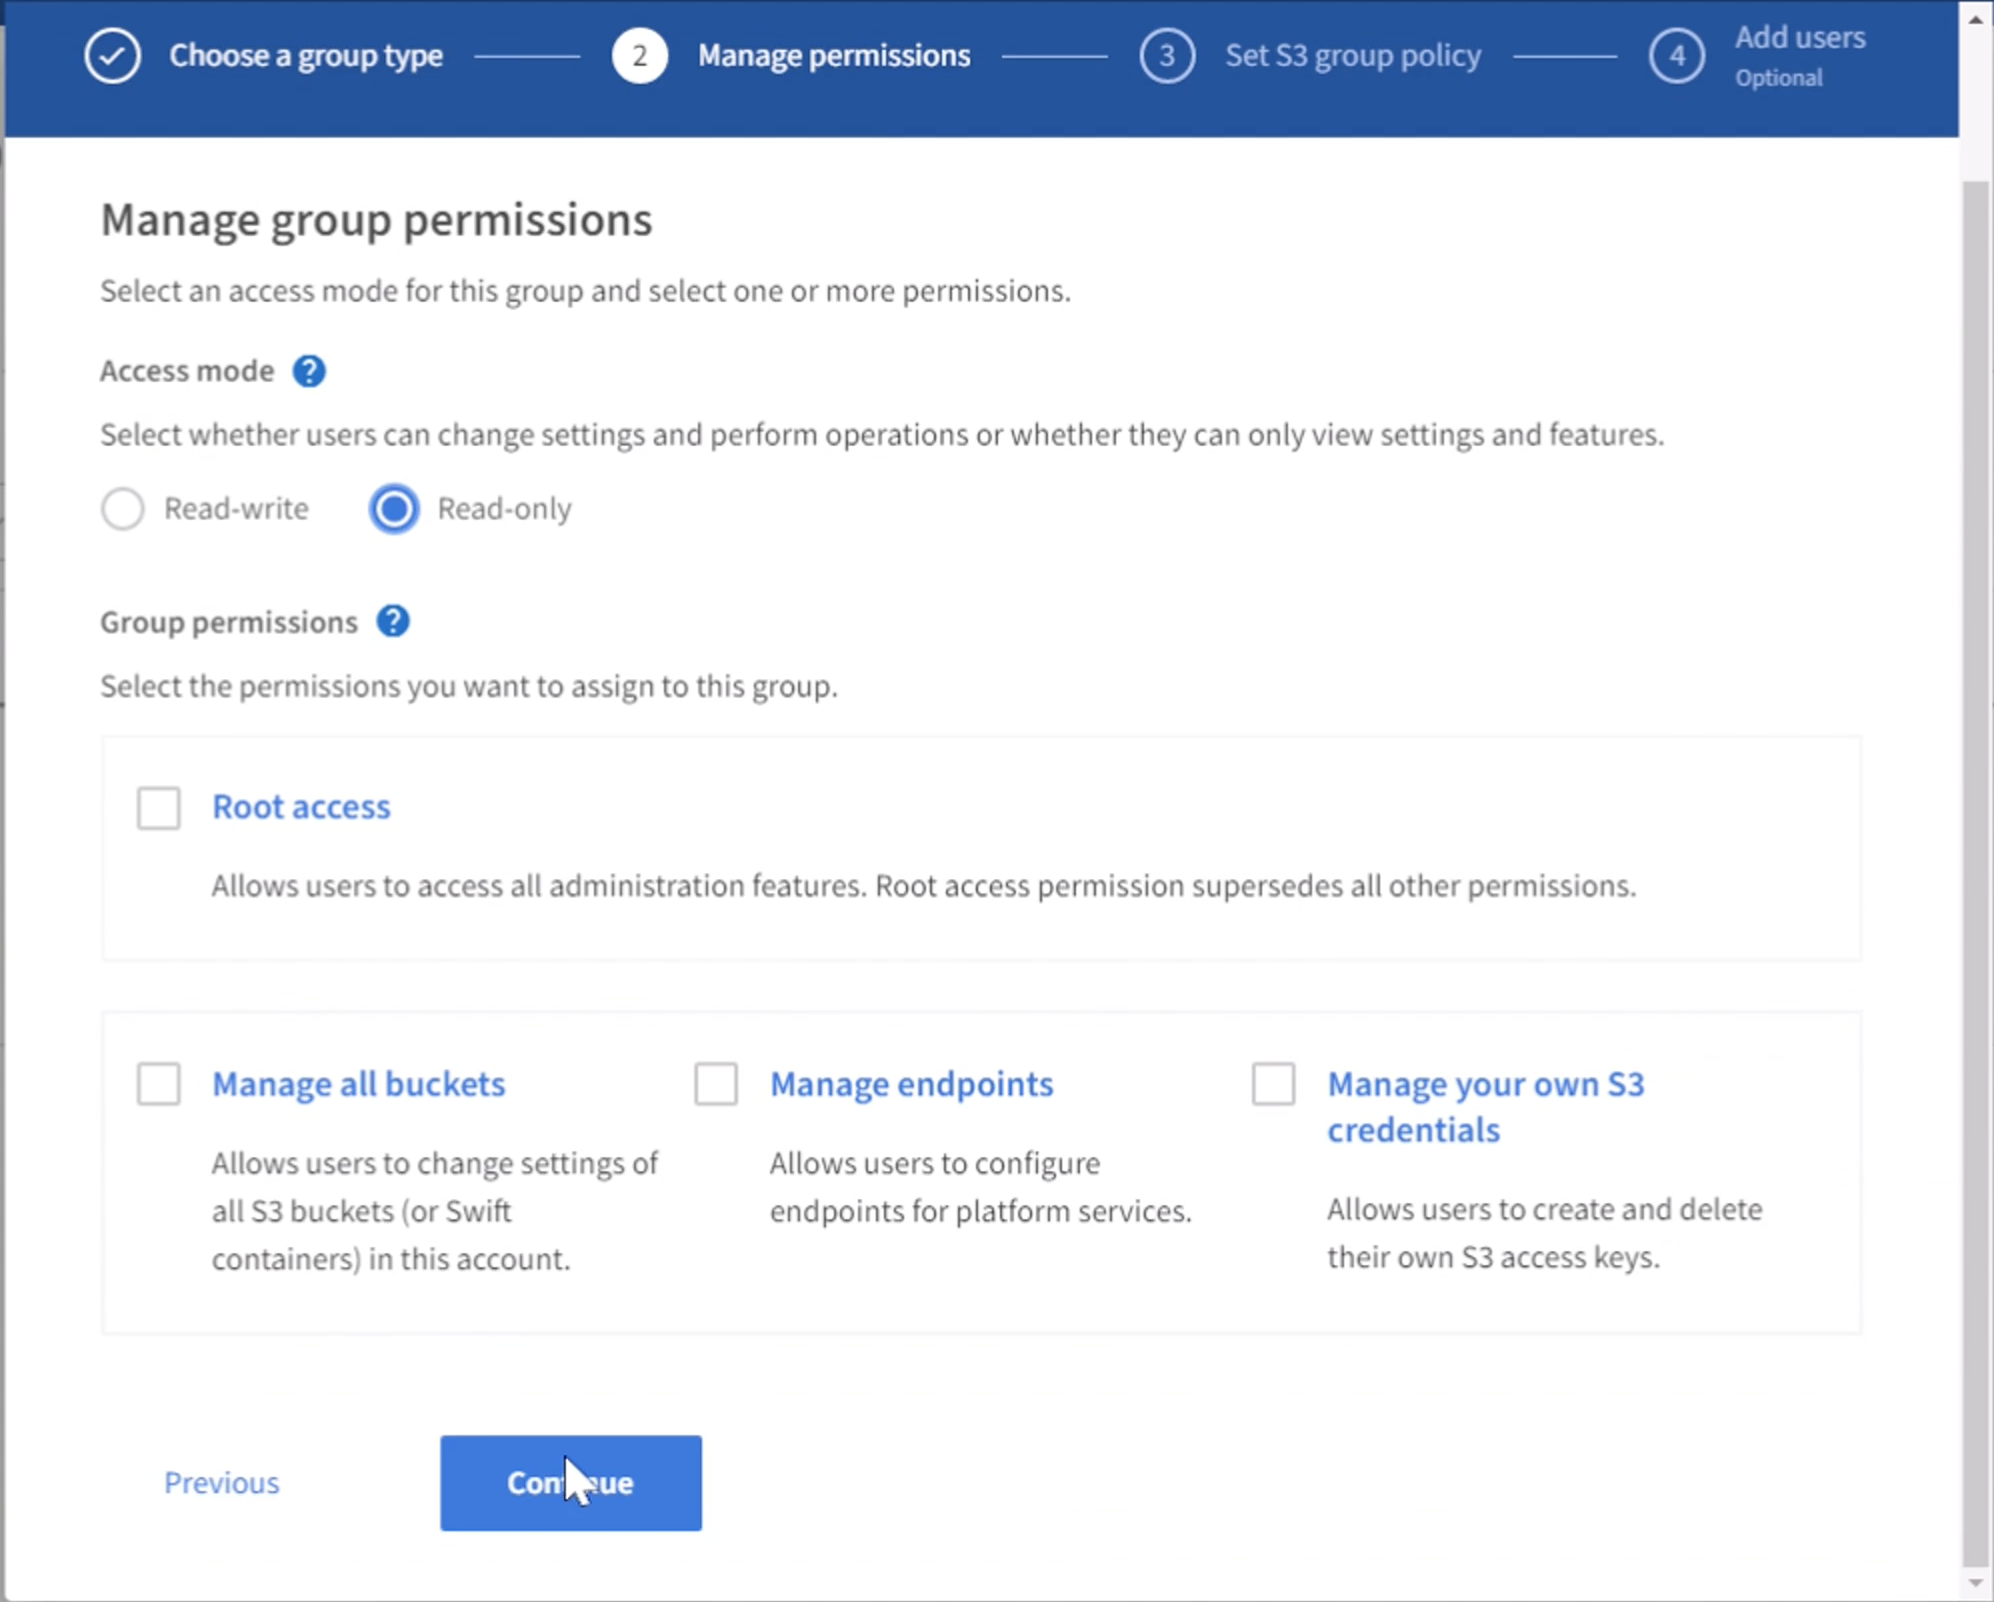
Set the group permissions to Read-Only. This is the Tenant UI permissions, not the S3 permissions.
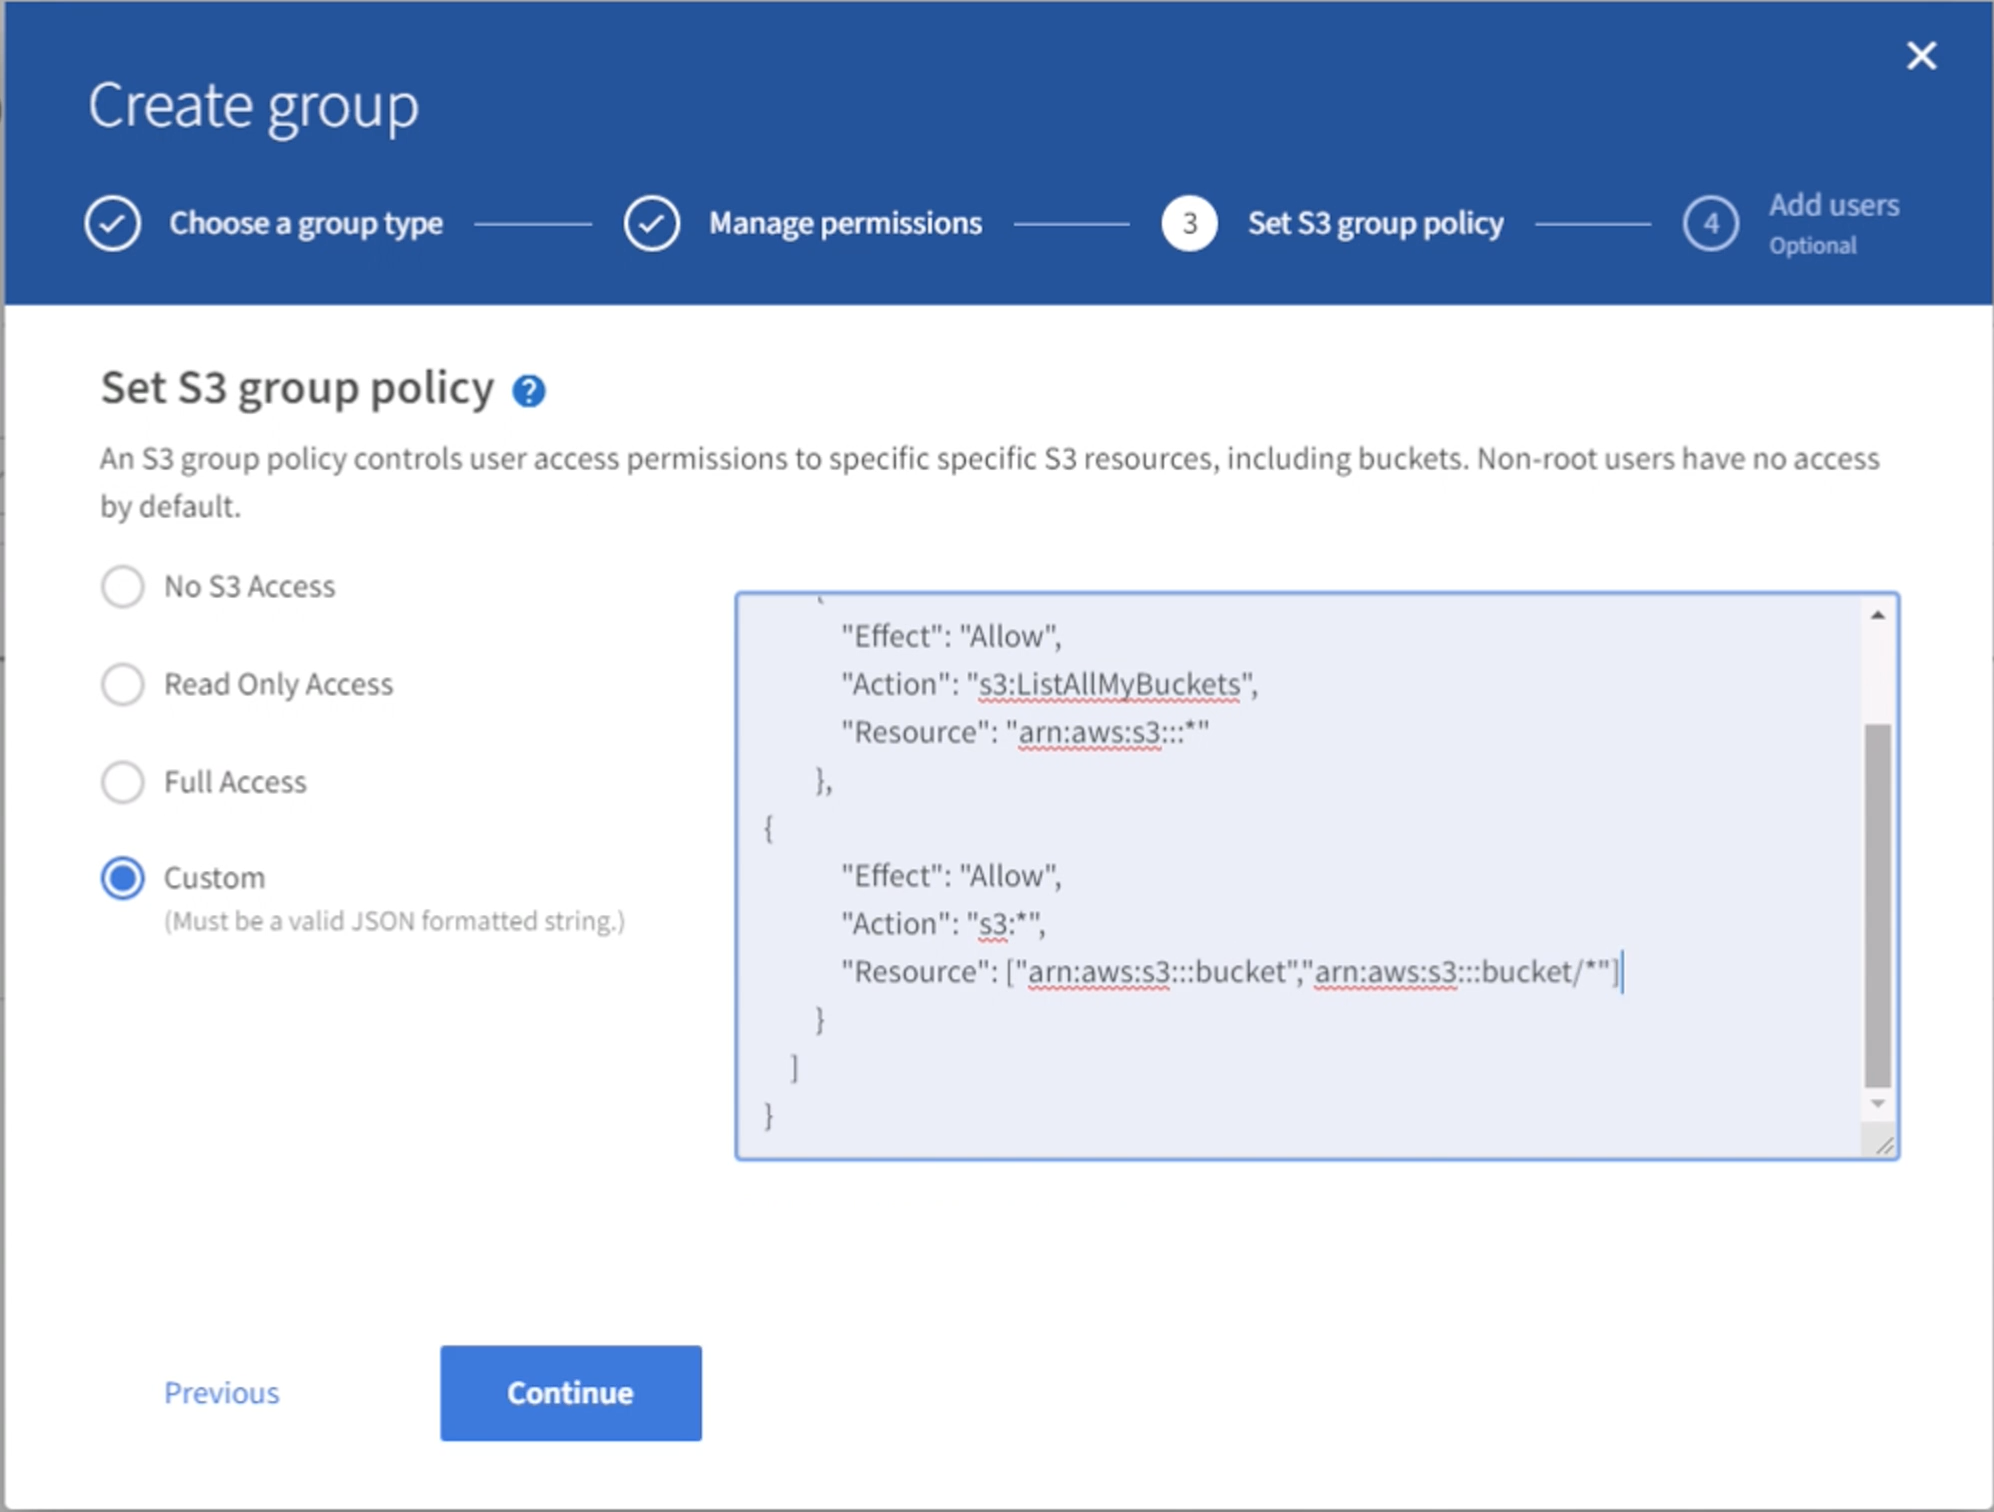
S3 permissions are controlled with the group policy (IAM Policy). Set the Group policy to custom and paste the json policy in the box. This policy will allow users of this group to list the buckets of the tenant and perform any S3 operations in the bucket named "bucket" or sub-folders in the bucket named "bucket".
{
    "Statement": [
      {
        "Effect": "Allow",
        "Action": "s3:ListAllMyBuckets",
        "Resource": "arn:aws:s3:::*"
      },
      {
         "Effect": "Allow",
        "Action": "s3:*",
        "Resource": ["arn:aws:s3:::bucket","arn:aws:s3:::bucket/*"]
      }
    ]
}
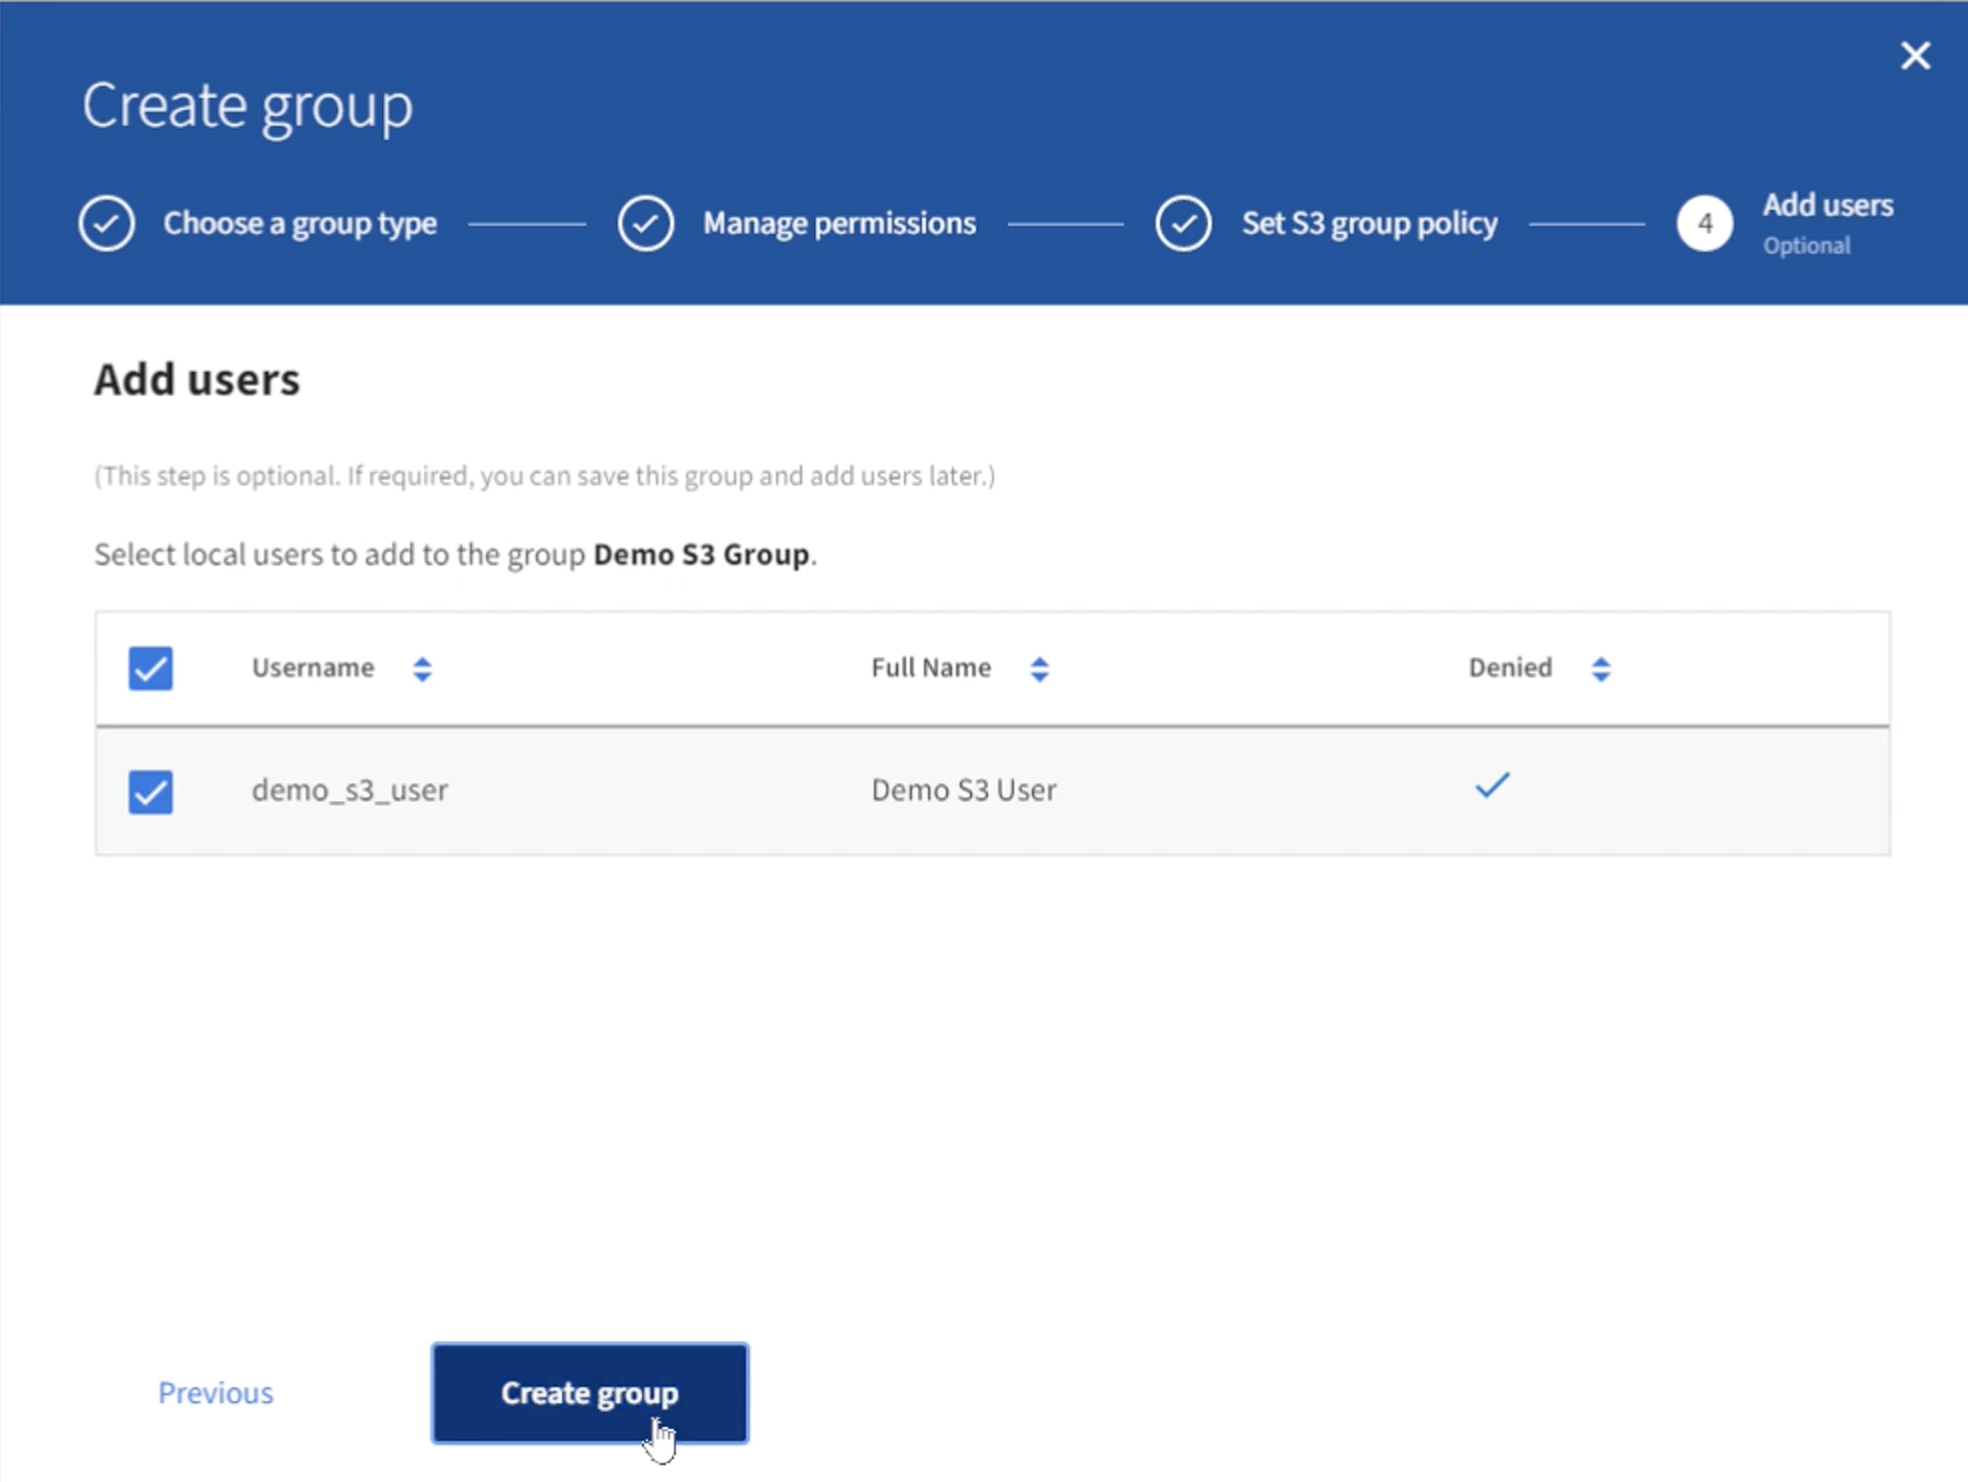
Finally, add the user to the group and finish.
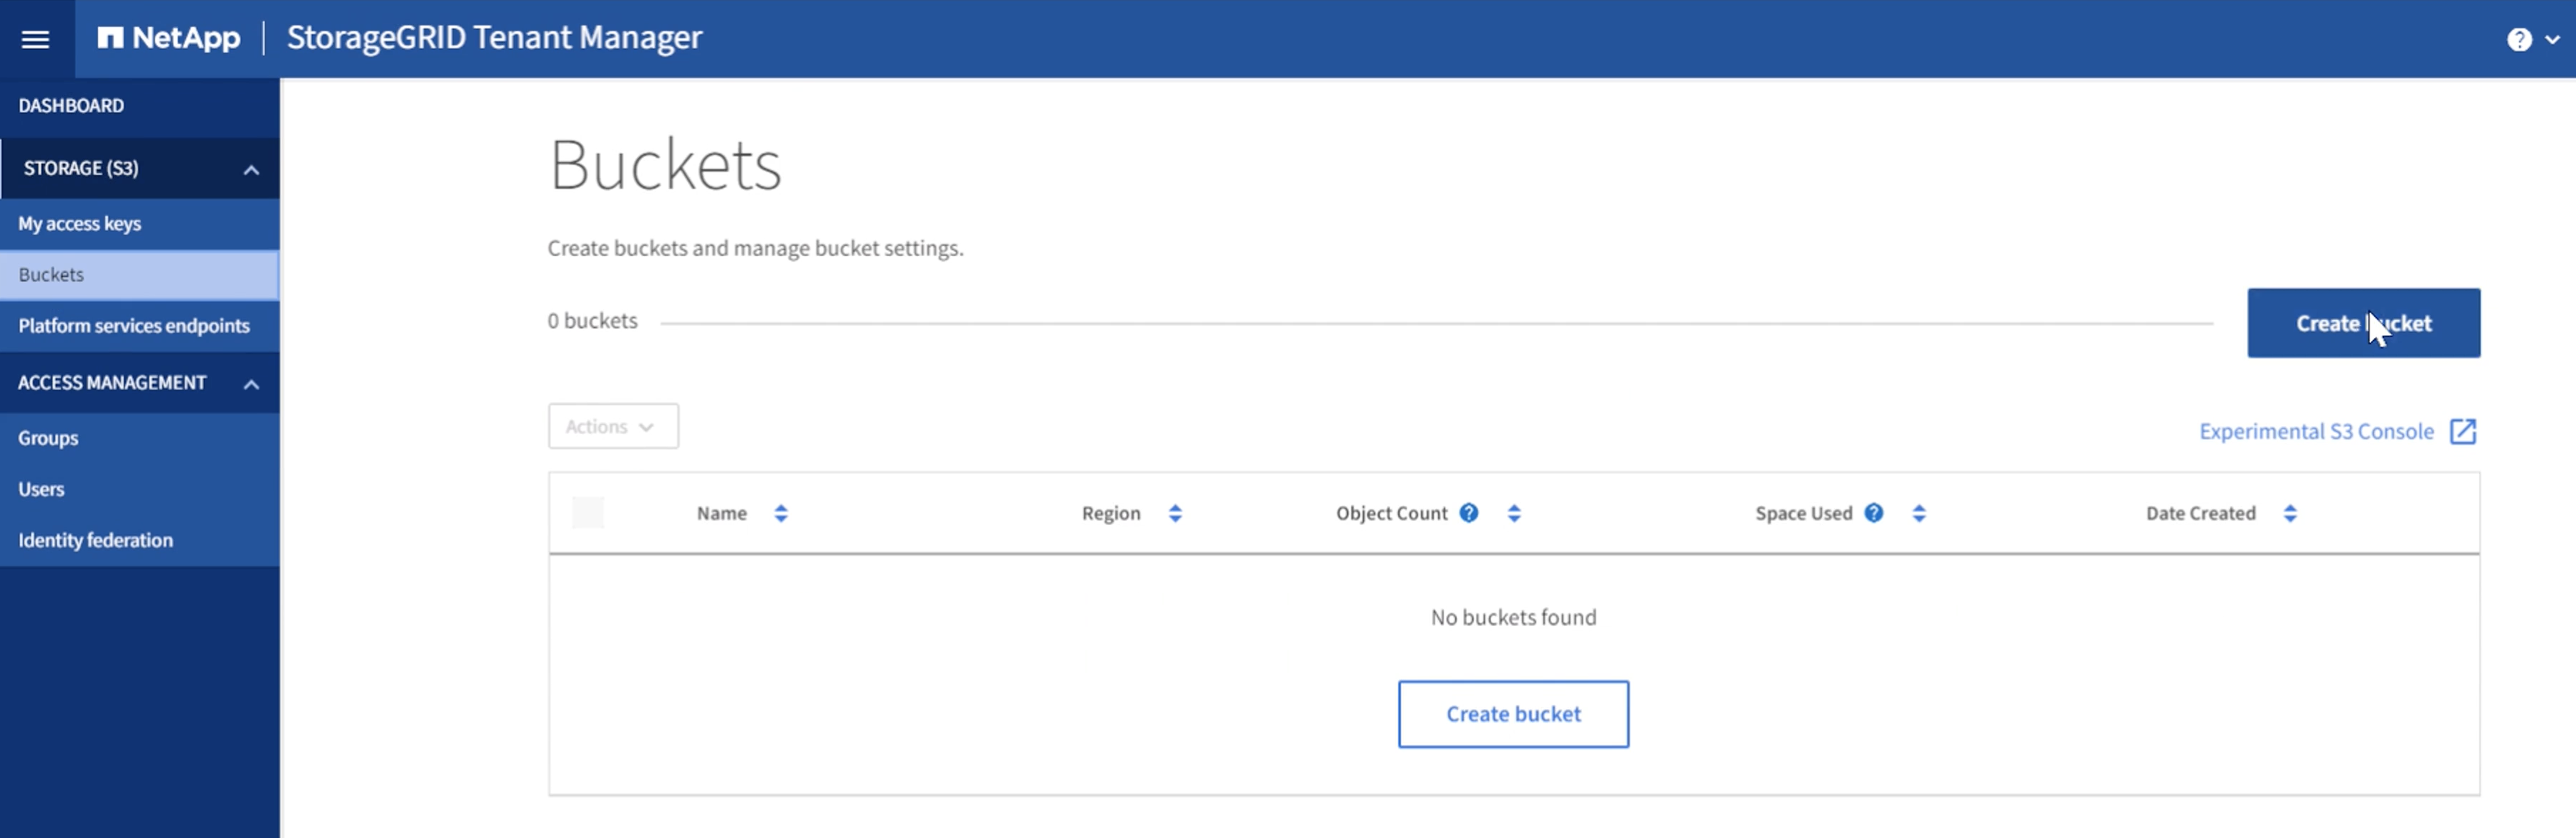
Create two buckets
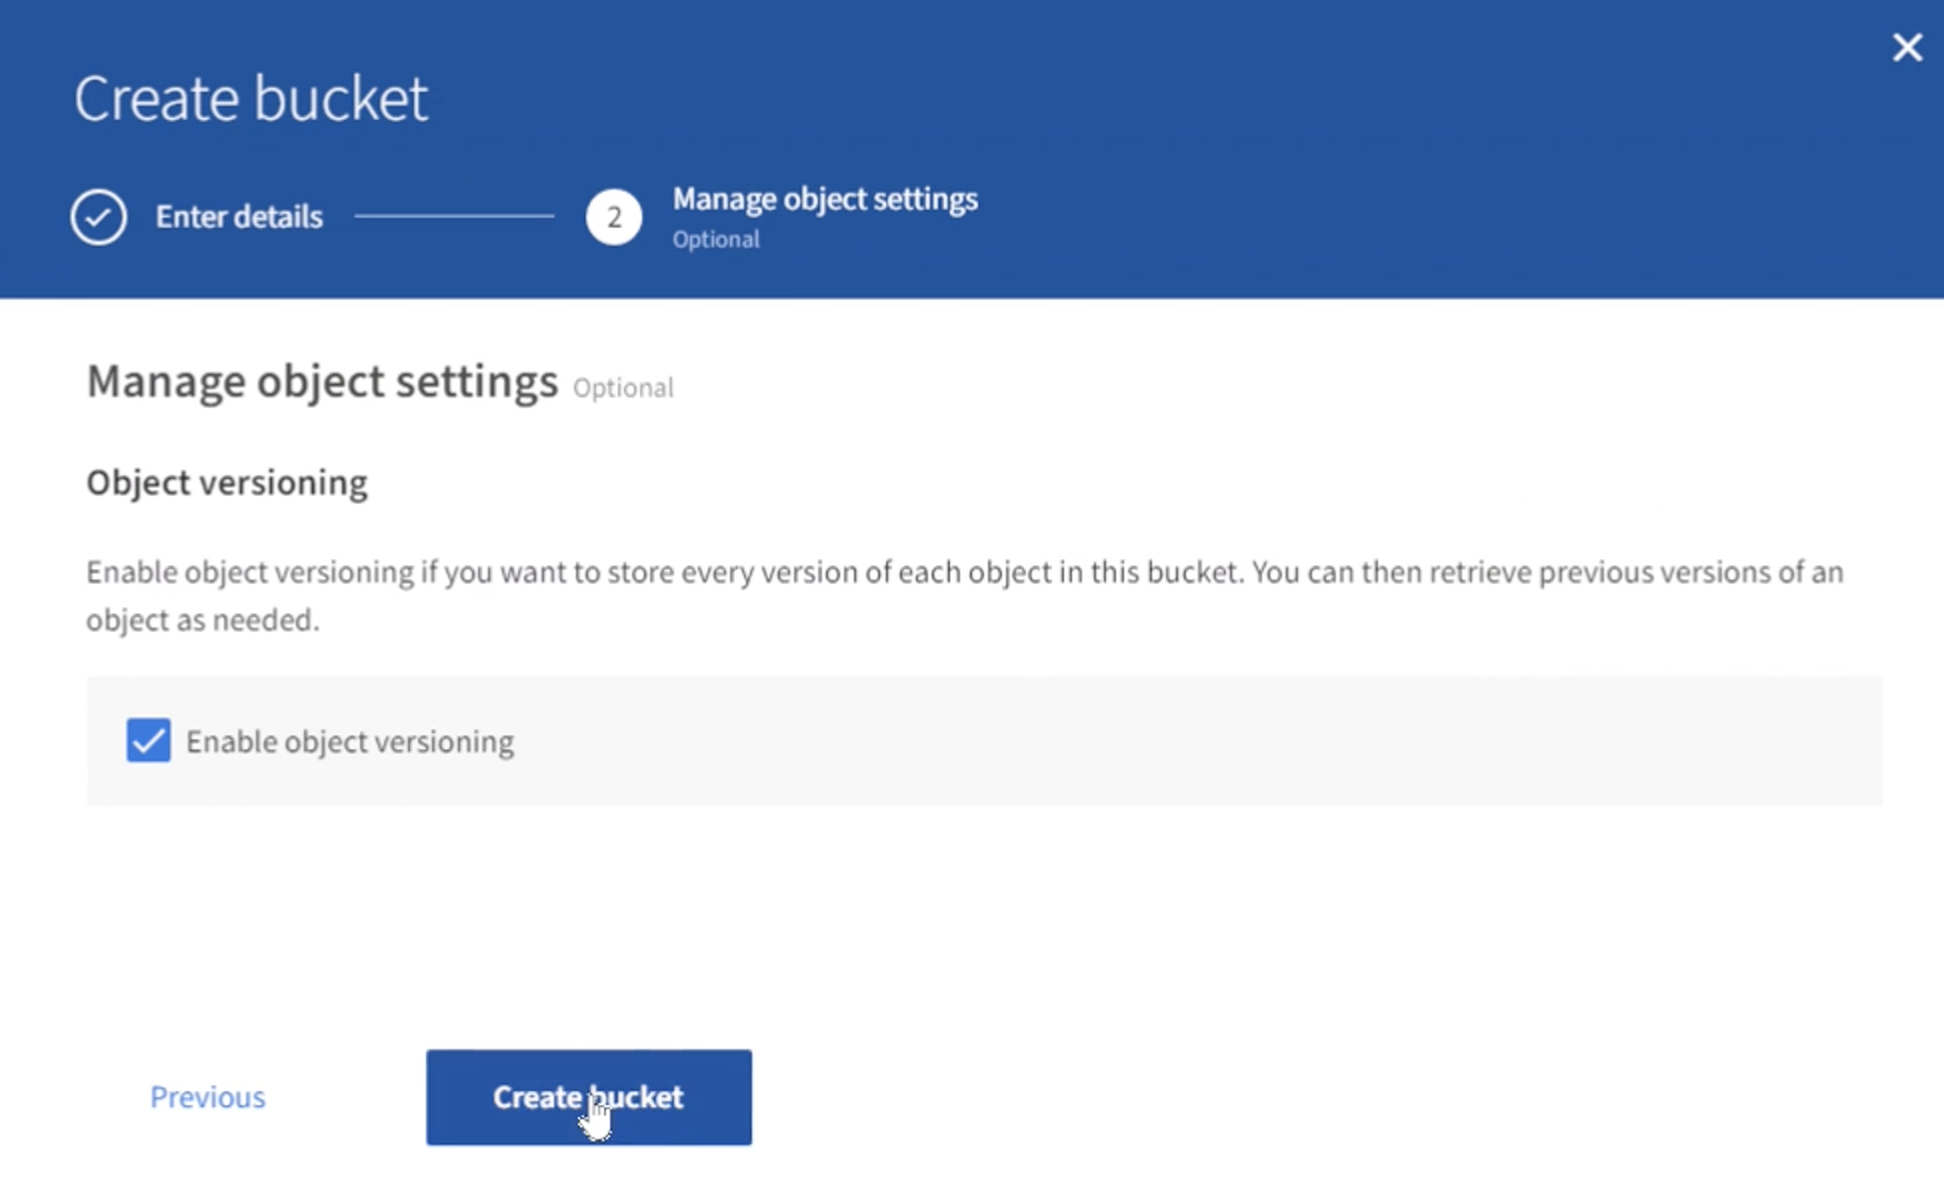
Navigate to the buckets tab and click on the Create bucket button.
Define the bucket name and region.

On this first bucket enable versioning.
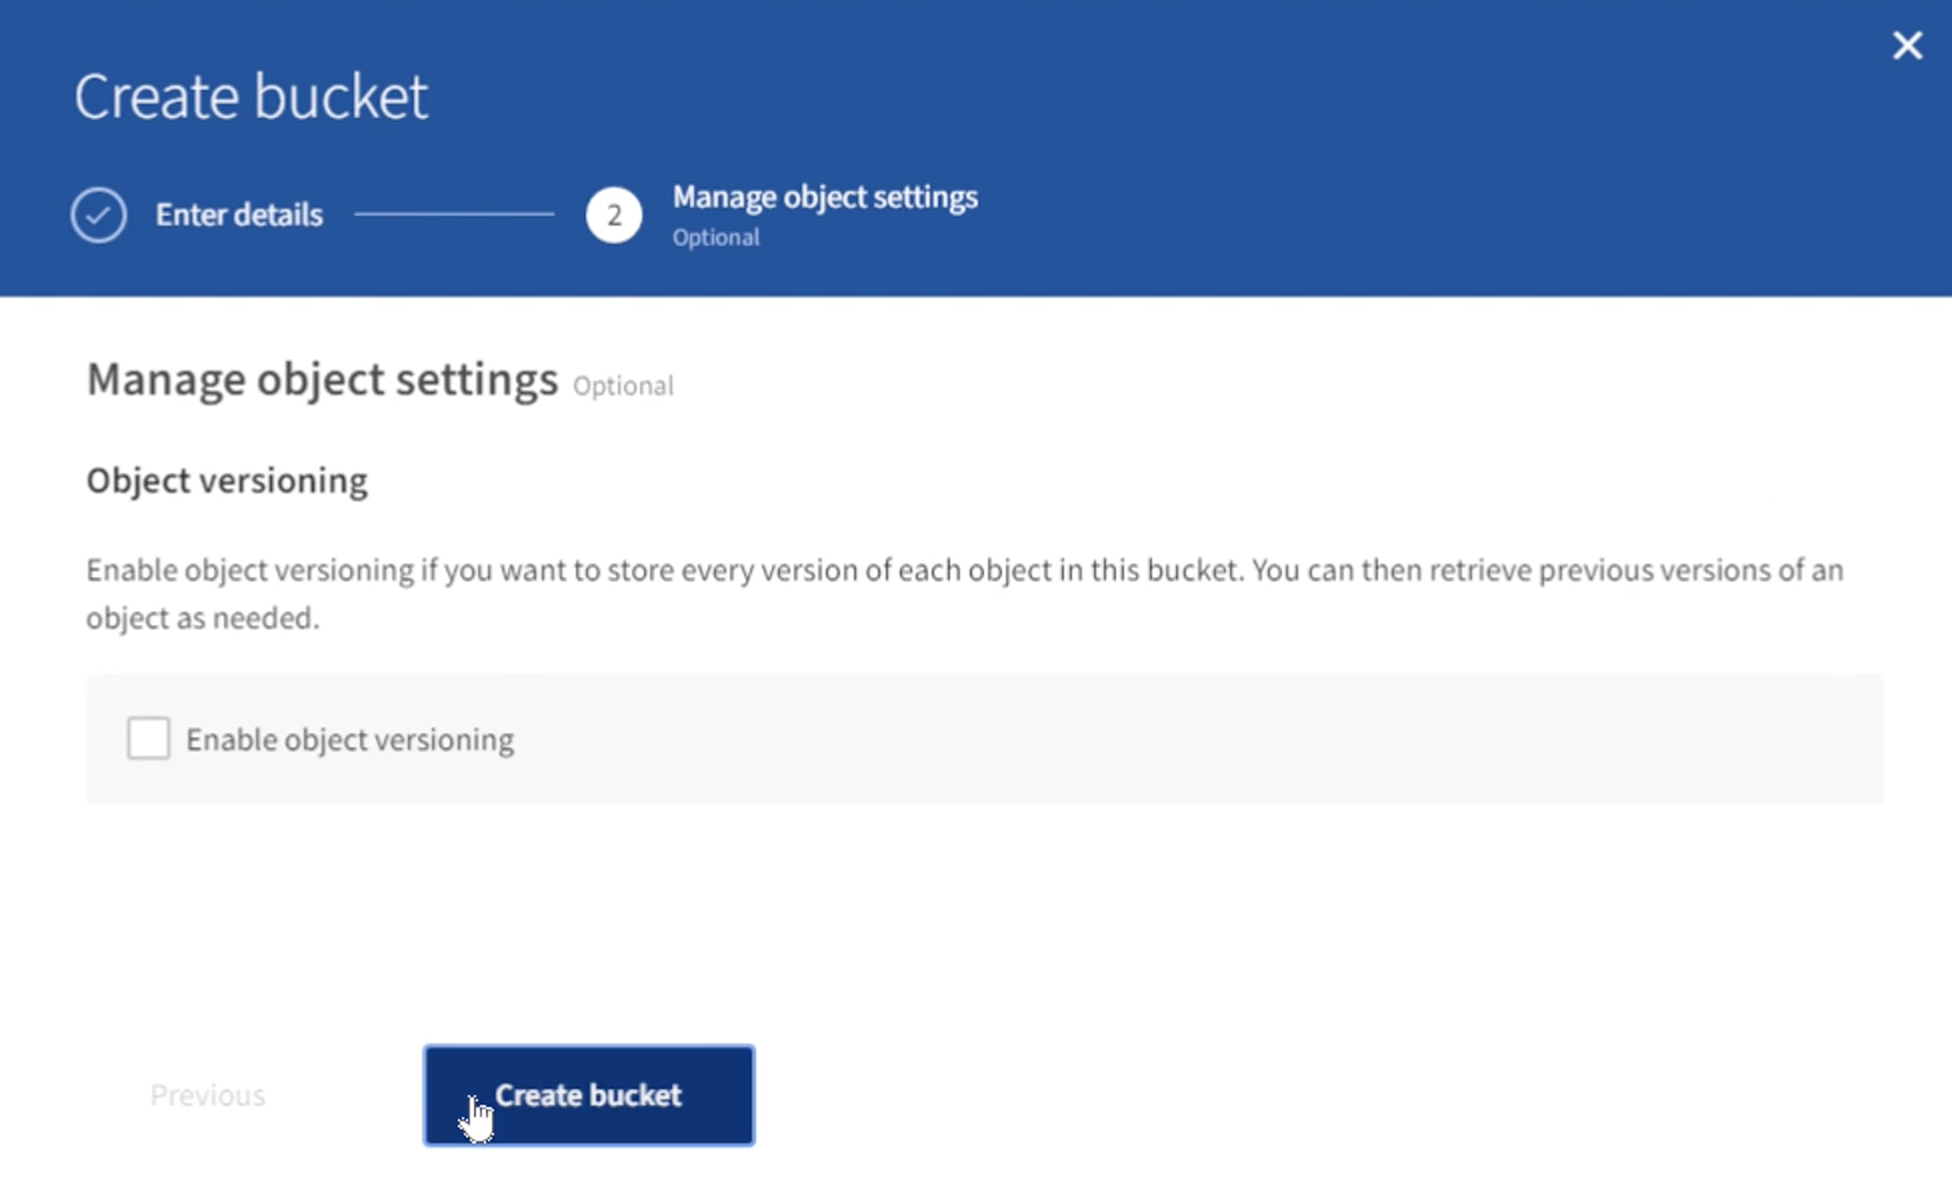
Now create a second bucket without versioning enabled.

Do not enable versioning on this second bucket.
By Rafael Guedes, and Aron Klein