

NetApp Astra 控制中心概述
 建议更改
建议更改
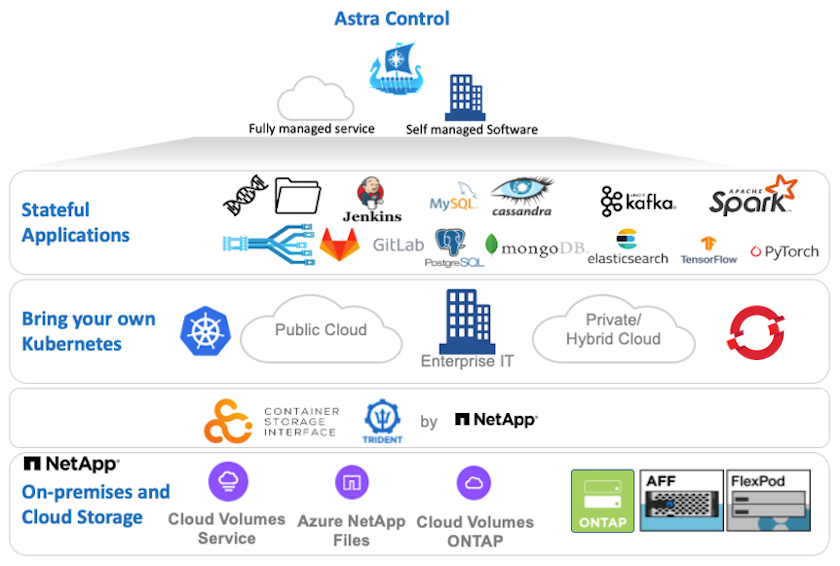
NetApp Astra 控制中心为部署在内部环境中并采用 NetApp 数据保护技术的有状态 Kubernetes 工作负载提供丰富的存储和应用程序感知型数据管理服务。
NetApp Astra控制中心可以安装在Red Hat OpenShift集群上、该集群已部署Trident存储流程编排程序、并为NetApp ONTAP存储系统配置了存储类和存储后端。
有关安装和配置Trident以支持Astra控制中心的信息,请参见"本文档在此处提供"。
在云互联环境中, Astra 控制中心使用 Cloud Insights 提供高级监控和遥测功能。在没有 Cloud Insights 连接的情况下,可以使用有限的监控和遥测( 7 天的指标),并通过开放式指标端点导出到 Kubernetes 原生监控工具( Prometheus 和 Grafana )。
Asta控制中心完全集成到NetApp AutoSupport和Active IQ数字顾问(也称为数字顾问)生态系统中、可为用户提供支持、协助进行故障排除并显示使用情况统计信息。
除了已付费版本的 Astra 控制中心之外,还提供 90 天评估许可证。评估版可通过电子邮件和社区( Slack 通道)获得支持。客户可以访问这些以及其他知识库文章以及产品支持信息板上提供的文档。
要开始使用 NetApp Astra 控制中心,请访问 "Astra 网站"。
安装 Astra 控制中心的前提条件
-
一个或多个 Red Hat OpenShift 集群。目前支持版本 4.6 EUS 和 4.7 。
-
必须已在每个Red Hat OpenShift集群上安装和配置Trident。
-
运行 ONTAP 9.5 或更高版本的一个或多个 NetApp ONTAP 存储系统。

最佳做法是,在站点上安装的每个 OpenShift 都要有一个专用的 SVM 来用于永久性存储。多站点部署需要额外的存储系统。 -
必须在每个 OpenShift 集群上配置一个 Trident 存储后端,其中包含一个由 ONTAP 集群提供支持的 SVM 。
-
在每个OpenShift集群上配置的一个默认存储类、其中Trident是存储配置程序。
-
必须在每个 OpenShift 集群上安装和配置负载平衡器,以实现负载平衡并公开 OpenShift 服务。
请参见链接 "此处" 有关已为此目的验证的负载平衡器的信息。 -
必须配置私有映像注册表以托管 NetApp Astra Control Center 映像。
请参见链接 "此处" 为此安装和配置 OpenShift 专用注册表。 -
您必须对 Red Hat OpenShift 集群具有集群管理员访问权限。
-
您必须对 NetApp ONTAP 集群具有管理员访问权限。
-
一个管理工作站,其中安装了 Docker 或 podman , tridentctl 以及 oc 或 kubectl 工具,并将其添加到 $path 中。
Docker 安装的 Docker 版本必须大于 20.10 ,而 Podman 安装的 Podman 版本必须大于 3.0 。
安装 Astra 控制中心
-
登录到 NetApp 支持站点并下载最新版本的 NetApp Astra 控制中心。为此,您需要在 NetApp 帐户中附加许可证。下载完 tarball 后,将其传输到管理工作站。
要开始获取 Astra Control 的试用许可证,请访问 "Astra 注册站点"。 -
打开 tar ball 的包装并将工作目录更改为生成的文件夹。
[netapp-user@rhel7 ~]$ tar -vxzf astra-control-center-21.12.60.tar.gz
[netapp-user@rhel7 ~]$ cd astra-control-center-21.12.60
-
开始安装之前,请将 Astra Control Center 映像推送到映像注册表。您可以选择使用 Docker 或 Podman 执行此操作,此步骤将提供这两者的说明。
Podman-
将 ‘re名称为组织 / 命名空间 / 项目的注册表 FQDN 导出为环境变量 "gregistry" 。
[netapp-user@rhel7 ~]$ export REGISTRY=astra-registry.apps.ocp-vmw.cie.netapp.com/netapp-astra
-
登录到注册表。
[netapp-user@rhel7 ~]$ podman login -u ocp-user -p password --tls-verify=false astra-registry.apps.ocp-vmw.cie.netapp.com
如果使用 kubeadminuser 登录到专用注册表,请使用 token 代替 password -podman login -u Ocp-user -p token -tls-verify=false astra-registry.apps.ocp-vmw.cie.netapp.com。
或者,您也可以创建服务帐户,分配注册表编辑器和 / 或注册表查看器角色(取决于您是否需要推 / 拉访问),并使用服务帐户的令牌登录到注册表。 -
创建 Shell 脚本文件并将以下内容粘贴到其中。
[netapp-user@rhel7 ~]$ vi push-images-to-registry.sh

for astraImageFile in $(ls images/*.tar) ; do
  # Load to local cache. And store the name of the loaded image trimming the 'Loaded images: '
  astraImage=$(podman load --input ${astraImageFile} | sed 's/Loaded image(s): //')
  astraImage=$(echo ${astraImage} | sed 's!localhost/!!')
  # Tag with local image repo.
  podman tag ${astraImage} ${REGISTRY}/${astraImage}
  # Push to the local repo.
  podman push ${REGISTRY}/${astraImage}
done
如果您的注册表使用的是不可信的证书,请编辑 shell 脚本并对 podman 推送命令 podman 推送 $registry/$ ( echo $astraImage ` s/^^` ……………………………………………………………………………………………………………………………………………… -
使文件可执行
[netapp-user@rhel7 ~]$ chmod +x push-images-to-registry.sh
-
执行 shell 脚本。
[netapp-user@rhel7 ~]$ ./push-images-to-registry.sh
Docker-
将 ‘re名称为组织 / 命名空间 / 项目的注册表 FQDN 导出为环境变量 "gregistry" 。
[netapp-user@rhel7 ~]$ export REGISTRY=astra-registry.apps.ocp-vmw.cie.netapp.com/netapp-astra
-
登录到注册表。
[netapp-user@rhel7 ~]$ docker login -u ocp-user -p password astra-registry.apps.ocp-vmw.cie.netapp.com
如果使用 kubeadminuser 登录到专用注册表,请使用 token 代替 password -docker login -u Ocp-user -p token astra-registry.apps.ocp-vmw.cie.netapp.com。
或者,您也可以创建服务帐户,分配注册表编辑器和 / 或注册表查看器角色(取决于您是否需要推 / 拉访问),并使用服务帐户的令牌登录到注册表。 -
创建 Shell 脚本文件并将以下内容粘贴到其中。
[netapp-user@rhel7 ~]$ vi push-images-to-registry.sh for astraImageFile in $(ls images/*.tar) ; do # Load to local cache. And store the name of the loaded image trimming the 'Loaded images: ' astraImage=$(docker load --input ${astraImageFile} | sed 's/Loaded image: //') astraImage=$(echo ${astraImage} | sed 's!localhost/!!') # Tag with local image repo. docker tag ${astraImage} ${REGISTRY}/${astraImage} # Push to the local repo. docker push ${REGISTRY}/${astraImage} done -
使文件可执行
[netapp-user@rhel7 ~]$ chmod +x push-images-to-registry.sh
-
执行 shell 脚本。
[netapp-user@rhel7 ~]$ ./push-images-to-registry.sh
-
-
使用非公共信任的私有映像注册表时,请将映像注册表 TLS 证书上传到 OpenShift 节点。为此,请使用 TLS 证书在 OpenShift-config 命名空间中创建一个配置映射,并将其修补到集群映像配置中以使此证书可信。
[netapp-user@rhel7 ~]$ oc create configmap default-ingress-ca -n openshift-config --from-file=astra-registry.apps.ocp-vmw.cie.netapp.com=tls.crt

[netapp-user@rhel7 ~]$ oc patch image.config.openshift.io/cluster --patch '{"spec":{"additionalTrustedCA":{"name":"default-ingress-ca"}}}' --type=merge
如果您使用的是包含传入操作员的默认 TLS 证书的 OpenShift 内部注册表和路由,则仍需要按照上一步将这些证书修补到路由主机名。要从 运算符提取证书,您可以使用命令oc extract secret/router -ca -keys=tls.crt -n OpenShift-Inuse-operator 。 -
为 Astra 控制中心创建命名空间
NetApp-Acc-operator。[netapp-user@rhel7 ~]$ oc create ns netapp-acc-operator namespace/netapp-acc-operator created
-
使用凭据创建一个密钥,以登录到
NetApp-Acc-operator命名空间中的映像注册表。[netapp-user@rhel7 ~]$ oc create secret docker-registry astra-registry-cred --docker-server=astra-registry.apps.ocp-vmw.cie.netapp.com --docker-username=ocp-user --docker-password=password -n netapp-acc-operator secret/astra-registry-cred created
-
使用 cluster-admin 访问权限登录到 Red Hat OpenShift GUI 控制台。
-
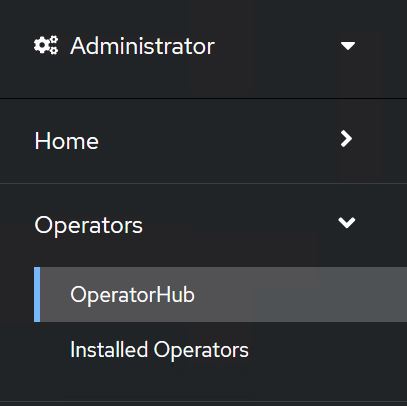
从 "Perspective" 下拉列表中选择 "Administrator" 。
-
导航到 Operators > OperatorHub 并搜索 Astra 。
-
选择
NetApp-Acc-operatorTile ,然后单击Install。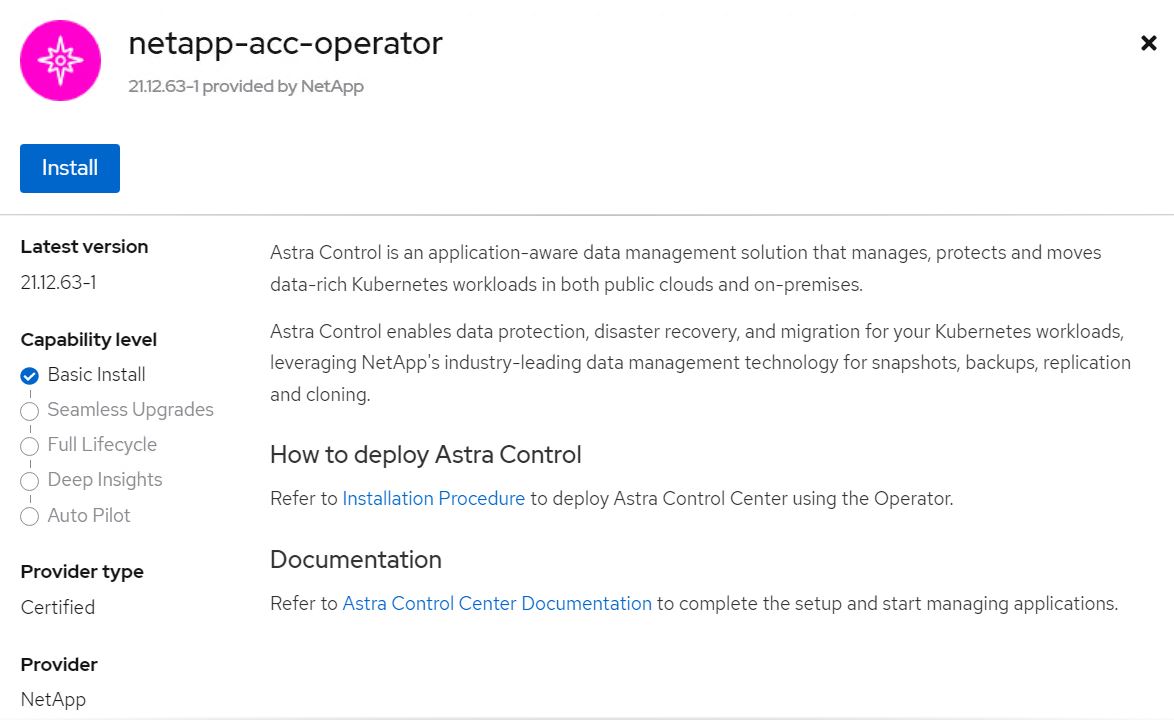
-
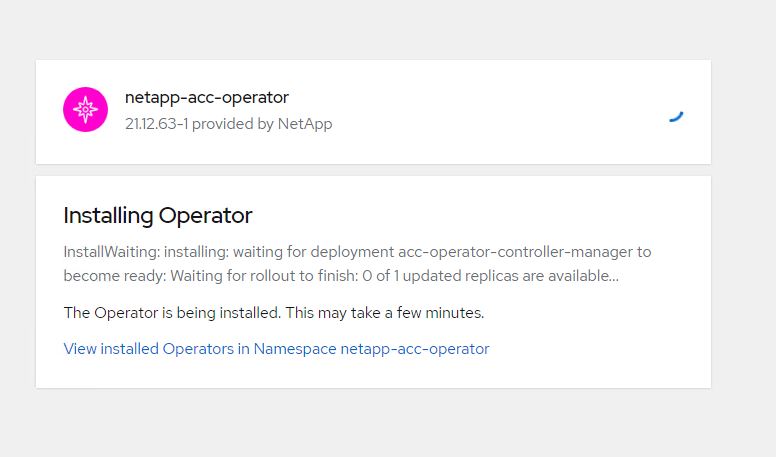
在 Install Operator 屏幕上,接受所有默认参数,然后单击
Install。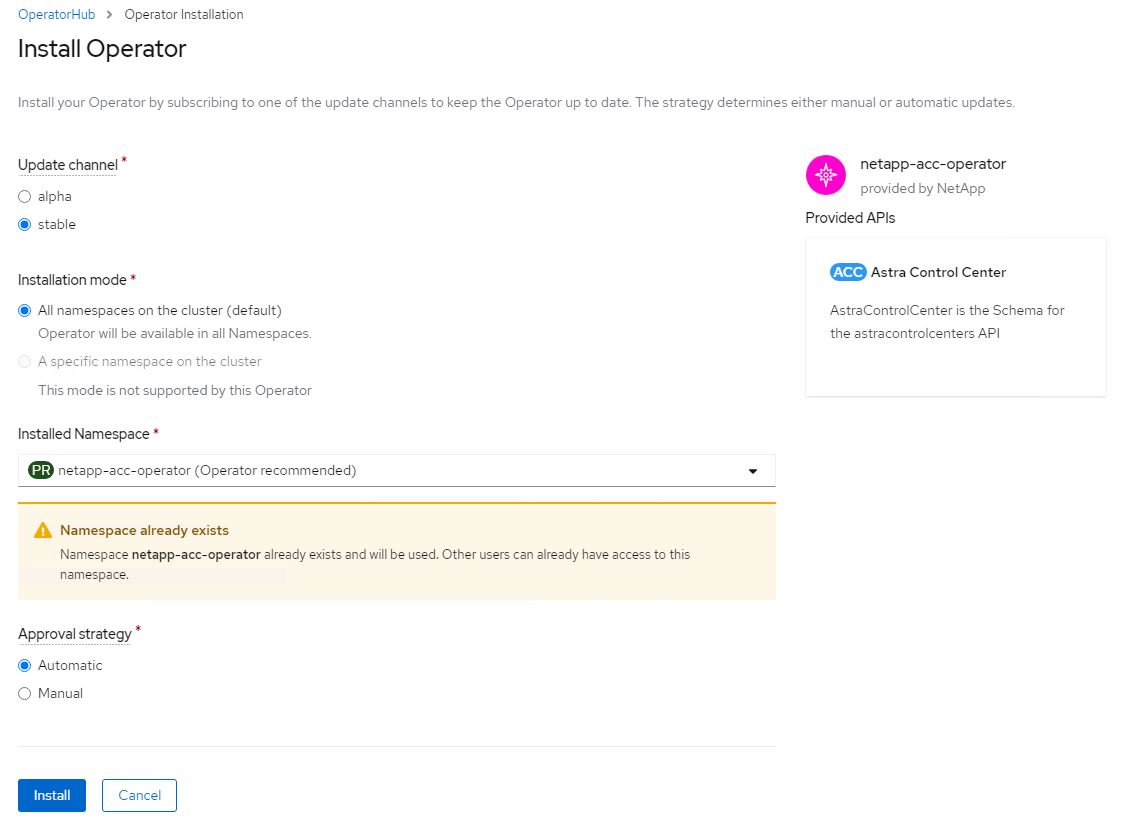
-
等待操作员安装完成。
-
操作员安装成功后,导航到单击
View Operator。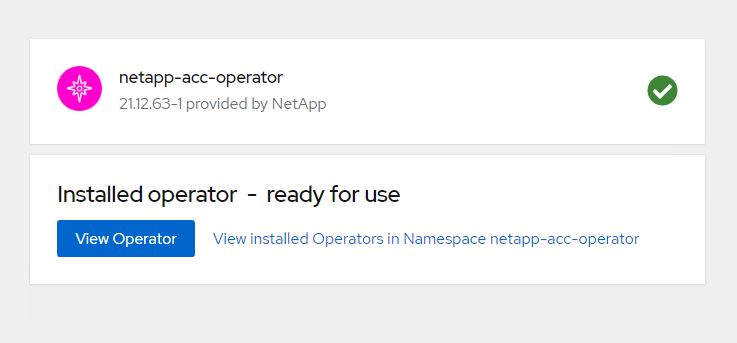
-
然后在运算符中单击 Astra Control Center 图块中的
Create Instance。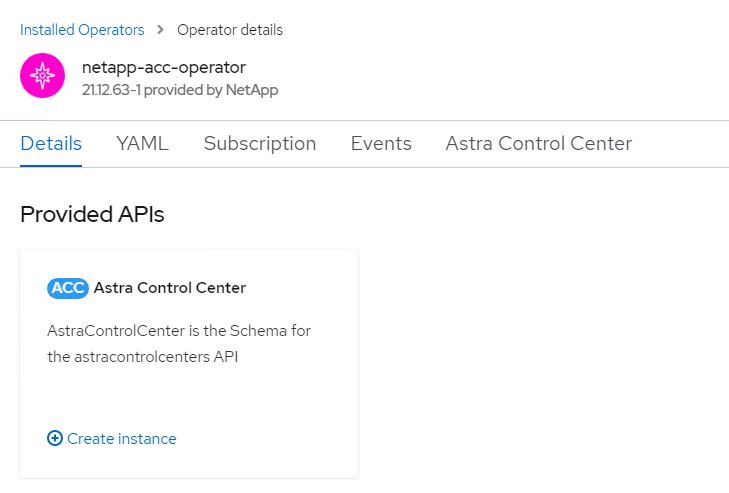
-
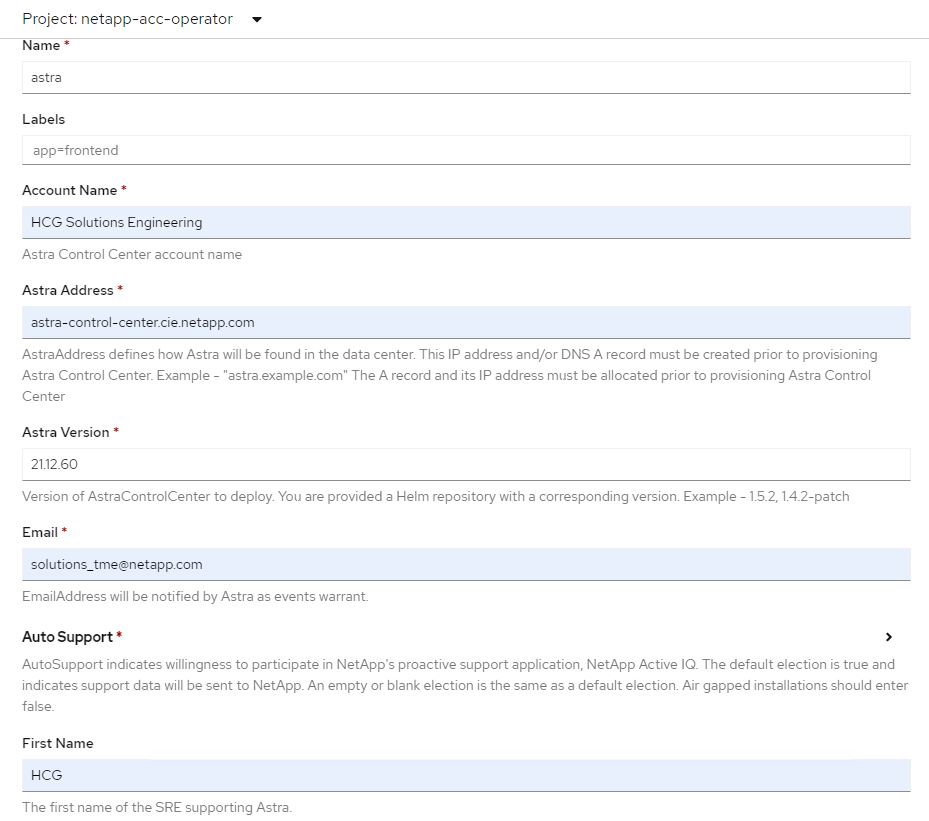
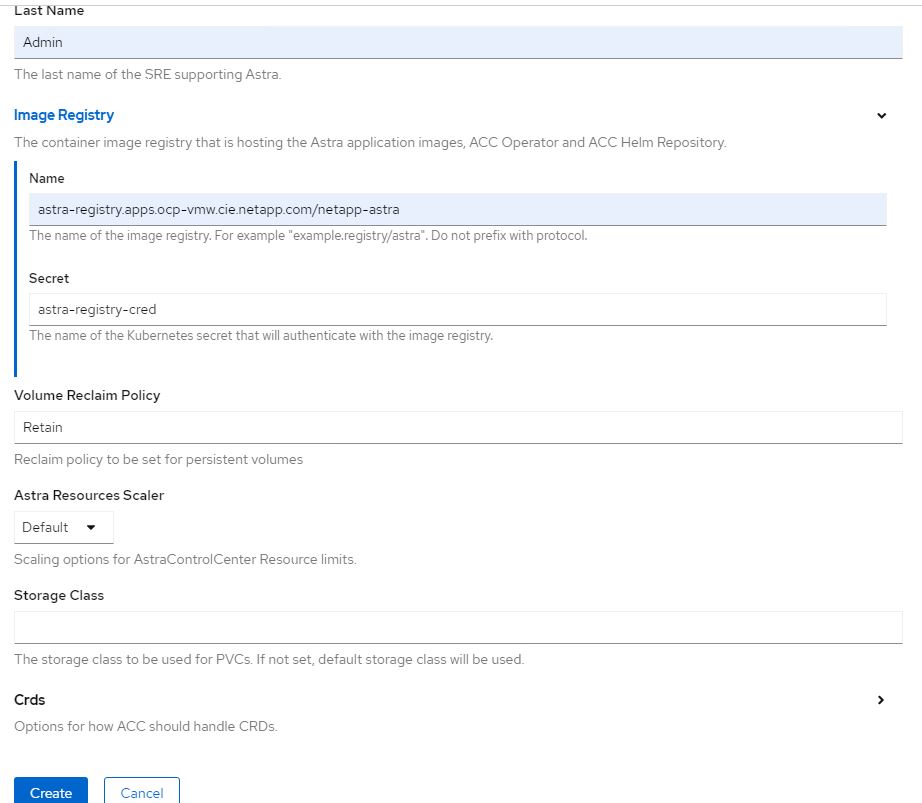
填写
Create AstraControlCenterForm 字段,然后单击Create。-
也可以编辑 Astra Control Center 实例名称。
-
也可以启用或禁用自动支持。建议保留自动支持功能。
-
输入 Astra 控制中心的 FQDN 。
-
输入 Astra 控制中心版本;默认情况下会显示最新版本。
-
输入 Astra 控制中心的帐户名称和管理员详细信息,例如名字,姓氏和电子邮件地址。
-
输入卷回收策略,默认值为 Retain 。
-
在映像注册表中,输入注册表的 FQDN 以及在将映像推送到注册表时提供的组织名称(在此示例中为
astra-registry.apps.ocp-vmw.cie.netapp.com/netapp-astra) -
如果您使用的注册表需要进行身份验证,请在映像注册表部分输入机密名称。
-
为 Astra 控制中心资源限制配置扩展选项。
-
如果要将 PVC 放置在非默认存储类上,请输入存储类名称。
-
定义 CRD 处理首选项。
-
-
要使用Ansible攻略手册部署Astra控制中心、您需要安装安装有Ansible的Ubuntu或RHEL计算机。按照步骤进行操作 "此处" 适用于Ubuntu和RHEL。
-
克隆托管 Ansible 内容的 GitHub 存储库。
git clone https://github.com/NetApp-Automation/na_astra_control_suite.git -
登录到NetApp支持站点并下载最新版本的NetApp Astra控制中心。为此,您需要在 NetApp 帐户中附加许可证。下载完 tarball 后,将其传输到工作站。
要开始获取 Astra Control 的试用许可证,请访问 "Astra 注册站点"。 -
创建或获取对要安装Astra控制中心的OpenShift集群具有管理员访问权限的kubeconfig文件。
-
将目录更改为 na_astera_control_suite 。
cd na_astra_control_suite -
编辑`vars/vars.yml`文件、并使用所需信息填充变量。
#Define whether or not to push the Astra Control Center images to your private registry [Allowed values: yes, no] push_images: yes #The directory hosting the Astra Control Center installer installer_directory: /home/admin/ #Specify the ingress type. Allowed values - "AccTraefik" or "Generic" #"AccTraefik" if you want the installer to create a LoadBalancer type service to access ACC, requires MetalLB or similar. #"Generic" if you want to create or configure ingress controller yourself, installer just creates a ClusterIP service for traefik. ingress_type: "AccTraefik" #Name of the Astra Control Center installer (Do not include the extension, just the name) astra_tar_ball_name: astra-control-center-22.04.0 #The complete path to the kubeconfig file of the kubernetes/openshift cluster Astra Control Center needs to be installed to. hosting_k8s_cluster_kubeconfig_path: /home/admin/cluster-kubeconfig.yml #Namespace in which Astra Control Center is to be installed astra_namespace: netapp-astra-cc #Astra Control Center Resources Scaler. Leave it blank if you want to accept the Default setting. astra_resources_scaler: Default #Storageclass to be used for Astra Control Center PVCs, it must be created before running the playbook [Leave it blank if you want the PVCs to use default storageclass] astra_trident_storageclass: basic #Reclaim Policy for Astra Control Center Persistent Volumes [Allowed values: Retain, Delete] storageclass_reclaim_policy: Retain #Private Registry Details astra_registry_name: "docker.io" #Whether the private registry requires credentials [Allowed values: yes, no] require_reg_creds: yes #If require_reg_creds is yes, then define the container image registry credentials #Usually, the registry namespace and usernames are same for individual users astra_registry_namespace: "registry-user" astra_registry_username: "registry-user" astra_registry_password: "password" #Kuberenets/OpenShift secret name for Astra Control Center #This name will be assigned to the K8s secret created by the playbook astra_registry_secret_name: "astra-registry-credentials" #Astra Control Center FQDN acc_fqdn_address: astra-control-center.cie.netapp.com #Name of the Astra Control Center instance acc_account_name: ACC Account Name #Administrator details for Astra Control Center admin_email_address: admin@example.com admin_first_name: Admin admin_last_name: Admin -
运行攻略手册以部署 Astra 控制中心。对于某些配置、此攻略手册需要root特权。
如果运行该攻略手册的用户为root或配置了无密码sudo、请运行以下命令运行该攻略手册。
ansible-playbook install_acc_playbook.yml如果用户配置了基于密码的sudo访问权限、请运行以下命令以运行攻略手册、然后输入sudo密码。
ansible-playbook install_acc_playbook.yml -K
安装后步骤
-
完成安装可能需要几分钟时间。验证
NetApp-Astra-cc命名空间中的所有 Pod 和服务是否均已启动且正在运行。[netapp-user@rhel7 ~]$ oc get all -n netapp-astra-cc
-
检查
Acc-operator-controller-manager日志以确保安装已完成。[netapp-user@rhel7 ~]$ oc logs deploy/acc-operator-controller-manager -n netapp-acc-operator -c manager -f
以下消息指示 Astra 控制中心已成功安装。 {"level":"info","ts":1624054318.029971,"logger":"controllers.AstraControlCenter","msg":"Successfully Reconciled AstraControlCenter in [seconds]s","AstraControlCenter":"netapp-astra-cc/astra","ae.Version":"[21.12.60]"} -
用于登录到 Astra 控制中心的用户名是 CRD 文件中提供的管理员电子邮件地址,密码是附加到 Astra 控制中心 UUID 的字符串
Acc-。运行以下命令:[netapp-user@rhel7 ~]$ oc get astracontrolcenters -n netapp-astra-cc NAME UUID astra 345c55a5-bf2e-21f0-84b8-b6f2bce5e95f
在此示例中,密码为 Acc-345c55a5-bf2e-21f0-84b8-b6f2bce5e95f。 -
获取 traefik 服务负载平衡器 IP 。
[netapp-user@rhel7 ~]$ oc get svc -n netapp-astra-cc | egrep 'EXTERNAL|traefik'

NAME                                       TYPE           CLUSTER-IP       EXTERNAL-IP     PORT(S)                                                                   AGE
traefik                                    LoadBalancer   172.30.99.142    10.61.186.181   80:30343/TCP,443:30060/TCP                                                16m
-
在 DNS 服务器中添加一个条目,将 Astra 控制中心 CRD 文件中提供的 FQDN 指向 traefik 服务的
external-IP。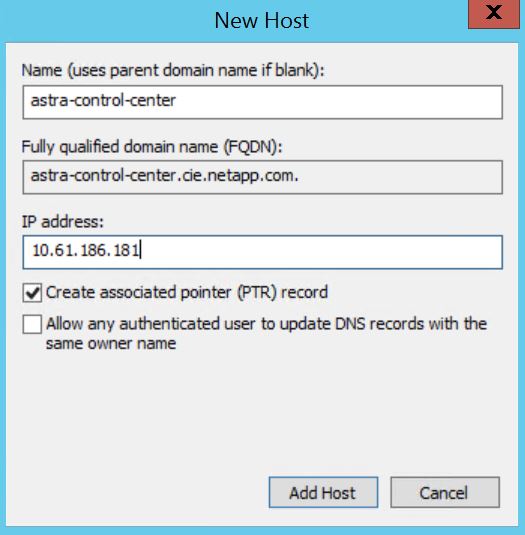
-
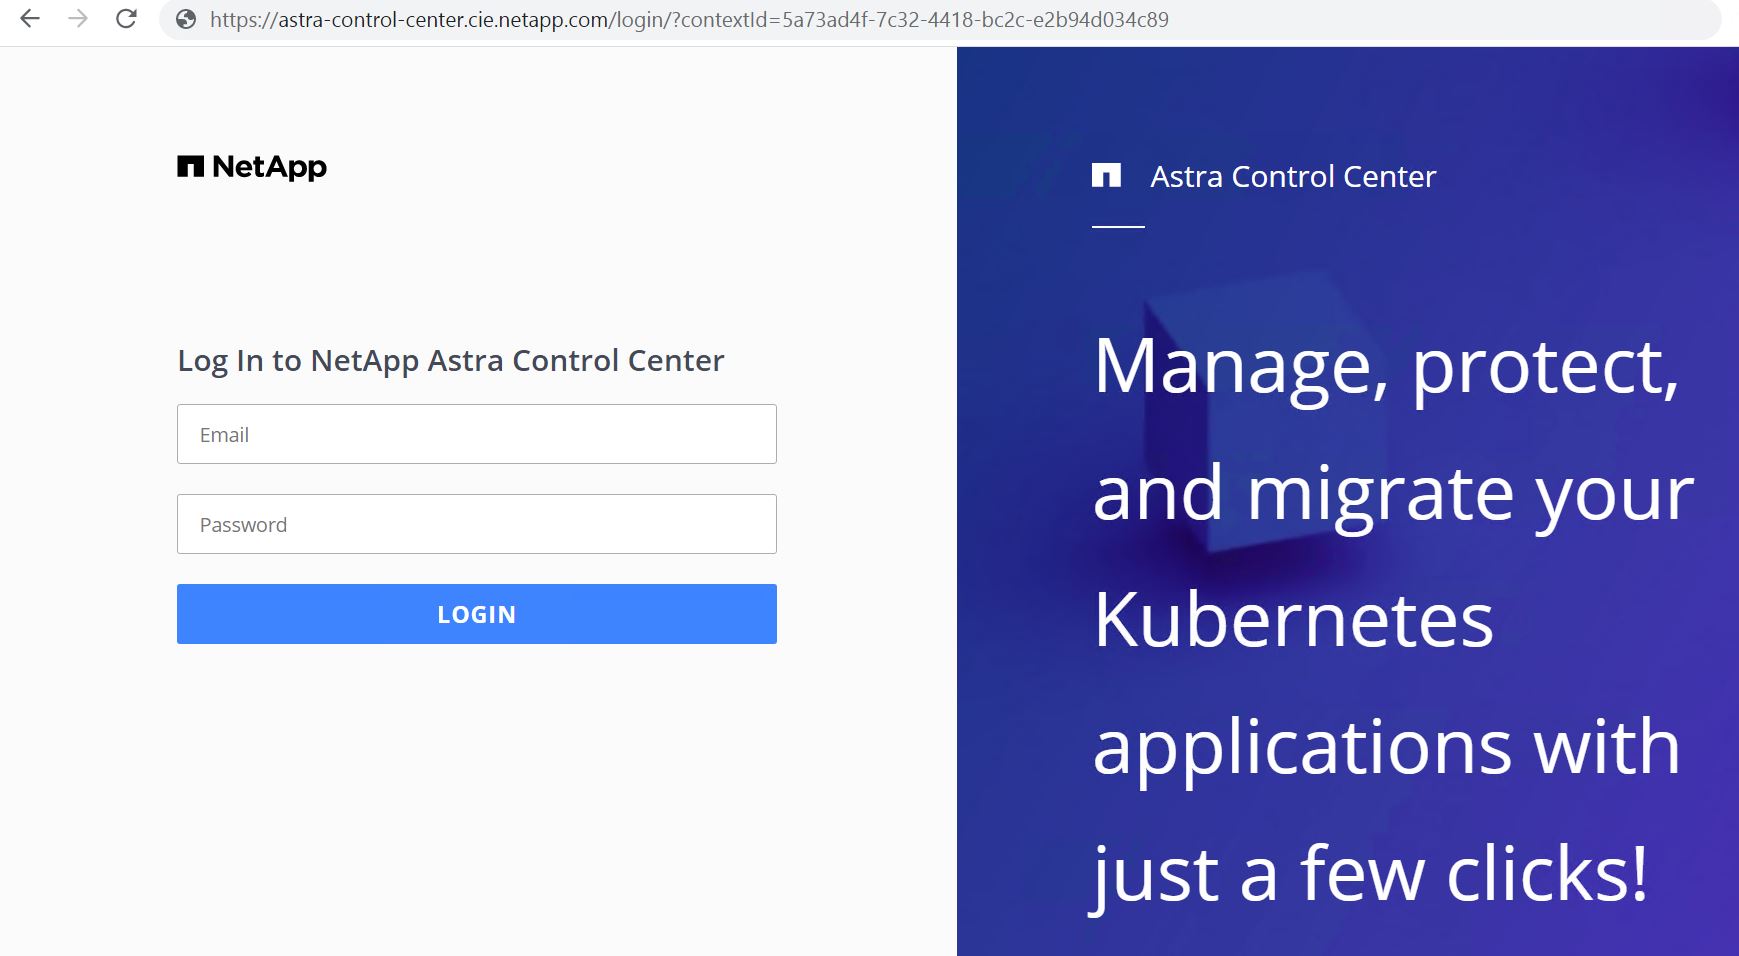
通过浏览 Astra 控制中心的 FQDN 登录到该 GUI 。
-
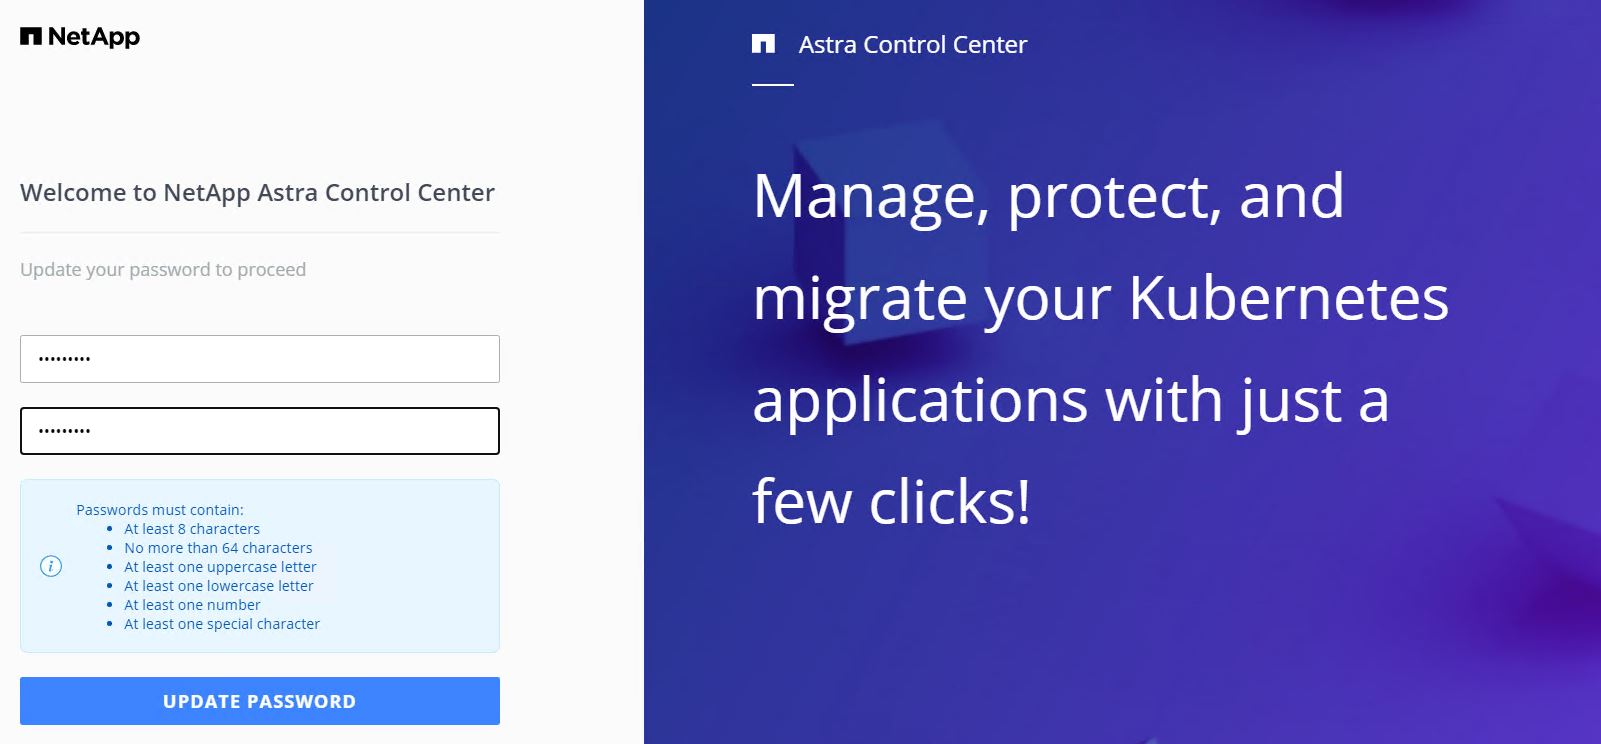
首次使用 CRD 中提供的管理员电子邮件地址登录到 Astra 控制中心图形用户界面时,您需要更改密码。
-
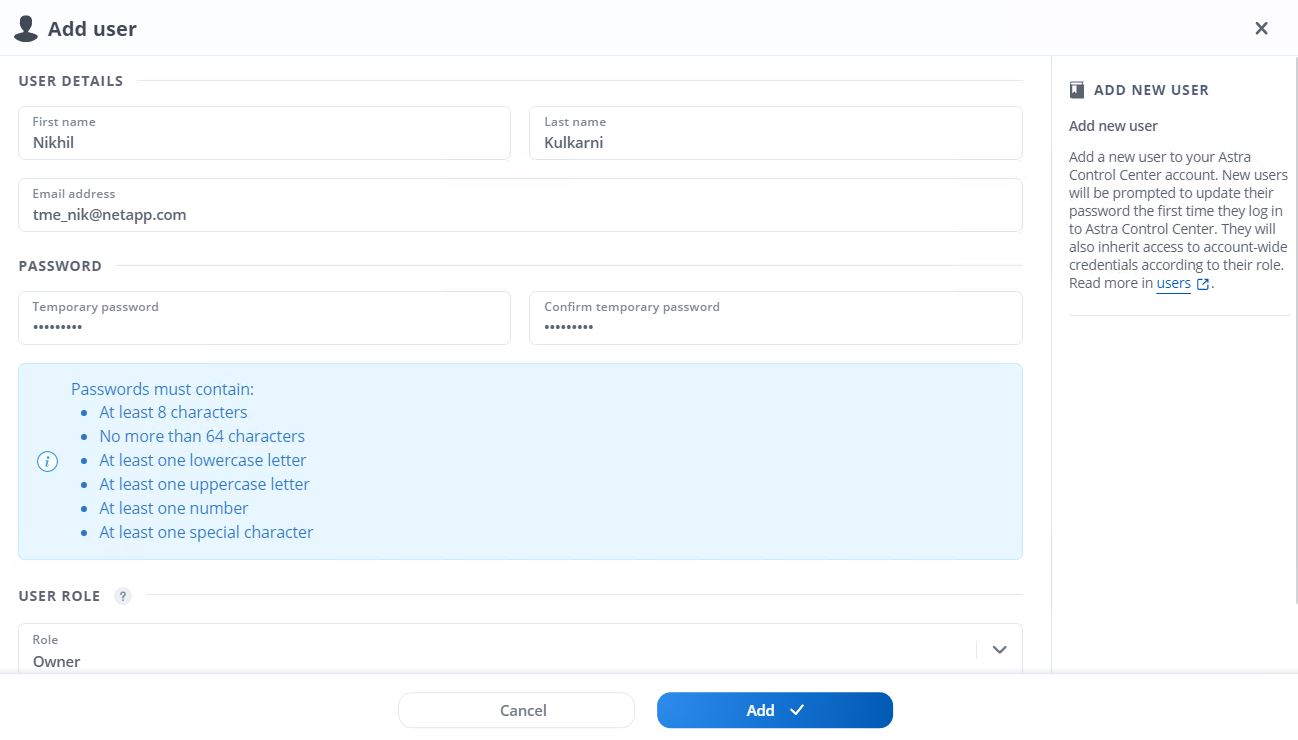
如果要将用户添加到 Astra 控制中心,请导航到 Account > Users ,单击 Add ,输入用户的详细信息,然后单击 Add 。
-
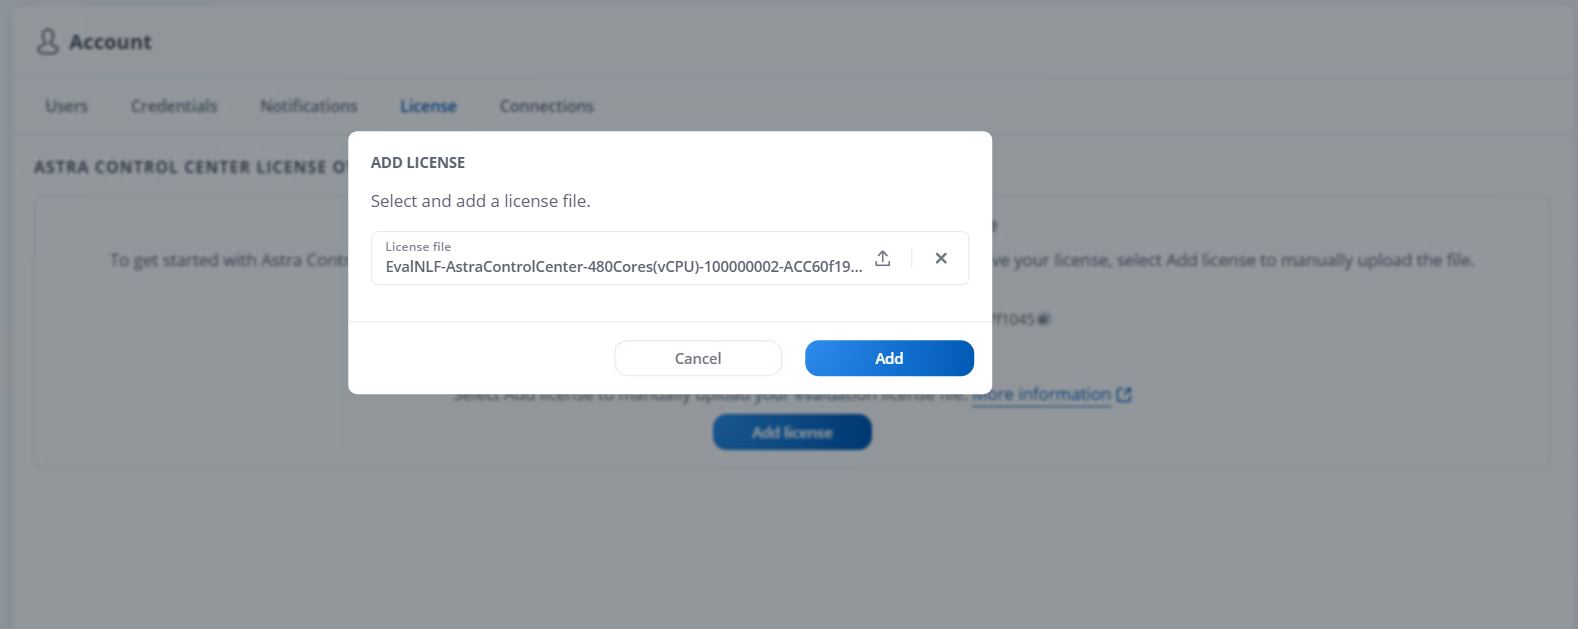
要使 Astra 控制中心的所有功能正常运行,需要获得许可证。要添加许可证,请导航到 " 帐户 ">" 许可证 " ,单击 " 添加许可证 " ,然后上传许可证文件。
如果您在安装或配置 NetApp Astra 控制中心时遇到问题,可以参考已知问题的知识库 "此处"。