

NetApp Astra Control Center總覽
 建議變更
建議變更
NetApp Astra Control Center提供豐富的儲存設備與應用程式感知資料管理服務、適用於部署在內部部署環境中且採用NetApp資料保護技術的狀態式Kubernetes工作負載。
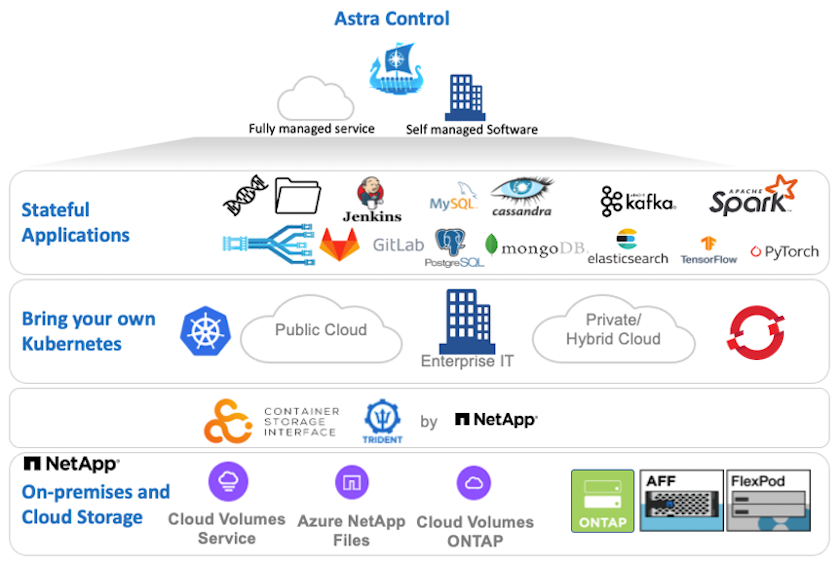
NetApp Astra 控制中心可安裝在 Red Hat OpenShift 叢集上、該叢集部署了 Trident 儲存協調器、並以儲存類別和儲存後端設定至 NetApp ONTAP 儲存系統。
如需 Trident 支援 Astra 控制中心的安裝與組態"本文檔"、請參閱。
在雲端連線的環境中、Astra Control Center會使用Cloud Insights 效益技術來提供進階監控和遙測功能。如果沒有支援功能、則可透過開放式指標端點、將有限的監控和遙測(7天的數據價值)匯出至Kubernetes原生監控工具(Prometheus和Grafana)Cloud Insights 。
Astra Control Center 已完全整合至 NetApp AutoSupport 和 Active IQ 數位顧問(也稱為數位顧問)生態系統、可為使用者提供支援、提供疑難排解協助、並顯示使用統計資料。
除了Astra Control Center的付費版本、我們也提供90天的評估授權。評估版本可透過電子郵件和社群(Slack通路)獲得支援。客戶可以存取這些和其他知識庫文章、以及產品內建支援儀表板所提供的文件。
若要開始使用NetApp Astra Control Center、請造訪 "Astra網站"。
Astra Control Center安裝先決條件
-
一個或多個Red Hat OpenShift叢集。目前支援版本4.6 EUS和4.7。
-
必須已在每個 Red Hat OpenShift 叢集上安裝和設定 Trident 。
-
一或多ONTAP 個執行ONTAP 不穩定9.5或更新版本的NetApp不穩定儲存系統。

最佳實務做法是在站台上安裝每個OpenShift、以擁有專屬的SVM來進行持續儲存。多站台部署需要額外的儲存系統。 -
每個OpenShift叢集上都必須設定Trident儲存後端、並以SVM作為後盾ONTAP 、以供支援整個叢集。
-
在每個 OpenShift 叢集上設定的預設 StorageClass 、其中 Trident 是儲存資源配置程式。
-
必須在每個OpenShift叢集上安裝及設定負載平衡器、才能平衡負載並公開OpenShift Services。
請參閱連結 "請按這裡" 以取得已針對此目的驗證的負載平衡器相關資訊。 -
必須設定私有映像登錄來裝載NetApp Astra Control Center映像。
請參閱連結 "請按這裡" 若要安裝及設定OpenShift Private登錄以供此用途。 -
您必須擁有Red Hat OpenShift叢集的叢集管理存取權。
-
您必須擁有NetApp ONTAP 等群集的管理員存取權。
-
安裝了Docker或podman、tridentctl、及occ或kubecl工具的管理工作站、並新增至$path。
Docker安裝必須具有大於20.10的Docker版本、而Podman安裝的podman版本必須大於3.0。
安裝Astra Control Center
-
登入NetApp支援網站、下載最新版本的NetApp Astra Control Center。若要這麼做、必須附上NetApp帳戶的授權。下載後、將其傳輸至管理工作站。
若要開始使用Astra Control試用授權、請造訪 "Astra註冊網站"。 -
解壓縮tar ball並將工作目錄變更為所產生的資料夾。
[netapp-user@rhel7 ~]$ tar -vxzf astra-control-center-21.12.60.tar.gz
[netapp-user@rhel7 ~]$ cd astra-control-center-21.12.60
-
開始安裝之前、請先將Astra Control Center映像推送到映像登錄。您可以選擇使用Docker或Podman來執行這項作業、本步驟提供這兩者的說明。
Podman-
將登錄FQDN與組織/命名空間/專案名稱匯出為環境變數「正式作業」。
[netapp-user@rhel7 ~]$ export REGISTRY=astra-registry.apps.ocp-vmw.cie.netapp.com/netapp-astra
-
登入登錄。
[netapp-user@rhel7 ~]$ podman login -u ocp-user -p password --tls-verify=false astra-registry.apps.ocp-vmw.cie.netapp.com
如果您使用「kubeadmin」使用者登入私有登錄、請使用權杖、而非密碼「podman登入-u ocp-user-p權杖—tlS-VERIF=假astra-registry.apps.ocp-vmw.cie.netapp.com`」。
或者、您也可以建立服務帳戶、指派登錄編輯器和/或登錄檢視器角色(取決於您是否需要推入/拉取存取)、然後使用服務帳戶的權杖登入登錄。 -
建立Shell指令碼檔案、然後將下列內容貼入其中。
[netapp-user@rhel7 ~]$ vi push-images-to-registry.sh

for astraImageFile in $(ls images/*.tar) ; do
  # Load to local cache. And store the name of the loaded image trimming the 'Loaded images: '
  astraImage=$(podman load --input ${astraImageFile} | sed 's/Loaded image(s): //')
  astraImage=$(echo ${astraImage} | sed 's!localhost/!!')
  # Tag with local image repo.
  podman tag ${astraImage} ${REGISTRY}/${astraImage}
  # Push to the local repo.
  podman push ${REGISTRY}/${astraImage}
done
如果您的登錄使用不受信任的憑證、請編輯Shell指令碼、並針對podman推送命令「podman push $註 冊表/$(ECAECA$astraImage | sed 's/[\/]\+//')-TLS-VERIFE=假」使用「-TLS-VERIFY」。 -
將檔案設定為可執行檔。
[netapp-user@rhel7 ~]$ chmod +x push-images-to-registry.sh
-
執行Shell指令碼。
[netapp-user@rhel7 ~]$ ./push-images-to-registry.sh
Docker-
將登錄FQDN與組織/命名空間/專案名稱匯出為環境變數「正式作業」。
[netapp-user@rhel7 ~]$ export REGISTRY=astra-registry.apps.ocp-vmw.cie.netapp.com/netapp-astra
-
登入登錄。
[netapp-user@rhel7 ~]$ docker login -u ocp-user -p password astra-registry.apps.ocp-vmw.cie.netapp.com
如果您使用「kubeadmin」使用者登入私有登錄、請使用權杖而非密碼-「docker login-u ocp-user-p權杖astra-registry.apps.ocp-vmw.cie.netapp.com`」。
或者、您也可以建立服務帳戶、指派登錄編輯器和/或登錄檢視器角色(取決於您是否需要推入/拉取存取)、然後使用服務帳戶的權杖登入登錄。 -
建立Shell指令碼檔案、然後將下列內容貼入其中。
[netapp-user@rhel7 ~]$ vi push-images-to-registry.sh for astraImageFile in $(ls images/*.tar) ; do # Load to local cache. And store the name of the loaded image trimming the 'Loaded images: ' astraImage=$(docker load --input ${astraImageFile} | sed 's/Loaded image: //') astraImage=$(echo ${astraImage} | sed 's!localhost/!!') # Tag with local image repo. docker tag ${astraImage} ${REGISTRY}/${astraImage} # Push to the local repo. docker push ${REGISTRY}/${astraImage} done -
將檔案設定為可執行檔。
[netapp-user@rhel7 ~]$ chmod +x push-images-to-registry.sh
-
執行Shell指令碼。
[netapp-user@rhel7 ~]$ ./push-images-to-registry.sh
-
-
使用非公開信任的私有映像登錄時、請將映像登錄TLS憑證上傳至OpenShift節點。若要這麼做、請使用TLS憑證在openshift-config命名空間中建立組態對應、並將其修補至叢集映像組態、使憑證成為信任的憑證。
[netapp-user@rhel7 ~]$ oc create configmap default-ingress-ca -n openshift-config --from-file=astra-registry.apps.ocp-vmw.cie.netapp.com=tls.crt

[netapp-user@rhel7 ~]$ oc patch image.config.openshift.io/cluster --patch '{"spec":{"additionalTrustedCA":{"name":"default-ingress-ca"}}}' --type=merge
如果您使用OpenShift內部登錄搭配來自入口操作員的預設TLS憑證搭配路由、您仍需依照前一個步驟將憑證修補成路由主機名稱。若要從入口操作員擷取憑證、您可以使用命令「occExtract secret /路由器-ca --keys=ls.crt -n openshift-inemit-opoperers」。 -
為Astra Control Center建立命名空間「NetApp-acc operator」。
[netapp-user@rhel7 ~]$ oc create ns netapp-acc-operator

namespace/netapp-acc-operator created
-
使用認證資料建立秘密、以登入「NetApp-acc operator」命名空間中的映像登錄。
[netapp-user@rhel7 ~]$ oc create secret docker-registry astra-registry-cred --docker-server=astra-registry.apps.ocp-vmw.cie.netapp.com --docker-username=ocp-user --docker-password=password -n netapp-acc-operator

secret/astra-registry-cred created
-
使用叢集管理存取權登入Red Hat OpenShift GUI主控台。
-
從Perspective(透視)下拉列表中選擇Administrator(管理員
-
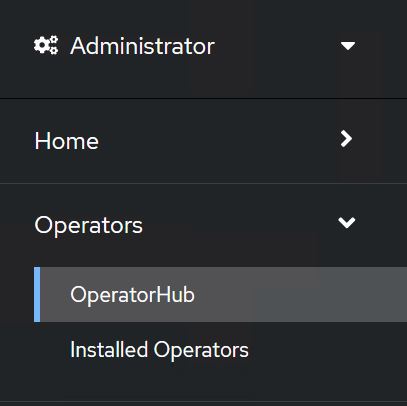
瀏覽至「運算子」>「運算子中樞」、然後搜尋Astra。
-
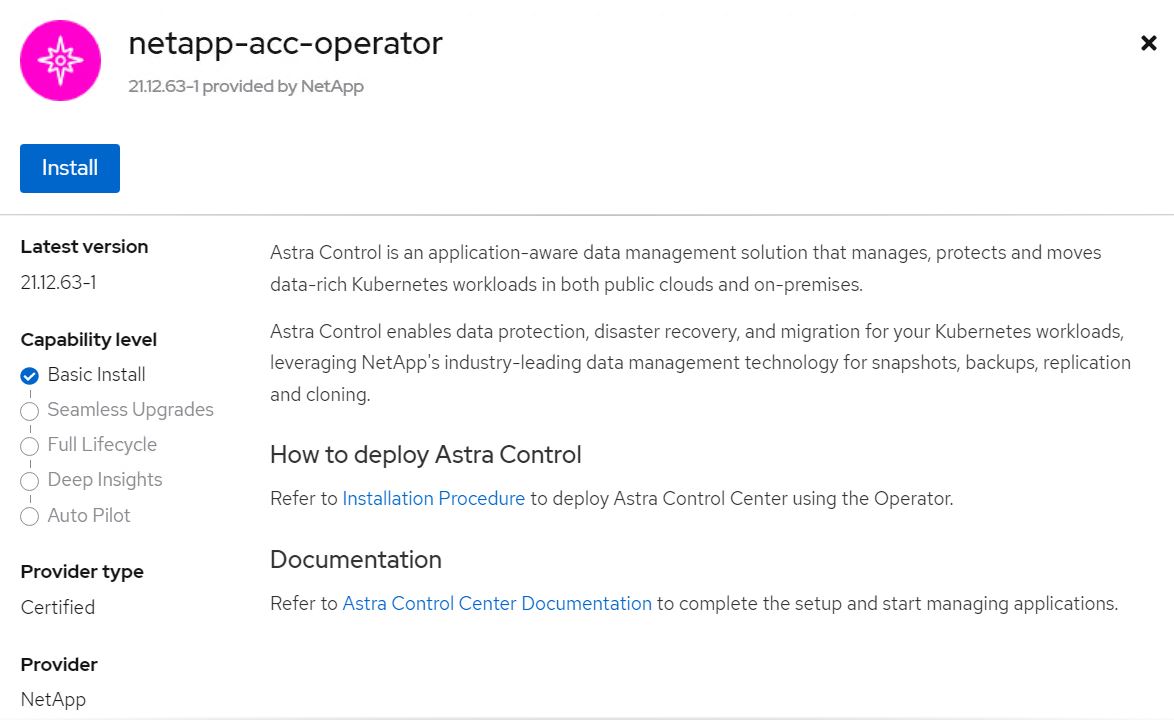
選取「NetApp-acc operator」方塊、然後按一下「Install(安裝)」。
-
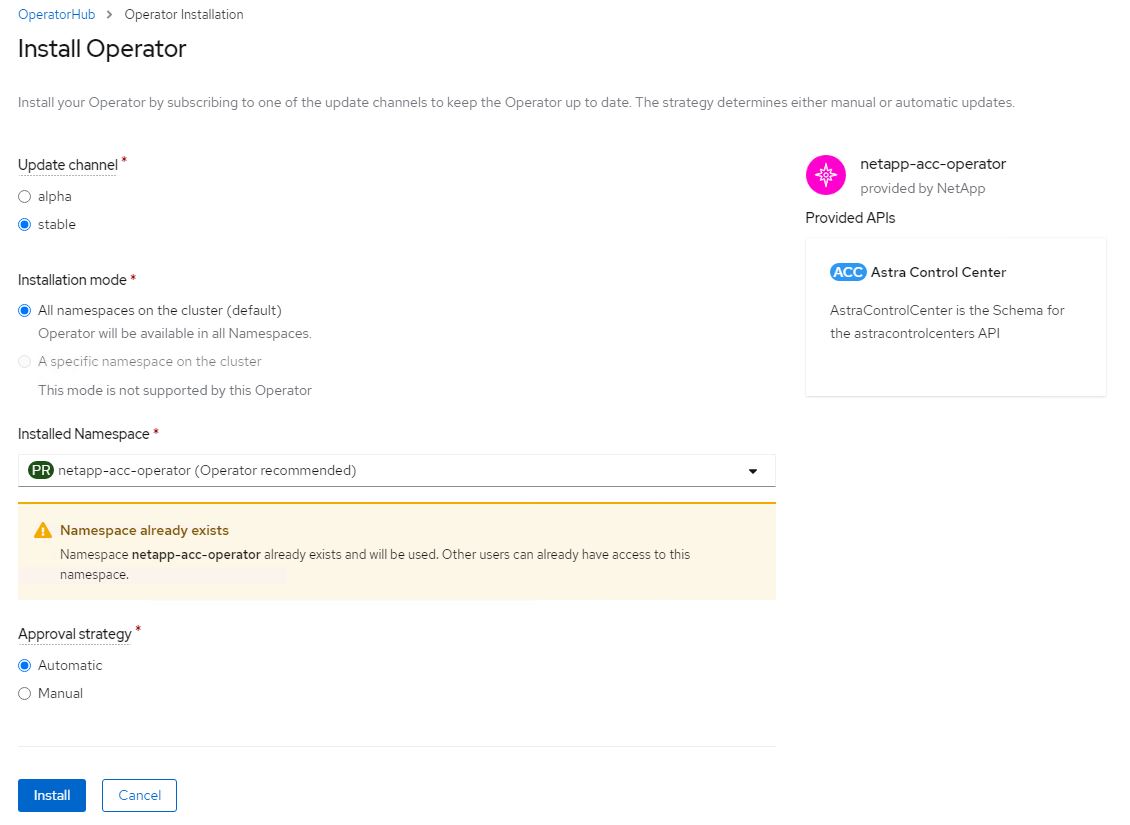
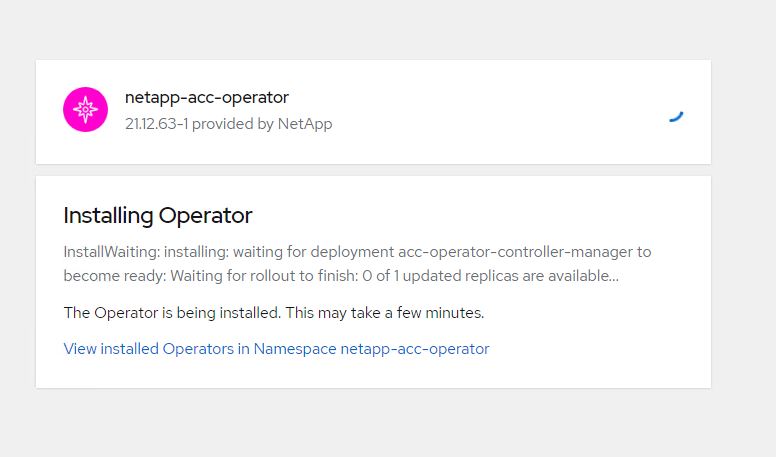
在Install Operator(安裝操作員)畫面上、接受所有預設參數、然後按一下「Install(安裝)」。
-
等待操作員安裝完成。
-
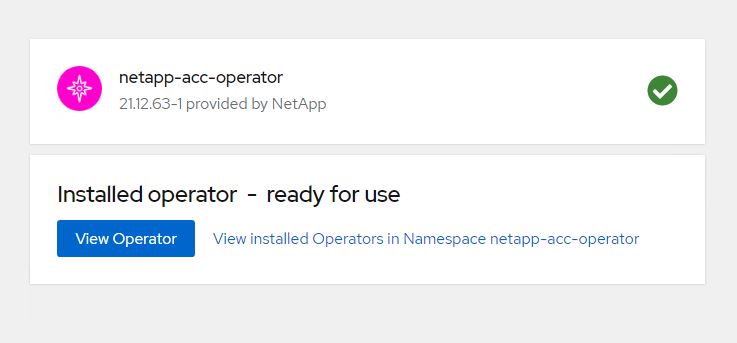
一旦操作員安裝成功、請瀏覽至「View operator」(檢視操作員)。
-
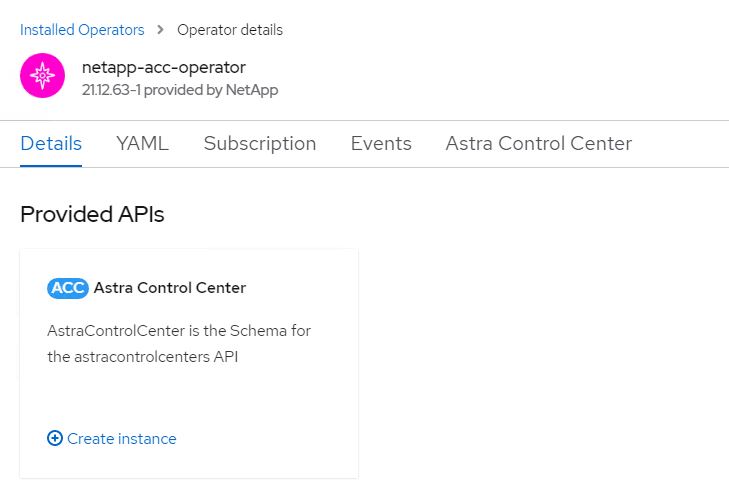
然後按一下操作者中Astra Control Center的「Create Instance」(建立執行個體)。
-
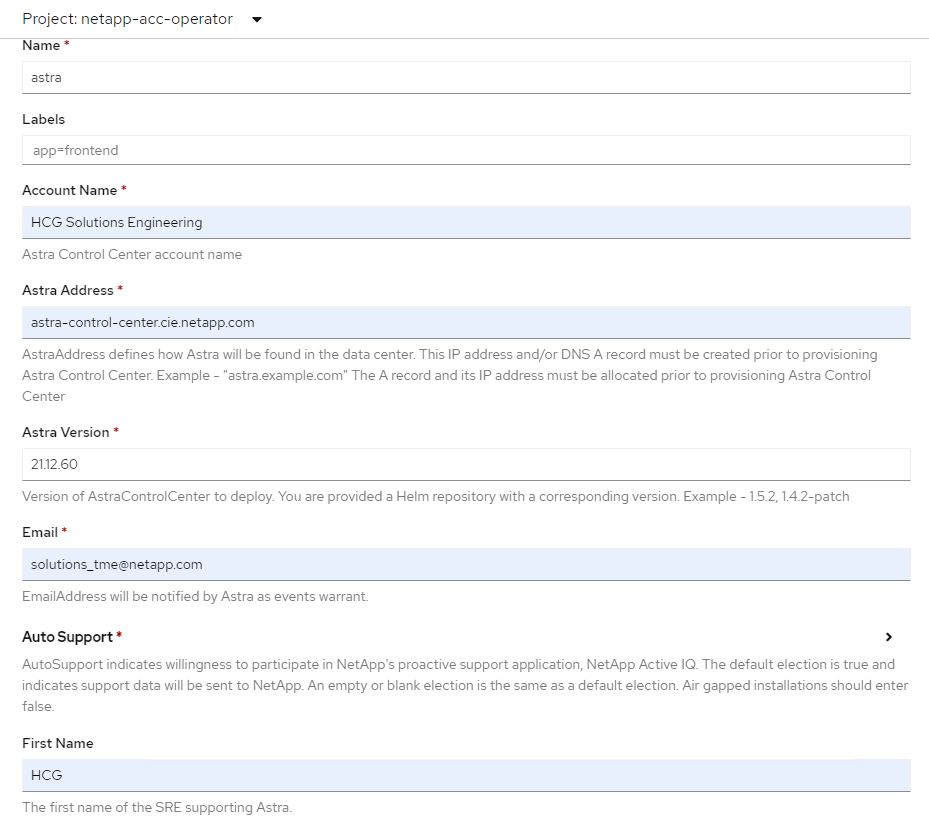
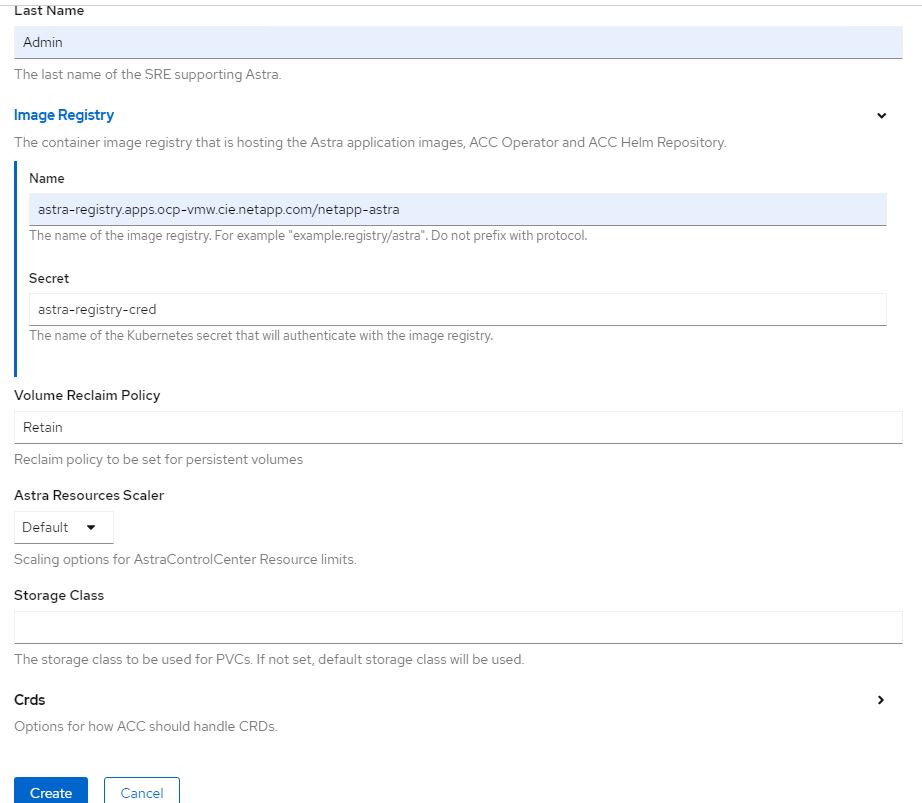
填寫「Create適用的」表單欄位、然後按一下「Create」(建立)。
-
(可選)編輯Astra Control Center執行個體名稱。
-
(可選)啟用或停用自動支援。建議保留「自動支援」功能。
-
輸入Astra Control Center的FQDN。
-
輸入Astra Control Center版本;預設會顯示最新版本。
-
輸入Astra Control Center的帳戶名稱和管理員詳細資料、例如名字、姓氏和電子郵件地址。
-
輸入Volume回收原則、預設為保留。
-
在「Image登錄」中、輸入登錄的FQDN以及將映像推送到登錄時所提供的組織名稱(在此範例中為「astra-registry.apps.ocp-vmw.cie.netapp.com/netapp-astra`」)。
-
如果您使用需要驗證的登錄、請在「映像登錄」區段中輸入機密名稱。
-
設定Astra Control Center資源限制的擴充選項。
-
如果您要將PVCS放置在非預設儲存類別上、請輸入儲存類別名稱。
-
定義客戶需求日處理偏好設定。
-
-
若要使用Ansible教戰手冊來部署Astra Control Center、您需要安裝Ansible的Ubuntu / RHEL機器。請依照程序進行 "請按這裡" 適用於 Ubuntu 和 RHEL 。
-
複製裝載可執行內容的GitHub儲存庫。
git clone https://github.com/NetApp-Automation/na_astra_control_suite.git -
登入NetApp支援網站、下載最新版的NetApp Astra Control Center。若要這麼做、必須附上NetApp帳戶的授權。下載後、將其傳輸至工作站。
若要開始使用Astra Control試用授權、請造訪 "Astra註冊網站"。 -
建立或取得具有OpenShift叢集管理員存取權的Kbeconfig檔案、以安裝Astra Control Center。
-
將目錄變更為na_astra_control_suITE。
cd na_astra_control_suite -
編輯「vars/vars.yml」檔案、並在變數中填入所需資訊。
#Define whether or not to push the Astra Control Center images to your private registry [Allowed values: yes, no] push_images: yes #The directory hosting the Astra Control Center installer installer_directory: /home/admin/ #Specify the ingress type. Allowed values - "AccTraefik" or "Generic" #"AccTraefik" if you want the installer to create a LoadBalancer type service to access ACC, requires MetalLB or similar. #"Generic" if you want to create or configure ingress controller yourself, installer just creates a ClusterIP service for traefik. ingress_type: "AccTraefik" #Name of the Astra Control Center installer (Do not include the extension, just the name) astra_tar_ball_name: astra-control-center-22.04.0 #The complete path to the kubeconfig file of the kubernetes/openshift cluster Astra Control Center needs to be installed to. hosting_k8s_cluster_kubeconfig_path: /home/admin/cluster-kubeconfig.yml #Namespace in which Astra Control Center is to be installed astra_namespace: netapp-astra-cc #Astra Control Center Resources Scaler. Leave it blank if you want to accept the Default setting. astra_resources_scaler: Default #Storageclass to be used for Astra Control Center PVCs, it must be created before running the playbook [Leave it blank if you want the PVCs to use default storageclass] astra_trident_storageclass: basic #Reclaim Policy for Astra Control Center Persistent Volumes [Allowed values: Retain, Delete] storageclass_reclaim_policy: Retain #Private Registry Details astra_registry_name: "docker.io" #Whether the private registry requires credentials [Allowed values: yes, no] require_reg_creds: yes #If require_reg_creds is yes, then define the container image registry credentials #Usually, the registry namespace and usernames are same for individual users astra_registry_namespace: "registry-user" astra_registry_username: "registry-user" astra_registry_password: "password" #Kuberenets/OpenShift secret name for Astra Control Center #This name will be assigned to the K8s secret created by the playbook astra_registry_secret_name: "astra-registry-credentials" #Astra Control Center FQDN acc_fqdn_address: astra-control-center.cie.netapp.com #Name of the Astra Control Center instance acc_account_name: ACC Account Name #Administrator details for Astra Control Center admin_email_address: admin@example.com admin_first_name: Admin admin_last_name: Admin -
執行教戰手冊以部署Astra Control Center。本方針要求特定組態具備root權限。
如果執行方針的使用者是root或設定了無密碼Sudo、請執行下列命令來執行方針。
ansible-playbook install_acc_playbook.yml如果使用者已設定以密碼為基礎的Sudo存取、請執行下列命令來執行方針、然後輸入Sudo密碼。
ansible-playbook install_acc_playbook.yml -K
安裝後步驟
-
安裝可能需要幾分鐘的時間才能完成。確認「NetApp-Astra -cc」命名空間中的所有Pod和服務均已啟動並正在執行。
[netapp-user@rhel7 ~]$ oc get all -n netapp-astra-cc
-
檢查「acc oper-manager-manager」記錄、確保安裝完成。
[netapp-user@rhel7 ~]$ oc logs deploy/acc-operator-controller-manager -n netapp-acc-operator -c manager -f
下列訊息表示Astra Control Center安裝成功。 {"level":"info","ts":1624054318.029971,"logger":"controllers.AstraControlCenter","msg":"Successfully Reconciled AstraControlCenter in [seconds]s","AstraControlCenter":"netapp-astra-cc/astra","ae.Version":"[21.12.60]"} -
登入Astra Control Center的使用者名稱是CRD檔案中所提供系統管理員的電子郵件地址、密碼是附加於Astra Control Center UUID的字串「ACC-」。執行下列命令:
[netapp-user@rhel7 ~]$ oc get astracontrolcenters -n netapp-astra-cc
NAME    UUID
astra   345c55a5-bf2e-21f0-84b8-b6f2bce5e95f
在此範例中、密碼為「ACC-345c55a5-bf2e-21f0-843b8-b6f2bce5e95f」。 -
取得truefik服務負載平衡器IP。
[netapp-user@rhel7 ~]$ oc get svc -n netapp-astra-cc | egrep 'EXTERNAL|traefik'

NAME                                       TYPE           CLUSTER-IP       EXTERNAL-IP     PORT(S)                                                                   AGE
traefik                                    LoadBalancer   172.30.99.142    10.61.186.181   80:30343/TCP,443:30060/TCP                                                16m
-
在DNS伺服器中新增一個項目、將Astra Control Center CRD檔案中提供的FQDN指向raefik服務的「exter-IP」。

-
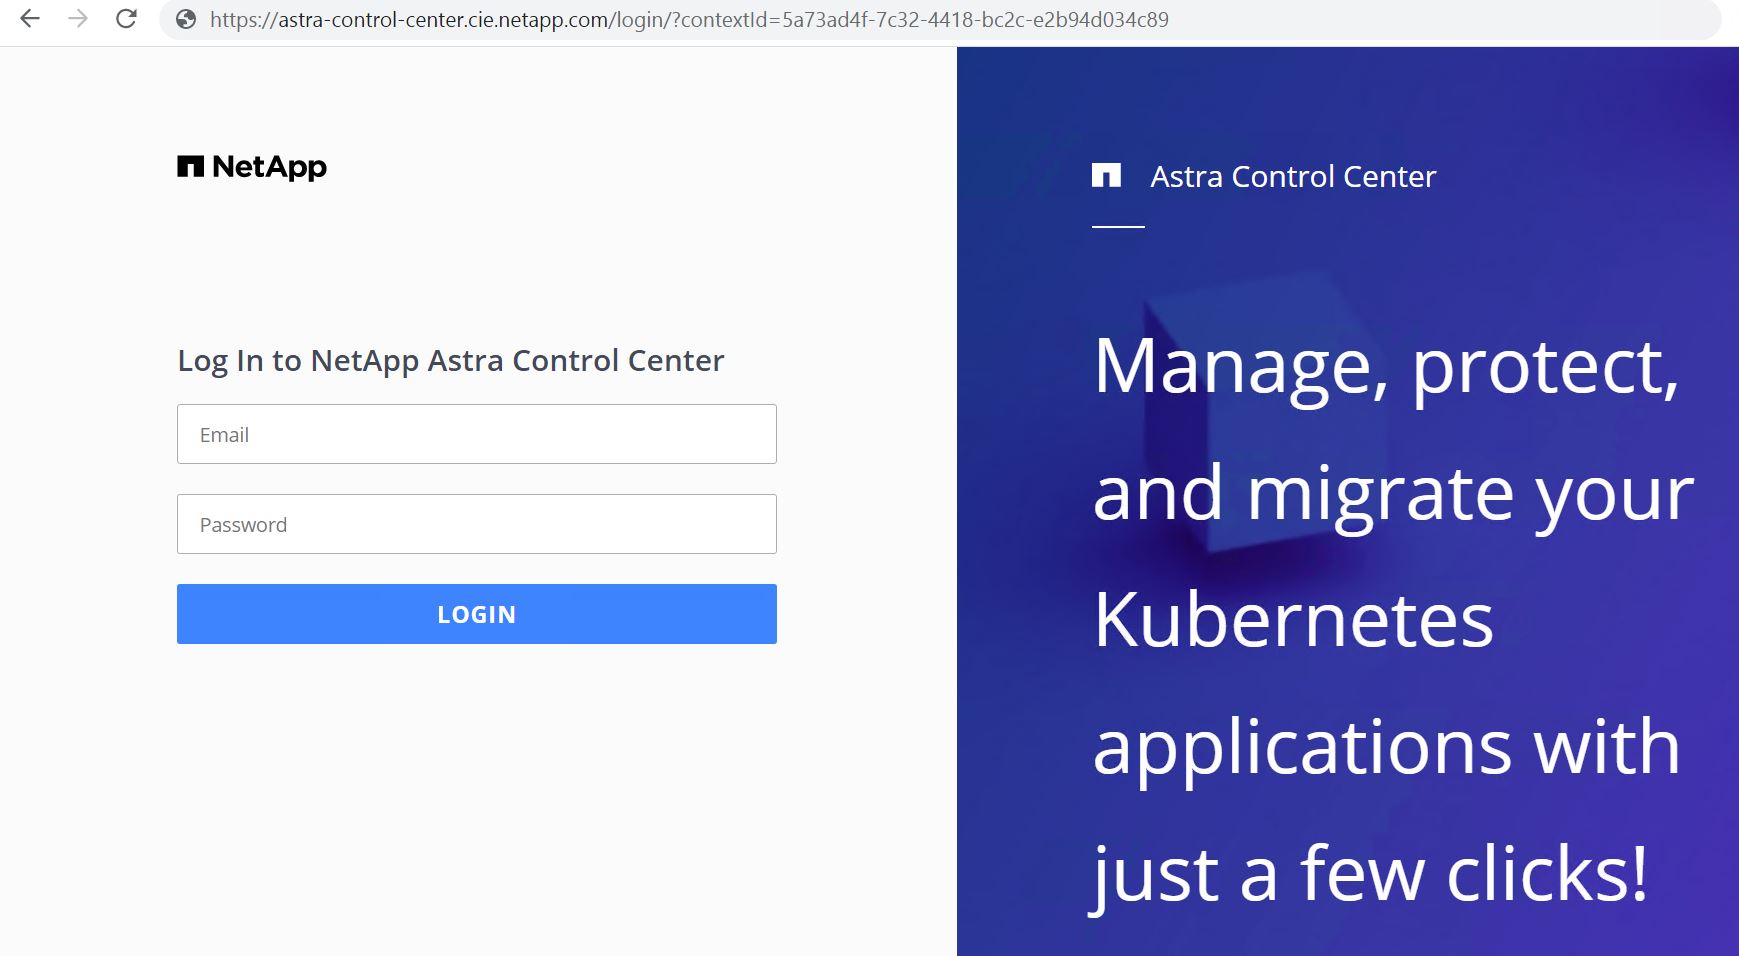
瀏覽Astra Control Center GUI的FQDN即可登入。
-
第一次使用CRD提供的管理電子郵件地址登入Astra Control Center GUI時、您需要變更密碼。

-
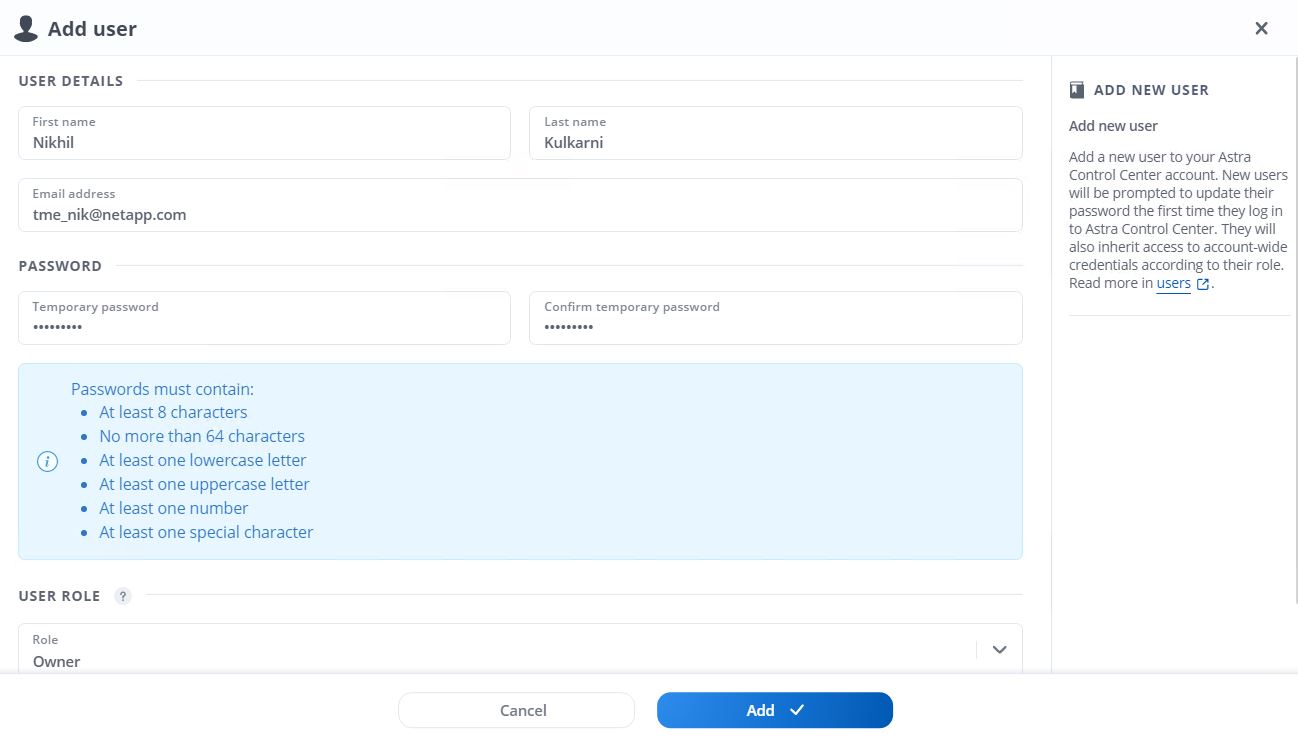
如果您想要新增使用者至Astra Control Center、請瀏覽至「帳戶」>「使用者」、按一下「新增」、輸入使用者的詳細資料、然後按一下「新增」。
-
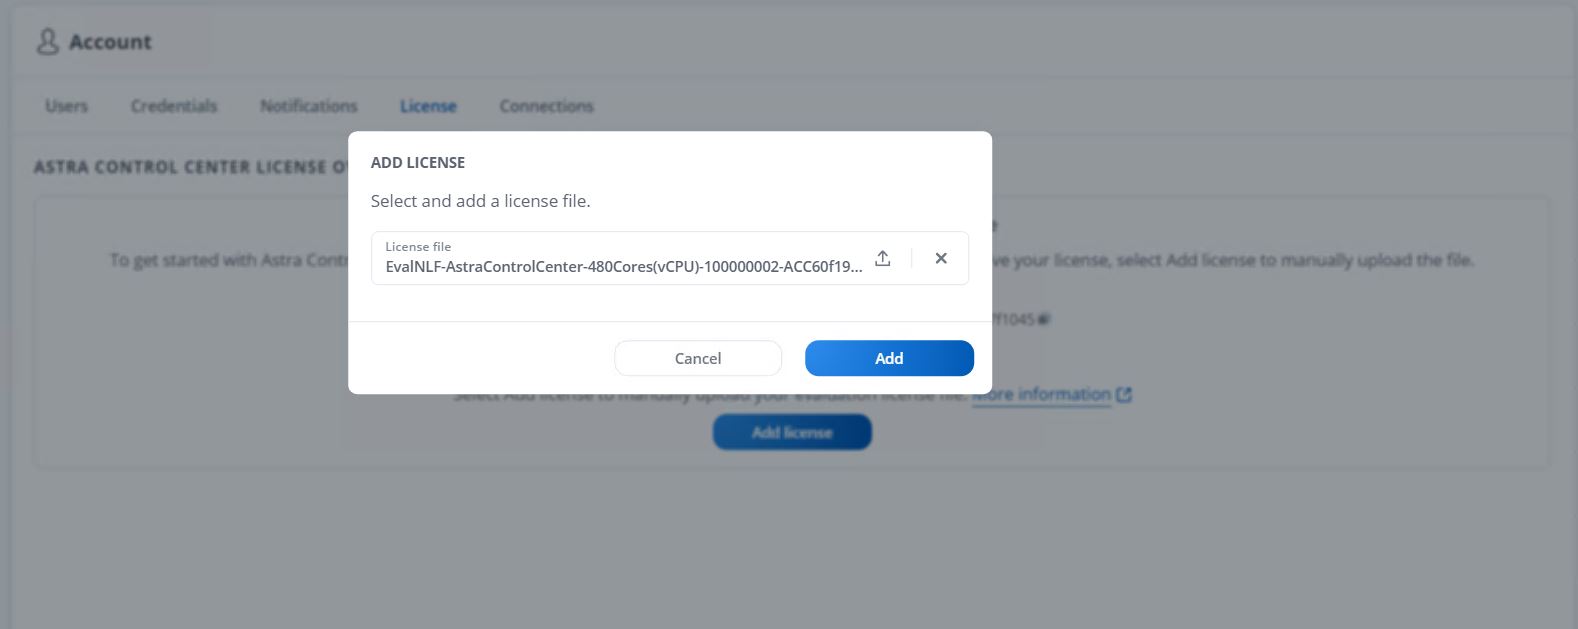
Astra Control Center需要取得授權、才能讓所有IT功能正常運作。若要新增授權、請瀏覽至「帳戶」>「授權」、按一下「新增授權」、然後上傳授權檔案。
如果您在安裝或組態NetApp Astra Control Center時遇到問題、我們將提供已知問題的知識庫 "請按這裡"。