Apache Airflow 배포
 변경 제안
변경 제안
이 섹션에서는 Kubernetes 클러스터에 Airflow를 배포하기 위해 완료해야 하는 작업을 설명합니다.

|
Kubernetes 외의 플랫폼에도 Airflow를 배포하는 것이 가능합니다. Kubernetes 이외의 플랫폼에 Airflow를 배포하는 것은 이 솔루션의 범위를 벗어납니다. |
필수 조건
이 섹션에 설명된 배포 연습을 수행하기 전에 다음 작업을 이미 수행했다고 가정합니다.
-
이미 작동하는 Kubernetes 클러스터가 있습니다.
-
Kubernetes 클러스터에 NetApp Trident 이미 설치하고 구성했습니다. Trident 에 대한 자세한 내용은 다음을 참조하세요."Trident 문서" .
Helm 설치
Airflow는 Kubernetes의 인기 있는 패키지 관리자인 Helm을 사용하여 배포됩니다. Airflow를 배포하기 전에 배포 점프 호스트에 Helm을 설치해야 합니다. 배포 점프 호스트에 Helm을 설치하려면 다음을 따르세요. "설치 지침" 공식 Helm 문서에서.
기본 Kubernetes StorageClass 설정
Airflow를 배포하기 전에 Kubernetes 클러스터 내에서 기본 StorageClass를 지정해야 합니다. Airflow 배포 프로세스는 기본 StorageClass를 사용하여 새로운 영구 볼륨을 프로비저닝하려고 시도합니다. StorageClass가 기본 StorageClass로 지정되지 않으면 배포가 실패합니다. 클러스터 내에서 기본 StorageClass를 지정하려면 다음 지침을 따르세요."Kubeflow 배포" 부분. 클러스터 내에서 이미 기본 StorageClass를 지정한 경우 이 단계를 건너뛸 수 있습니다.
Helm을 사용하여 공기 흐름 배포
Helm을 사용하여 Kubernetes 클러스터에 Airflow를 배포하려면 배포 점프 호스트에서 다음 작업을 수행하세요.
-
Helm을 사용하여 Airflow를 배포하려면 다음을 따르세요. "배치 지침" Artifact Hub의 공식 Airflow 차트입니다. 다음 예제 명령은 Helm을 사용하여 Airflow를 배포하는 방법을 보여줍니다. 값을 수정, 추가 및/또는 제거합니다.
custom- values.yaml환경과 원하는 구성에 따라 필요에 따라 파일을 추가하세요.$ cat << EOF > custom-values.yaml ################################### # Airflow - Common Configs ################################### airflow: ## the airflow executor type to use ## executor: "CeleryExecutor" ## environment variables for the web/scheduler/worker Pods (for airflow configs) ## # ################################### # Airflow - WebUI Configs ################################### web: ## configs for the Service of the web Pods ## service: type: NodePort ################################### # Airflow - Logs Configs ################################### logs: persistence: enabled: true ################################### # Airflow - DAGs Configs ################################### dags: ## configs for the DAG git repository & sync container ## gitSync: enabled: true ## url of the git repository ## repo: "git@github.com:mboglesby/airflow-dev.git" ## the branch/tag/sha1 which we clone ## branch: master revision: HEAD ## the name of a pre-created secret containing files for ~/.ssh/ ## ## NOTE: ## - this is ONLY RELEVANT for SSH git repos ## - the secret commonly includes files: id_rsa, id_rsa.pub, known_hosts ## - known_hosts is NOT NEEDED if `git.sshKeyscan` is true ## sshSecret: "airflow-ssh-git-secret" ## the name of the private key file in your `git.secret` ## ## NOTE: ## - this is ONLY RELEVANT for PRIVATE SSH git repos ## sshSecretKey: id_rsa ## the git sync interval in seconds ## syncWait: 60 EOF $ helm install airflow airflow-stable/airflow -n airflow --version 8.0.8 --values ./custom-values.yaml ... Congratulations. You have just deployed Apache Airflow! 1. Get the Airflow Service URL by running these commands: export NODE_PORT=$(kubectl get --namespace airflow -o jsonpath="{.spec.ports[0].nodePort}" services airflow-web) export NODE_IP=$(kubectl get nodes --namespace airflow -o jsonpath="{.items[0].status.addresses[0].address}") echo http://$NODE_IP:$NODE_PORT/ 2. Open Airflow in your web browser -
모든 Airflow 포드가 제대로 작동하는지 확인하세요. 모든 포드가 시작되려면 몇 분이 걸릴 수 있습니다.
$ kubectl -n airflow get pod
NAME                                READY   STATUS    RESTARTS   AGE
airflow-flower-b5656d44f-h8qjk      1/1     Running   0          2h
airflow-postgresql-0                1/1     Running   0          2h
airflow-redis-master-0              1/1     Running   0          2h
airflow-scheduler-9d95fcdf9-clf4b   2/2     Running   2          2h
airflow-web-59c94db9c5-z7rg4        1/1     Running   0          2h
airflow-worker-0                    2/2     Running   2          2h
-
1단계에서 Helm을 사용하여 Airflow를 배포할 때 콘솔에 인쇄된 지침에 따라 Airflow 웹 서비스 URL을 얻습니다.
$ export NODE_PORT=$(kubectl get --namespace airflow -o jsonpath="{.spec.ports[0].nodePort}" services airflow-web) $ export NODE_IP=$(kubectl get nodes --namespace airflow -o jsonpath="{.items[0].status.addresses[0].address}") $ echo http://$NODE_IP:$NODE_PORT/ -
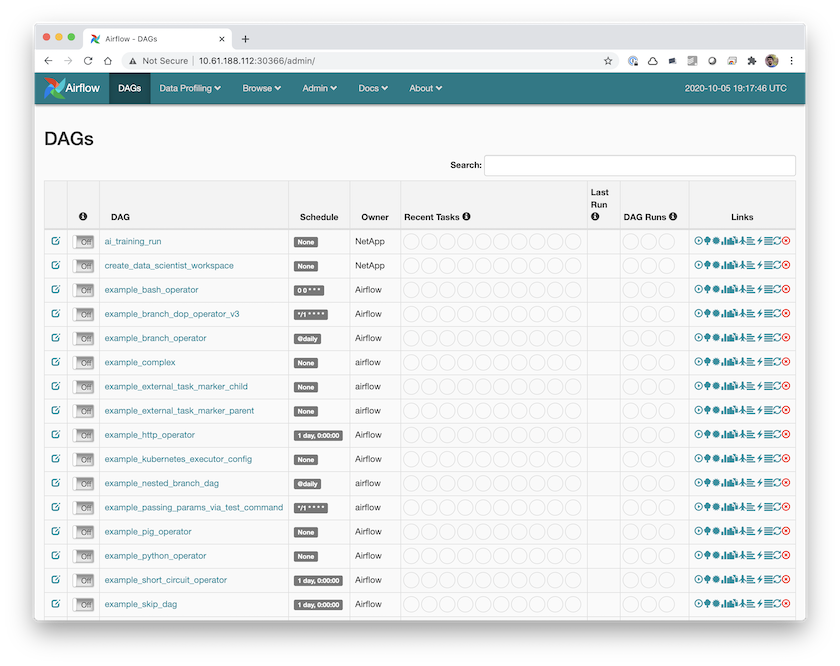
Airflow 웹 서비스에 액세스할 수 있는지 확인하세요.