


Back up and restore VMs using NetApp Console Backup and Recovery Service

 Suggest changes

 PDFs
PDFs
Back up and restore VMs in Red Hat OpenShift Virtualization using NetApp Console. This procedure covers creating and managing backup and restore operations through Backup and Recovery Service via NetApp Console, using an Azure Blob Storage container as the backup target.
NetApp Console provides centralized management of storage and data services across on-premises and cloud environments. It delivers unified control, operational simplicity, and secure management. There are several data services and management features that can be accessed from the user interface at console.netapp.com. For complete details about NetApp Console, see NetApp Console documentation.
This section focuses on the NetApp Backup and Recovery data service for Kubernetes workloads, specifically OpenShift virtual machines. NetApp Backup and Recovery Service enables you to discover, manage, create, and associate protection policies with your Kubernetes applications and VMs using a single interface. For a complete guide, see NetApp Backup and Recovery documentation.
Backup and Recovery workflow
-
Ensure you have a Console Agent
Ensure you have a console agent deployed in the environment where your OpenShift cluster is running. For details about installing a console agent, see the NetApp Console Setup documentation.
Show Example
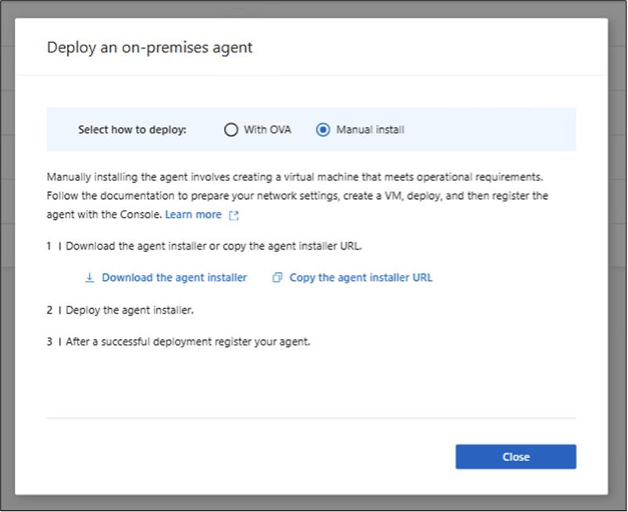
In NetApp Console, click Deploy Agent as shown in the screenshot, and deploy the agent in the environment where the OpenShift cluster is running.
In this example, we chose on-premises. Copy the agent installer URL, use the curl command to download the agent installer on the Ubuntu machine running on vSphere, and run the installer to deploy the Console agent.
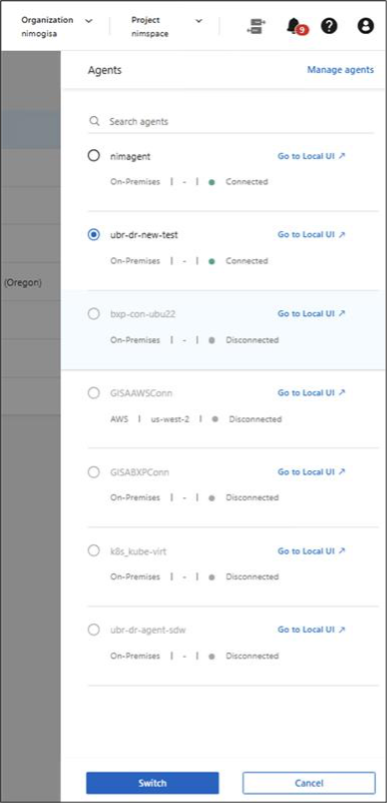
Register it using the IP address of the agent in the URL. See the documentation for detailed instructions. After the agent is registered, you can see it in NetApp Console as shown in the screenshot below.

-
Set up Azure Blob Storage container as a backup target for a backup and restore scenario for the OpenShift VMs.
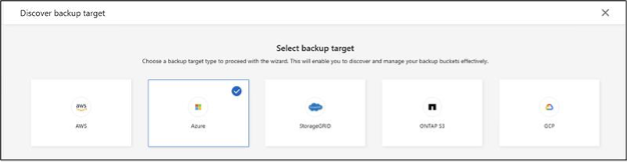
In this example, we use Azure Blob Storage as the backup target. You can also use AWS S3, Google Cloud Storage, StorageGRID, or ONTAP object storage as backup targets.
For additional details, review NetApp Console documentation.
To discover the Azure Blob Storage container as the backup target in NetApp Console, you will need the following information from the Azure portal.
Application (Client) ID:
Client Secret:
Directory (tenant) ID:
To get these values, do the following in the Azure portal.
-
Create a Blob Storage container.
-
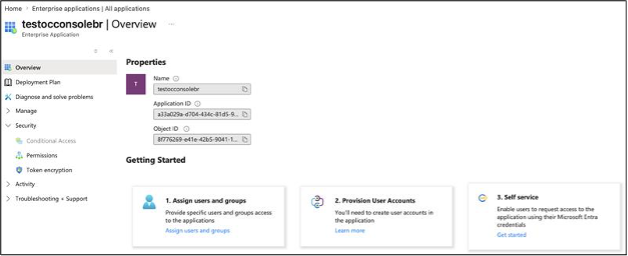
Create an Enterprise application, assign the required access for this application to the Blob Storage container. Get the Application ID, Directory ID, and Client Secret for this application to use in NetApp Console to discover the Azure Blob Storage container as the backup target.
Show Example
-
Create a storage account and blob container
-
Create a Resource Group in your subscription.
-
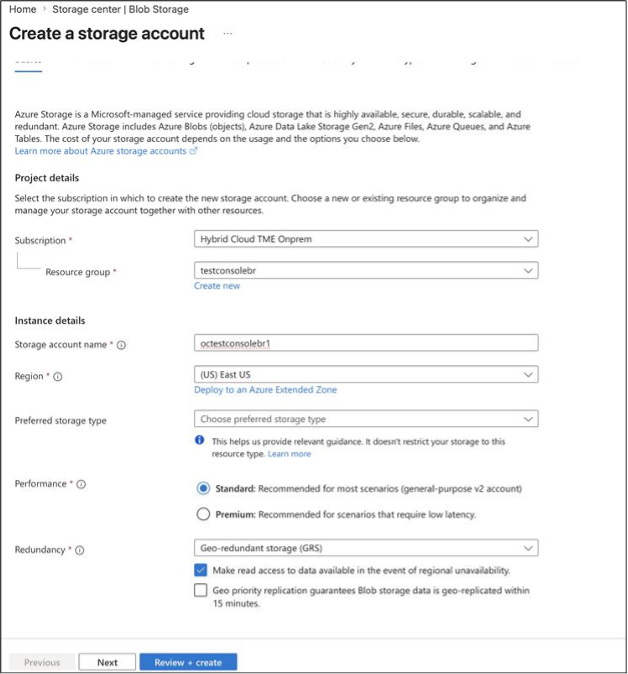
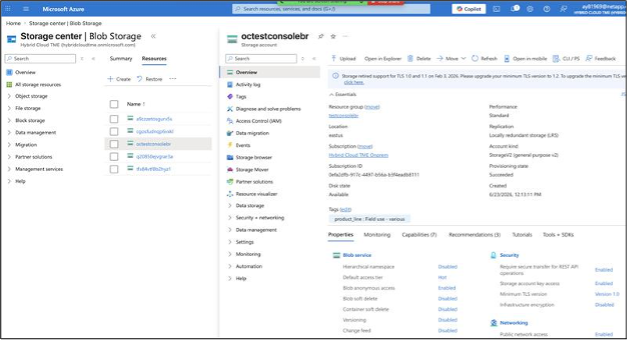
Create a storage account and then create a blob container.
-
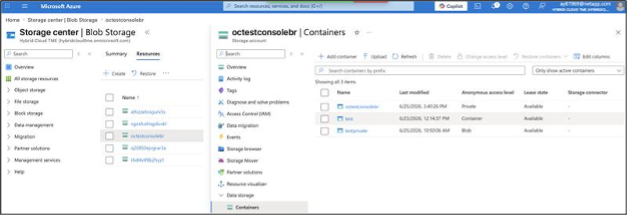
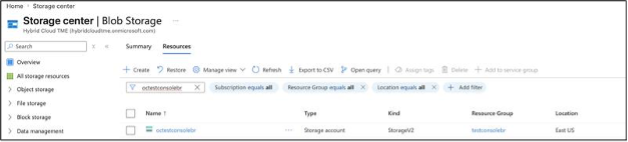
-
Create an Enterprise Application with appropriate permissions.
Complete these steps in the Azure portal.-
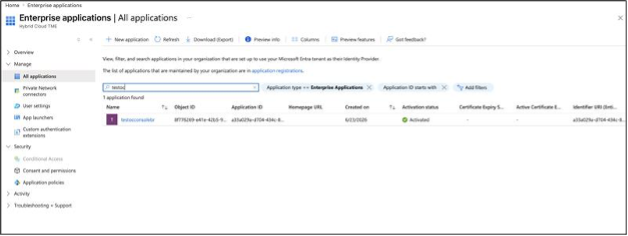
Create an Enterprise Application in your Azure subscription.
-
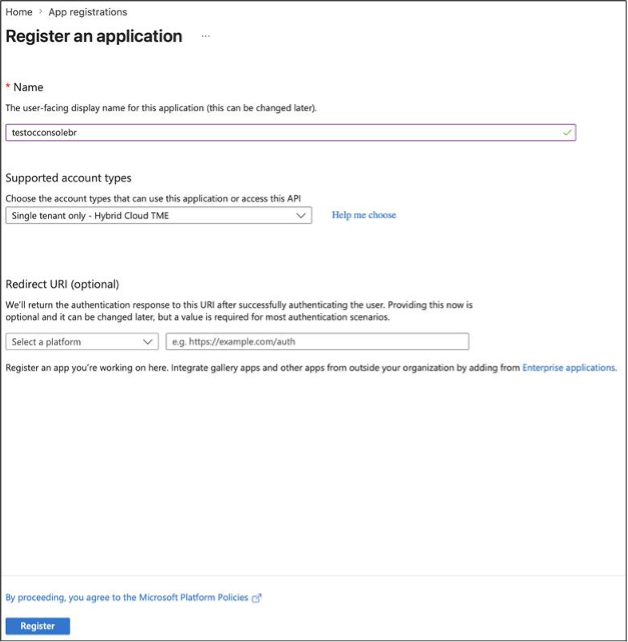
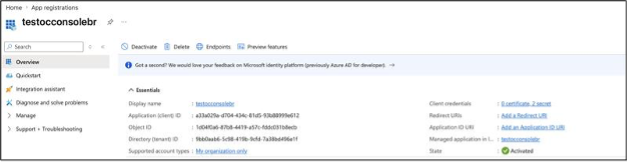
Register the Application. Get the Application ID and the Directory ID for the application you just registered.
-
Assign roles to provide access to the storage blob container for the application.
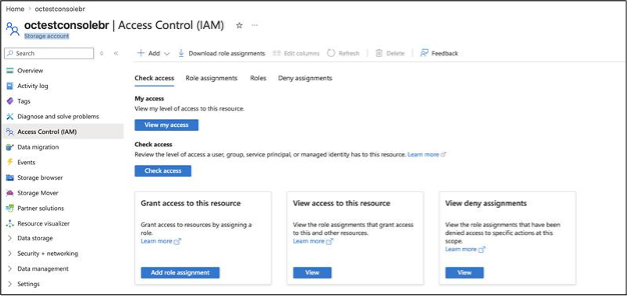
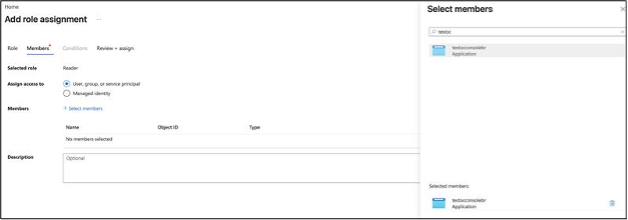
To do this, go to IAM for the storage blob created earlier, click Add Role Assignment.
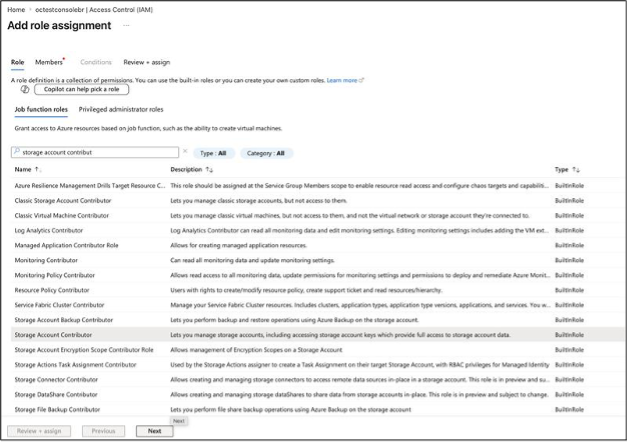
Select Storage Account Contributor role, click Next. Select Assign access to User, group, or Service Principal and in the Select members section, select the Enterprise Application you created.
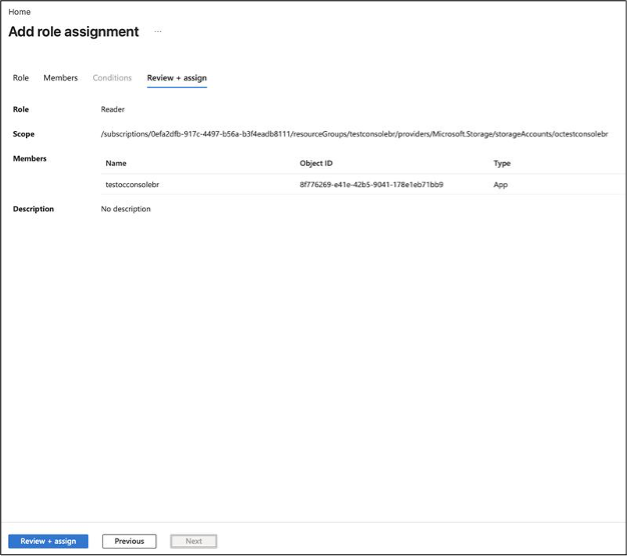
Complete the assignment by clicking Review + assign.
Repeat this process to add the other roles listed below. All these roles are required for the application to access the blob container.-
Storage Blob Data Reader
-
Storage Blob Data Contributor
-
Storage Account Contributor
-
-
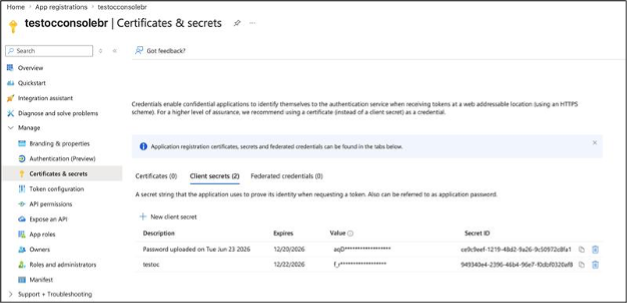
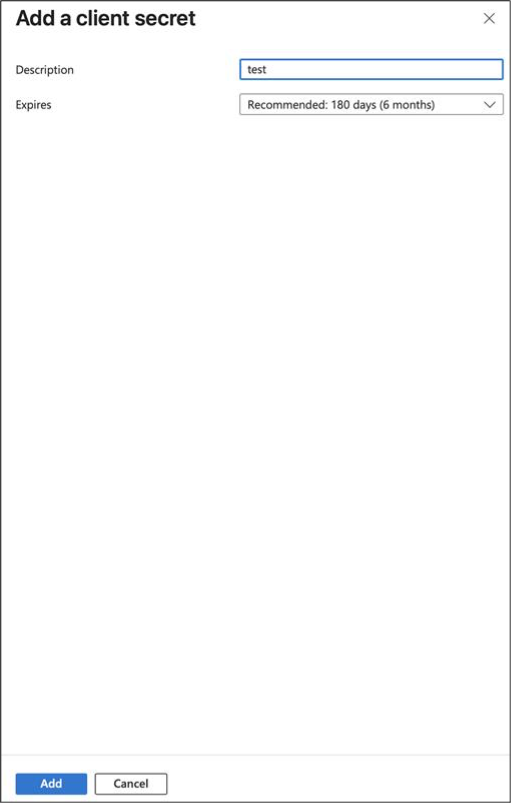
Finally, create a client secret for this application.
-
-
-
-
In NetApp Console, discover the OpenShift cluster.
Show Example
This step requires the OpenShift cluster to be running and the Console agent to be deployed in the same environment.
Follow these steps to discover the OpenShift cluster in NetApp Console.-
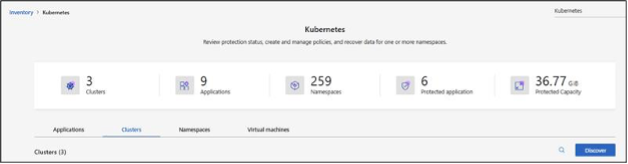
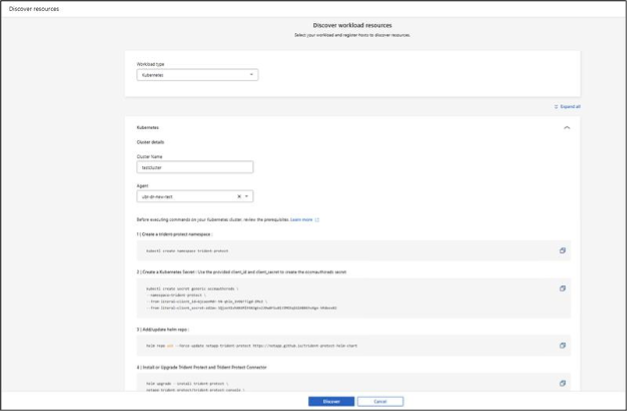
In NetApp Console, select Inventory > Kubernetes and provide the details of the OpenShift cluster.
-
Select the agent deployed in the same environment where the OpenShift cluster is located.
-
Copy the provided commands to install Trident Protect and run them from a machine used to execute
occommands on your OpenShift cluster. -
After Trident Protect is successfully installed, click Discover. NetApp Console discovers the OpenShift cluster and all its resources via the agent and populates them in the UI.
-
-
In NetApp Console, discover the Azure Blob Storage.
Show Example
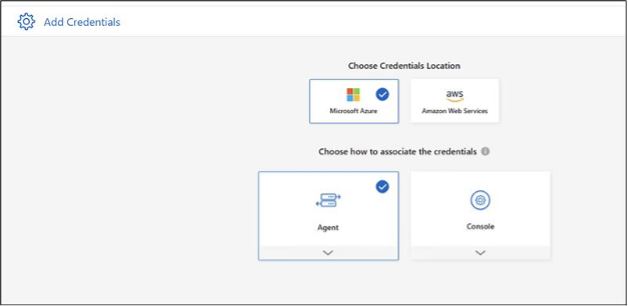
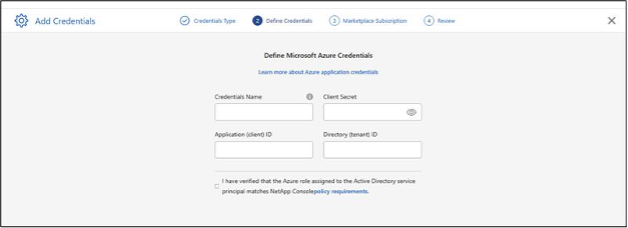
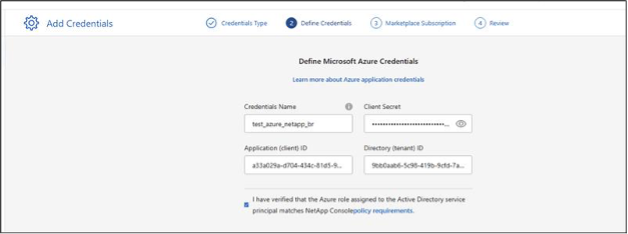
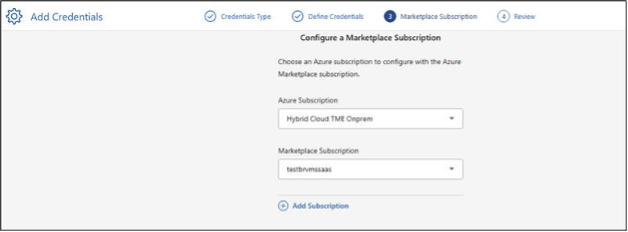
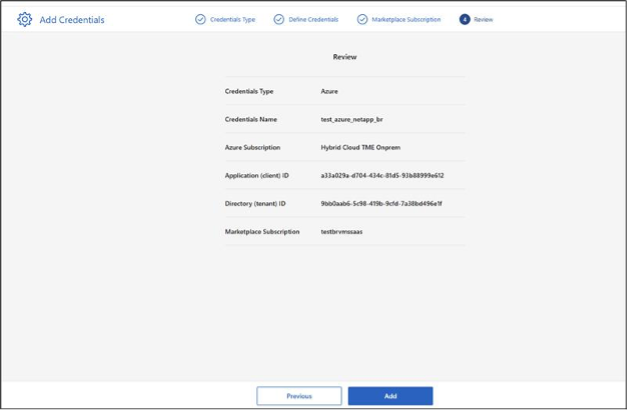
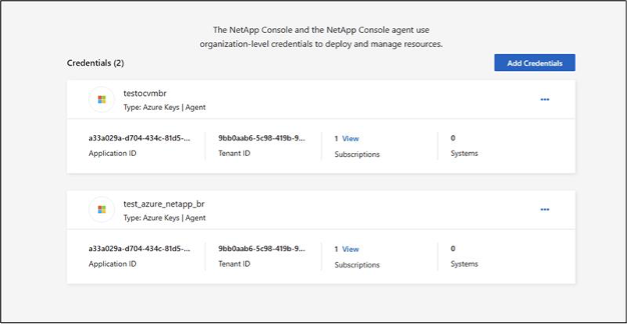
To discover the Azure Blob Storage in NetApp Console, you will need the Application (Client) ID, Client Secret, and Directory (tenant) ID for the Enterprise application you previously created in the Azure portal.
When you provide these details in NetApp Console, NetApp Console discovers the Azure Blob Storage and populates it in the UI.
The Azure credentials are stored in NetApp Console and used to access the Azure Blob Storage for backup and restore operations.
-
In NetApp Console, create an Application for the VMs and Protect them using Backups
Show Example
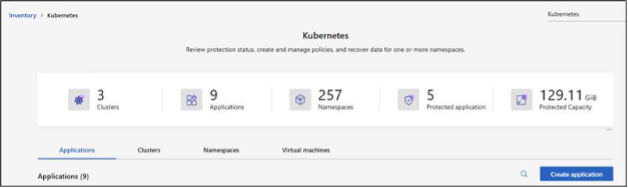
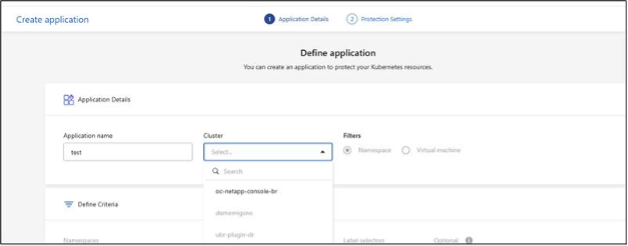
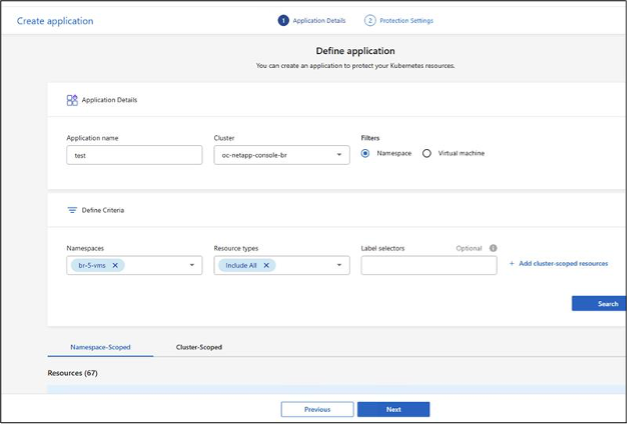
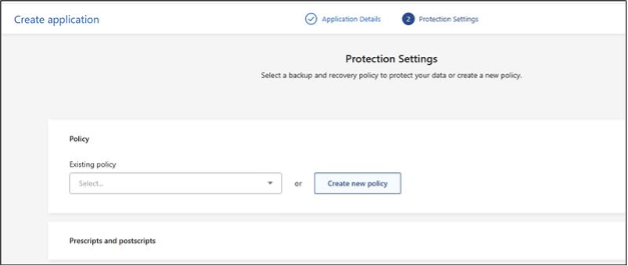
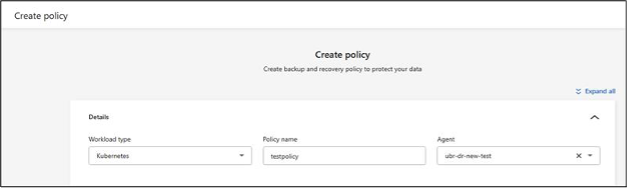
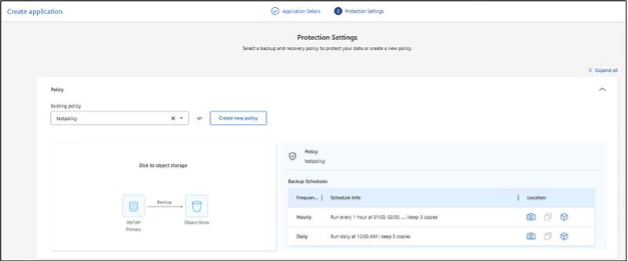
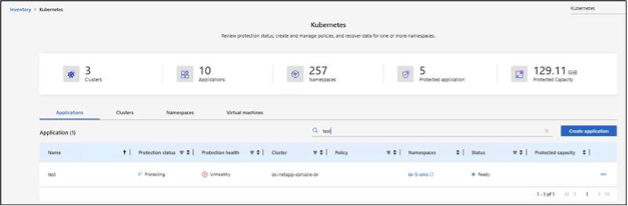
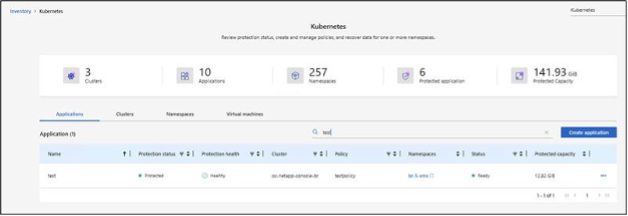
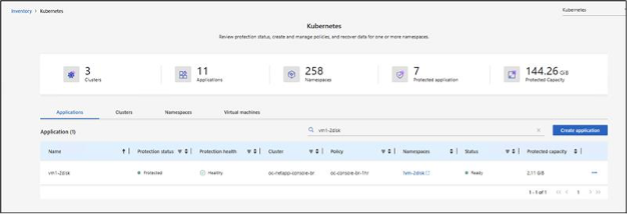
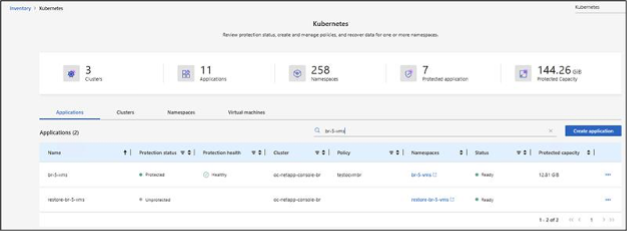
In this step, create an application in NetApp Console for the VMs that need to be protected. You can create an application for a single VM or multiple VMs. You can also use namespaces to create an application to protect all the VMs in a namespace in the OpenShift cluster.
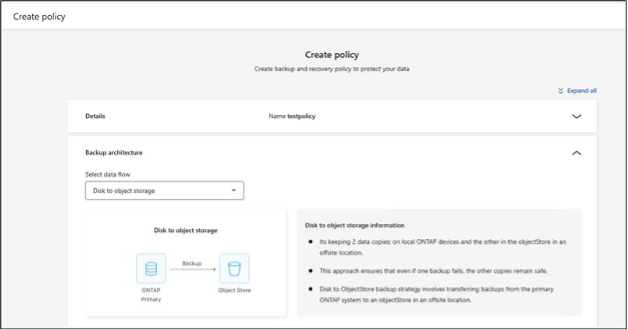
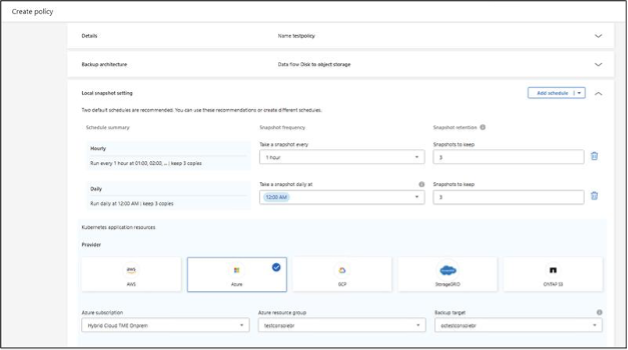
You will also need a protection policy to associate with the application. You can create a new protection policy or use an existing one. In this example, a new protection policy is created with the application and associated with it. Backups are created for the application based on the protection policy associated with it. The number of backups retained is based on the retention policy defined in the protection policy.
If your application/VMs have more than one disk and your backup fails with the error shown below, edit the
volumegroupsnapshotsandvolumegroupsnapshotcontentsAPI rules so they include the verbs shown.Show fix

- apiGroups:
  - groupsnapshot.storage.k8s.io
  resources:
  - volumegroupsnapshots
  verbs:
  - get
  - list
  - watch
  - create
  - delete
  - update
  - patch
- apiGroups:
  - groupsnapshot.storage.k8s.io
  resources:
  - volumegroupsnapshotcontents
  - volumegroupsnapshotcontents/status
  verbs:
  - get
  - list
  - watch
  - create
  - delete
  - update
  - patch
- apiGroups:
  - groupsnapshot.storage.k8s.io
  resources:
  - volumegroupsnapshotclasses
  verbs:
  - get
  - list
  - watch
-
Restore the Application from a backup
Show Example
-
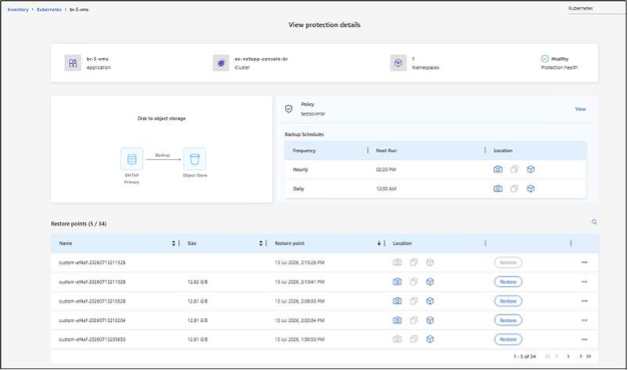
You can choose one of the many backups available to restore your VM based on your need.
-
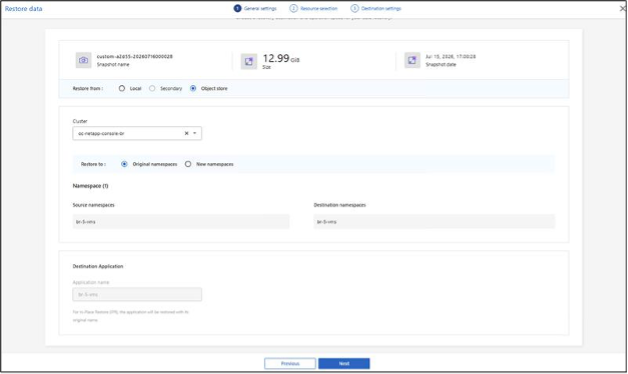
You can restore to the original namespace or to a different namespace.
-
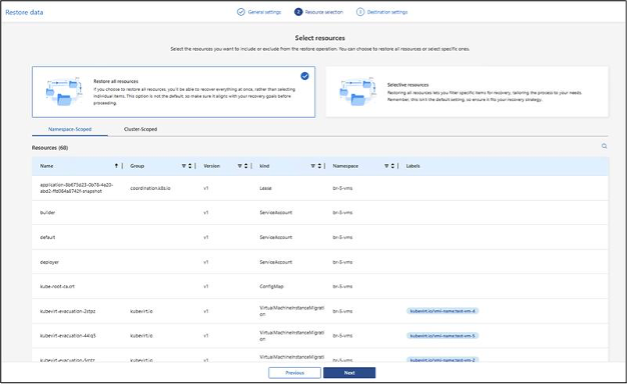
You can select what resources need to be restored.
-
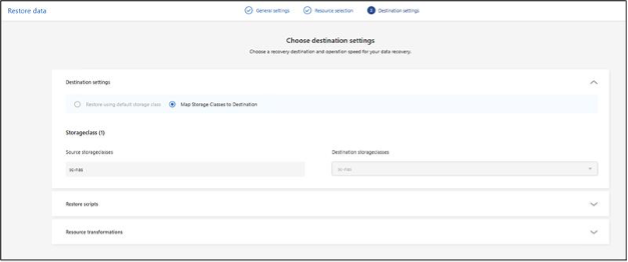
You can choose the storage class to use when restoring the VMs.
-