

Create SVM and LIFs and the NVMe namespace for NVMe/TCP vVols datastores in a VCF VI workload domain
 Suggest changes
Create a Storage Virtual Machine (SVM) with multiple Logical Interfaces (LIFs) to provide NVMe connectivity for VMware Cloud Foundation workload domains. This procedure summarizes setting up an NVMe/TCP-enabled SVM and LIFs and creating the NVMe namespaces.
Step 1: Create the SVMs and LIFs
Complete the following steps to create an SVM with multiple LIFs for NVMe/TCP traffic.
To add new LIFs to an existing SVM, refer to the ONTAP documentation: Create ONTAP LIFs.
-
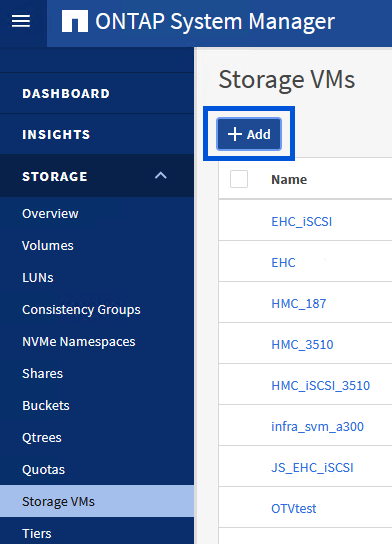
From ONTAP System Manager, navigate to Storage VMs in the left-hand menu and click + Add.
Show example
-
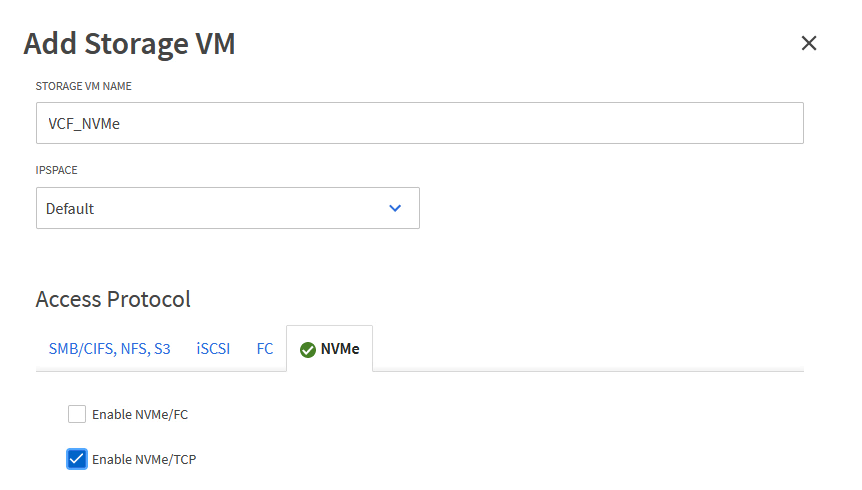
In the Add Storage VM wizard, enter a Name for the SVM, select the IP Space and then, under Access Protocol, click the NVMe tab and check the box to Enable NVMe/TCP.
Show example
-
In the Network Interface section, enter the IP address, Subnet Mask, and Broadcast Domain and Port for the first LIF. For subsequent LIFs, you can either use individual settings or enable the checkbox to use common settings across all remaining LIFs.

For multipathing and failover across multiple paths, create a minimum of two LIFs per storage node in separate Ethernet networks for all SVMs in NVMe/TCP configurations. -
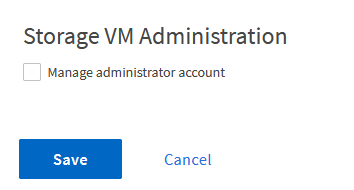
Choose whether to enable the Storage VM Administration account (for multi-tenancy environments) and click Save to create the SVM.
Show example
Step 2: Create the NVMe Namespace
NVMe namespaces are analogous to LUNs for iSCSi or FC. You must create the NVMe Namespace before a VMFS datastore can be deployed from the vSphere Client.
To create the NVMe namespace, get the NVMe Qualified Name (NQN) from each ESXi host in the cluster. ONTAP uses the NQN to provide access control for the namespace.
-
Open an SSH session with an ESXi host in the cluster to obtain its NQN. Use the following command from the CLI:
esxcli nvme info getAn output similar to the following example should be displayed:
Host NQN: nqn.2014-08.com.netapp.sddc:nvme:vcf-wkld-esx01 -
Record the NQN for each ESXi host in the cluster.
-
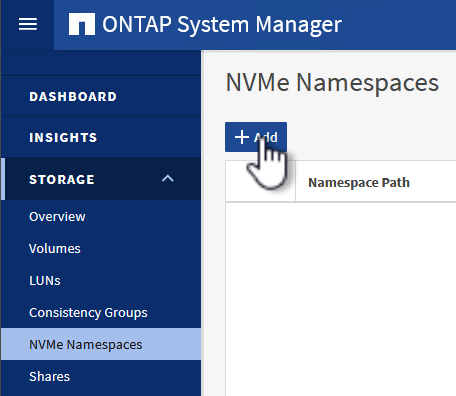
From ONTAP System Manager, navigate to NVMe Namespaces in the left-hand menu and click + Add to start.
Show example
-
On the Add NVMe Namespace page, fill in a name prefix, the number of namespaces to create, the size of the namespace, and the host operating system that will be accessing the namespace.
-
In the Host NQN section, create a comma separated list of the NQN's previously collected from the ESXi hosts that will be accessing the namespaces.
-
Click More Options to configure additional items, such as the snapshot protection policy.
-
Finally, click Save to create the NVMe Namespace.
Show example
What's next?
After creating the SVM and LIFs, configure networking for NVMe/TCP (NVMe/TCP) vVols.