
Use ONTAP Tools to configure supplemental storage (vVols) for VCF Workload Domains
 Suggest changes
In this scenario we will demonstrate how to deploy and use ONTAP Tools for VMware vSphere to configure a vVols datastore for a VCF workload domain.
iSCSI is used as the storage protocol for the vVols datastore.
Author: Josh Powell
Scenario Overview
This scenario covers the following high level steps:
-
Create a storage virtual machine (SVM) with logical interfaces (LIFs) for iSCSI traffic.
-
Create distributed port groups for iSCSI networks on the VI workload domain.
-
Create vmkernel adapters for iSCSI on the ESXi hosts for the VI workload domain.
-
Deploy ONTAP Tools on the VI workload domain.
-
Create a new vVols datastore on the VI workload domain.
Prerequisites
This scenario requires the following components and configurations:
-
An ONTAP ASA storage system with physical data ports on ethernet switches dedicated to storage traffic.
-
VCF management domain deployment is complete and the vSphere client is accessible.
-
A VI workload domain has been previously deployed.
NetApp recommends fully redundant network designs for iSCSI. The following diagram illustrates an example of a redundant configuration, providing fault tolerance for storage systems, switches, networks adapters and host systems. Refer to the NetApp SAN configuration reference for additional information.
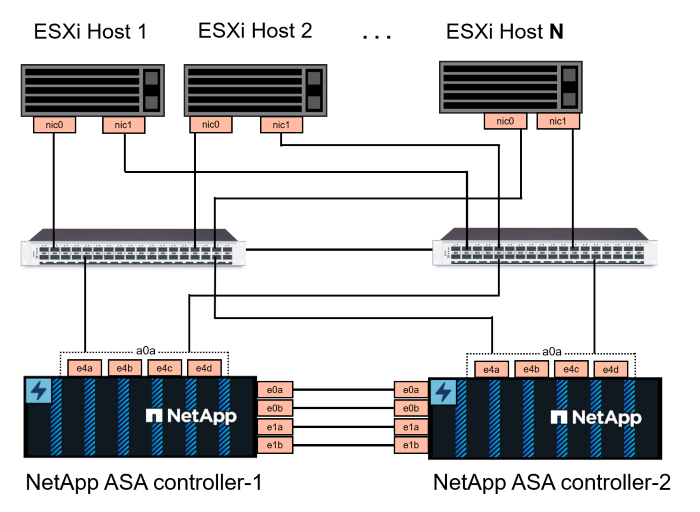
For multipathing and failover across multiple paths, NetApp recommends having a minimum of two LIFs per storage node in separate ethernet networks for all SVMs in iSCSI configurations.
This documentation demonstrates the process of creating a new SVM and specifying the IP address information to create multiple LIFs for iSCSI traffic. To add new LIFs to an existing SVM refer to Create a LIF (network interface).

|
In situations where multiple VMkernel adapters are configured on the same IP network, it is recommended to use software iSCSI port binding on the ESXi hosts to ensure that load balancing across the adapters occurs. Refer to KB article Considerations for using software iSCSI port binding in ESX/ESXi (2038869). |
For additional information on using VMFS iSCSI datastores with VMware refer to vSphere VMFS Datastore - iSCSI Storage backend with ONTAP.
Deployment Steps
To deploy ONTAP Tools and use it to create a vVols datastore on the VCF management domain, complete the following steps:
Create SVM and LIFs on ONTAP storage system
The following step is performed in ONTAP System Manager.
Create the storage VM and LIFs
Complete the following steps to create an SVM together with multiple LIFs for iSCSI traffic.
-
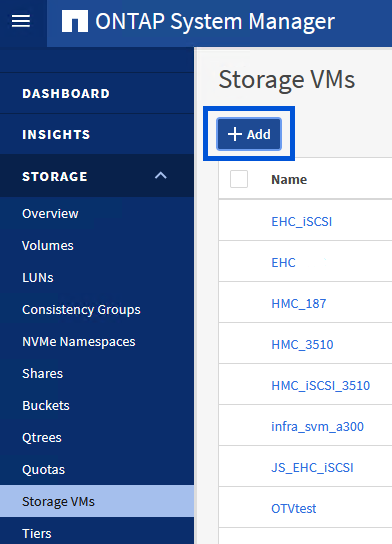
From ONTAP System Manager navigate to Storage VMs in the left-hand menu and click on + Add to start.
-
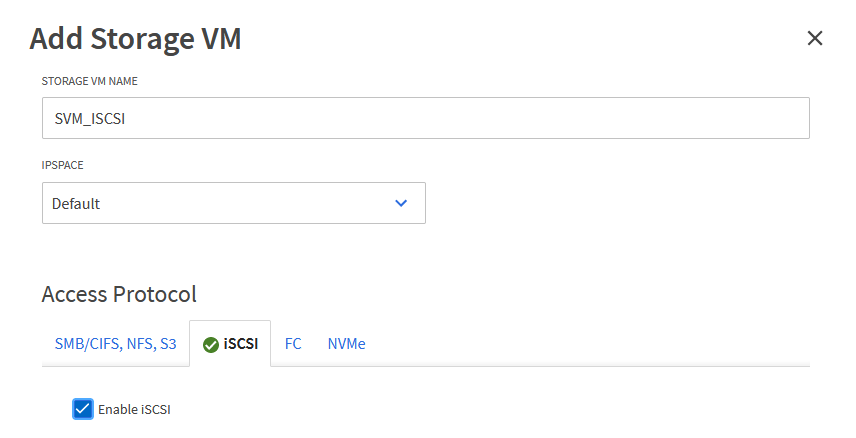
In the Add Storage VM wizard provide a Name for the SVM, select the IP Space and then, under Access Protocol, click on the iSCSI tab and check the box to Enable iSCSI.
-
In the Network Interface section fill in the IP address, Subnet Mask, and Broadcast Domain and Port for the first LIF. For subsequent LIFs the checkbox may be enabled to use common settings across all remaining LIFs or use separate settings.

For multipathing and failover across multiple paths, NetApp recommends having a minimum of two LIFs per storage node in separate Ethernet networks for all SVMs in iSCSI configurations. 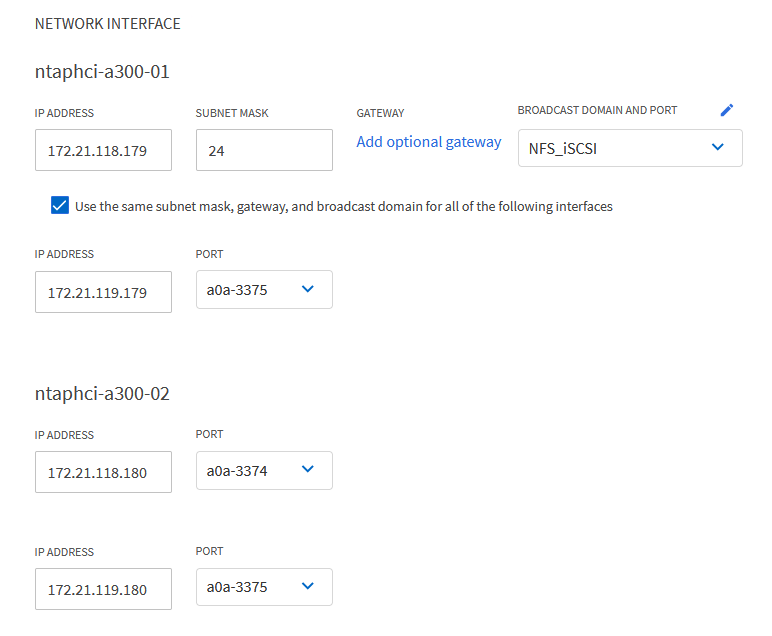
-
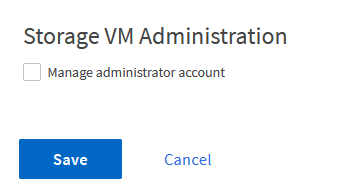
Choose whether to enable the Storage VM Administration account (for multi-tenancy environments) and click on Save to create the SVM.
Set up networking for iSCSI on ESXi hosts
The following steps are performed on the VI Workload Domain cluster using the vSphere client. In this case vCenter Single Sign-On is being used so the vSphere client is common across the management and workload domains.
Create Distributed Port Groups for iSCSI traffic
Complete the following to create a new distributed port group for each iSCSI network:
-
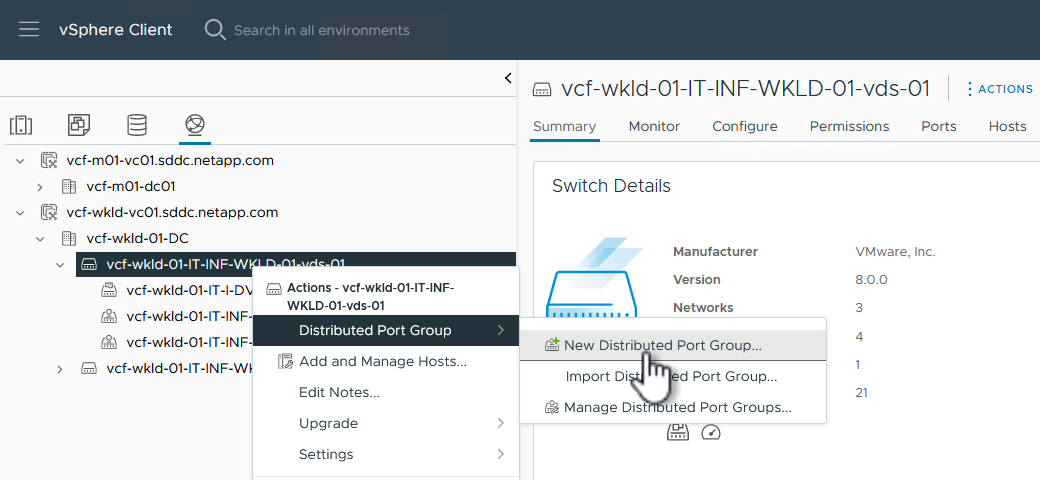
From the vSphere client , navigate to Inventory > Networking for the workload domain. Navigate to the existing Distributed Switch and choose the action to create New Distributed Port Group….
-
In the New Distributed Port Group wizard fill in a name for the new port group and click on Next to continue.
-
On the Configure settings page fill out all settings. If VLANs are being used be sure to provide the correct VLAN ID. Click on Next to continue.

-
On the Ready to complete page, review the changes and click on Finish to create the new distributed port group.
-
Repeat this process to create a distributed port group for the second iSCSI network being used and ensure you have input the correct VLAN ID.
-
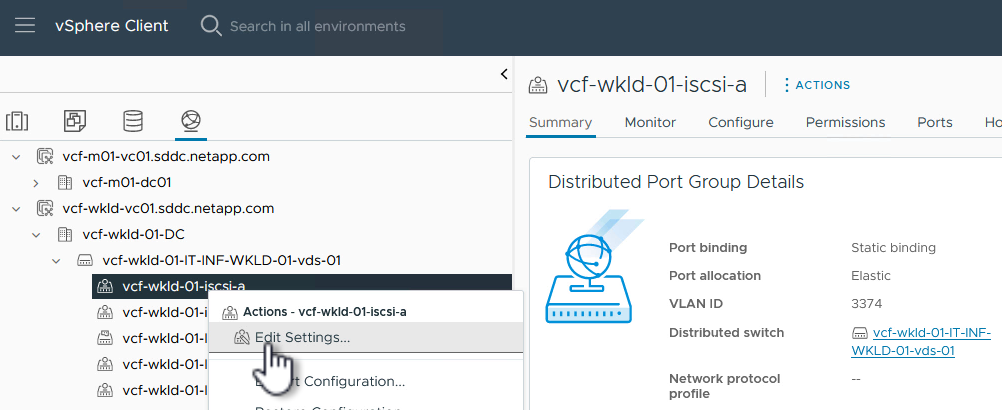
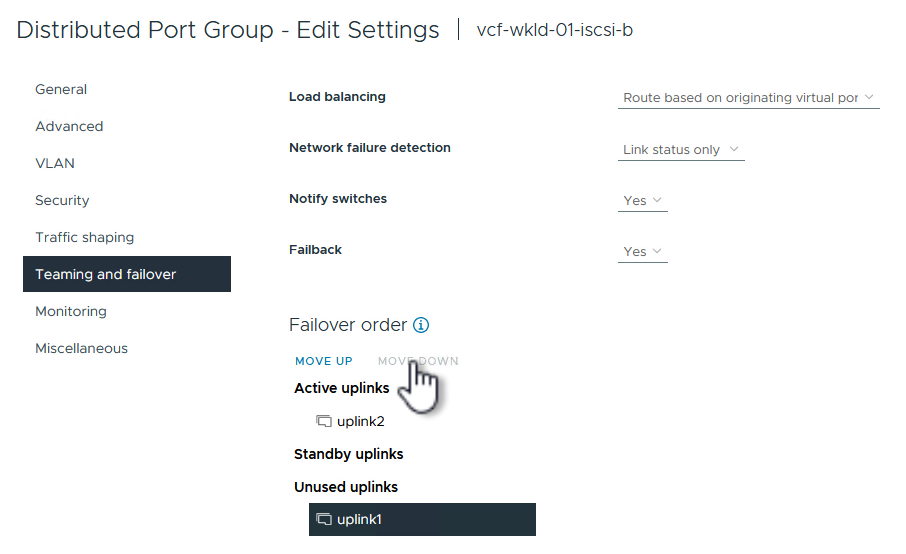
Once both port groups have been created, navigate to the first port group and select the action to Edit settings….
-
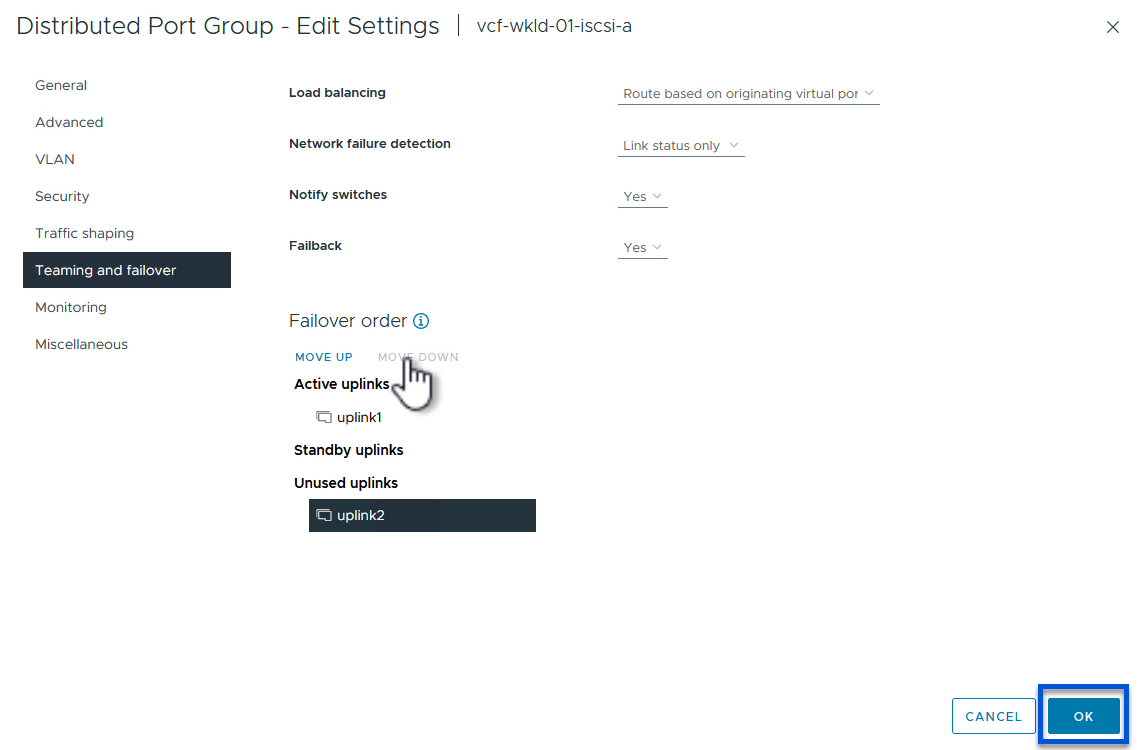
On Distributed Port Group - Edit Settings page, navigate to Teaming and failover in the left-hand menu and click on uplink2 to move it down to Unused uplinks.
-
Repeat this step for the second iSCSI port group. However, this time move uplink1 down to Unused uplinks.
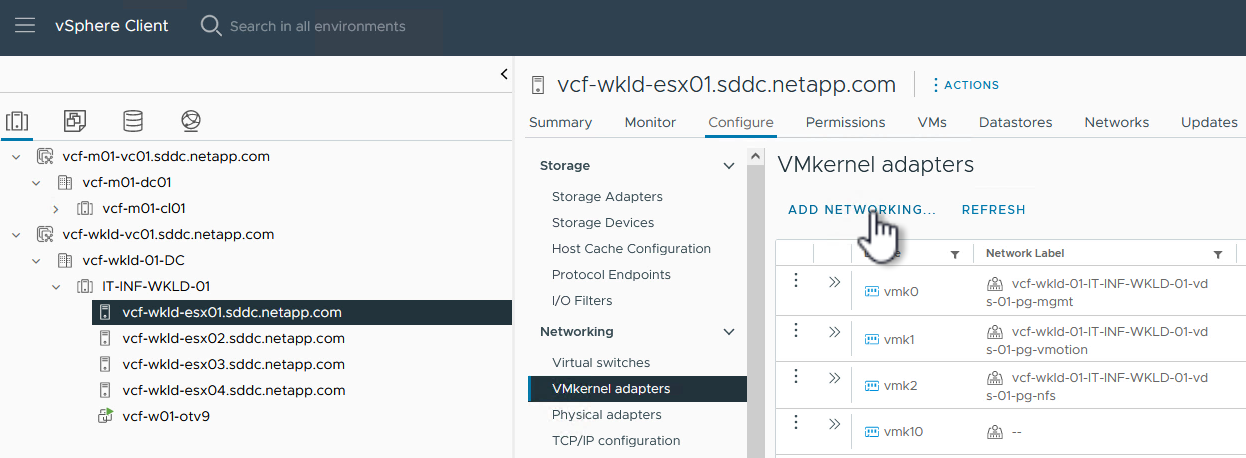
Create VMkernel adapters on each ESXi host
Repeat this process on each ESXi host in the workload domain.
-
From the vSphere client navigate to one of the ESXi hosts in the workload domain inventory. From the Configure tab select VMkernel adapters and click on Add Networking… to start.
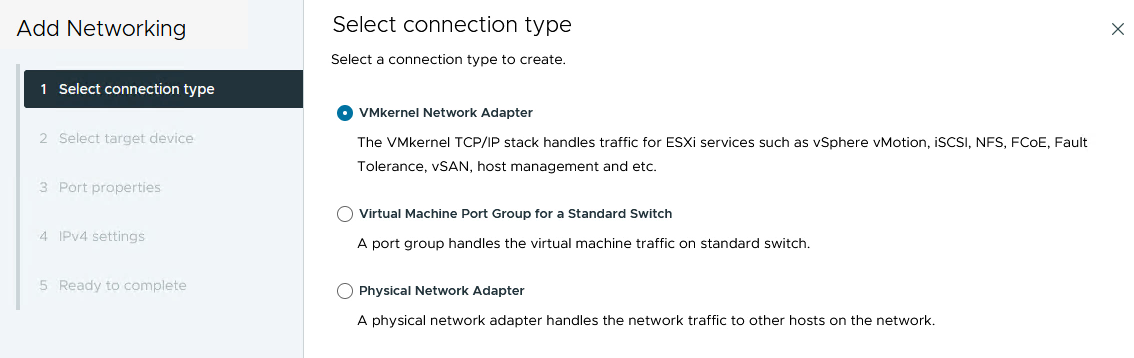
-
On the Select connection type window choose VMkernel Network Adapter and click on Next to continue.
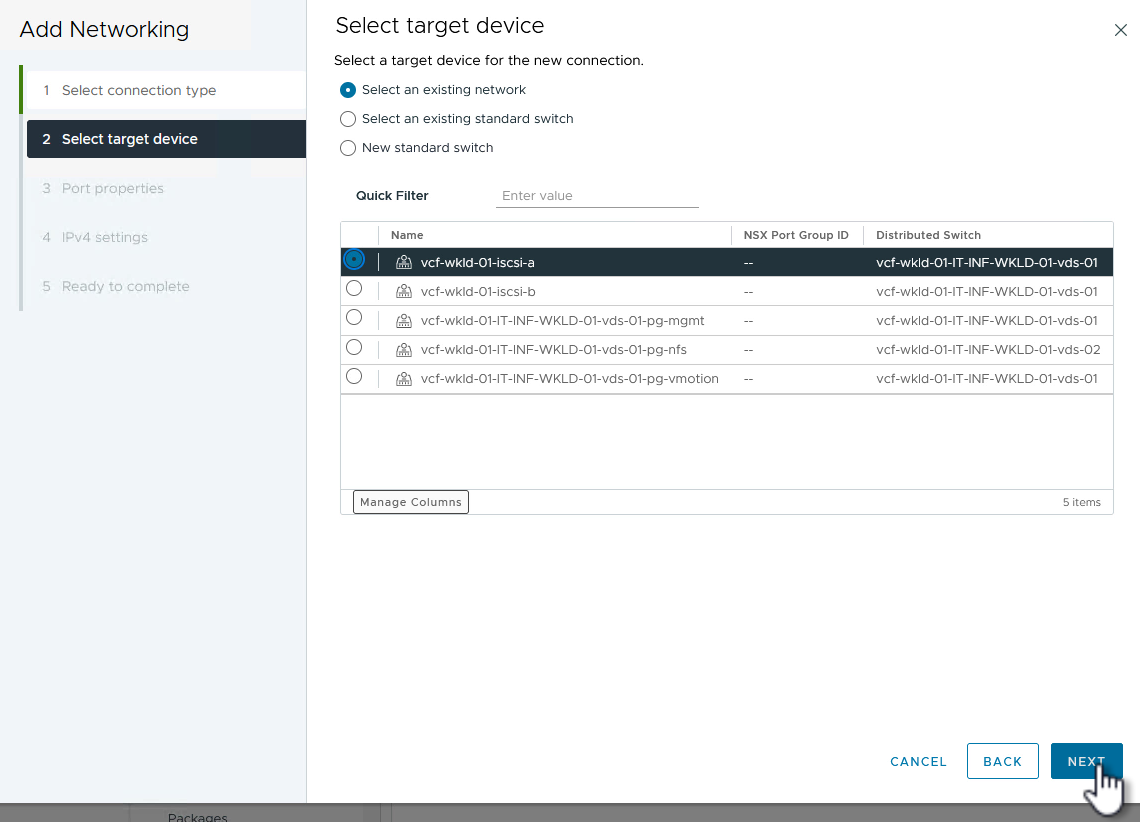
-
On the Select target device page, choose one of the distributed port groups for iSCSI that was created previously.
-
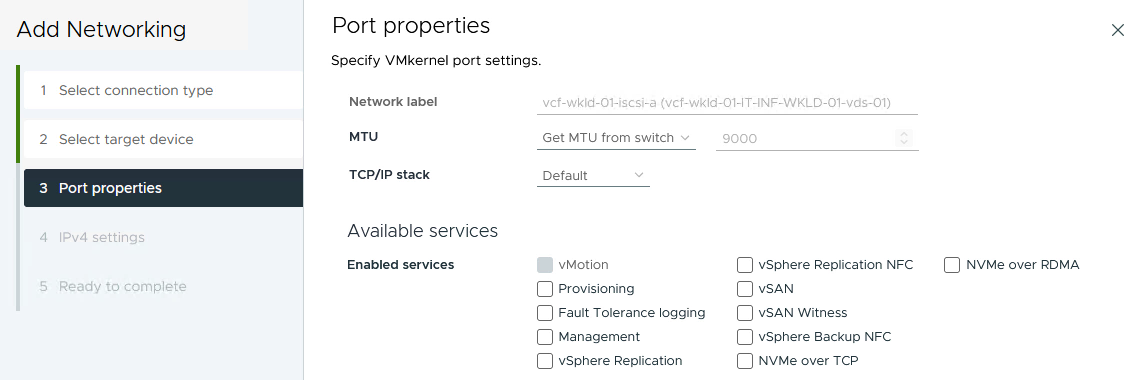
On the Port properties page keep the defaults and click on Next to continue.
-
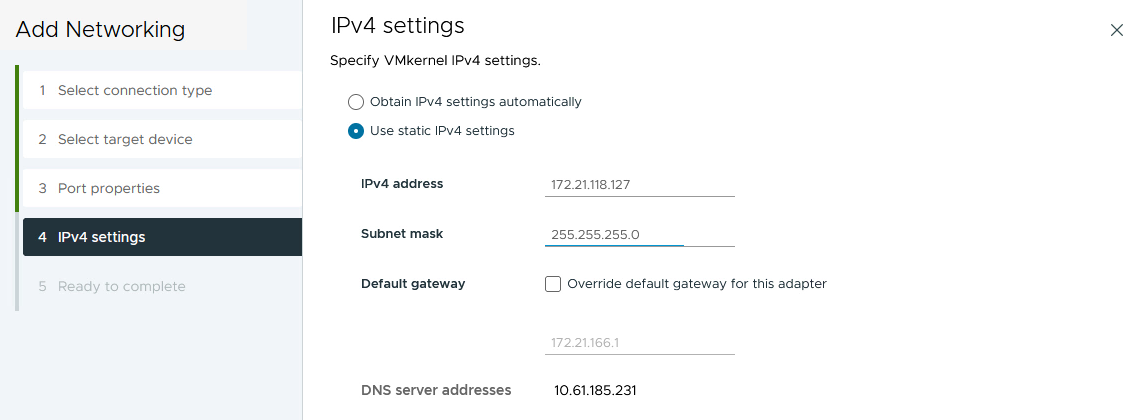
On the IPv4 settings page fill in the IP address, Subnet mask, and provide a new Gateway IP address (only if required). Click on Next to continue.
-
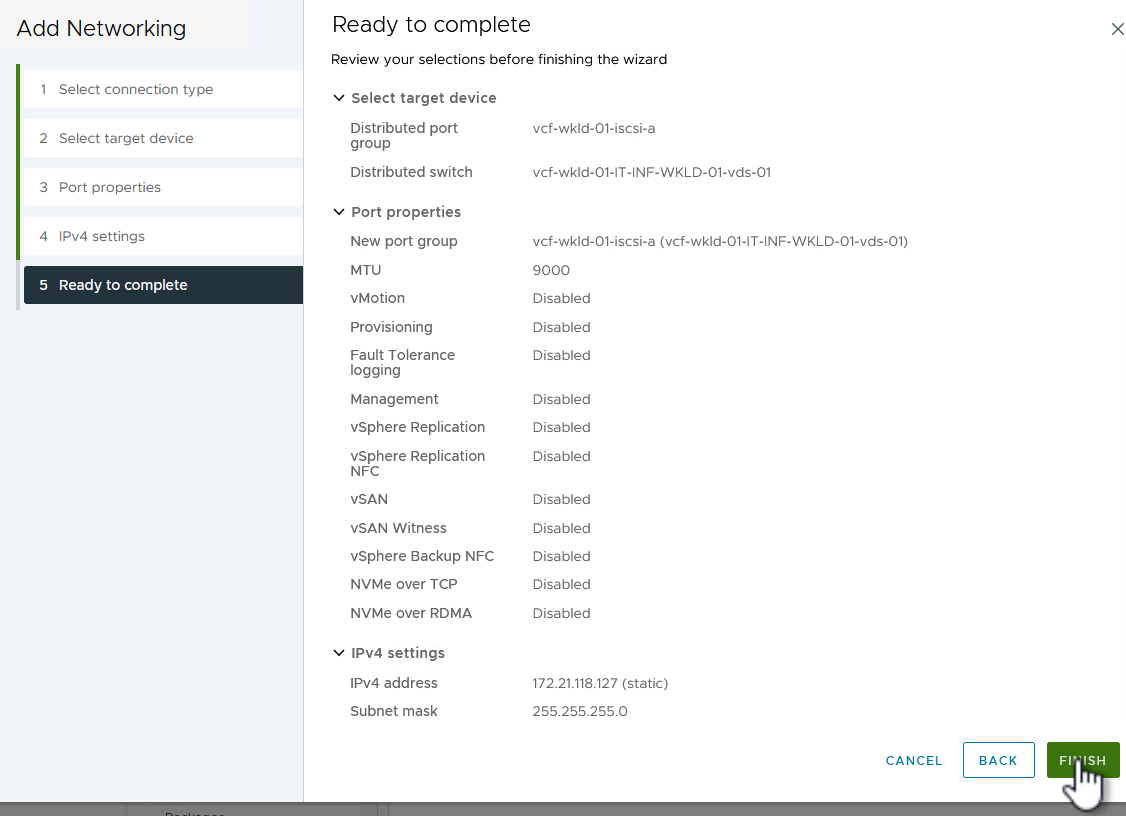
Review the your selections on the Ready to complete page and click on Finish to create the VMkernel adapter.
-
Repeat this process to create a VMkernel adapter for the second iSCSI network.
Deploy and use ONTAP Tools to configure storage
The following steps are performed on the VCF management domain cluster using the vSphere client and involve deploying ONTAP Tools, creating a vVols iSCSI datastore, and migrating management VM's to the new datastore.
For VI workload domains, ONTAP Tools is installed to the VCF Management Cluster but registered with the vCenter associated with the VI workload domain.
For additional information on deploying and using ONTAP Tools in a multiple vCenter environment refer to Requirements for registering ONTAP tools in multiple vCenter Servers environment.
Deploy ONTAP tools for VMware vSphere
ONTAP tools for VMware vSphere is deployed as a VM appliance and provides an integrated vCenter UI for managing ONTAP storage.
Complete the following to Deploy ONTAP tools for VMware vSphere:
-
Obtain the ONTAP tools OVA image from the NetApp Support site and download to a local folder.
-
Log into the vCenter appliance for the VCF management domain.
-
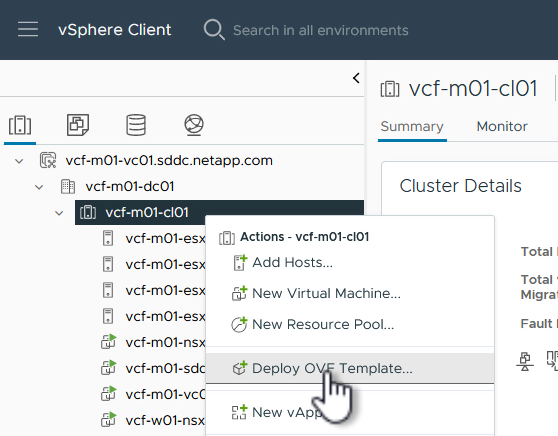
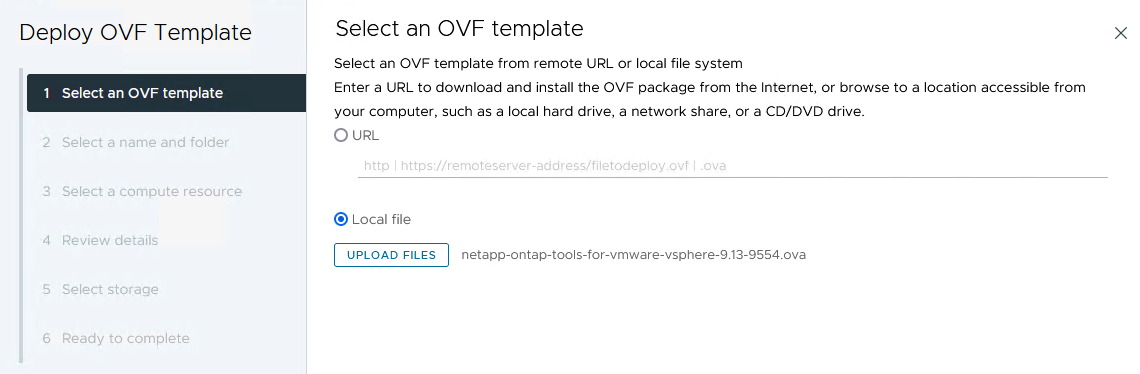
From the vCenter appliance interface right-click on the management cluster and select Deploy OVF Template…
-
In the Deploy OVF Template wizard click the Local file radio button and select the ONTAP tools OVA file downloaded in the previous step.
-
For steps 2 through 5 of the wizard select a name and folder for the VM, select the compute resource, review the details, and accept the license agreement.
-
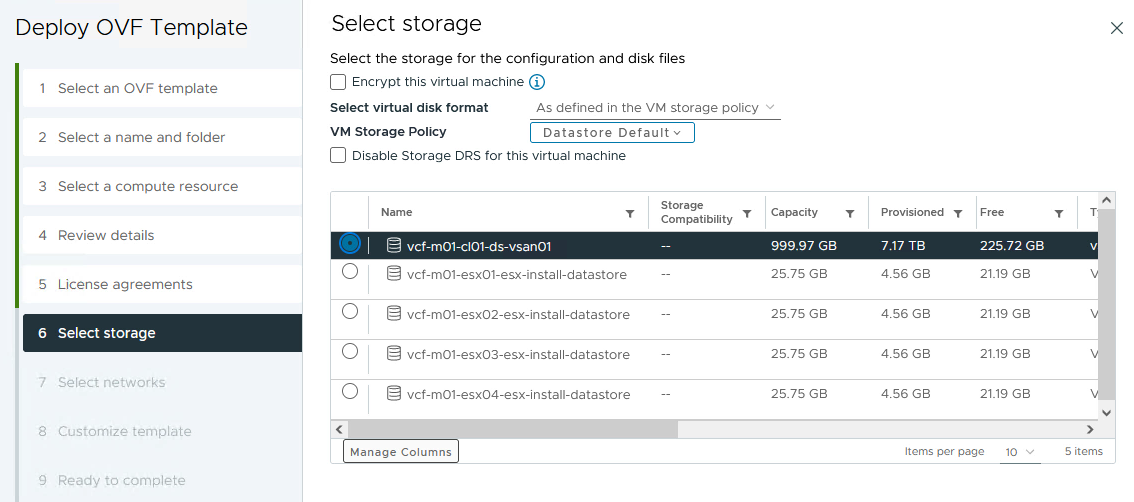
For the storage location of the configuration and disk files, select the vSAN datastore of the VCF management domain cluster.
-
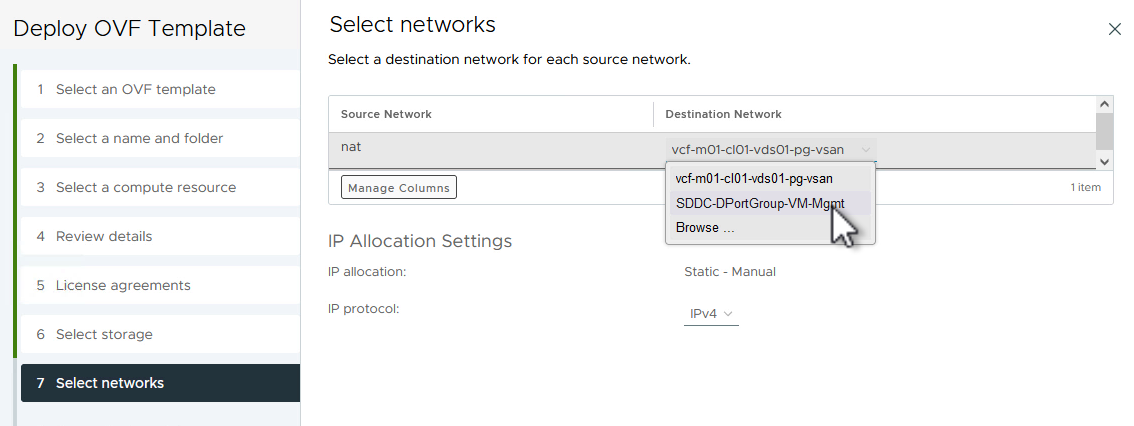
On the Select network page select the network used for management traffic.
-
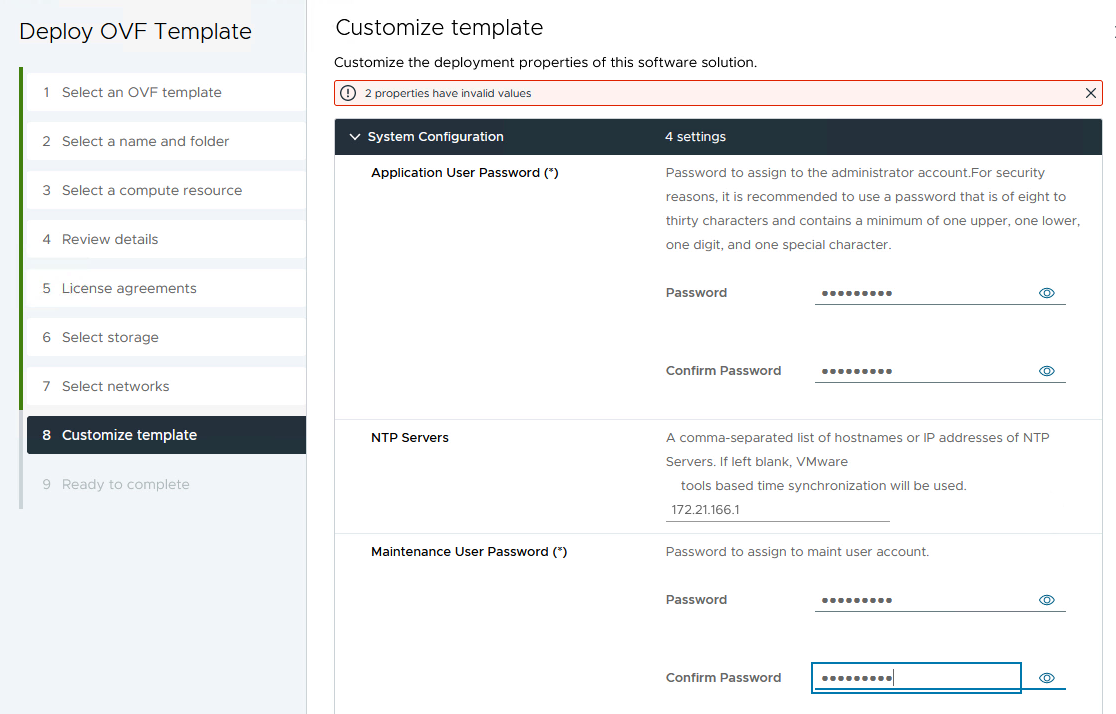
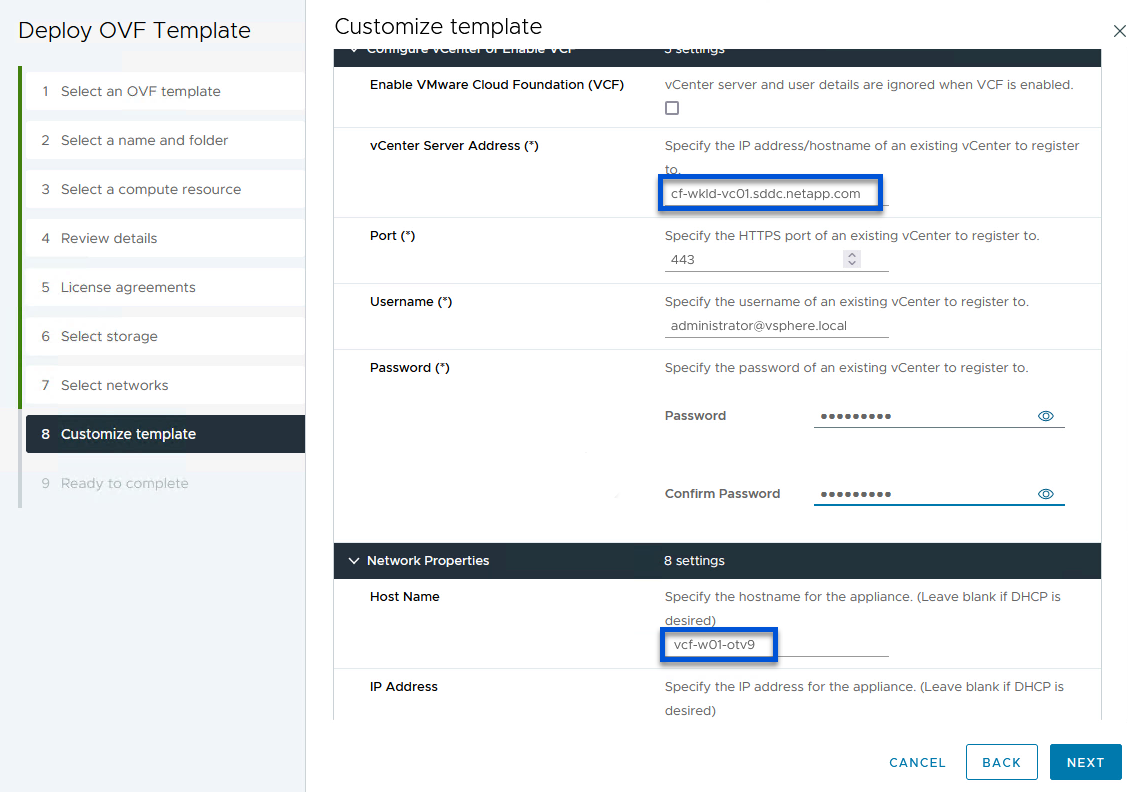
On the Customize template page fill out all required information:
-
Password to be used for administrative access to ONTAP Tools.
-
NTP server IP address.
-
ONTAP Tools maintenance account password.
-
ONTAP Tools Derby DB password.
-
Do not check the box to Enable VMware Cloud Foundation (VCF). VCF mode is not required for deploying supplemental storage.
-
FQDN or IP address of the vCenter appliance for the VI Workload Domain
-
Credentials for the vCenter appliance of the VI Workload Domain
-
Provide the required network properties fields.
Click on Next to continue.
-
-
Review all information on the Ready to complete page and the click Finish to begin deploying the ONTAP Tools appliance.
Add a storage system to ONTAP Tools.
-
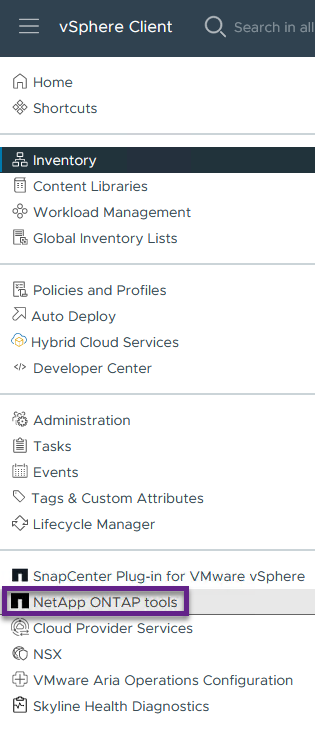
Access NetApp ONTAP Tools by selecting it from the main menu in the vSphere client.
-
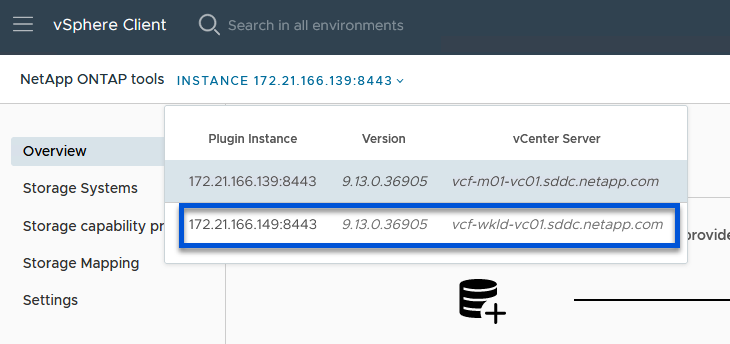
From the INSTANCE drop down menu in the ONTAP Tool interface, select the ONTAP Tools instance associated with the workload domain to be managed.
-
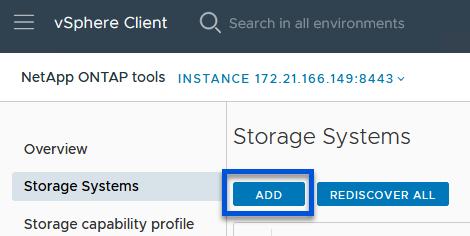
In ONTAP Tools select Storage Systems from the left hand menu and then press Add.
-
Fill out the IP Address, credentials of the storage system and the port number. Click on Add to start the discovery process.
vVol requires ONTAP cluster credentials rather than SVM credentials. For more information refer to Add storage systems In the ONTAP Tools documentation. 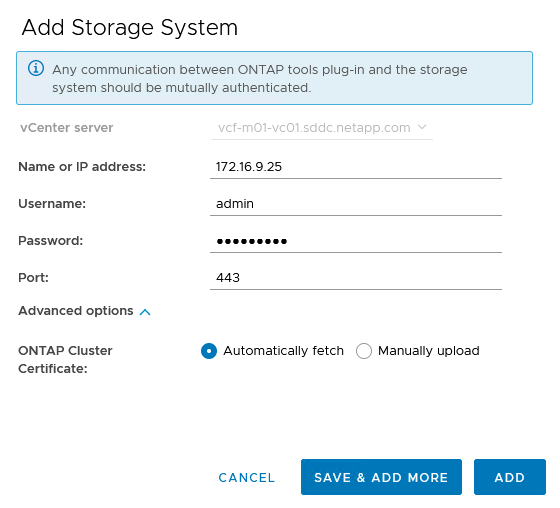
Create a storage capability profile in ONTAP Tools
Storage capability profiles describe the features provided by a storage array or storage system. They include quality of service definitions and are used to select storage systems that meet the parameters defined in the profile. One of the provided profiles can be used or new ones can be created.
To create a storage capability profile in ONTAP Tools complete the following steps:
-
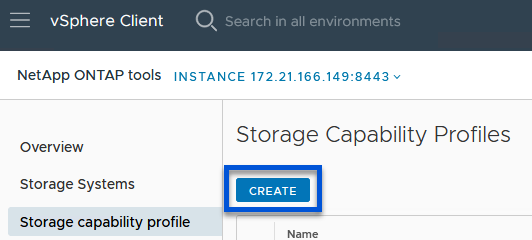
In ONTAP Tools select Storage capability profile from the left-hand menu and then press Create.
-
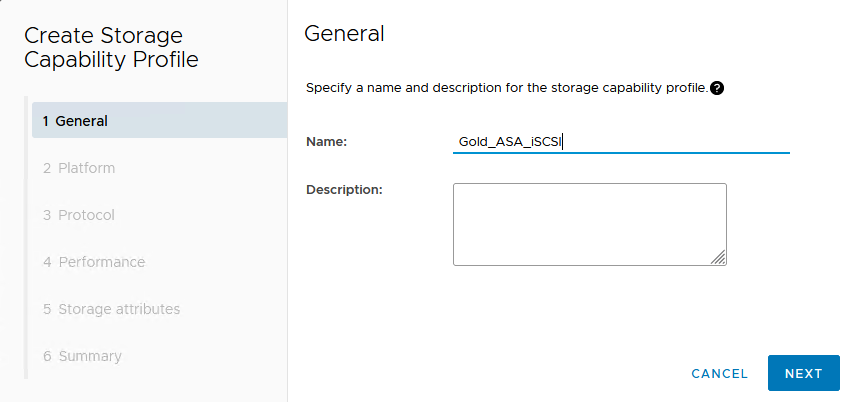
In the Create Storage Capability profile wizard provide a name and description of the profile and click on Next.
-
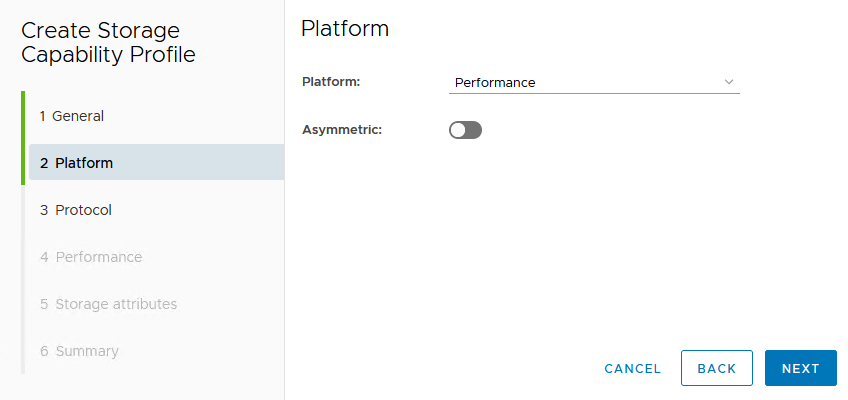
Select the platform type and to specify the storage system is to be an All-Flash SAN Array set Asymmetric to false.
-
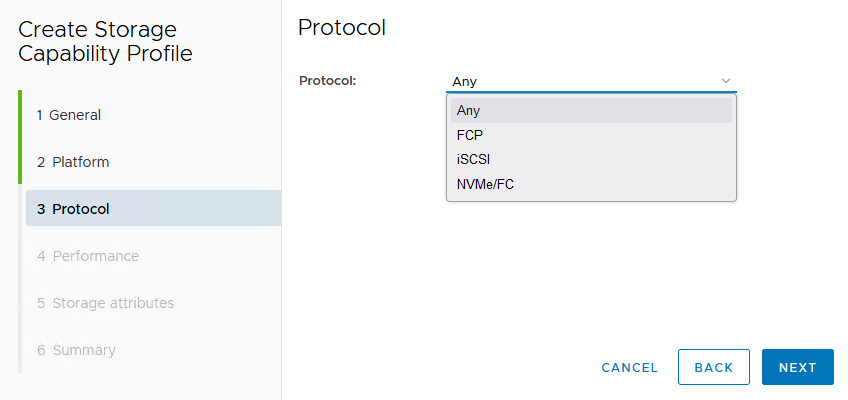
Next, select choice of protocol or Any to allow all possible protocols. Click Next to continue.
-
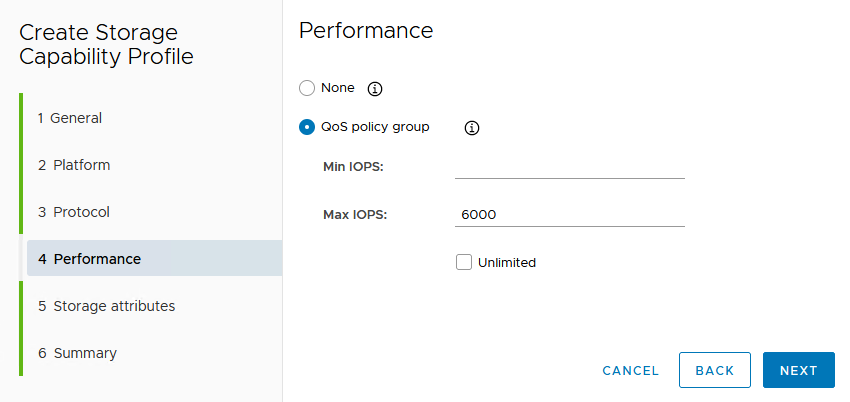
The performance page allows setting of quality of service in form of minimum and maximum IOPs allowed.
-
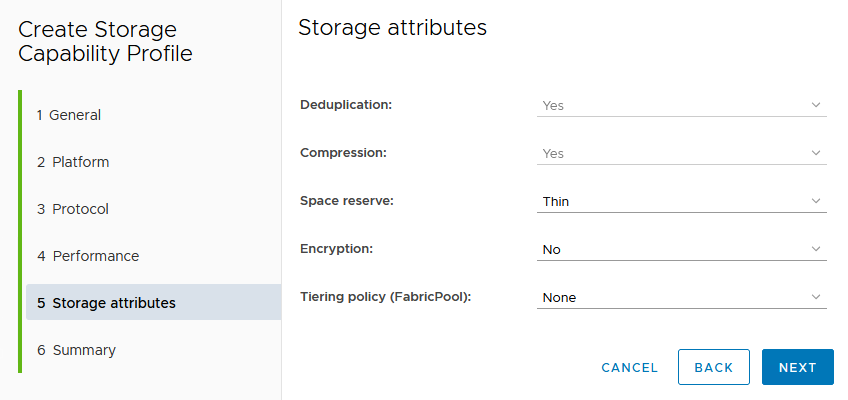
Complete the storage attributes page selecting storage efficiency, space reservation, encryption and any tiering policy as needed.
-
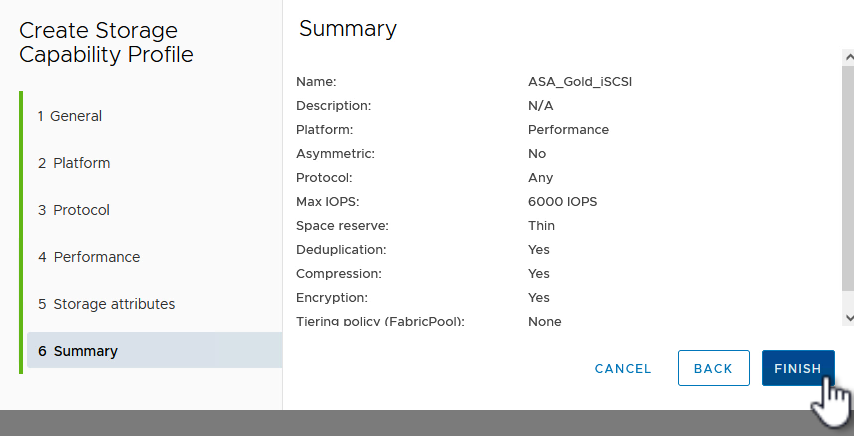
Finally, review the summary and click on Finish to create the profile.
Create a vVols datastore in ONTAP Tools
To create a vVols datastore in ONTAP Tools complete the following steps:
-
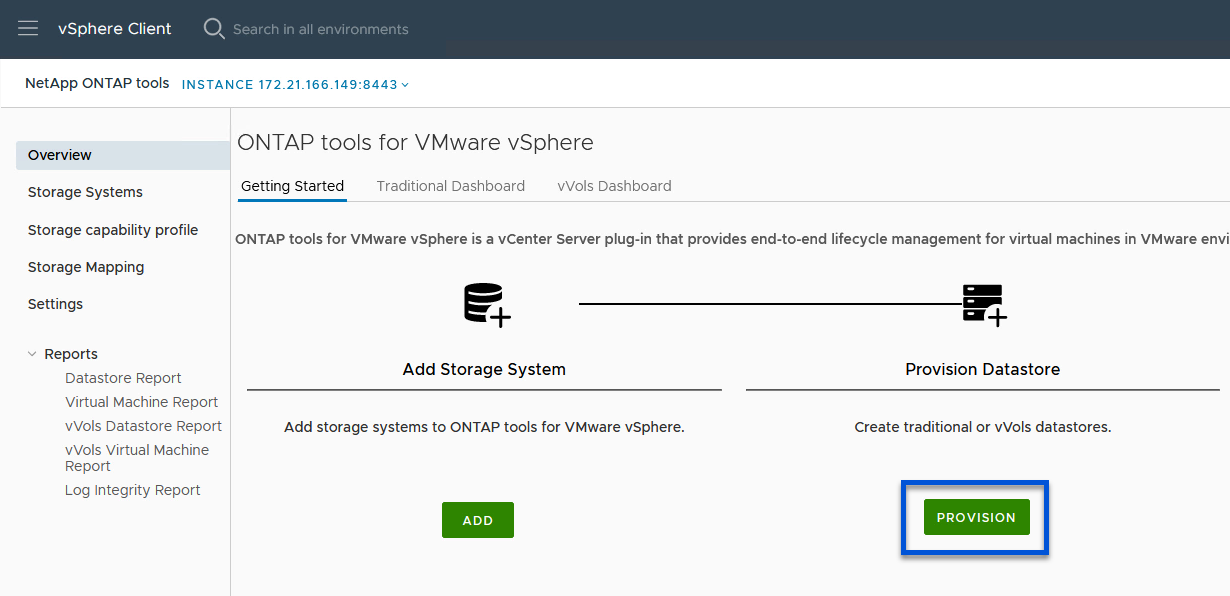
In ONTAP Tools select Overview and from the Getting Started tab click on Provision to start the wizard.
-
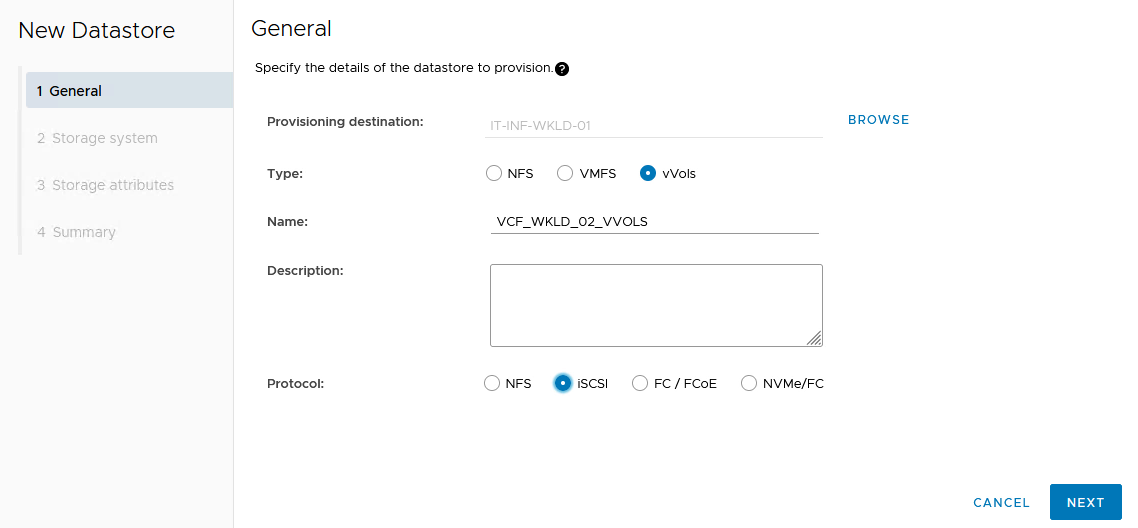
On the General page of the New Datastore wizard select the vSphere datacenter or cluster destination. Select vVols as the datastore type, fill out a name for the datastore, and select iSCSI as the protocol. Click on Next to continue.
-
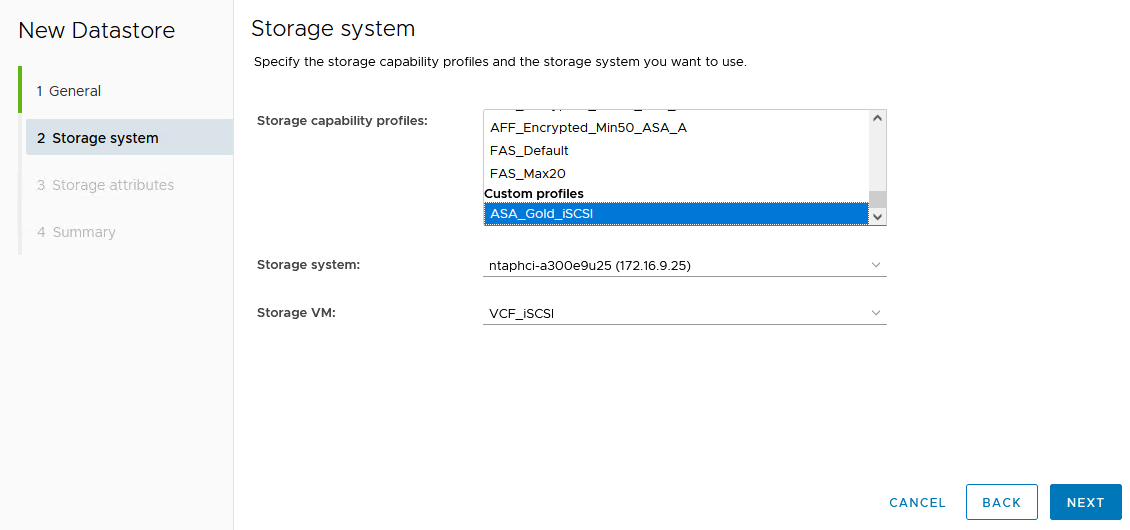
On the Storage system page select the select a storage capability profile, the storage system and SVM. Click on Next to continue.
-
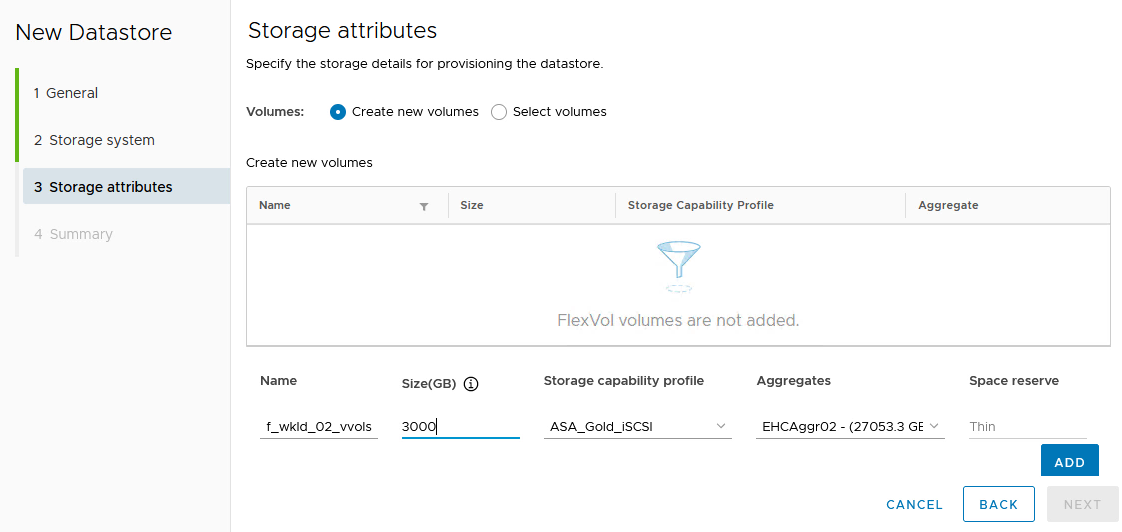
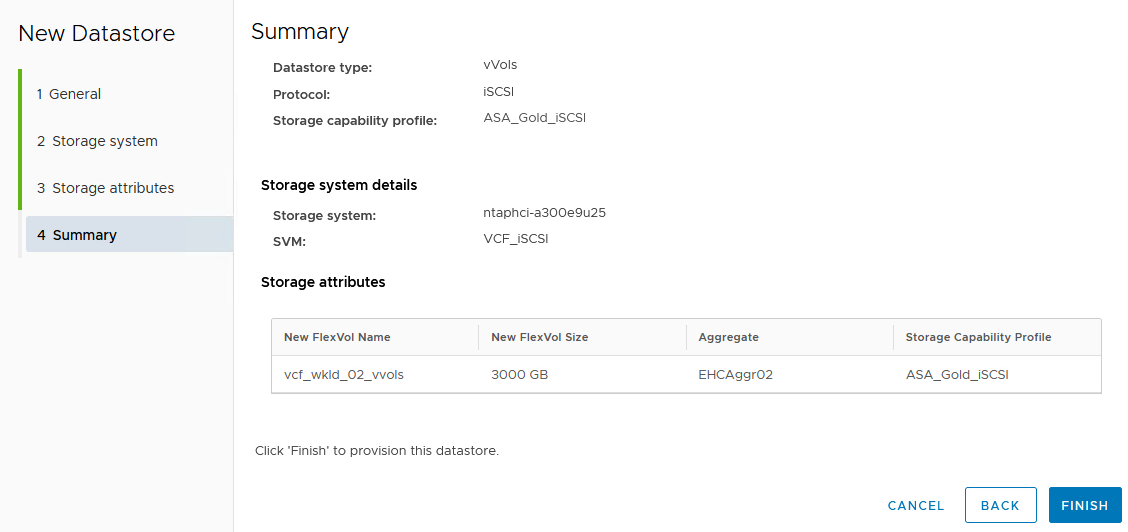
On the Storage attributes page select to create a new volume for the datastore and fill out the storage attributes of the volume to be created. Click on Add to create the volume and then Next to continue.
-
Finally, review the summary and click on Finish to start the vVol datastore creation process.
Additional information
For information on configuring ONTAP storage systems refer to the ONTAP 9 Documentation center.
For information on configuring VCF refer to VMware Cloud Foundation Documentation.