Viewing your Amazon S3 buckets
 Suggest changes


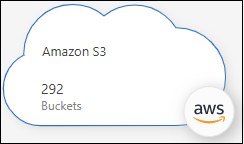
After you install a Console agent in AWS, NetApp Console can automatically discover information about the Amazon S3 buckets that reside in the AWS account where the Console agent is installed. An Amazon S3 system is added to the Systems page so you can view this information.
You can see details about your S3 buckets, including the region, access policy, account, total and used capacity, and more. These buckets can be used as destinations for NetApp backup and recovery, NetApp tiering, or NetApp copy and sync operations. Additionally, you can use NetApp Data Classification to scan these buckets.
-
Install a Console agent in the AWS account where you want to view your Amazon S3 buckets.
-
From the NetApp Console menu, select Storage and then Management.
You should automatically see your Amazon S3 system shortly after.

-
Click the system and select an action from the right pane if you want to enable NetApp Console services with your S3 storage.
-
Click Enter S3 system, or double-click the system, to view details about the S3 buckets in your AWS account.
In addition to the columns that appear by default, you can scroll the page to view additional properties for the bucket; for example, the number of Tags, and whether Object Lock or Versioning have been enabled.
You can change some bucket settings directly from the NetApp Console by clicking  for a bucket. Go here for details.
You can add new S3 buckets by clicking Add bucket. Go here for details.


