

Configure Admin proxy settings
 Suggest changes
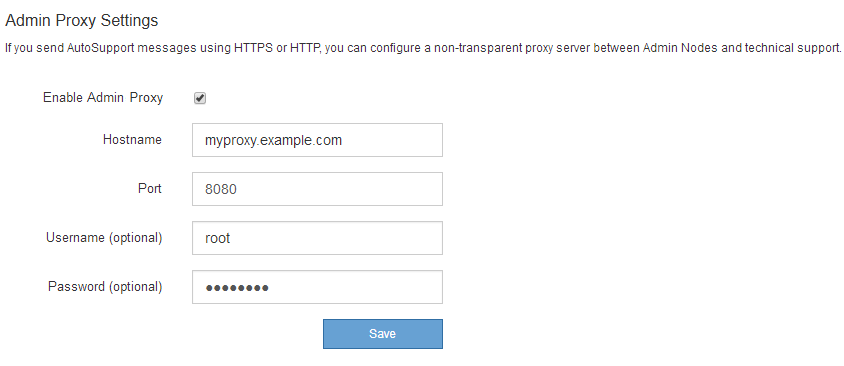
If you send AutoSupport messages using HTTP or HTTPS (see Configure AutoSupport), you can configure a non-transparent proxy server between Admin Nodes and technical support (AutoSupport).
-
You have specific access permissions.
-
You are signed in to the Grid Manager using a supported web browser.
You can configure the settings for a single Admin proxy.
-
Select CONFIGURATION > Security > Proxy settings.
The Admin Proxy Settings page appears. By default, Storage is selected in the sidebar menu.
-
From the sidebar menu, select Admin.
-
Select the Enable Admin Proxy checkbox.
-
Enter the hostname or IP address of the proxy server.
-
Enter the port used to connect to the proxy server.
-
Optionally, enter the proxy username.
Leave this field blank if your proxy server does not require a username.
-
Optionally, enter the proxy password.
Leave this field blank if your proxy server does not require a password.
-
Select Save.
After the Admin proxy is saved, the proxy server between Admin Nodes and technical support is configured.

Proxy changes can take up to 10 minutes to take effect. -
If you need to disable the proxy, clear the Enable Admin Proxy checkbox, and select Save.