

 Release notes
Creating a Cloud Sync relationship
 Suggest changes
A Cloud Sync relationship enables you to sync data to or from the cloud volume.
-
You must already have a Cloud Sync data broker.
-
The data broker IP address must have been added to the export policy for both the source and the target volumes.
The export policy on the target volume must allow write access to the data broker.
The Cloud Sync functionality that is integrated with Cloud Volumes Service currently supports only NFSv3. If you want to sync between SMB volumes, you use the Cloud Sync Service directly (cloudsync.netapp.com).
-
Go to the Sync page or the Sync tab for a volume on the Volumes page.
-
Create a Cloud Sync relationship by clicking Create new relationship.
-
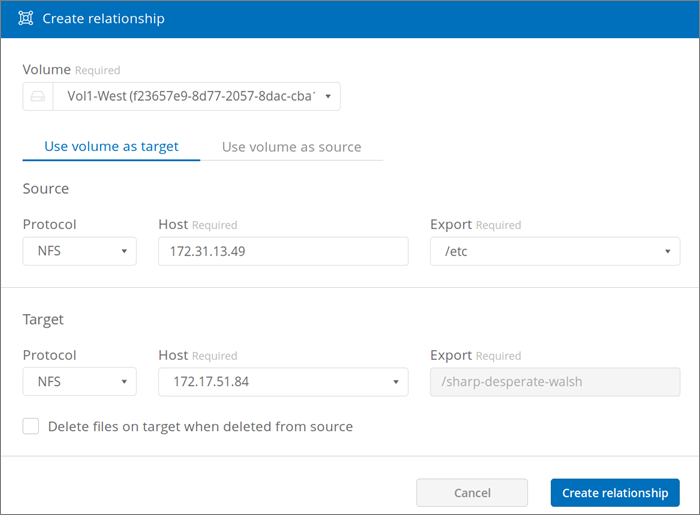
Take one of the following actions:
-
To sync data to the volume, select Use volume as target.
-
To sync data from the volume, select Use volume as source.
-
-
In the Host field (unpopulated), enter the IP address of the NFS server that you want to sync to or sync from.
After a few moments, a list of the available exports is automatically discovered.
-
In the Export field, select one of the available exports.
-
(Optional) Check the Delete files on target when deleted from source box if you want to delete the files on target when they are deleted from source.
-
Click Create relationship.
The relationship status is displayed and the file progress fields show the number of files that are copied.