

 Get started
Manage storage classes
 Suggest changes
After you add a managed Kubernetes cluster to the Canvas, you can use BlueXP to manage storage classes.

|
If no storage class is defined, the cluster will show there is an action required. Double-clicking the cluster on the Canvas opens the action page to add a storage class. |
Add storage class
-
From the Canvas, drag and drop the Kubernetes working environment on to the Cloud Volumes ONTAP or Amazon FSx for ONTAP working environment to open the storage class wizard.
-
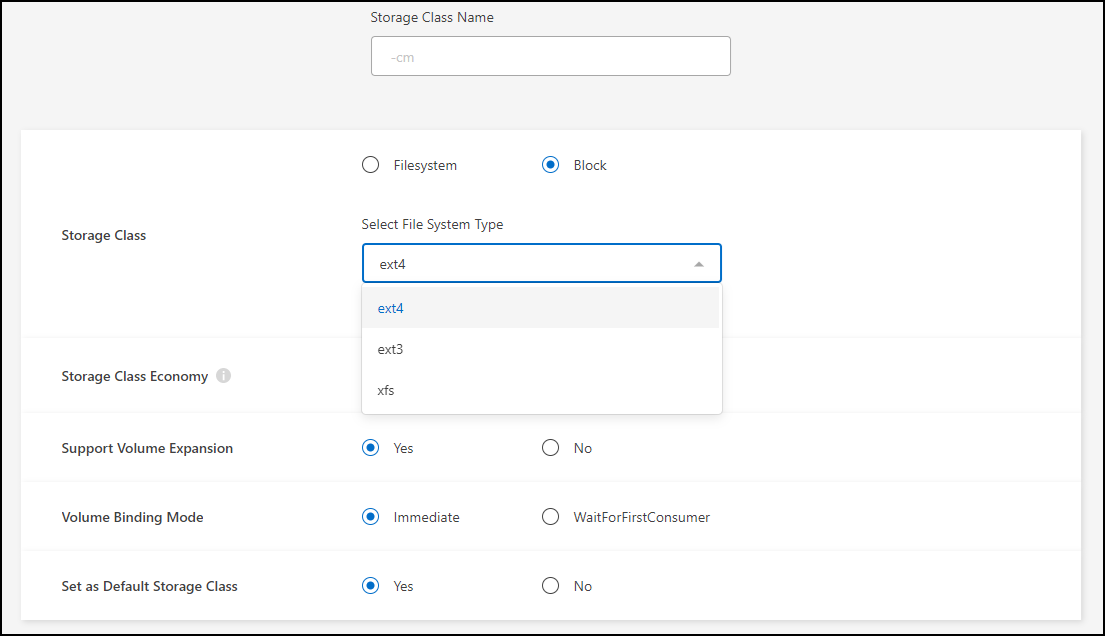
Provide a name for the storage class.
-
Select Filesystem or Block storage.
-
For Block storage, select a File System Type (fstype)
-
For Block or Filesystem storage, you can select to enable storage class economy.
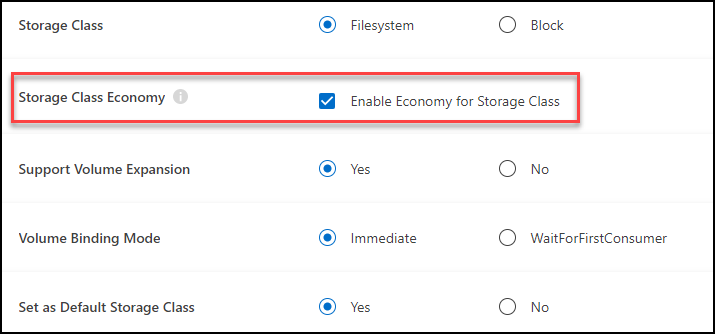
Backup and restore are not supported when using storage class economy.
-
-
Select options for volume expansion, volume binding, and default storage class. Click Next.
-
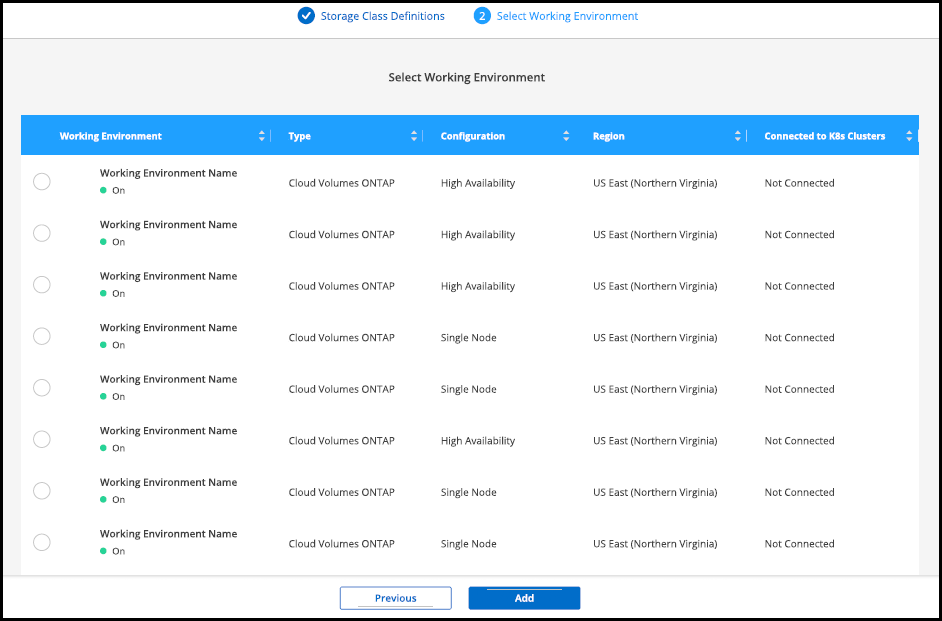
Select a working environment to connect to the cluster. Click Add.
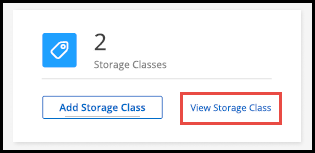
You can click to view the storage class from the resource page for the Kubernetes cluster.
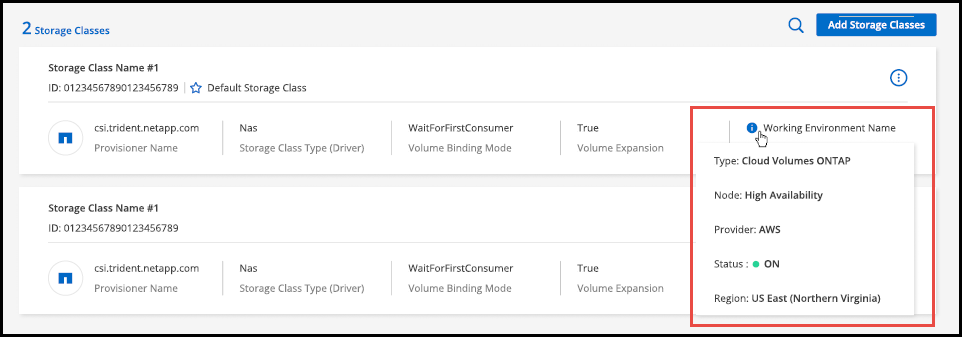
View working environment details
-
Double-click the Kubernetes working environment on the Canvas or click Enter Working Environment.
-
Click the Storage Classes tab.
-
Click the information icon to view details for the working environment.
The working environment details panel opens.
Set default storage class
-
Double-click the Kubernetes working environment on the Canvas or click Enter Working Environment.
-
Click the Storage Classes tab.
-
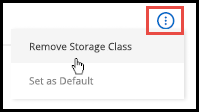
Click the action menu for the storage class and click Set as Default.

The selected storage class is set as the default.

Remove storage class
-
Double-click the Kubernetes working environment on the Canvas or click Enter Working Environment.
-
Click the Storage Classes tab.
-
Click the action menu for the storage class and click Set as Default.
-
Click Remove to confirm removal of the storage class.
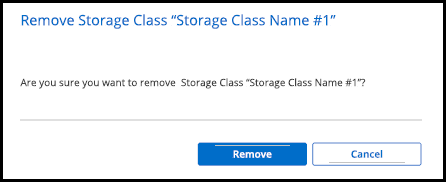
The selected storage class is removed.