

 Release notes
Create an Azure NetApp Files working environment
Contributors


 Suggest changes
After you set up a Microsoft Entra application and add the credentials to BlueXP, create an Azure NetApp Files working environment so that you can start creating the volumes that you need.
Steps
-
From the Canvas page, click Add Working Environment.
-
Select Microsoft Azure.
-
Next to Azure NetApp Files, select Discover.
-
On the Details page, enter a working environment name and select the credentials that you previously set up.
-
Click Continue.
Result
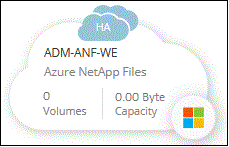
You should now have an Azure NetApp Files working environment.
What's next?