Relocate SGF6112 in cabinet or rack
 Suggest changes


Remove the SGF6112 from a cabinet or rack to access the top cover or to move the appliance to a different location, then reinstall the appliance into a cabinet or rack when hardware maintenance is complete.
Remove SGF6112 from cabinet or rack
-
You have labels to identify each cable that is connected to the SGF6112.
-
You have physically located the SGF6112 where you are performing maintenance in the data center.
-
You have shut down the SGF6112.
Don't shut down the appliance using the power switch.
-
Label and then disconnect the appliance power cables.
-
Wrap the strap end of the ESD wristband around your wrist, and secure the clip end to a metal ground to prevent static discharge.
-
Label and then disconnect the appliance data cables and any SFP+ or SFP28 transceivers.
To prevent degraded performance, don't twist, fold, pinch, or step on the cables. -
Loosen the two captive screws on the appliance front panel.

-
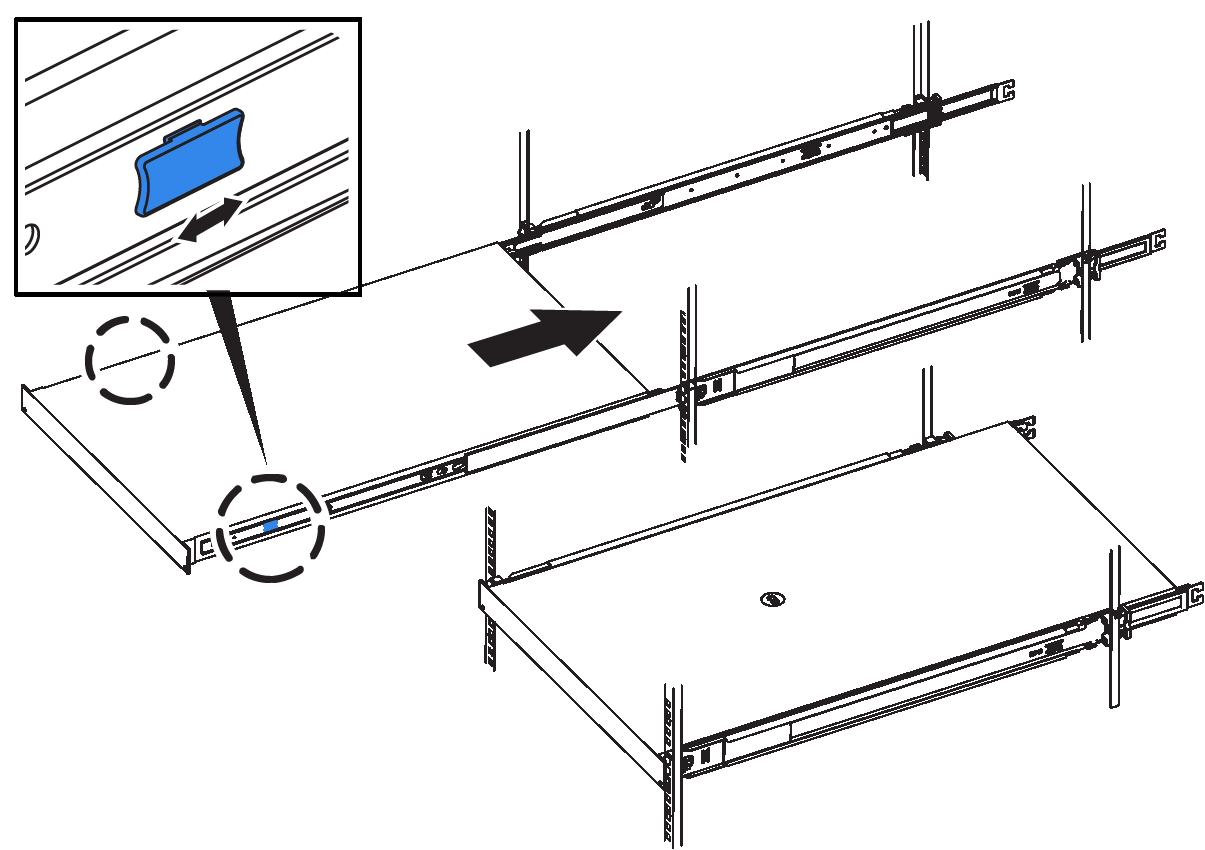
Slide the SGF6112 forward out of the rack until the mounting rails are fully extended and you hear the latches on both sides click.
The appliance top cover is accessible.
-
Optional: If you are fully removing the appliance from the cabinet or rack, follow the instructions for the rail kit to remove the appliance from the rails.
After replacing the part, return the failed part to NetApp, as described in the RMA instructions shipped with the kit. See the Part Return & Replacements page for further information.
Reinstall SGF6112 into cabinet or rack
You have reinstalled the appliance cover.
-
Press the blue rail releases both rack rails at the same time and slide the SGF6112 into the rack until it is fully seated.
When you can't move the controller any further, pull the blue latches on both sides of the chassis to slide the controller all the way in.

Don't attach the front bezel until after you power on the controller. -
Tighten the captive screws on the controller front panel to secure the controller in the rack.

-
Wrap the strap end of the ESD wristband around your wrist, and secure the clip end to a metal ground to prevent static discharge.
-
Reconnect the controller data cables and any SFP+ or SFP28 transceivers.
To prevent degraded performance, don't twist, fold, pinch, or step on the cables. -
Reconnect the controller power cables.
The appliance can be restarted.


