

 Release Notes
Replace a failed drive when using SW RAID
 Suggest changes
When a drive using software RAID fails, ONTAP Select assigns a spare drive if one is available and starts the rebuild process automatically. This is similar to how ONTAP works on FAS and AFF. However if no spare drive is available, you need to add one to the ONTAP Select node.

|
Both the removal of the failed drive and the addition of a new drive (marked as a spare) must be performed through ONTAP Select Deploy. Attaching a drive to the ONTAP Select VM using vSphere is not supported. |
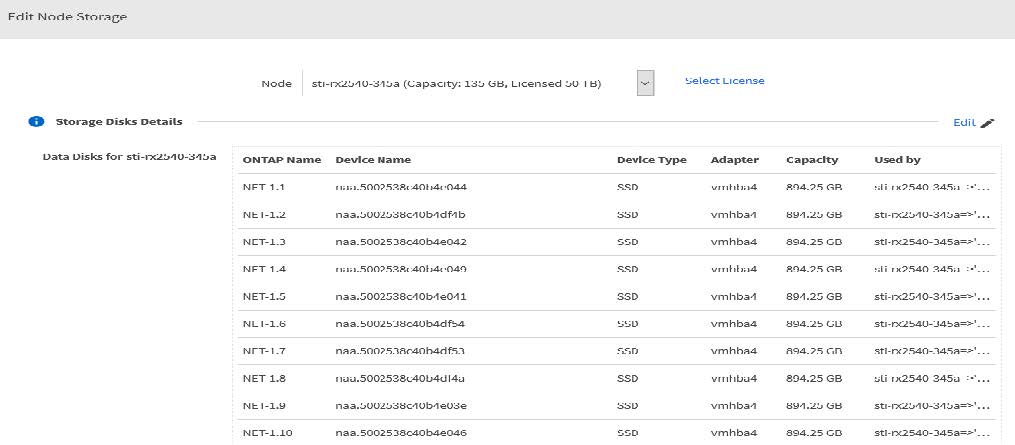
Identify the failed drive
When a drive fails you need to use the ONTAP CLI to identify the failed disk.
-
Sign in to the ONTAP CLI using the administrator account.
-
Identify the disk drive that failed.
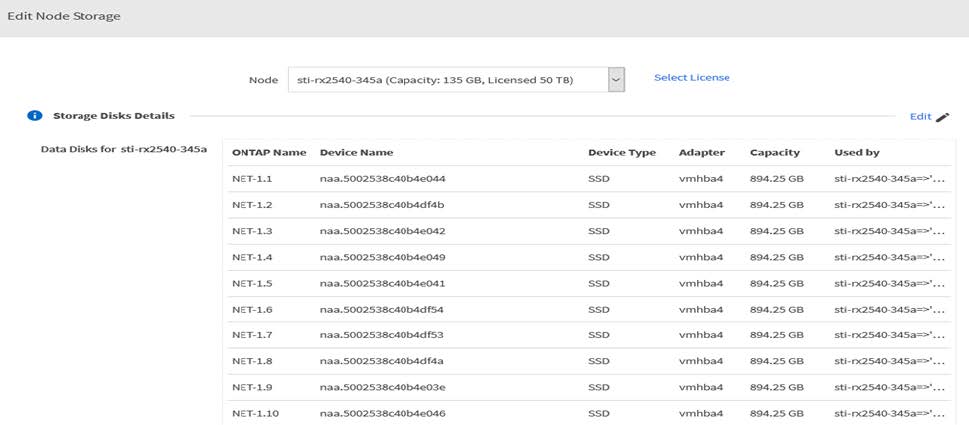
<cluster name>::> storage disk show -container-type broken
Usable Disk Container Container
Disk Size Shelf Bay Type Type Name Owner
---------------- ---------- ----- --- ------- ----------- --------- --------
NET-1.4 893.3GB - - SSD broken - sti-rx2540-346a'
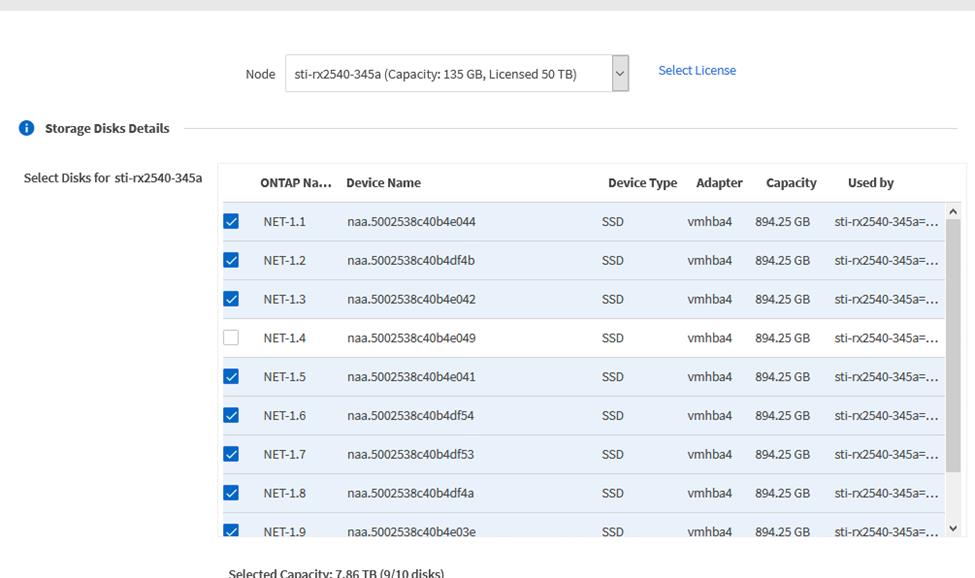
Remove the failed drive
After you identify the drive that failed, remove the disk.
-
Sign in to the Deploy web user interface using the administrator account.
-
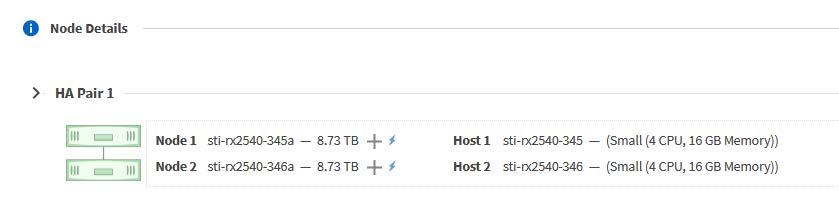
Click the Clusters tab and select the relevant cluster.

-
Click + to expand the storage view.
-
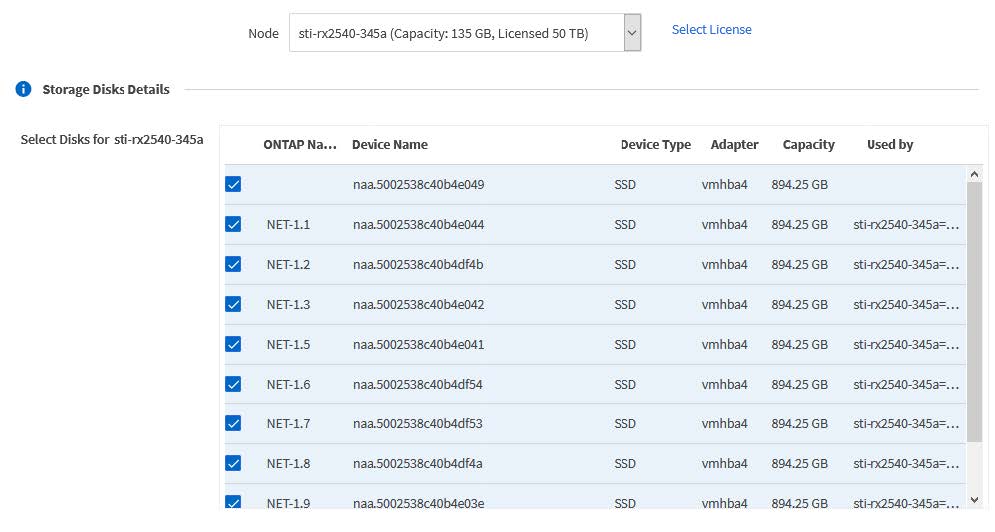
Click Edit to make changes to the attached disks and uncheck the failed drive.
-
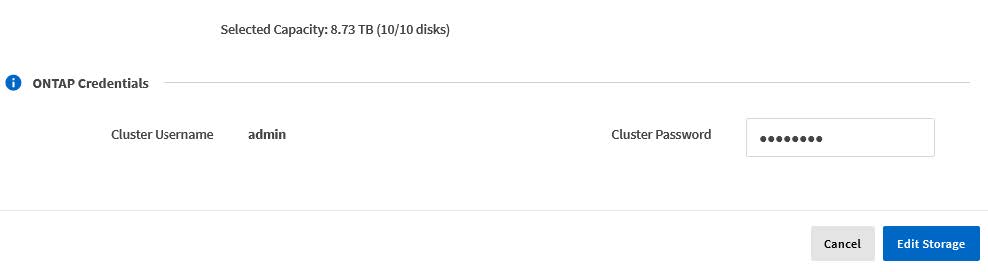
Provide the cluster credentials and click Edit Storage.
-
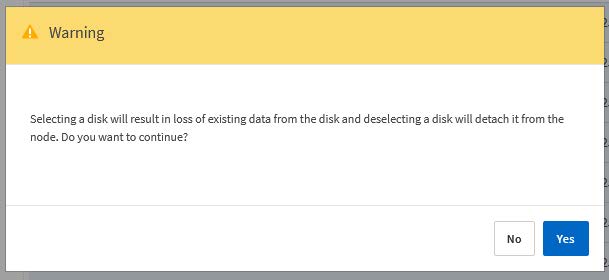
Confirm the operation.
Add the new spare drive
After you remove the failed drive, add the spare disk.
-
Sign in to the Deploy web user interface using the administrator account.
-
Click the Clusters tab and select the relevant cluster.
-
Click + to expand the storage view.
-
Click Edit and confirm that the new drive is available and select it.
-
Provide the cluster credentials and click Edit Storage.

-
Confirm the operation.
