

Replace failed software RAID drives for ONTAP Select
 Suggest changes
When a drive using software RAID fails, ONTAP Select assigns a spare drive if one is available and starts the rebuild process automatically. This is similar to how ONTAP works on FAS and AFF. However if no spare drive is available, you need to add one to the ONTAP Select node.

|
Both the removal of the failed drive and the addition of a new drive (marked as a spare) must be performed through ONTAP Select Deploy. Attaching a drive to the ONTAP Select VM using vSphere is not supported. |
Identify the failed drive
When a drive fails you need to use the ONTAP CLI to identify the failed disk.
You must have the VM ID of the ONTAP Select virtual machine, as well as the ONTAP Select and ONTAP Select Deploy administrator account credentials.
You should only use this procedure when the ONTAP Select node is running on KVM and configured to use software RAID.
-
At the ONTAP Select CLI, identify the disk to be replaced:
-
Identify the disk by serial number, UUID, or target address in the virtual machine.
disk show -fields serial,vmdisk-target-address,uuid
-
Optionally, display a complete list of the spare disk capacity with the partitioned disks.
storage aggregate show-spare-disks
-
-
At the Linux command line interface, locate the disk.
-
Examine the system devices, searching for the disk serial number or UUID (disk name):
find /dev/disk/by-id/<SN|ID>
-
Examine the virtual machine configuration, searching for the target address:
virsh dumpxml VMID
-
-
Sign in to the ONTAP CLI using the administrator account.
-
Identify the disk drive that failed.
<cluster name>::> storage disk show -container-type broken
Usable Disk Container Container
Disk Size Shelf Bay Type Type Name Owner
---------------- ---------- ----- --- ------- ----------- --------- --------
NET-1.4 893.3GB - - SSD broken - sti-rx2540-346a'
Remove the failed drive
After you identify the drive that failed, remove the disk.
You can detach a disk from a KVM host as part of replacing the disk or when it is no longer needed.
You must have the ONTAP Select and ONTAP Select Deploy administrator account credentials.
-
Sign in to the Deploy utility web user interface using the administrator account.
-
Select the Clusters tab at the top of the page and select the desired cluster from the list.
-
Select + next to the desired HA pair or node.
If the option is disabled, Deploy is currently refreshing the storage information.
-
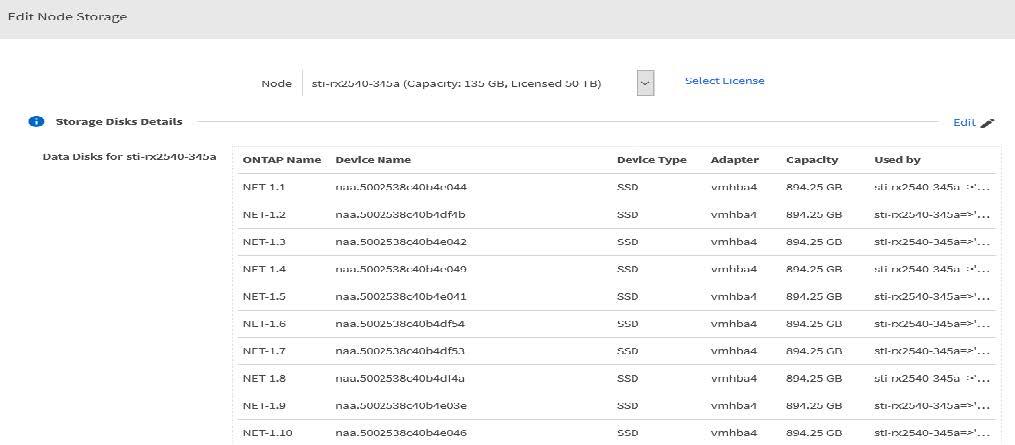
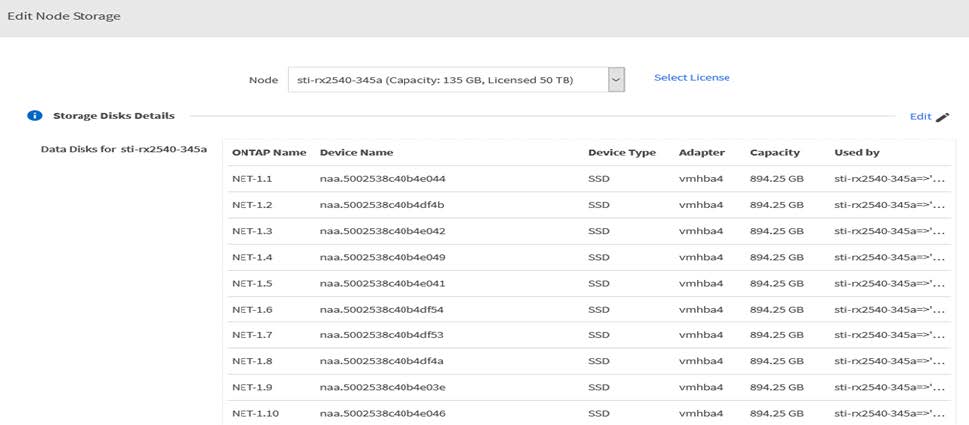
Select Edit Storage on the Edit Node Storage page.
-
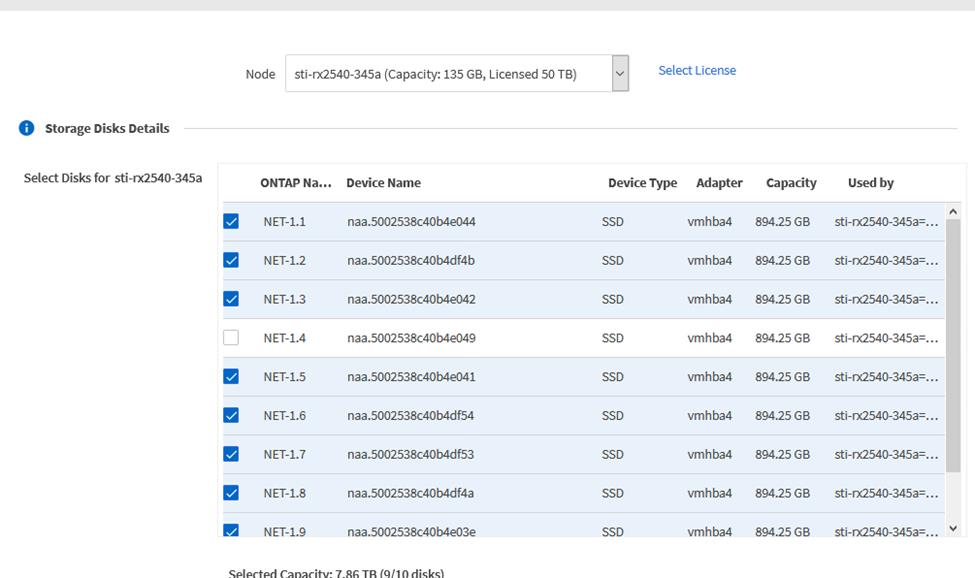
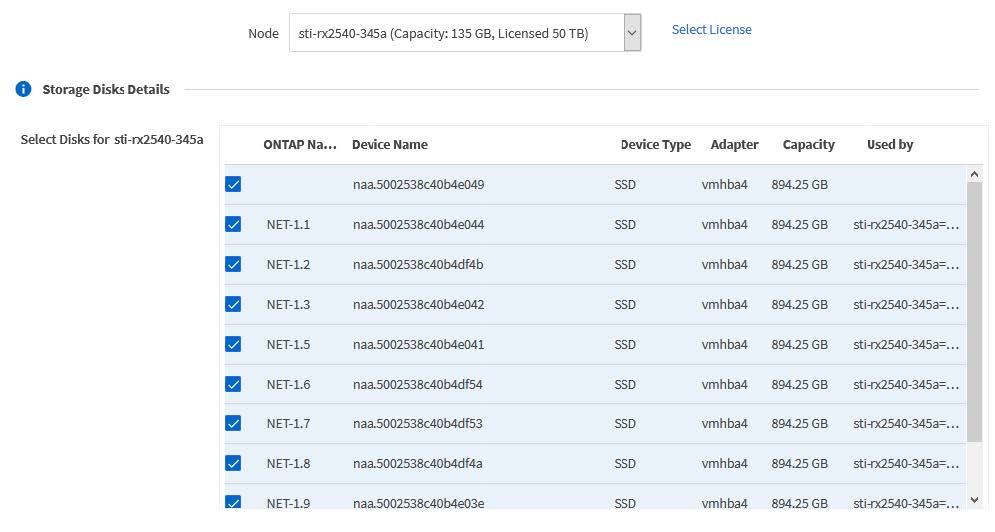
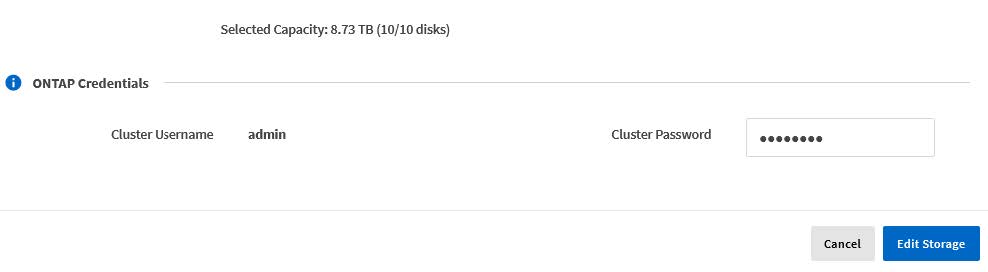
Deselect the disks to be detached from the node, enter the ONTAP administrator credentials, and select Edit Storage to apply the changes.
-
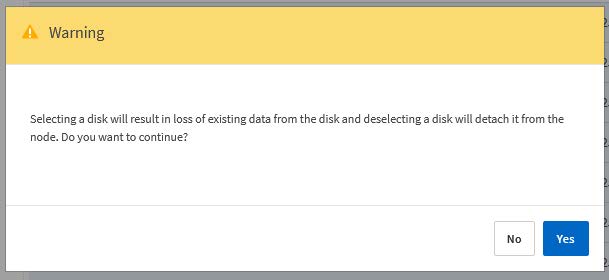
Select Yes to confirm the warning in the popup window.
-
Select the Events tab for the cluster to monitor and confirm the detach operation.
You can remove the physical disk from the host if it is no longer needed.
After you identify the disk, follow the steps below.
-
Detach the disk from the virtual machine:
-
Dump the configuration.
virsh dumpxml VMNAME > /PATH/disk.xml
-
Edit the file and remove everything except the disk to be detached from the virtual machine.
The target address for the disk should correspond to the vmdisk-target-address field in ONTAP.
<disk type='block' device='lun'>
  <driver name='qemu' type='raw' cache='directsync'/>
  <source dev='/dev/disk/by-id/ata- Micron_5100_MTFDDAK960TCC_171616D35277'/>
  <backingStore/>
  <target dev='sde' bus='scsi'/>
  <alias name='scsi0-0-0-4'/>
  <address type='drive' controller='0' bus='0' target='0' unit='4'/>
</disk>
-
Detach the disk.
virsh detach-disk --persistent /PATH/disk.xml
-
-
Replace the physical disk:
You can use a utility such as
ledctl locate=to locate the physical disk if needed.-
Remove the disk from the host.
-
Select a new disk and install it in the host if necessary.
-
-
Edit the original disk configuration file and add the new disk.
You should update the disk path and any other configuration information as needed.
<disk type='block' device='lun'>
  <driver name='qemu' type='raw' cache='directsync'/>
  <source dev='/dev/disk/by-id/ata-Micron_5100_MTFDDAK960TCC_171616D35277'/>
  <backingStore/>
  <target dev='sde' bus='scsi'/>
  <alias name='scsi0-0-0-4'/>
  <address type='drive' controller='0' bus='0' target='0' unit='4'/>
</disk>
-
Sign in to the Deploy web user interface using the administrator account.
-
Select the Clusters tab and select the relevant cluster.

-
Select + to expand the storage view.
-
Select Edit to make changes to the attached disks and uncheck the failed drive.
-
Provide the cluster credentials and select Edit Storage.

-
Confirm the operation.
Add the new spare drive
After you remove the failed drive, add the spare disk.
You can attach a disk to a KVM host as part of replacing a disk or to add more storage capacity.
You must have the ONTAP Select and ONTAP Select Deploy administrator account credentials.
The new disk must be physically installed on the KVM Linux host.
-
Sign in to the Deploy utility web user interface using the administrator account.
-
Select the Clusters tab at the top of the page and select the desired cluster from the list.
-
Select + next to the desired HA pair or node.
If the option is disabled, Deploy is currently refreshing the storage information.
-
Select Edit Storage on the Edit Node Storage page.
-
Select the disks to be attached to the node, enter the ONTAP administrator credentials, and select Edit Storage to apply the changes.
-
Select the Events tab to monitor and confirm the attach operation.
-
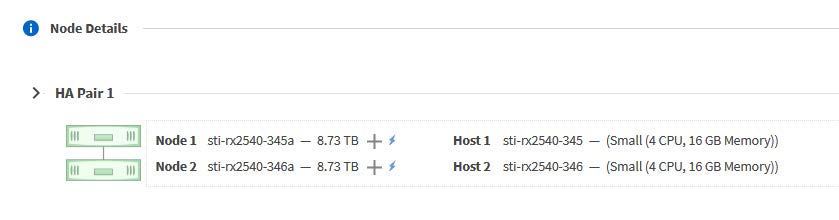
Examine the node storage configuration to confirm that the disk is attached.
After you identify and remove the failed drive, you can attach a new drive.
-
Attach the new disk to the virtual machine.
virsh attach-disk --persistent /PATH/disk.xml
The disk is assigned as a spare and is available to ONTAP Select. It may take a minute or longer for the disk to become available.
Because the node configuration has changed, you should perform a cluster refresh operation using the Deploy administration utility.
-
Sign in to the Deploy web user interface using the administrator account.
-
Select the Clusters tab and select the relevant cluster.
-
Select + to expand the storage view.
-
Select Edit and confirm that the new drive is available and select it.
-
Provide the cluster credentials and select Edit Storage.
-
Confirm the operation.
