

 Release notes
Installing the data broker in Google Cloud Platform
 Suggest changes
When you create a new data broker, choose the GCP Data Broker option to deploy the data broker software on a new virtual machine instance in a VPC. Cloud Sync guides you through the installation process, but the requirements and steps are repeated on this page to help you prepare for installation.
You also have the option to install the data broker on an existing Linux host in the cloud or on your premises. Learn more.
Supported GCP regions
All regions are supported.
Networking requirements
-
The data broker needs an outbound internet connection so it can poll the Cloud Sync service for tasks over port 443.
When Cloud Sync deploys the data broker in GCP, it creates a security group that enables the required outbound communication.
If you need to limit outbound connectivity, see the list of endpoints that the data broker contacts.
-
NetApp recommends configuring the source, target, and data broker to use a Network Time Protocol (NTP) service. The time difference between the three components should not exceed 5 minutes.
Permissions required to deploy the data broker in GCP
Ensure that the GCP user who deploys the data broker has the following permissions:
- compute.networks.list
- compute.regions.list
- deploymentmanager.deployments.create
- deploymentmanager.deployments.delete
- deploymentmanager.operations.get
- iam.serviceAccounts.list
Permissions required for the service account
When you deploy the data broker, you need to select a service account that has the following permissions:
- logging.logEntries.create
- resourcemanager.projects.get
- storage.buckets.get
- storage.buckets.list
- storage.objects.*
Installing the data broker
You can install a data broker in GCP when you create a sync relationship.
-
Click Create New Sync Relationship.
-
On the Define Sync Relationship page, choose a source and target and click Continue.
Complete the steps until you reach the Data Broker page.
-
On the Data Broker page, click Create Data Broker and then select Google Cloud Platform.
If you already have a data broker, you'll need to click the
 icon first.
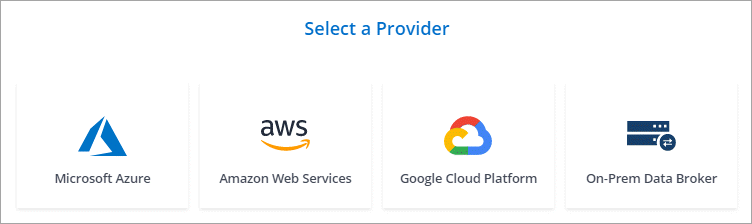
-
Enter a name for the data broker and click Continue.
-
If you're prompted, log in with your Google account.
The form is owned and hosted by Google. Your credentials are not provided to NetApp.
-
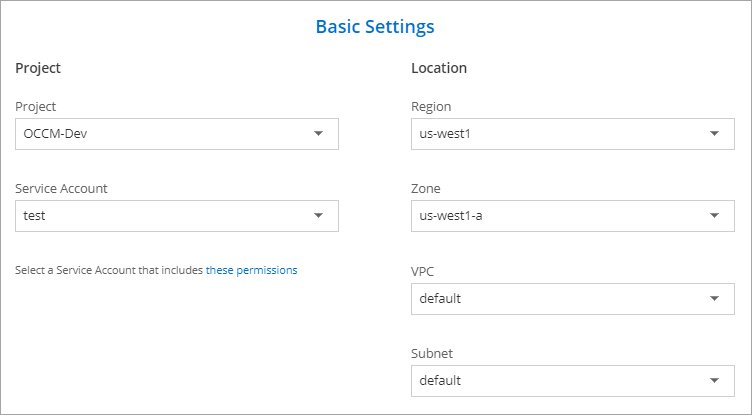
Select a project and service account and then choose a location for the data broker.
-
Specify a proxy configuration, if a proxy is required for internet access in the VPC.
If a proxy is required for internet access, then the proxy must be in Google Cloud and use the same service account as the data broker.
-
Once the data broker is available, click Continue in Cloud Sync.
The instance takes approximately 5 to 10 minutes to deploy. You can monitor the progress from the Cloud Sync service, which automatically refreshes when the instance is available.
-
Complete the pages in the wizard to create the new sync relationship.
You've deployed a data broker in GCP and created a new sync relationship. You can use this data broker with additional sync relationships.