

Deploy Keystone Collector on VMware vSphere systems
 Suggest changes
Deploying Keystone Collector on VMware vSphere systems includes downloading the OVA template, deploying the template by using the Deploy OVF Template wizard, verifying the integrity of the certificates, and verifying the readiness of the VM.
Deploying the OVA template
Follow these steps:
-
Download the OVA file from this link and store it on your VMware vSphere system.
-
On your VMware vSphere system, navigate to the VMs and Templates view.
-
Right click on the required folder for the virtual machine (VM) (or data center, if not using VM folders) and select Deploy OVF Template.
-
On Step 1 of the Deploy OVF Template wizard, click Select and OVF template to select the downloaded
KeystoneCollector-latest.ovafile. -
On Step 2, specify the VM name and select the VM folder.
-
On Step 3, specify the required compute resource that is to run the VM.
-
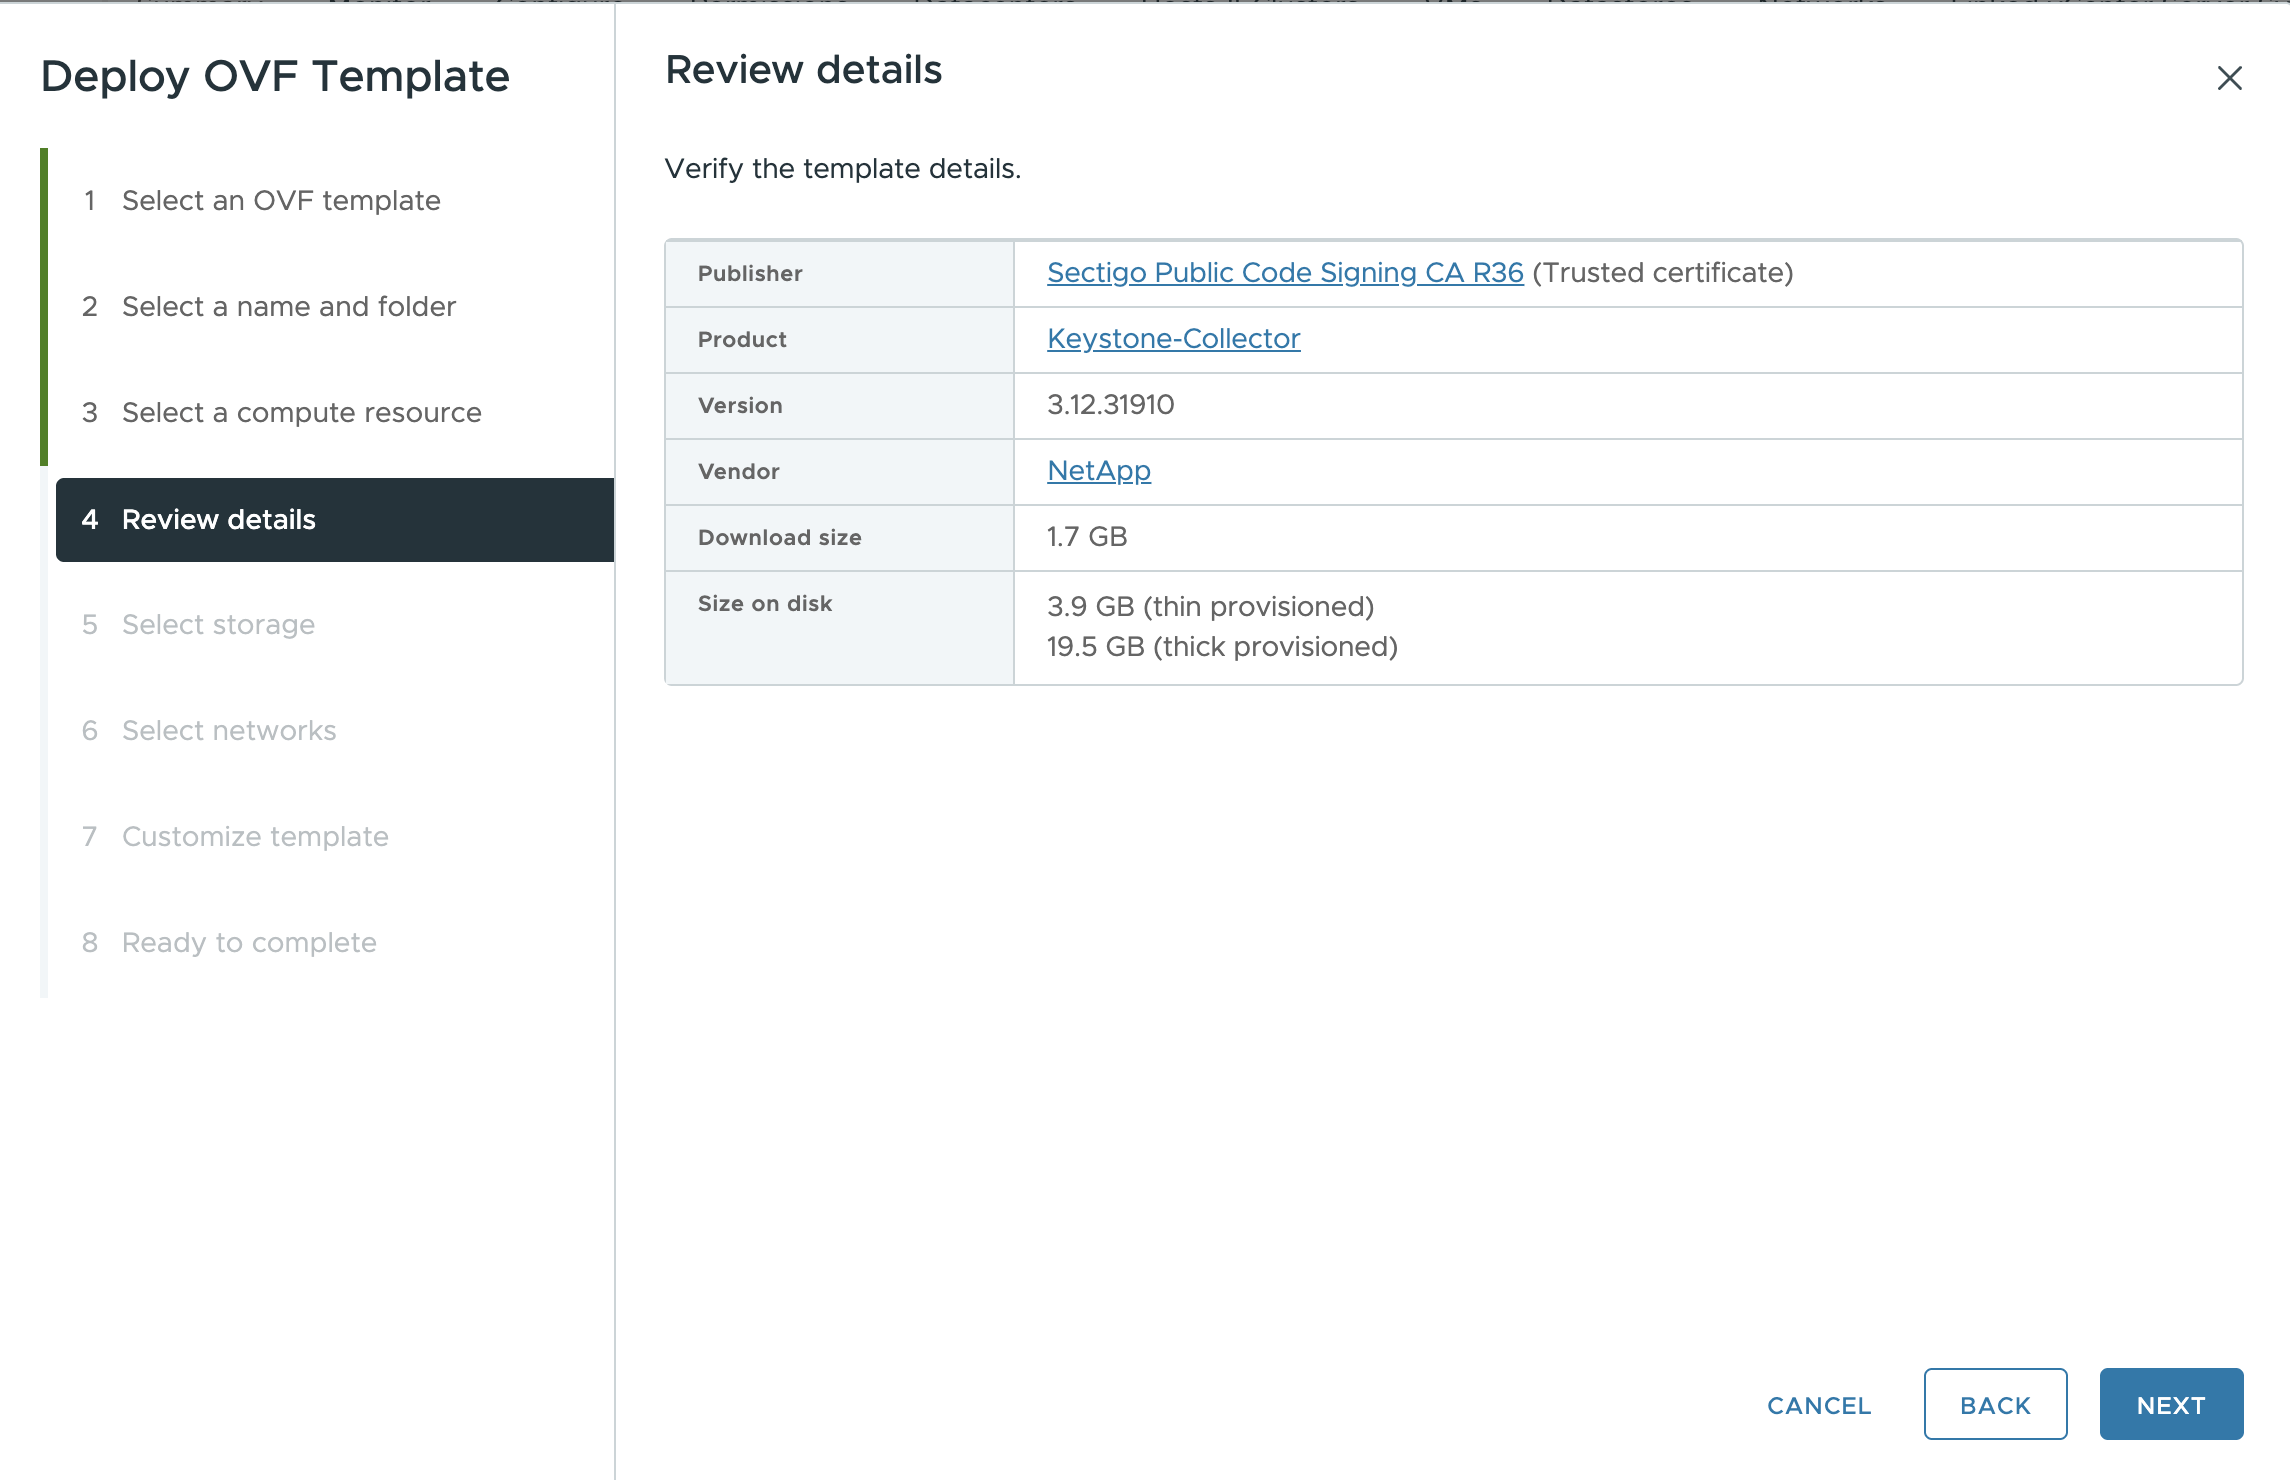
On Step 4: Review details, verify the correctness and authenticity of the OVA file.
The vCenter root trust store contains only VMware certificates. NetApp uses Entrust as a certifying authority, and those certificates need to be added to the vCenter trust store.
-
Download the code-signing CA certificate from Sectigo here.
-
Follow the steps in the
Resolutionsection of this knowledge base (KB) article: https://kb.vmware.com/s/article/84240.
For vCenter versions 7.x and earlier, you must update vCenter and ESXi to version 8.0 or later. Earlier versions are no longer supported. When the integrity and authenticity of the Keystone Collector OVA are validated, you can see the text
(Trusted certificate)with the publisher.
-
-
On Step 5 of the Deploy OVF Template wizard, specify the location for storing the VM.
-
On Step 6, select the destination network for the VM to use.
-
On Step 7 Customize template, specify the initial network address and password for the admin user account.
The admin password is stored in a reversible format in vCentre and should be used as a bootstrap credential to gain initial access to the VMware vSphere system. During the initial software configuration, this admin password should be changed. The subnet mask for the IPv4 address should be supplied in CIDR notation. For example, use the value of 24 for a subnet mask of 255.255.255.0. -
On Step 8 Ready to complete of the Deploy OVF Template wizard, review the configuration and verify that you have correctly set the parameters for the OVA deployment.
After the VM has been deployed from the template and powered on, open an SSH session to the VM and log in with the temporary admin credentials to verify that the VM is ready for configuration.
Initial system configuration
Perform these steps on your VMware vSphere systems for an initial configuration of the Keystone Collector servers deployed through OVA:
|
|
On completing the deployment, you can use the Keystone Collector Management Terminal User Interface (TUI) utility to perform the configuration and monitoring activities. You can use various keyboard controls, such as the Enter and arrow keys, to select the options and navigate across this TUI. |
-
Open an SSH session to the Keystone Collector server. When you connect, the system will prompt you to update the admin password. Complete the admin password update as required.
-
Log in using the new password to access the TUI. On login, the TUI appears.
Alternatively, you can launch it manually by running the
keystone-collector-tuiCLI command. -
If required, configure the proxy details in the Configuration > Network section on the TUI.
-
Configure the system hostname, location, and NTP server in the Configuration > System section.
-
Update the Keystone Collectors using the Maintenance > Update Collectors option. After the update, restart the Keystone Collector management TUI utility to apply the changes.