

Configure Impersonation for Microsoft Exchange Online
 Suggest changes
If you plan to use SaaS Backup with Microsoft Exchange Online, you must configure impersonation. Impersonation allows your Microsoft 365 service account to impersonate user accounts and access associated permissions.
Automatically configure impersonation
To automatically configure impersonation, run MSDN PowerShell Commands.
Manually configure impersonation
You can manually configure impersonation with your Microsoft 365 administrator account as well as with added Microsoft 365 service accounts in SaaS Backup. For more information about Microsoft 365 service accounts, go to creating a Microsoft 365 service account with global permissions.
To manually configure impersonation do the following:
-
Log in to your Microsoft 365 service account.
-
Select the Exchange tab.
-
On the left, under Dashboard, select Permissions.
-
Click Admin roles.
-
Double-click in the right pane to select Discovery management.
-
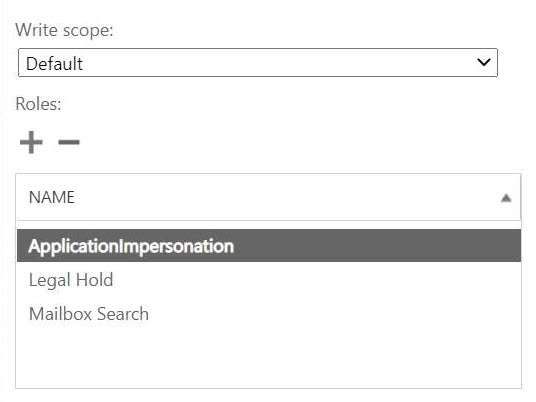
Under Roles, click the + symbol.
-
Select ApplicationImpersonation from the drop-down menu.
-
Click Add.
-
Click OK.
-
Verify that ApplicationImpersonation was added under Roles.
-
Under Members, click the + symbol.
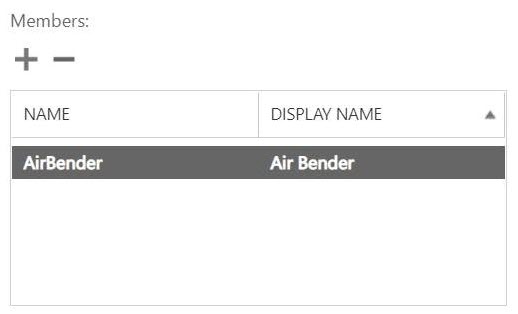
A new window appears -
Choose the user name.
-
Click Add.
-
Click OK.
-
Verify that the user name appears in the Members section.
-
Click Save.