

Exporting query results to a .CSV file
 Suggest changes
You can export the results of any query to a .CSV file, which will allow you to analyze the data or import it into another application.
-
Log in to Data Infrastructure Insights.
-
Click Queries and select Show all queries.
The Queries page is displayed.
-
Click a query.
-
Click
 to export the query results to a .CSV file.

|
Export to .CSV is also available in the "three dots" menu in dashboard table widgets as well as most landing page tables. |
Asynchronous export
Exporting data to .CSV can take anywhere from a few seconds to a number of hours, depending on the amount of data to export. Data Infrastructure Insights exports that data asynchronously, so you can continue working while the .CSV is being compiled.
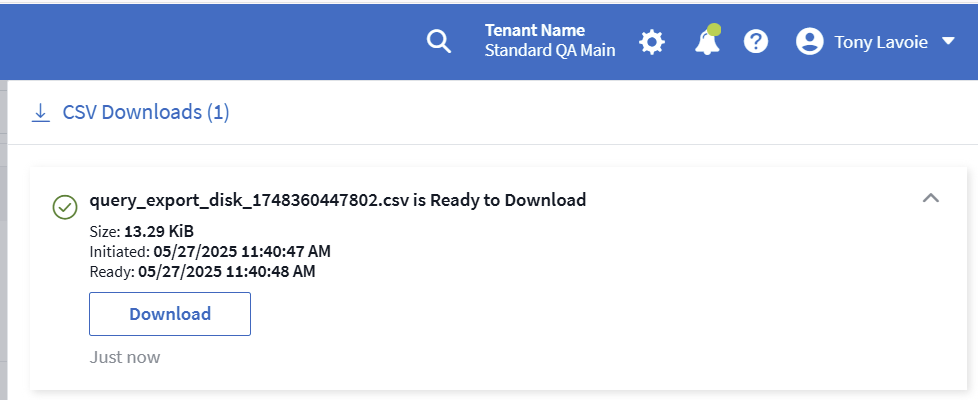
View and download your .CSV exports by selecting the "Bell" icon in the upper-right toolbar.
The exported data will reflect the current filtering, columns, and column names displayed.
Commas in asset names
Note: When a comma appears in an asset name, the export encloses the name in quotes, preserving the asset name and the proper .csv format.
Time format, or not time format?
When opening an exported .CSV file with Excel, if you have an object name or other field that is in the format NN:NN (two digits followed by a colon followed by two more digits), Excel will sometimes interpret that name as a Time format, instead of Text format. This can result in Excel displaying incorrect values in those columns. For example, an object named "81:45" would show in Excel as "81:45:00".
To work around this, import the .CSV into Excel using the following steps:
-
Open a new sheet in Excel.
-
On the "Data" tab, choose "From Text".
-
Locate the desired .CSV file and click "Import".
-
In the Import wizard, choose "Delimited" and click Next.
-
Choose "Comma" for the delimiter and click Next.
-
Select the desired columns and choose "Text" for the column data format.
-
Click Finish.
Your objects should show in Excel in the proper format.