

4. Configure the vCenter Server
 Suggest changes
NDE deploys the solution with vCenter server and integrates the solution with the Element cluster by provisioning the Mnode VM and installing the NetApp Element Plug-in for vCenter.

|
Note that NDE deploys vSphere 6.7U1. You can upgrade the Virtual Appliance and individual ESXi hosts by following the instructions from VMware here. |
After deployment, you must make a few modifications to the environment, including the creation of additional vDS portgroups, datastores, and resource groups for the deployment of the Anthos on VMware solution.
Complete the following steps to configure your vCenter Server:
-
Log into the VMware vCenter server using the Administrator@vsphere.local account and the password chosen for the admin user during NDE configuration.
-
Right-click
NetApp-HCI-Cluster-01created by NDE and select the option to create a new resource pool. Name this poolInfrastructure-Resource-Pooland accept the defaults by clicking OK. This resource pool is used in a later configuration step.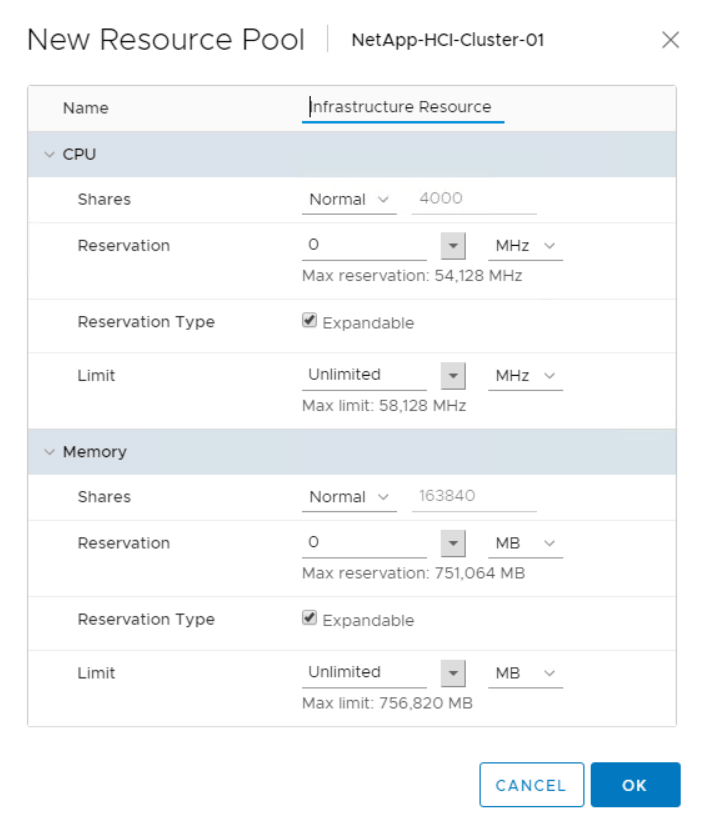
The reservations in this resource pool can be modified based on the resources available in the environment. NetApp HCI is deployed as an all-in-one solution. Therefore, NetApp recommends reserving the resources necessary to provide availability for the infrastructure services by placing them into this resource pool and adjusting the resources appropriately. Infrastructure services include vCenter Server, NetApp Mnode, and F5 Big-IP Load Balancer. -
Repeat this step to create another resource pool for VMs deployed by Anthos. Name this pool Anthos-Resource-Pool, and click the OK button to accept the default values. Adjust the resource availability based on the specific environment in which you are deploying the solution. This resource pool is used in a later deployment step.
-
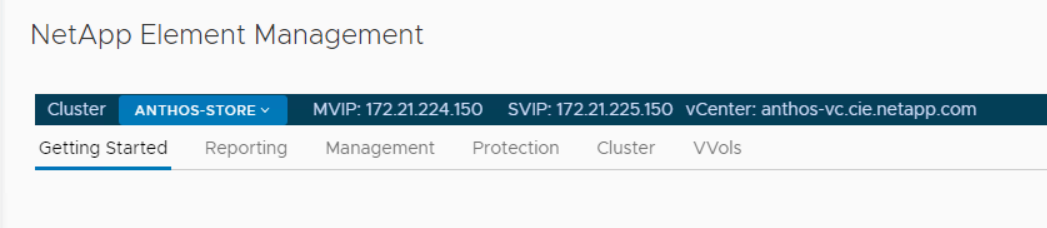
To configure Element volumes to be used as vSphere datastores, click the dropdown menu and select NetApp Element Management from the list.
-
A Getting Started screen appears with details about your Element cluster.
-
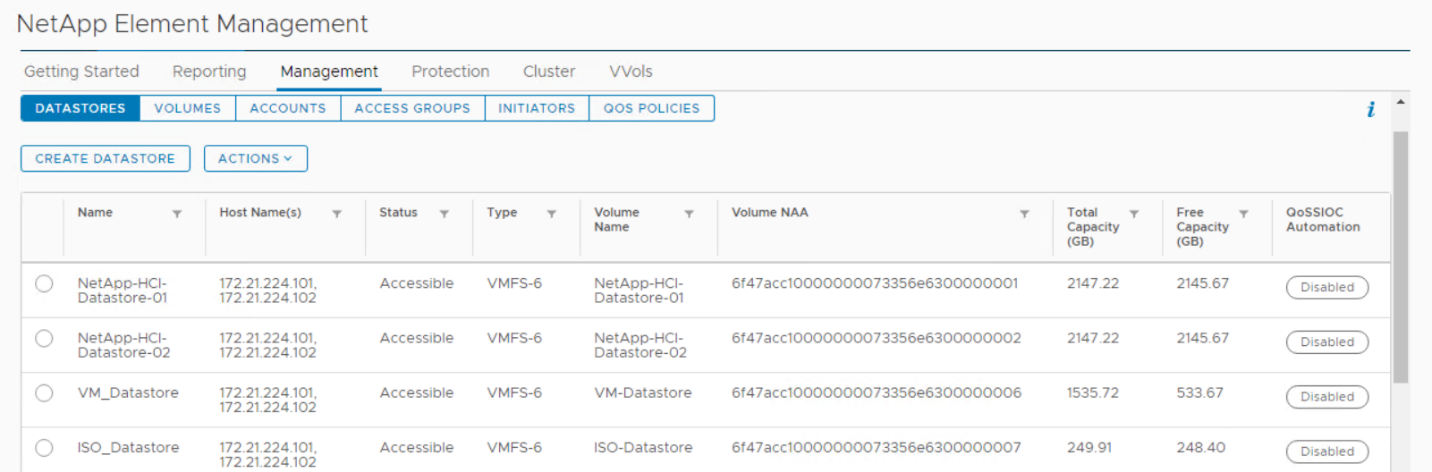
Click Management, and the vSphere client presents a list of datastores. Click Create Datastore to create one datastore to host VMs and another to host ISOs for future guest installs.
-
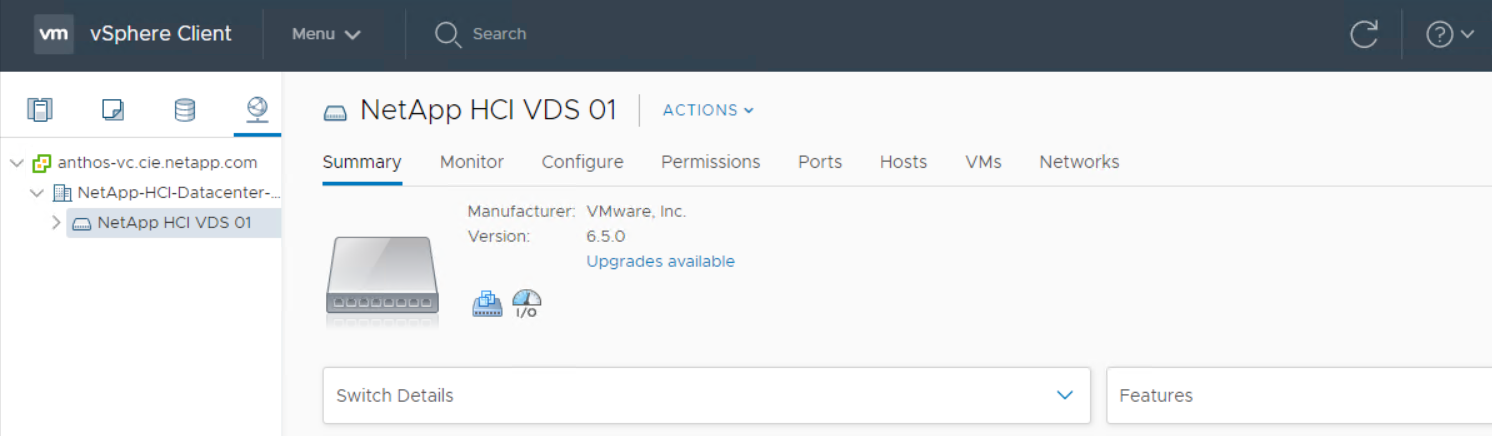
Next click the Network menu item in the left panel. This displays a screen with information about the vDS deployed by NDE.
-
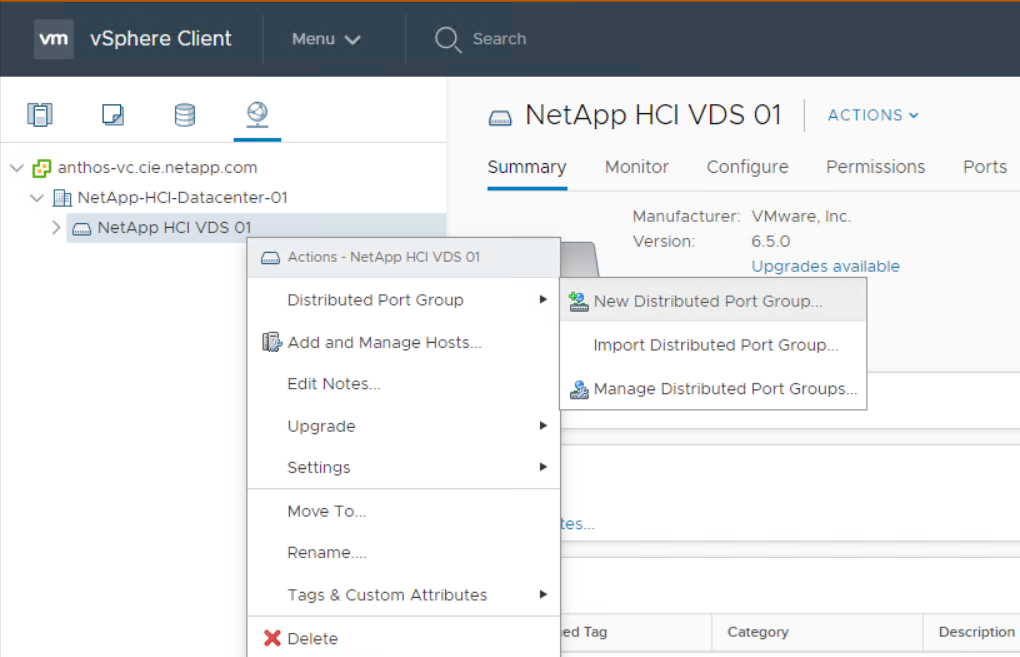
Several virtual port groups are defined by the initial configuration. NetApp recommends leaving these alone to support the infrastructure, and additional port groups should be created for user-deployed virtual guests. Right-click the NetApp HCI VDS 01 vDS in the left panel, and then select Distributed Port Group followed by the New Distributed Port Group option from the expanded menu.
-
Create a new distributed port group called
Management_Network. Then click Next.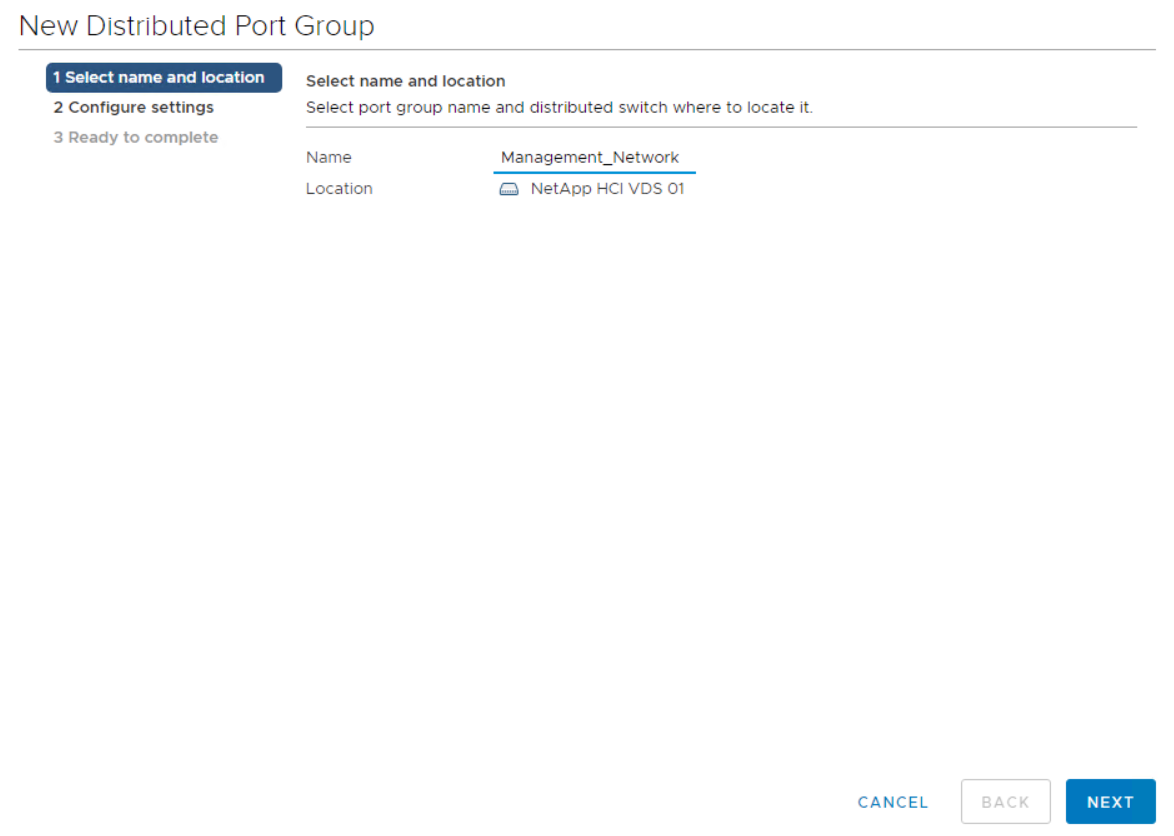
-
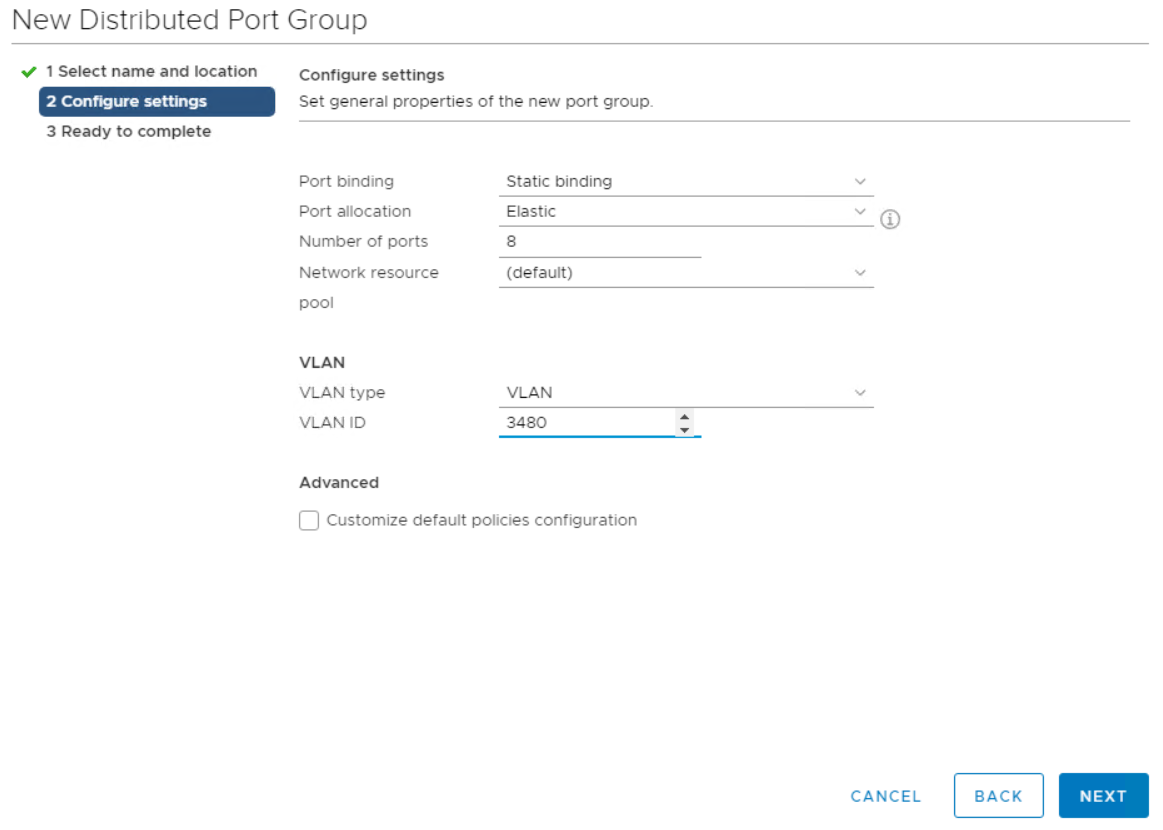
On the next screen, select the VLAN type as VLAN, and set the VLAN ID to 3480 for management purposes. Click Next, and, after reviewing the options on the summary page, click Next again to complete the creation of the distributed port group.
-
Repeat these steps to create distributed port groups for the
VM_Network(VLAN 1172) as well as any other networks that might be used in the NetApp HCI environment.
|
|
Additional networks can be defined to segment any additional deployed VMs. Examples of this use could be for a dedicated HA network for additional F5 Big-IP appliances if provisioned. Such configurations are in addition to the environment deployed in this validated solution and are considered out of scope for this NVA document. |