

3. Deploy the Element Storage System on the HCI Storage Nodes: NetApp HCI with RHV
 Suggest changes
Basic NetApp Element Storage Setup
NetApp Element cluster setup is performed in a manner similar to a standalone NetApp SolidFire storage setup. These steps begin after the nodes have been racked, and cabled, and the IPMI port has been configured on each node using the console. To setup a storage cluster, complete the following steps:
-
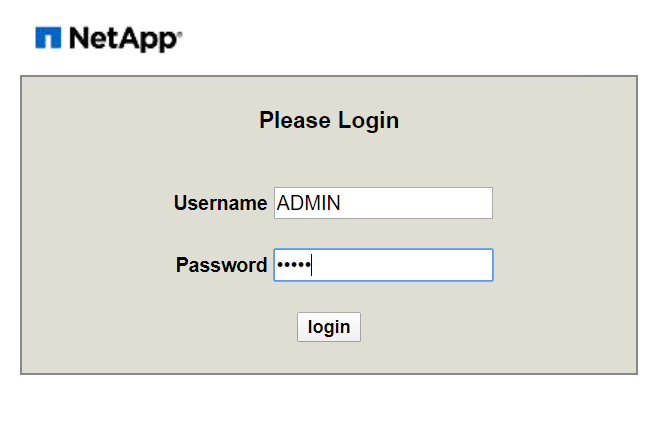
Access the out-of-band management console for the storage nodes in the cluster and log in with the default credentials ADMIN/ADMIN.
-
Click the Remote Console Preview image in the center of the screen to download a JNLP file launched by Java Web Start, which launches an interactive console to the system.
-
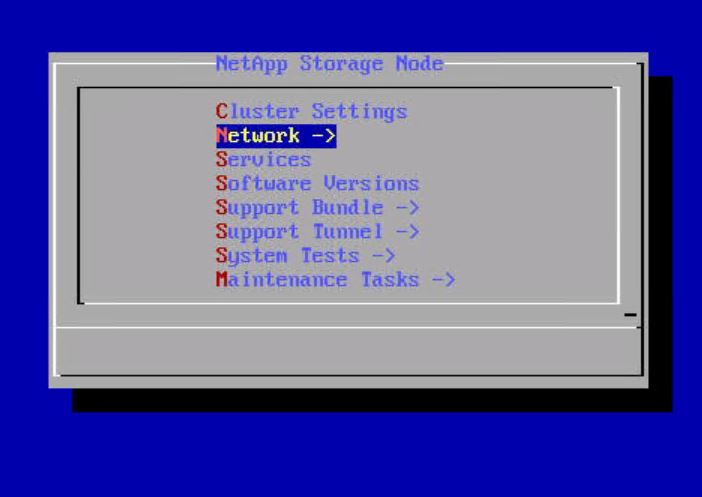
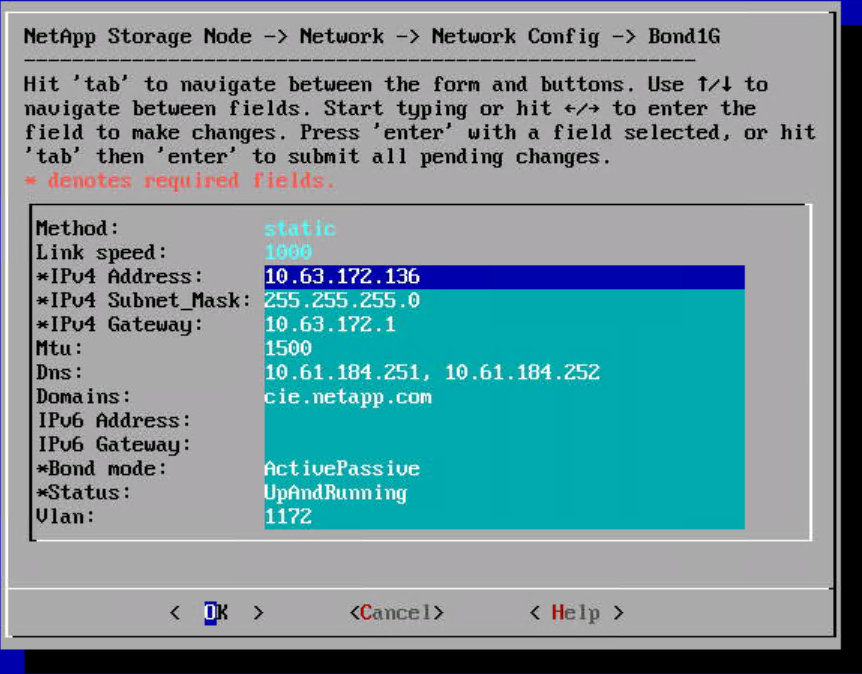
Navigate to Network > Network Config > Bond1G (Management) and configure the Bond1G interface. The Bond1G interface should be in ActivePassive bond mode and must have an IP, a netmask, and a gateway set statically. Its VLAN must correspond to IB Management network and DNS servers defined for the environment. Then click OK.
-
Select Bond10G (Storage) and configure the Bond10G interface. The Bond 10G interface must be in LACP bonding mode and have the MTU set to 9000 to enable jumbo frames. It must be assigned an IP address and netmask that are available on the defined storage VLAN. Click OK after entering the details.

-
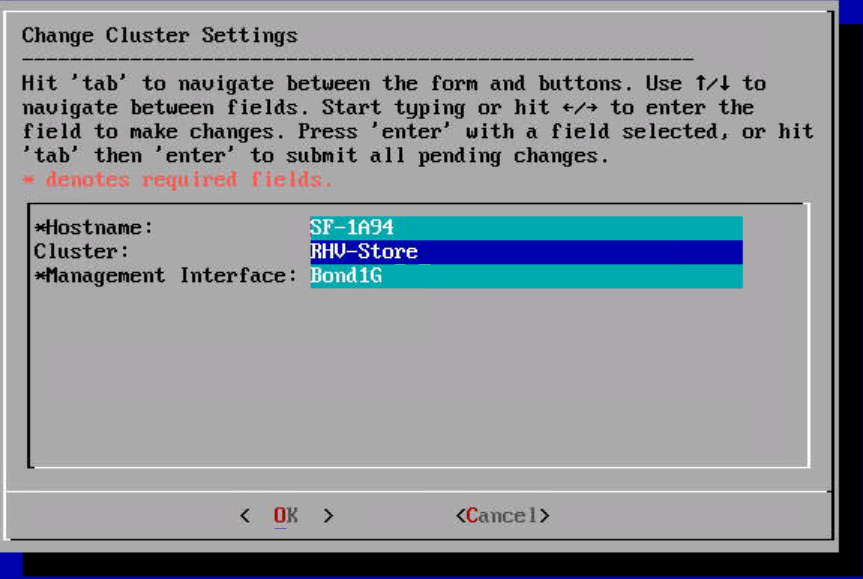
Go back to the initial screen, navigate to Cluster Settings, and click Change Settings. Enter the Cluster Name of your choice and click OK.
-
Repeat steps 1 to 5 for all HCI storage nodes.
-
After all the storage nodes are configured, use a web browser to log into the IB Management IP of one of the storage nodes. This presents the setup page with the Create a New Cluster dialog. Management VIP, storage VIP, and other details of the Element cluster are configured on this page. The storage nodes that were configured in the previous step are automatically detected. Make sure that any nodes that you do not want in the cluster are unchecked before proceeding. Accept the End User License Agreement and click Create New Cluster to begin the cluster creation process. It takes a few minutes to get the cluster up.

In some cases, visiting the IB management address automatically connects on port 442 and launches the NDE setup wizard. If this happens, delete the port specification from the URL and reconnect to the page. 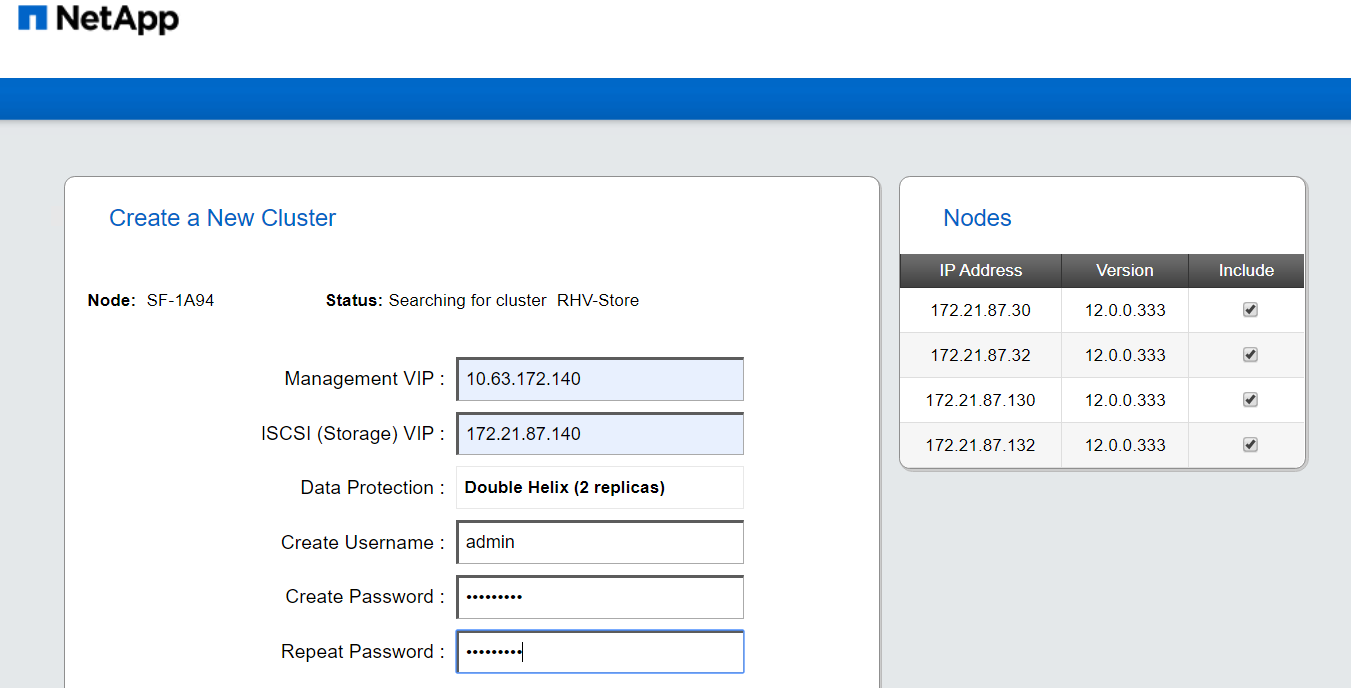
-
After the cluster is created, it redirects to the Element cluster management interface available at the assigned MVIP address. Log in with the credentials provided in the previous step.
-
After you log in, the cluster automatically detects the number of available drives and requests for confirmation to add all drives. Click Add Drives to add all drives at once.
-
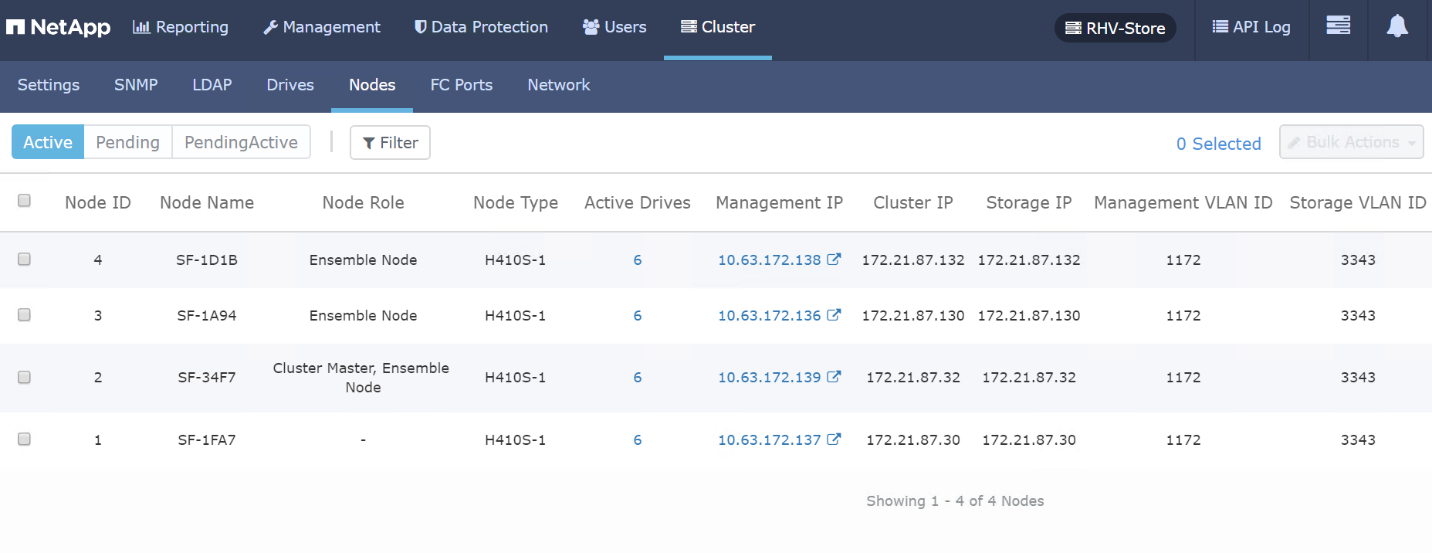
The Element cluster is ready to use. Navigate to Cluster > Nodes, and all four nodes should be in a healthy state with active drives.
Element Storage Configuration to Support RHV Deployment
In our NetApp HCI for Red Hat Virtualization solution, we use a NetApp Element storage system to provide the backend storage support for RHV’s requirement of shared storage domains. The self-hosted engine architecture of RHV deployment requires two storage domains at a minimum―one for the hosted engine storage domain and one for the guest VM data domain.
For this part of deployment, you must configure an account, two volumes of appropriate size, and the associated initiators. Then map these components to an access group that allows the RHV hosts to map the block volumes for use. Each of these actions can be performed through the web user interface or through the native API for the Element system. For this deployment guide, we go through the steps with the GUI.
Log in to the NetApp Element cluster GUI at its MVIP address using a web browser. Navigate to the Management tab and complete the following steps:
-
To create accounts, go to the Accounts sub-tab and click Create Account. Enter the name of your choice and click Create Account.

-
To create volumes, complete the following steps:
-
Navigate to the Volumes sub-tab and click Create Volume.
-
To create the volume for the self-hosted engine storage domain, enter the name of your choice, select the account you created in the last step, enter the size of the volume for the self-hosted engine storage domain, configure the QoS setting, and click Create Volume.
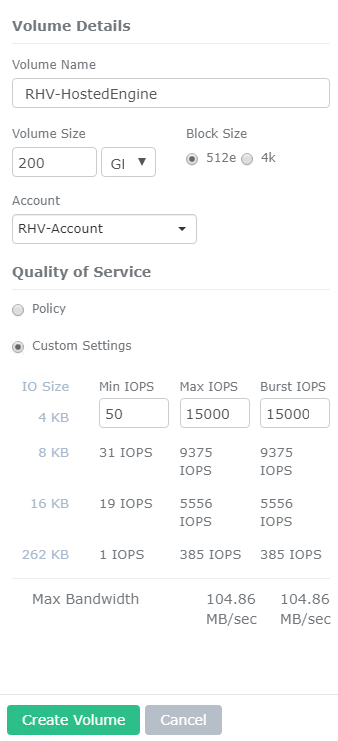
The minimum size for the hosted engine volume is 75GB. In our design, we added additional space to allow for future extents to be added to the RHV-M VM if necessary.
-
To create the volume for the guest VMs data storage domain, enter the name of your choice, select the account you created in the last step, enter the size of the volume for the data storage domain, configure the QoS setting and click Create Volume.
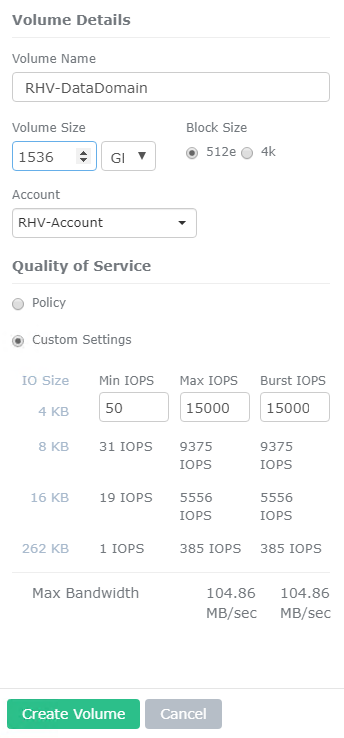
The size of the data domain depends on the kind of VMs run in the environment and the space required to support them. Adjust the size of this volume to meet the needs of your environment.
-
-
To create initiators, complete the following steps:
-
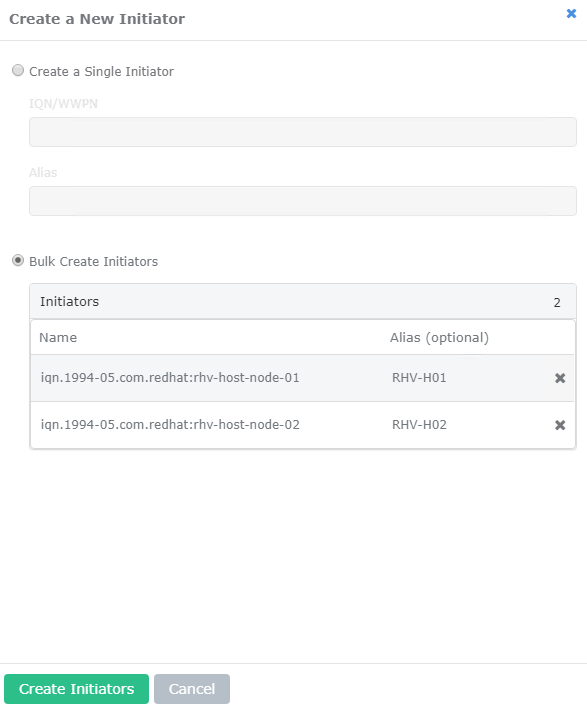
Go to the Initiators sub-tab and click Create Initiator.
-
Select the Bulk Create Initiators radio button and enter the initiators’ details of both the RHV-H nodes with comma separated values. Then click Add Initiators, enter the aliases for the initiators, and click the tick button. Verify the details and click Create Initiators.
-
-
To create access groups, complete the following steps:
-
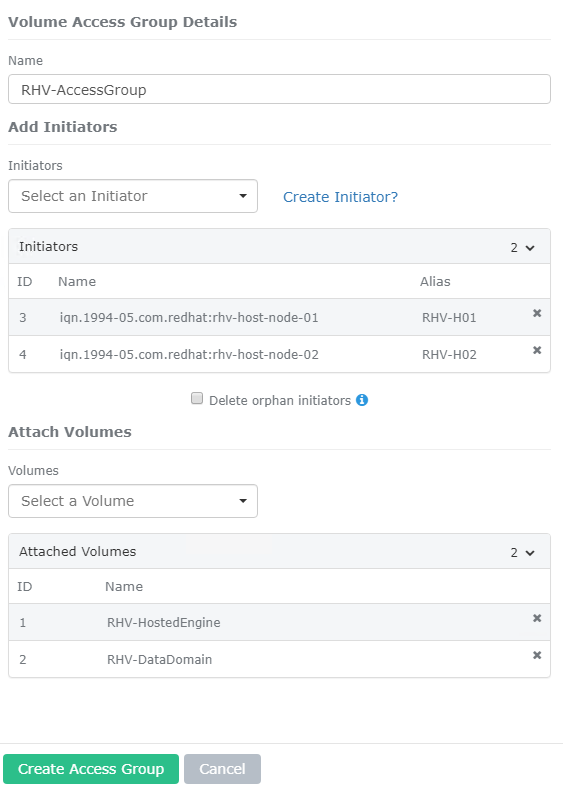
Go to the Access Groups sub-tab and click Create Access Groups.
-
Enter the name of your choice, select the initiators for both RHV-H nodes that were created in the previous step, select the volumes, and click Create Access Group.
-