

6. Configure RHV-M Infrastructure: NetApp HCI with RHV
 Suggest changes
To configure the RHV-M infrastructure, complete the following steps:
-
By default, the ovirtmgmt network is used for all purposes, including the migration of VMs and virtual guest data.
-
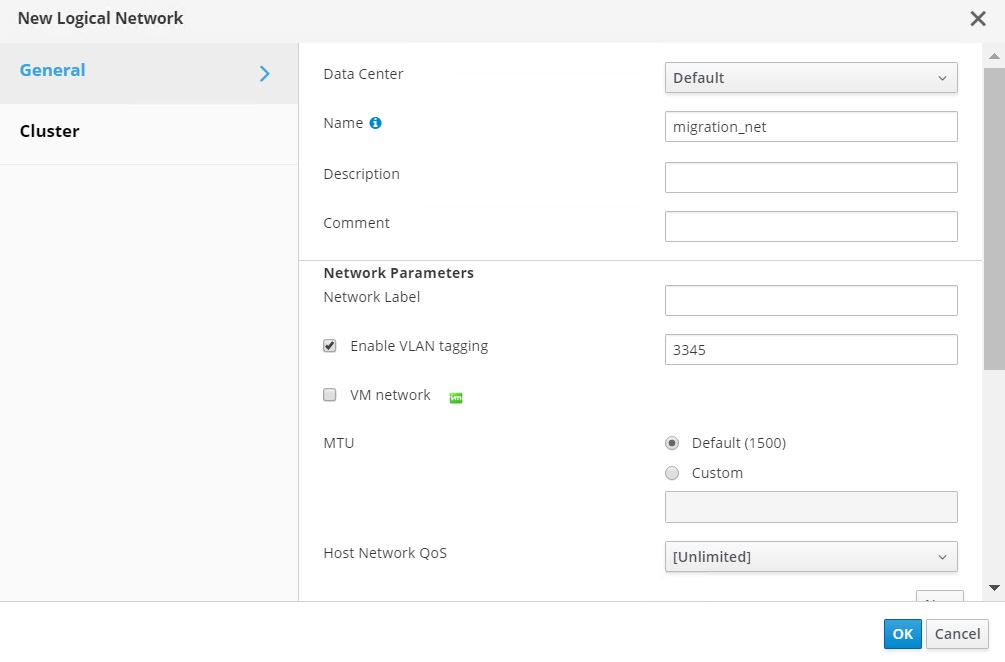
It is a best practice to specify different networks for these purposes. To configure the migration network, navigate to Network > Networks and click New. Enter the name of your choice, enable VLAN tagging, and enter the VLAN ID for the migration network.
-
Make sure that the VM Network checkbox is unchecked. Go to the Cluster sub-tab and make sure that Attach and Require are checked. Then click OK to create the network.
-
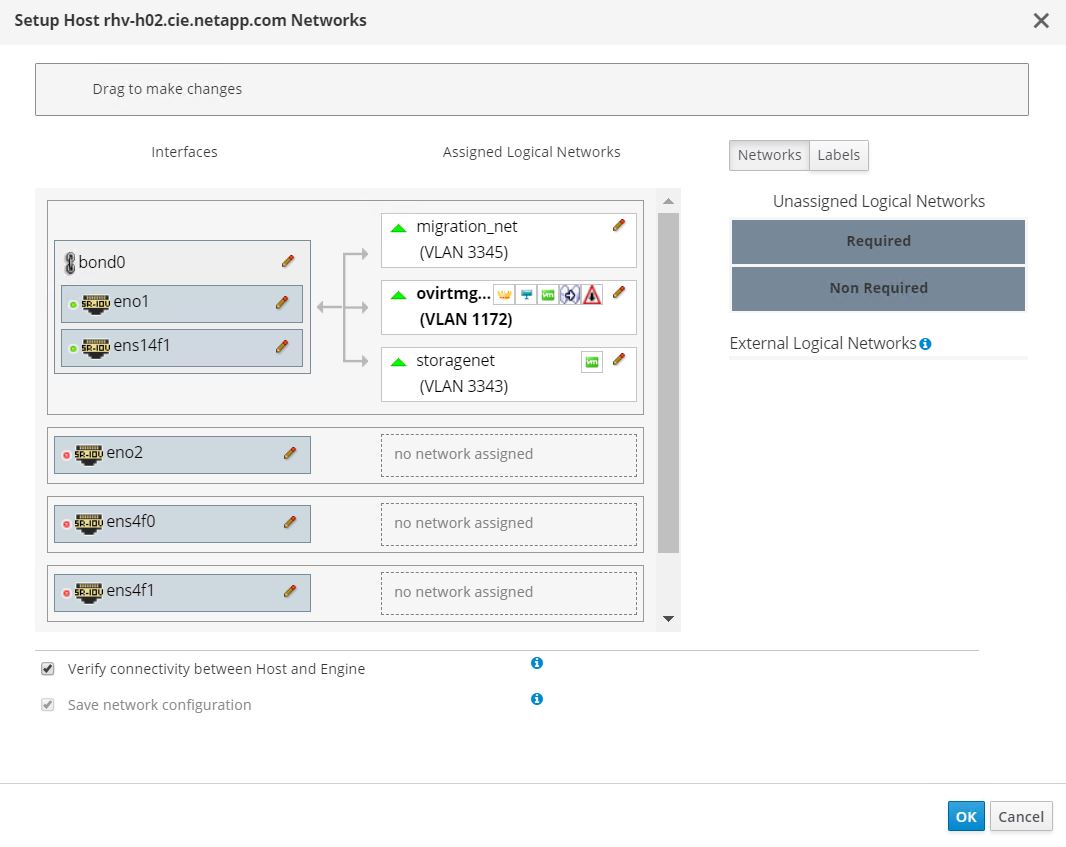
To assign the migration logical network to both the hosts, navigate to Compute > Hosts, click the hosts, and navigate to the Network Interfaces sub-tab.
-
Then click Setup Host Networks and drag and drop the migration logical network into the Assigned Logical Networks column to the right of bond0.
-
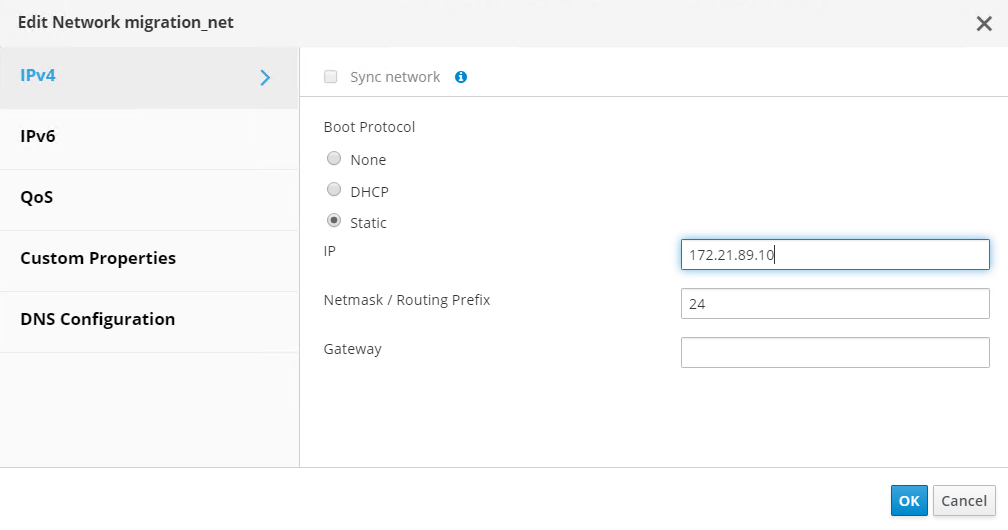
Click the pen symbol on the migration network interface under bond0. Configure the IP address details and click OK. Then click OK again in the Setup Host Networks pane.
-
Repeat steps 4 through 6 for the other host as well.
-
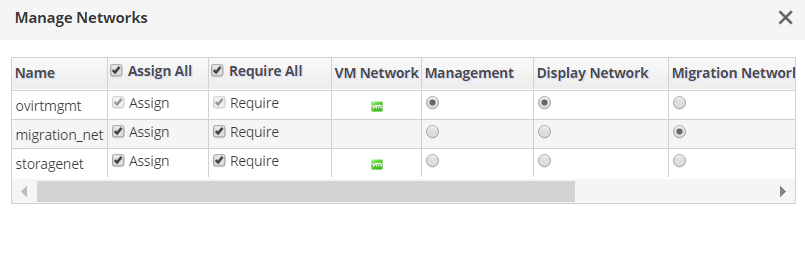
The newly created network must be assigned the role of the migration network. Navigate to Compute > Clusters and click the cluster that the RHV hosts belong to, click the Logical Networks sub-tab, and click Manage Networks. For the migration network, enable the checkbox under Migration Network column. Click OK.
-
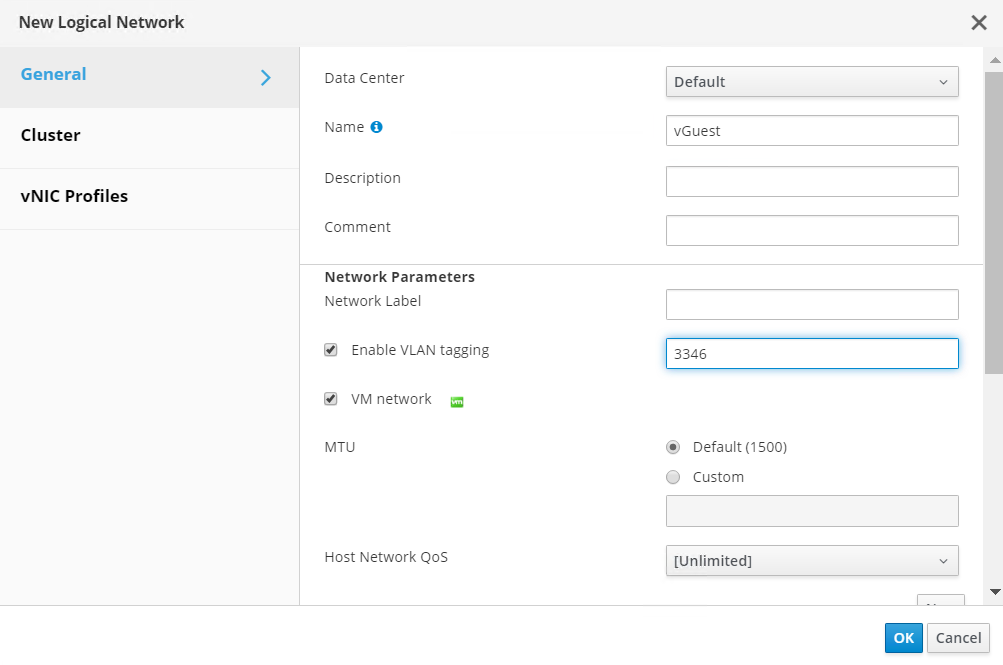
Next, as a best practice, create a separate VM network rather than using the ovirtmgmt network for VMs.
-
Navigate to Network > Networks and click New. Enter the name of your choice, enable VLAN tagging, and enter the VLAN ID for the VM guest network. Make sure that the checkbox VM Network is checked. Go to the Cluster’s sub-tab and make sure that Attach and Require are checked. Then click OK to create the VM guest network.
-
Assign the VM guest logical network to both the hosts. Navigate to Compute > Hosts, click the host names and navigate to the Network Interfaces sub-tab. Then click Setup Host Networks and drag and drop the VM guest logical network into the Assigned Logical Networks column to the right of bond0. There is no need to assign an IP to this logical network, because it provides passthrough networking for the VMs.
The VM guest network should be able to reach the internet to allow guests to register with Red Hat Subscription Manager.