Installing Cleondris: NetApp HCI DR with Cleondris
 Suggest changes


Prerequisites
There are several things to have ready before you start with the installation.
This technical report assumes that you have your NetApp HCI infrastructure working at both your production site and your disaster recovery site.
-
DNS. You should have DNS prepared for your HCC disaster recovery tool when you install it.
-
FQDN. A fully qualified domain name for the disaster recovery tool should be prepared before installation.
-
IP address. The IP will be part of the FQDN before it is put into DNS.
-
NTP. You need a Network Time Protocol (NTP) server address. It can be either your own internal or external address, but it needs to be accessible.
-
Storage location. When you install HCC, you must know which datastore it should be installed to.
-
vCenter Server service account. You will need to have a service account created in vCenter Server on both the disaster recovery and production side for HCC to use. It does not require administrator-level permissions at the root level. If you like, you can find exactly what is required in the HCC user guide.
-
NetApp HCI service account. You need a service account in your NetApp HCI storage for both the disaster recovery and production side for HCC to use. Full access is required.
-
Test network. This network should be connected to all your hosts in the disaster recovery site, and it should be isolated and nonrouting. This network is used to make sure applications work during a test failover. The built-in test network that is temporary only is a one-host network. Therefore, if your test failover has VMs scattered on multiple hosts, they will not be able to communicate. I recommend that you create a distributed port group in the disaster recovery site that spans all hosts but is isolated and nonrouting. Testing is important to success.
-
RTOs. You should have RTOs approved by management for your application groups. Often it is 1 or 2 hours for tier 1 applications; for tier 4 applications, it can be as long as 12 hours. These decisions must be approved by management because they will determine how quickly things work after a critical outage. These times will determine replication schedules.
-
Application information. You should know which application you need to protect first, and what it needs to work. For example, Microsoft Exchange needs a domain controller that has a role of Global Catalog to start. In my own experience, a customer said that they had one email server to protect. It did not test well, and when I investigated, I discovered the customer had 24 VMs that were part of the email application.
Download Information
You can download HCC from the Cleondris site. When you buy it, you receive an email with a download link as well.
License
Your license will arrive in an email when you purchase or if you get a not-for-resale (NFR) version. You can get a trial license through the Cleondris Support Portal.
Deployment
You download an OVF file, so it is deployed like many other things.
-
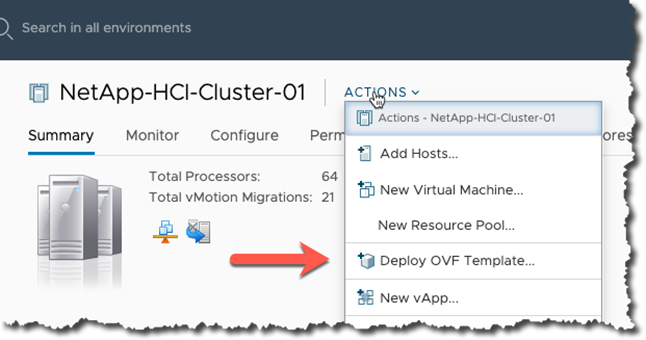
Start by using the Actions menu available at the cluster level.
-
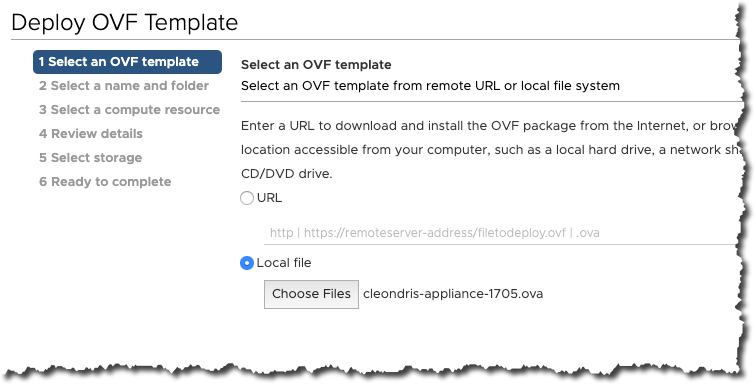
Select the file.
-
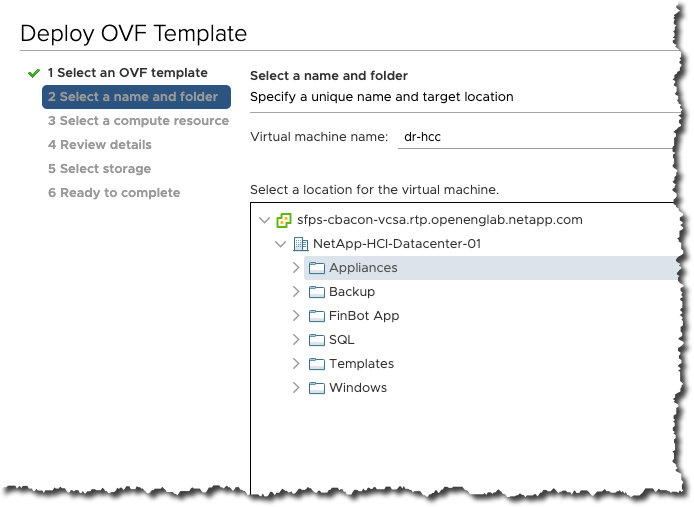
Name the appliance and select the location for it in the vCenter infrastructure.
-
Select the Compute location.
-
Confirm the details.
-
Accept the license details.
-
Select the appropriate storage location.
-
Select the network that our appliance will work on.
-
Review the details again and click Finish.
-
Now wait for the appliance to be deployed, and then power it up. As it powers up, you might see a message saying that VMware tools are not installed. You can ignore this message; it will go away automatically.
Initial Configuration
To start the initial configuration, complete the following steps:
-
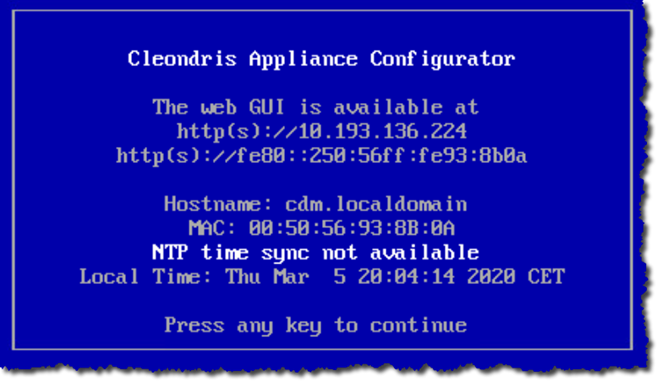
This phase involves doing the configuration in the Appliance Configurator, which is the VM console. So, after the appliance powers up, change to work in the console by using the VMware Remote Console (VMRC) or the HTML5 VMRC version. Look for a blue Cleondris screen.
-
Press any key to proceed, and configure the following:
-
The web administrator password
-
The network configuration: IP, DNS, and so on
-
The time zone
-
NTP
-
-
Select the Reboot and Activate Network/NTP Settings. You will see the appliance reboot. Afterward, do a ping test to confirm the FQDN and IP.
Patching Cleondris
To update your Cleondris product, complete the following steps:
-
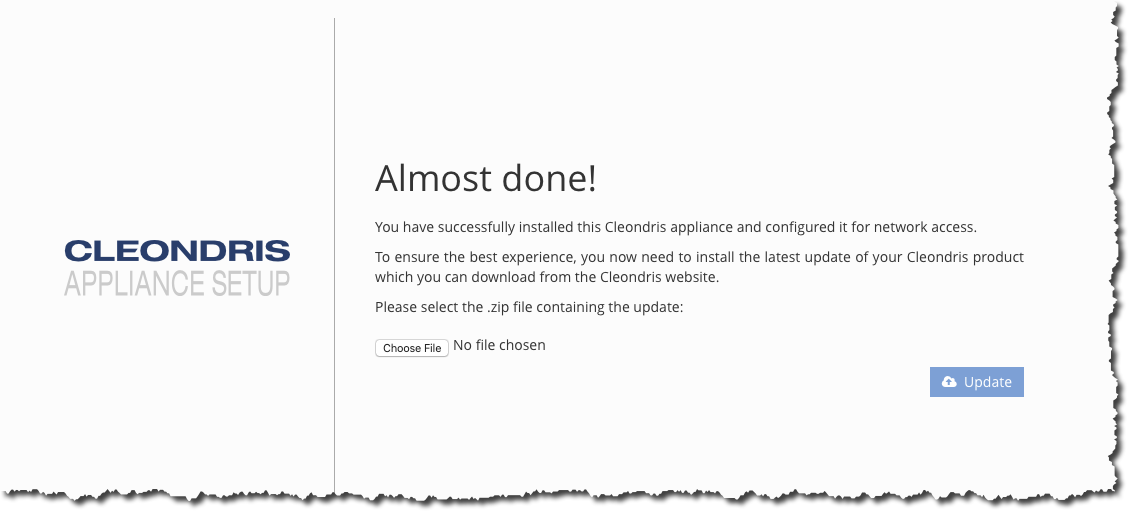
When you first log in to the appliance, you see a screen like the following:
-
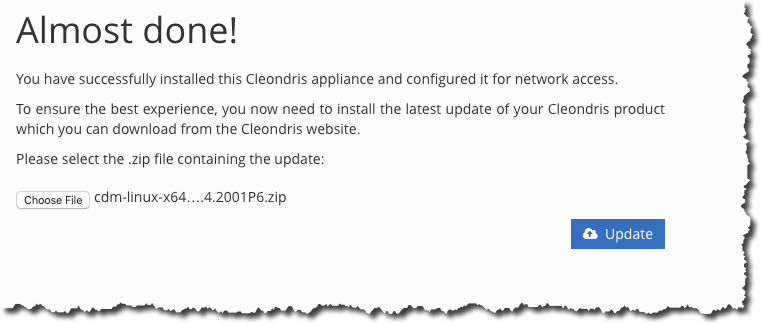
Click Choose File to select the update you downloaded from the Cleondris website.
-
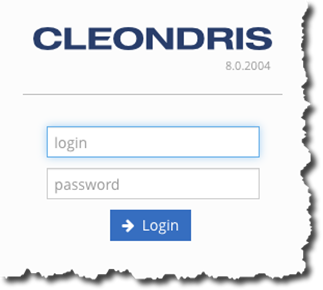
Upload the patch. After the appliance reboots, the following login screen is displayed:
-
You can now see the new version and build information; confirming that the update was successful. Now you can continue with the configuration.
Software Used
This technical report uses the following software versions:
-
vSphere 6.5 on production
-
vSphere 6.7 U3 on DR
-
NetApp Element 11.5 on production
-
NetApp Element 12.0 on DR
-
Cleondris HCC 8.0.2007 Build 20200707-1555 and 8.0.2007X2 build 20200709-1936.


