


VMware vCenter Server 6.7U2 installation procedure


 Suggest changes

 PDFs
PDFs
This section provides detailed procedures for installing VMware vCenter Server 6.7 in a FlexPod Express configuration.

|
FlexPod Express uses the VMware vCenter Server Appliance (VCSA). |
Download the VMware vCenter Server Appliance
To download the VMware vCenter Server Appliance (VCSA), complete the following steps:
-
Download the VCSA. Access the download link by clicking the Get vCenter Server icon when managing the ESXi host.
-
Download the VCSA from the VMware site.
-
Although the Microsoft Windows vCenter Server installable is supported, VMware recommends the VCSA for new deployments.
-
Mount the ISO image.
-
Navigate to the vcsa- ui-installer > win32 directory. Double-click
installer.exe. -
Click Install.
-
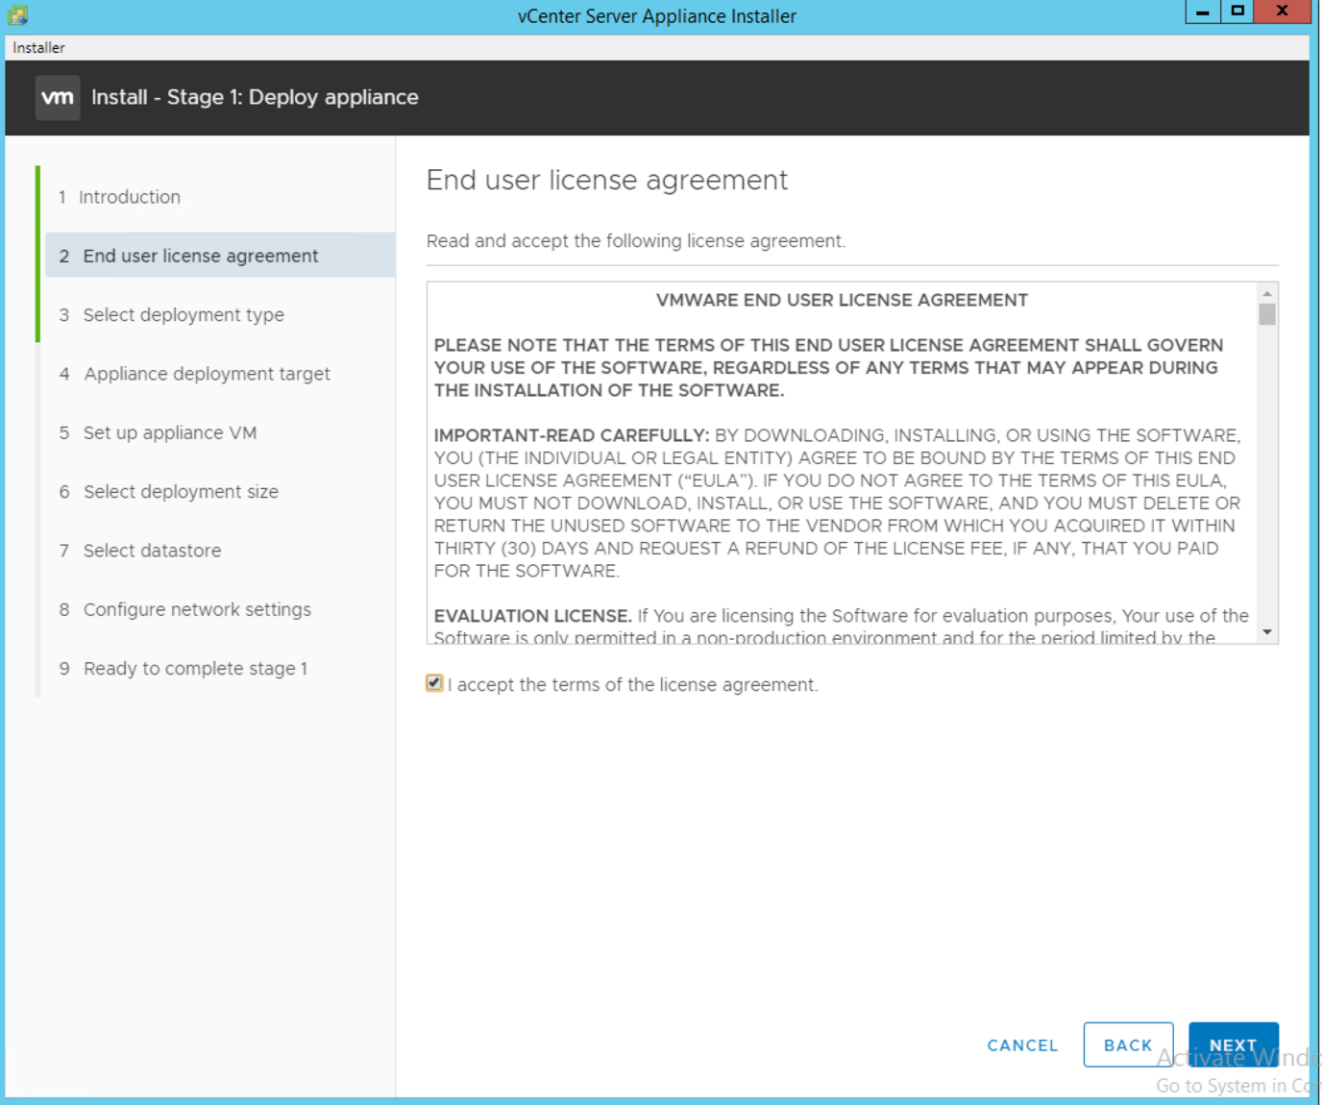
Click Next on the Introduction page.
-
Select Embedded Platform Services Controller as the deployment type.
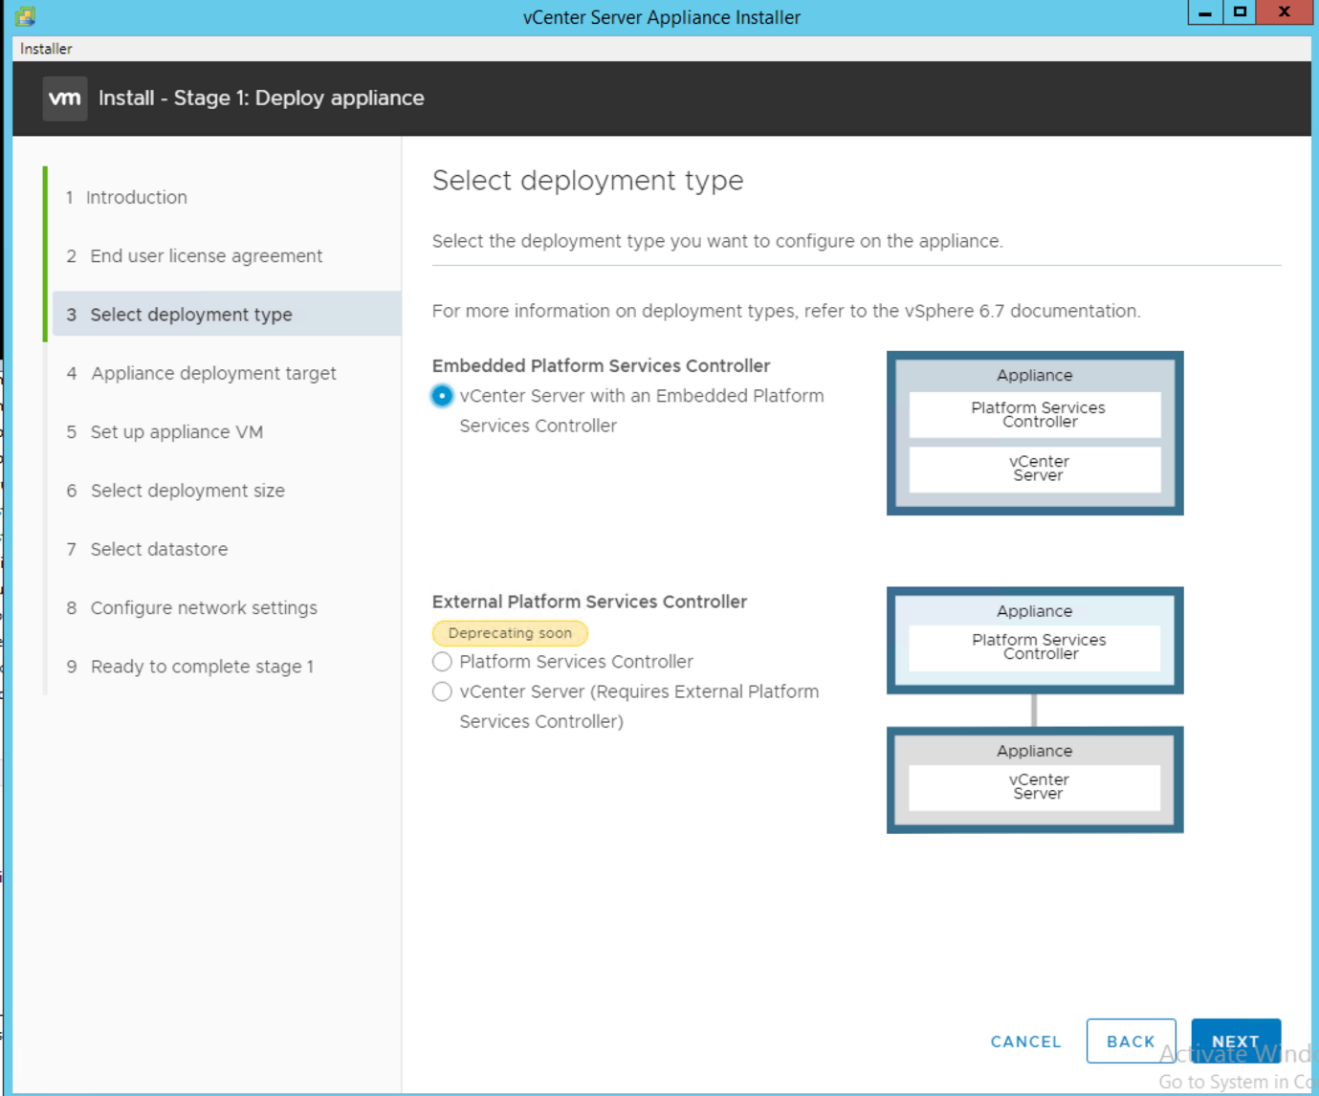
If required, the External Platform Services Controller deployment is also supported as part of the FlexPod Express solution. -
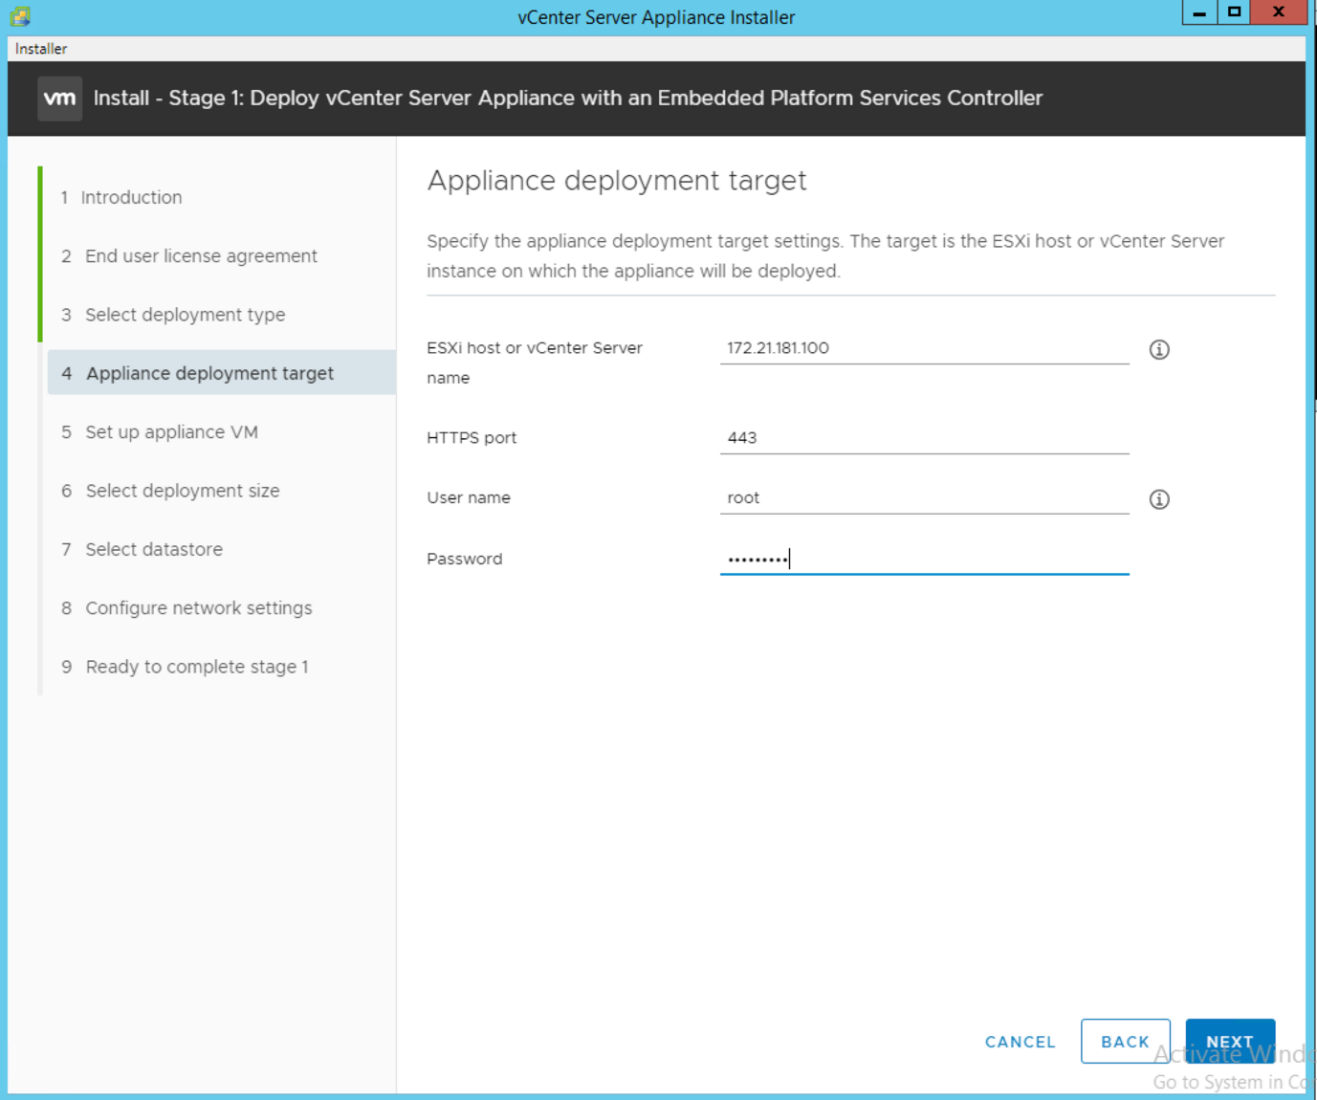
In the Appliance Deployment Target, enter the IP address of an ESXi host that you have deployed, the root user name, and the root password.
-
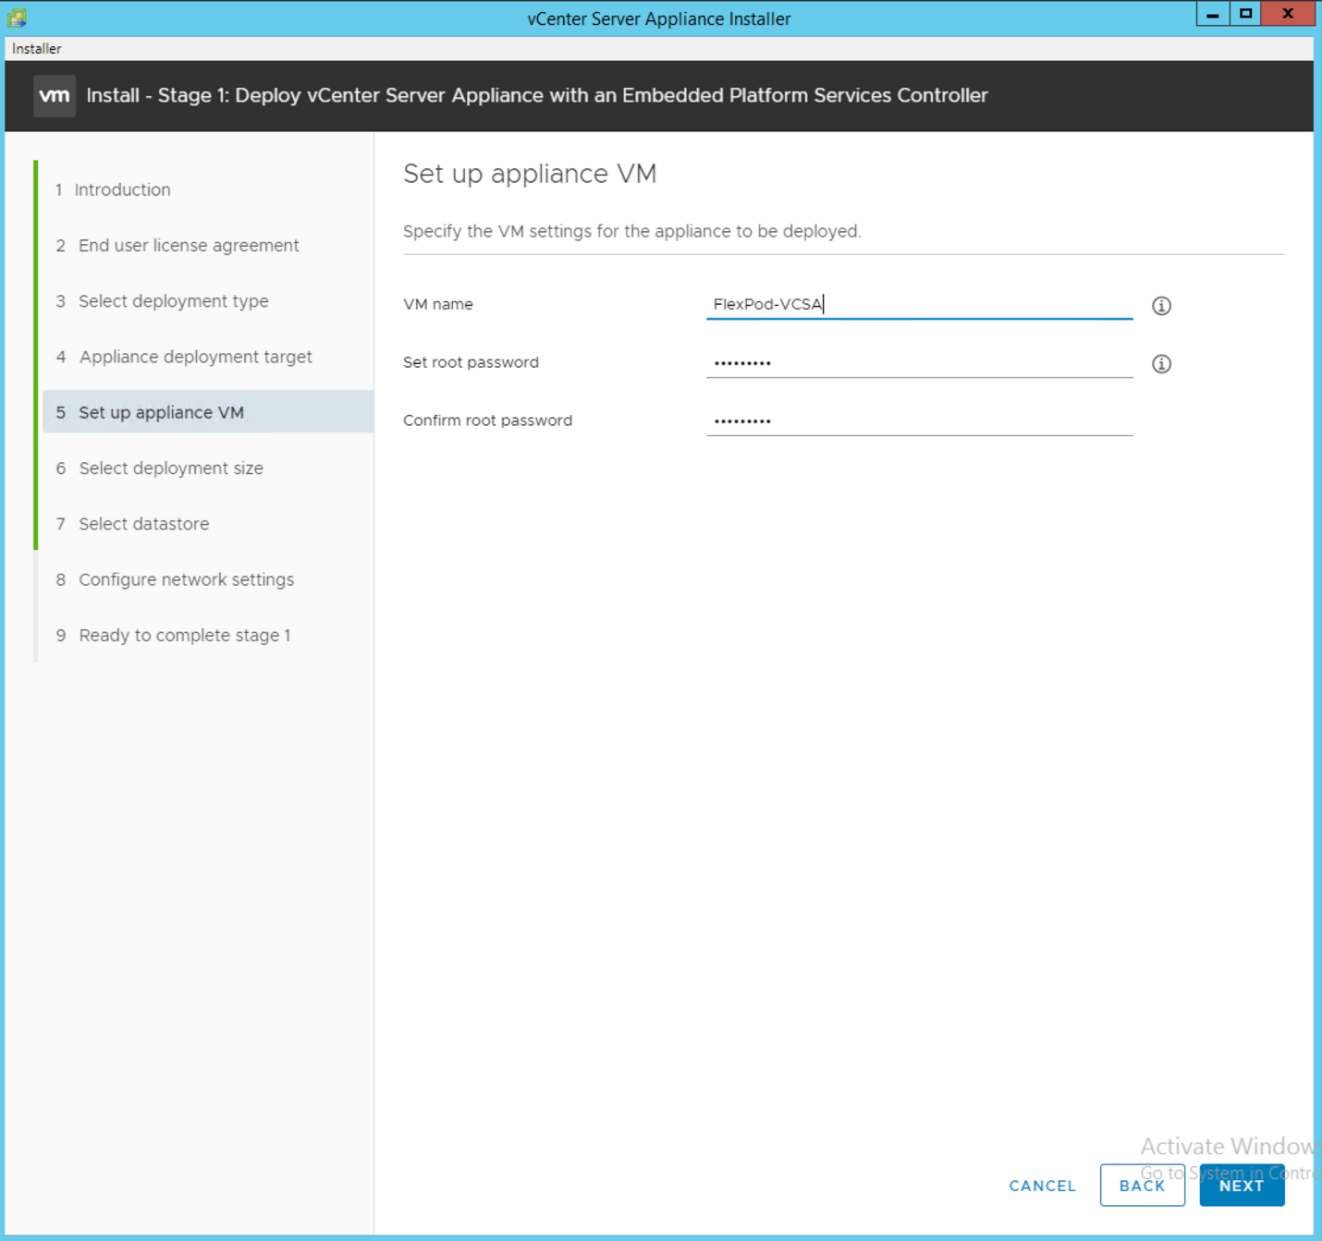
Set the appliance VM by entering VCSA as the VM name and the root password that you would like to use for the VCSA.
-
Select the deployment size that best fits your environment. Click Next.
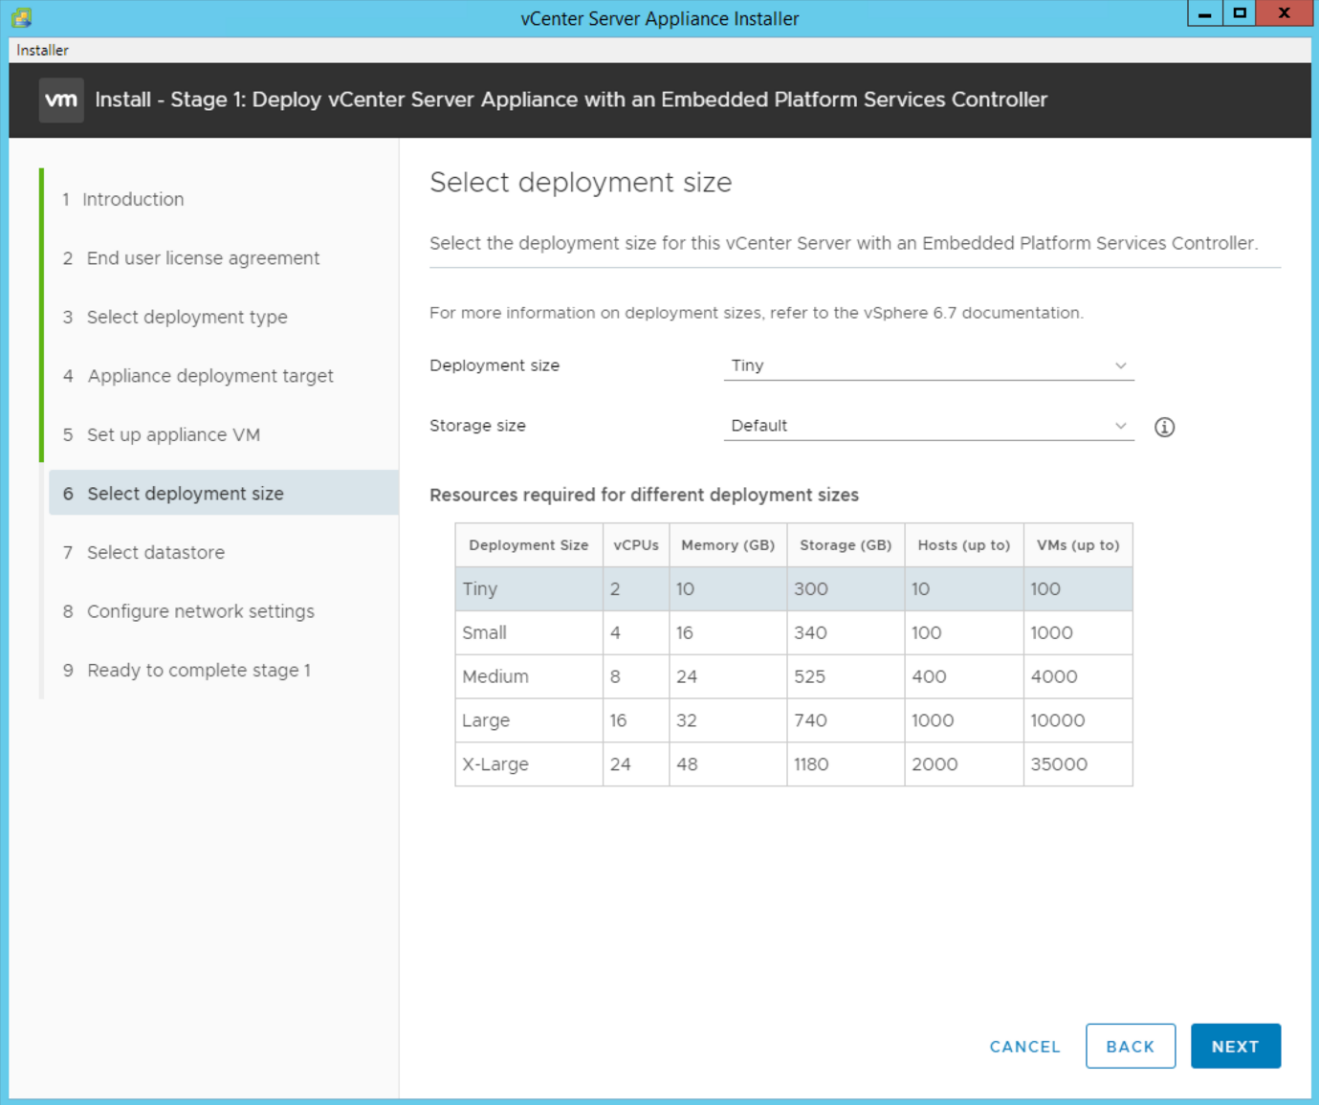
-
Select the
infra_datastoredatastore. Click Next. -
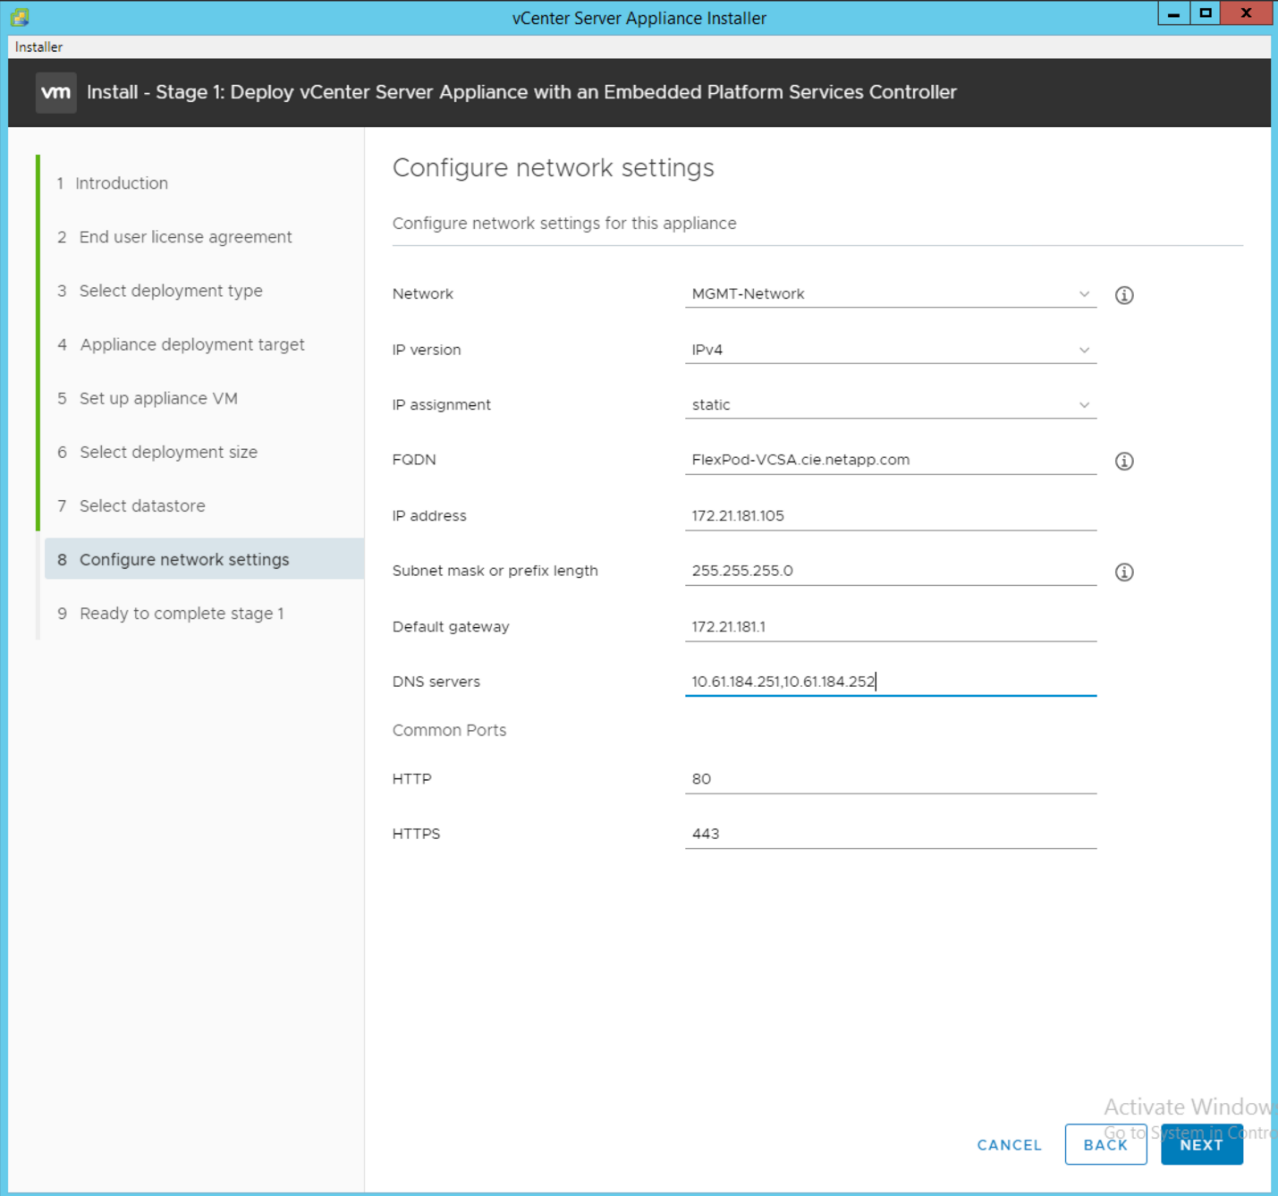
Enter the following information in the Configure network settings page and click Next.
-
Select MGMT-Network for Network.
-
Enter the FQDN or IP to be used for the VCSA.
-
Enter the IP address to be used.
-
Enter the subnet mask to be used.
-
Enter the default gateway.
-
Enter the DNS server.
-
-
On the Ready to Complete Stage 1 page, verify that the settings you have entered are correct. Click Finish.
-
Review your settings on stage 1 before starting the appliance deployment.
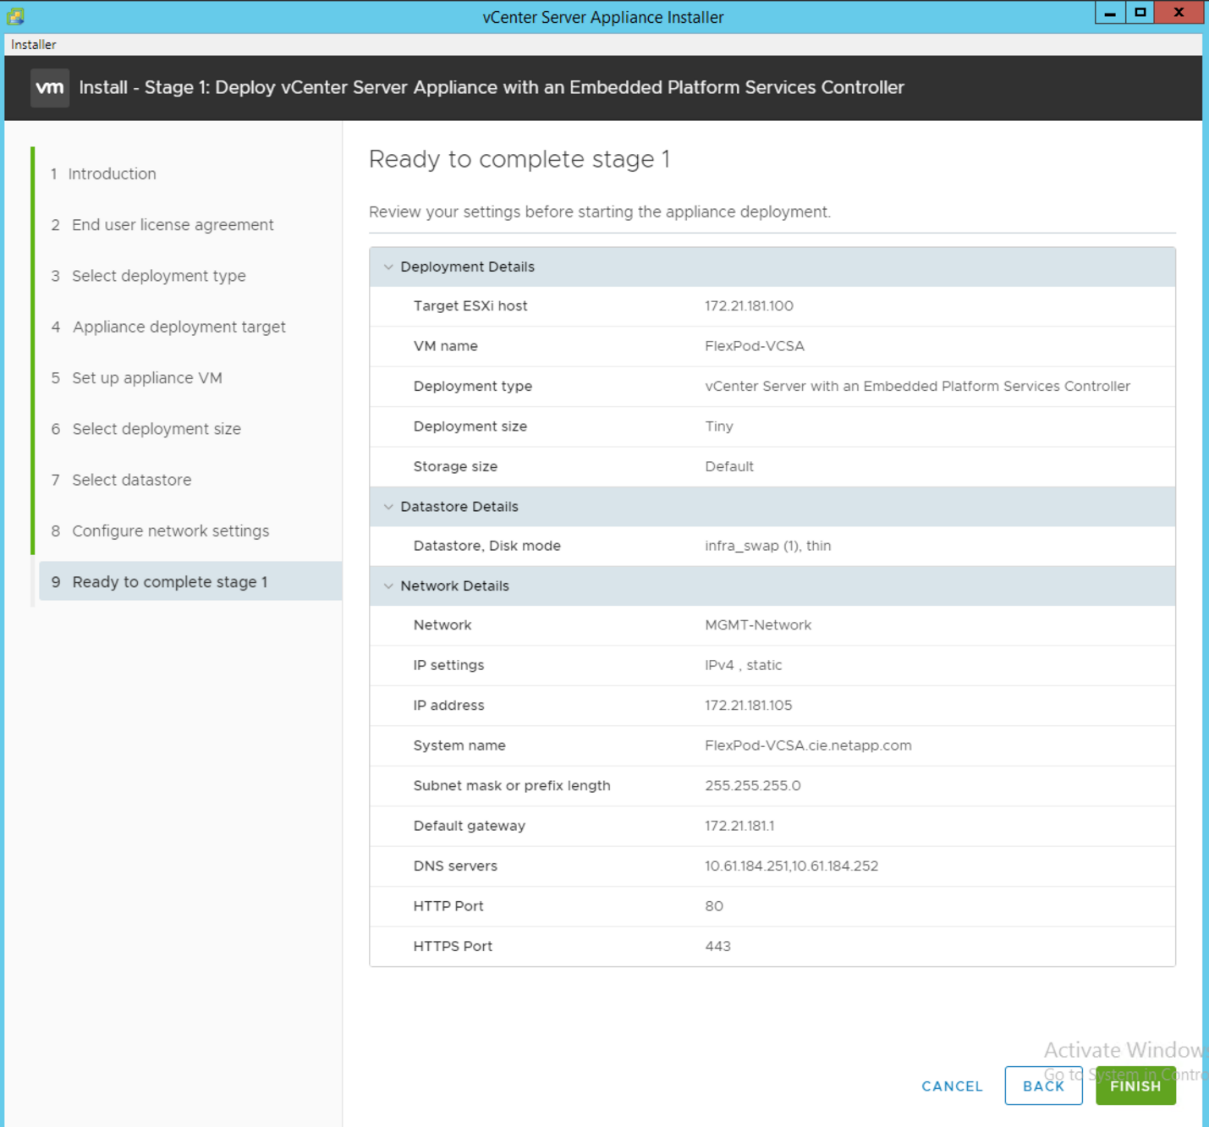
The VCSA installs now. This process takes several minutes.
-
After stage 1 completes, a message appears stating that it has completed. Click Continue to begin stage 2 configuration.
-
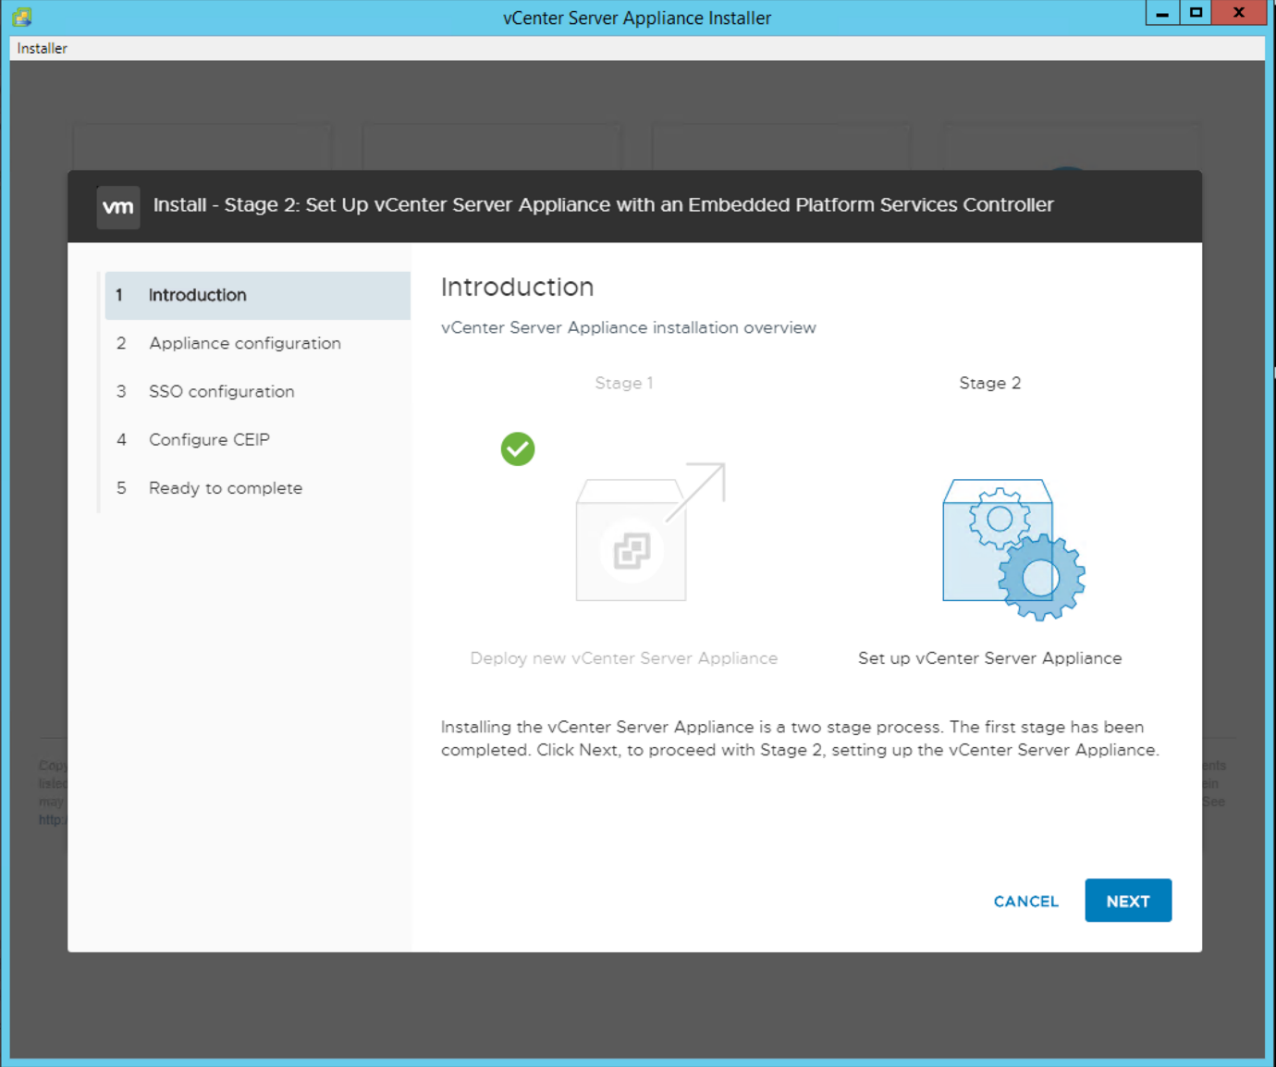
On the Stage 2 Introduction page, click Next.
-
Enter
<<var_ntp_id>>for the NTP server address. You can enter multiple NTP IP addresses. -
If you plan to use vCenter Server high availability (HA), make sure that SSH access is enabled.
-
Configure the SSO domain name, password, and site name. Click Next.
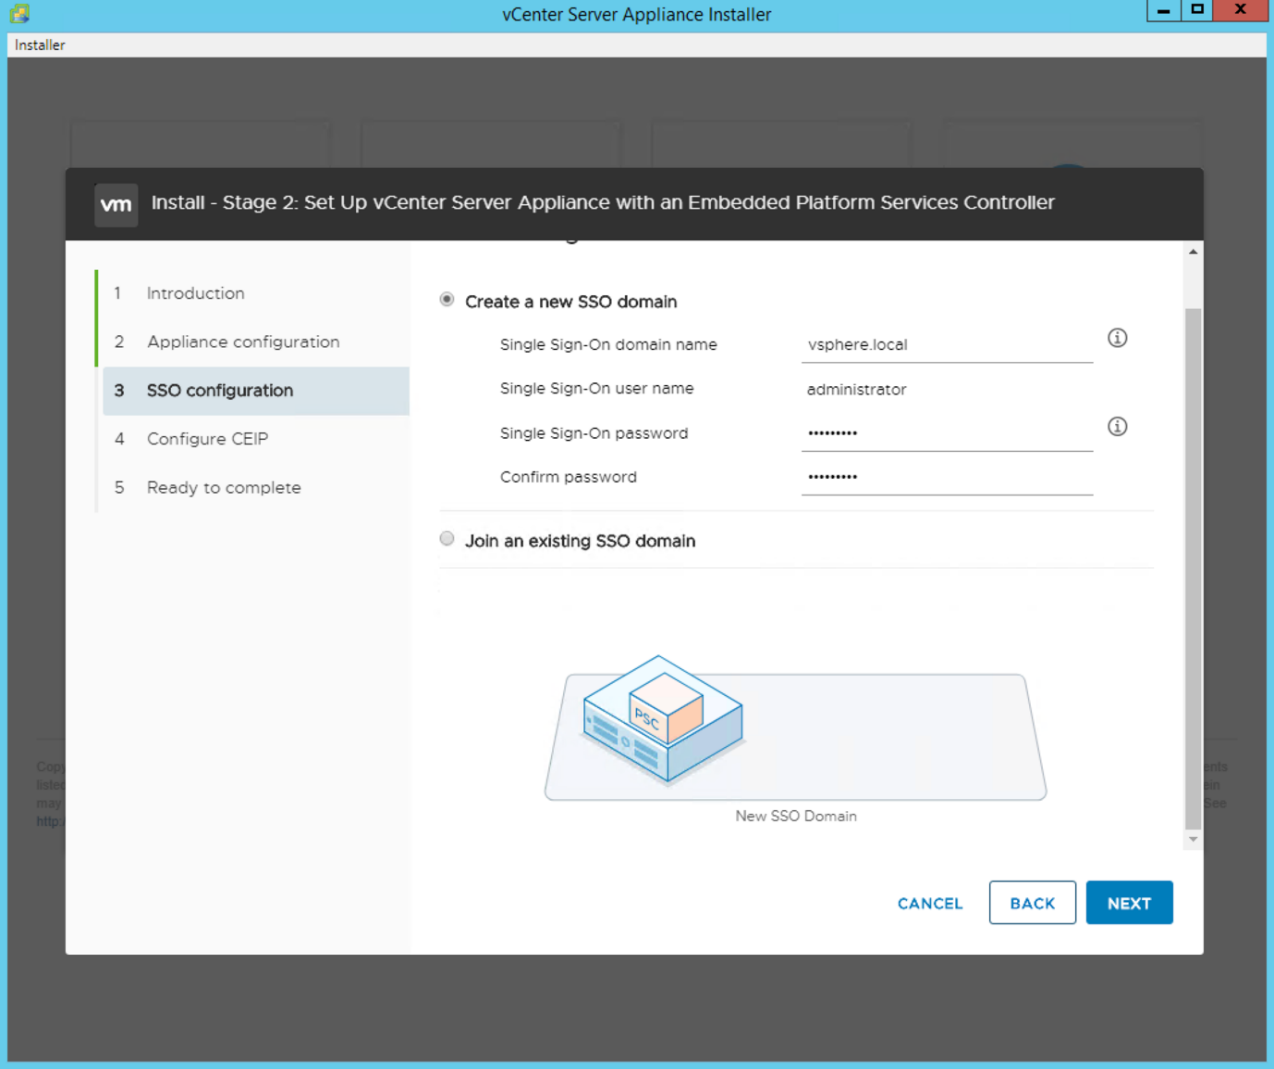
Record these values for your reference, especially if you deviate from the vsphere.localdomain name. -
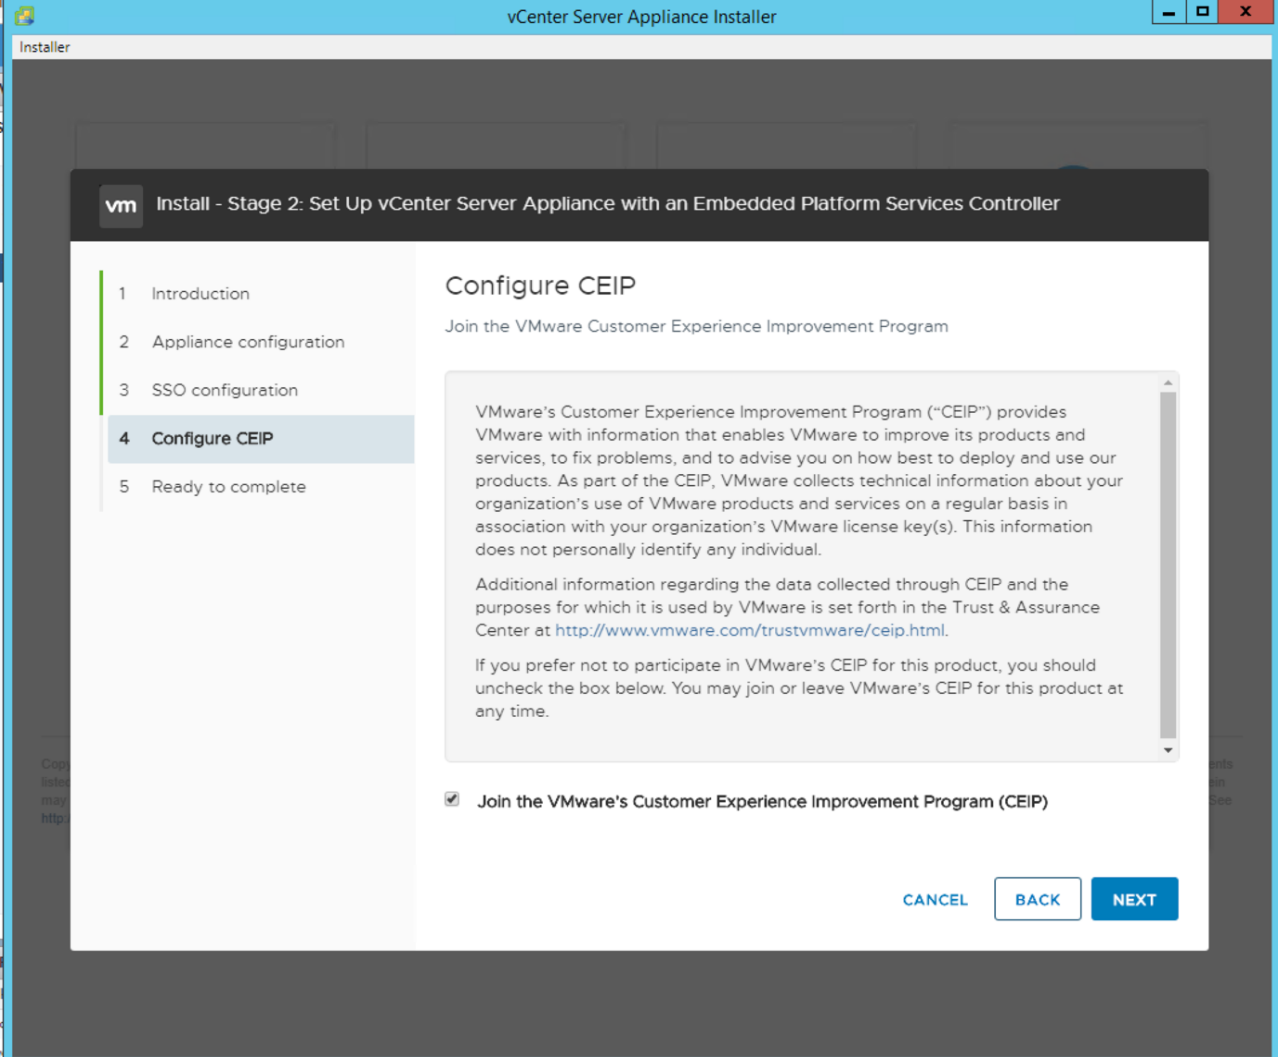
Join the VMware Customer Experience Program if desired. Click Next.
-
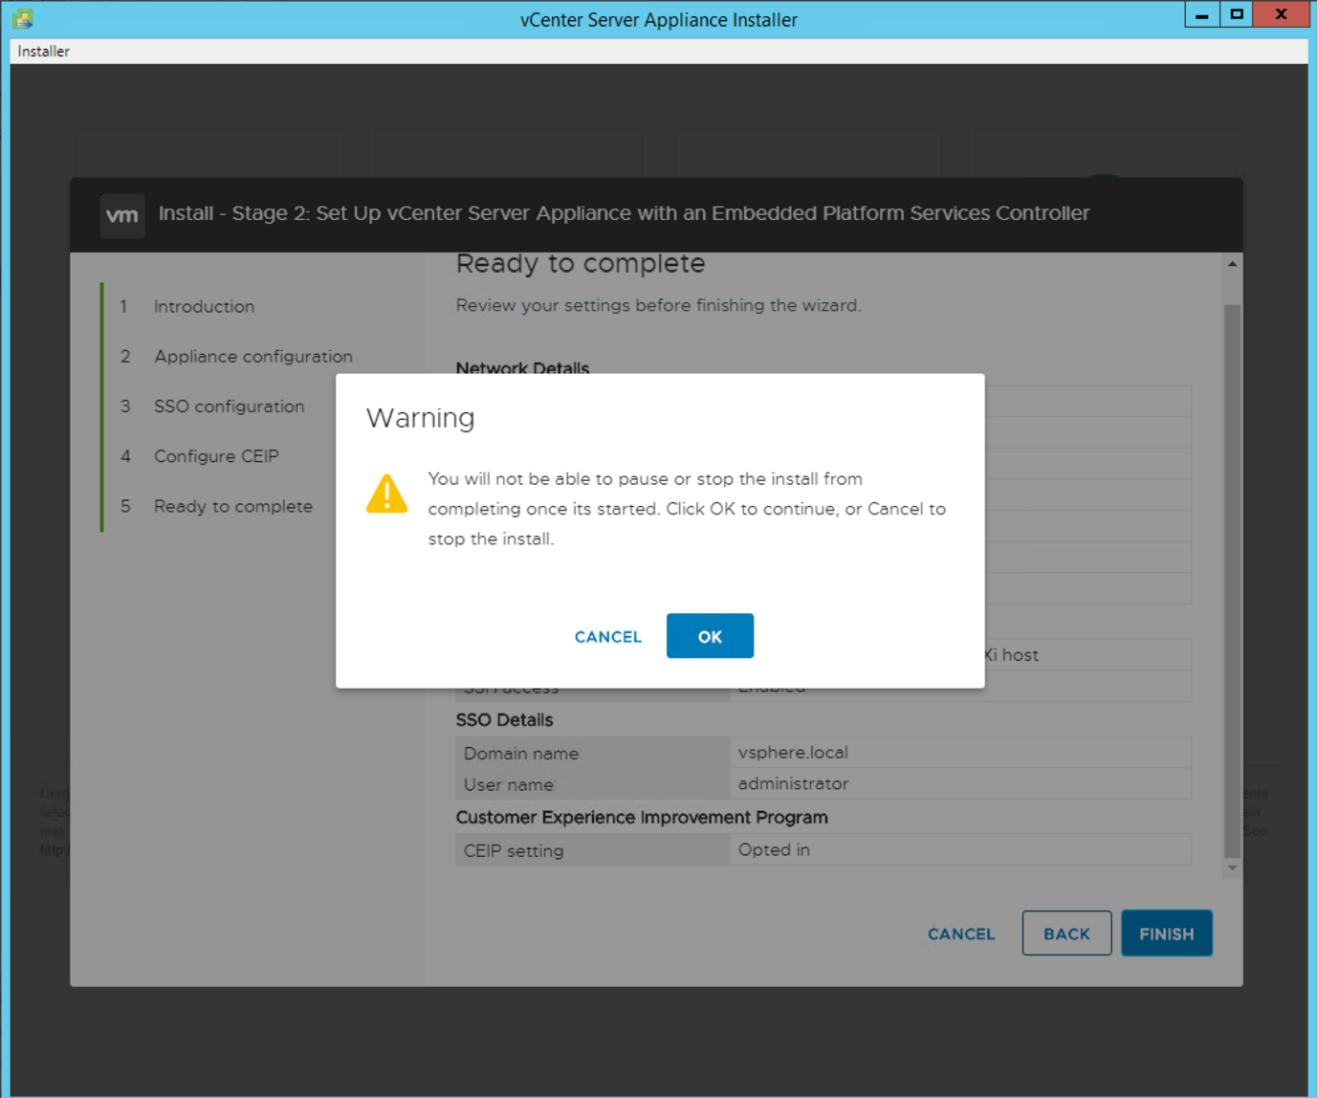
View the summary of your settings. Click Finish or use the back button to edit settings.
-
A message appears stating that you will not be able to pause or stop the installation from completing after it has started. Click OK to continue.
The appliance setup continues. This takes several minutes.
A message appears indicating that the setup was successful.
-
The links that the installer provides to access vCenter Server are clickable.