Application recovery with remote backups
 Suggest changes


With Astra, you can take a full application-consistent backup that can be used to restore your application with its data to a different Kubernetes cluster running in an on-premises data center or in a public cloud.
To validate a successful application recovery, simulate an on-premises failure of an application running on the FlexPod system and restore the application to a K8s cluster running in the cloud by using a remote backup.
The sample application is a pricelist application that uses MySQL for the database. To automate the deployment, we used the Argo CD tool. Argo CD is a declarative, GitOps, continuous delivery tool for Kubernetes.
-
Log into the on-premises OpenShift cluster and create a new project with the name
argocd.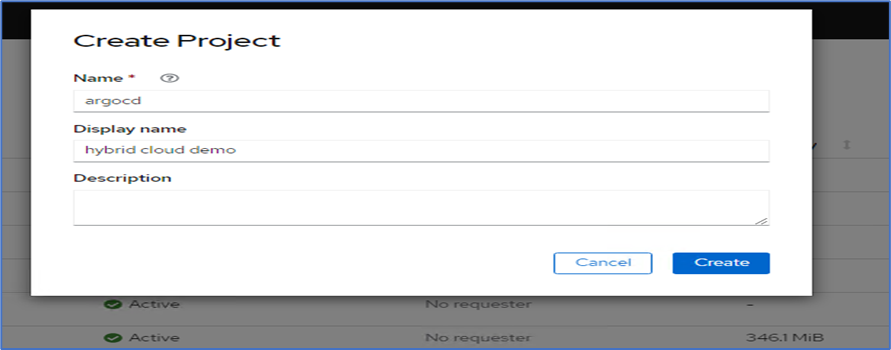
-
In the OperatorHub, search for
argocdand select Argo CD operator.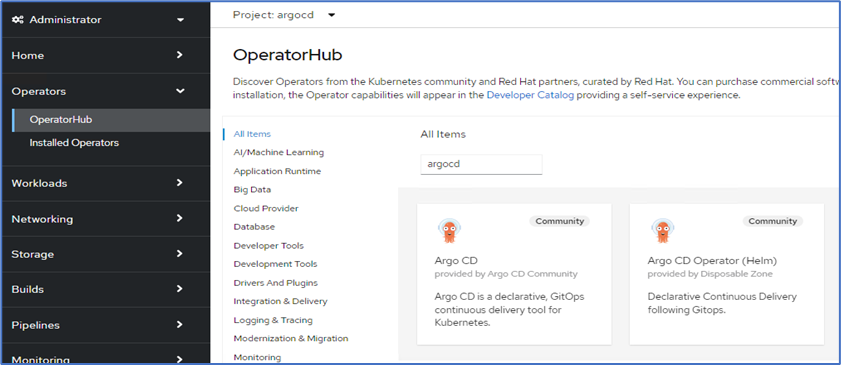
-
Install the operator in the
argocdnamespace.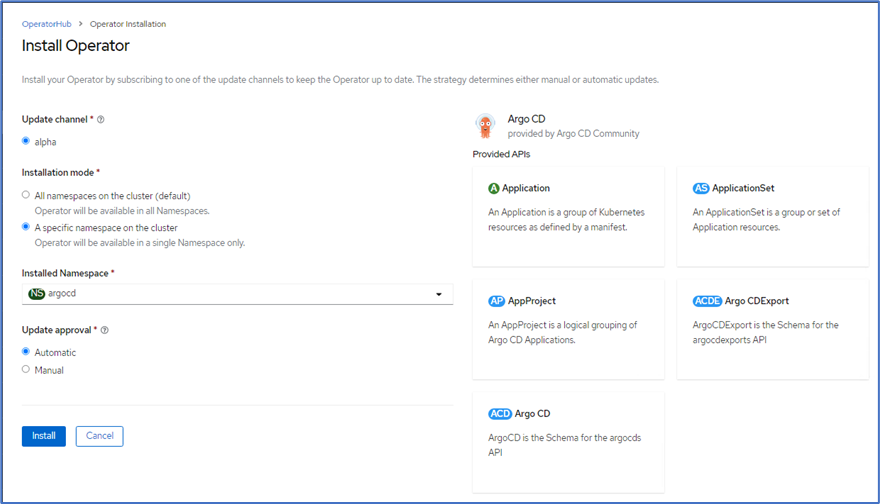
-
Go to the operator and click Create ArgoCD.
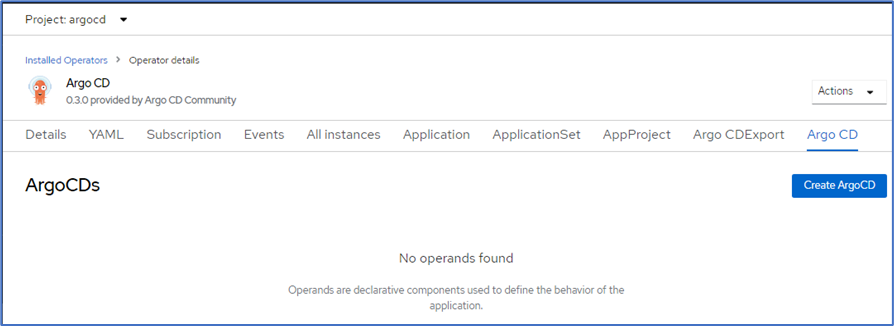
-
To deploy the Argo CD instance in the
argocdproject, provide a name and click Create.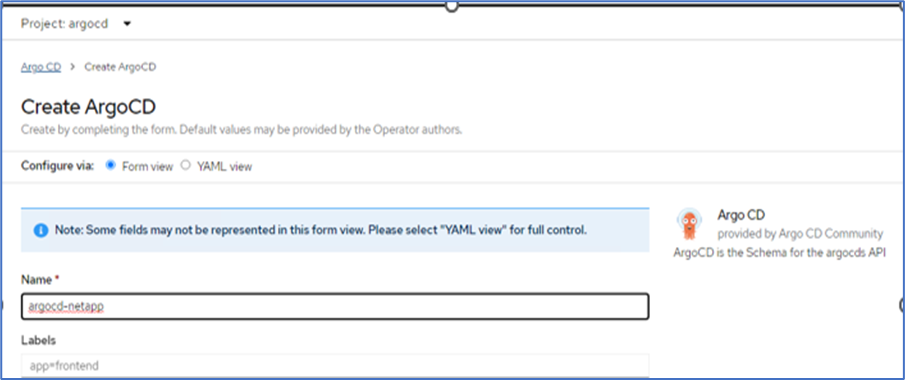
-
To log in to Argo CD, the default user is admin and the password is in a secret file with the name
argocd-netapp-cluster.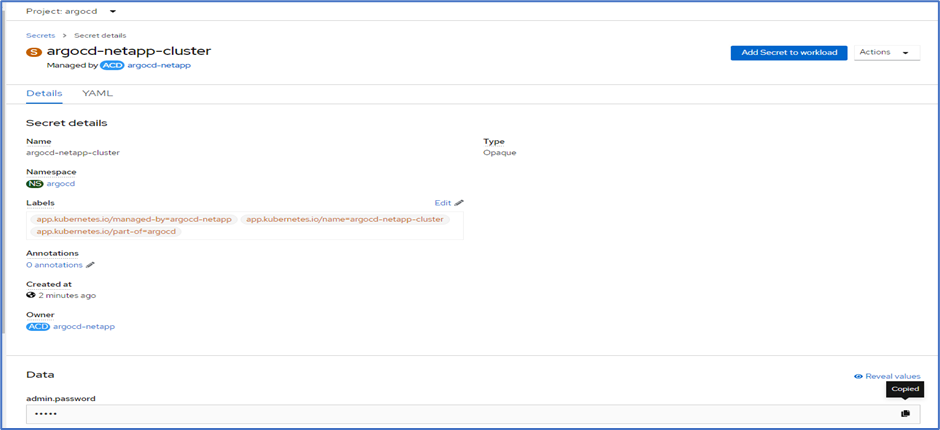
-
From the side menu, select Routes > Location and click the URL for the
argocdroutes. Enter the user name and password.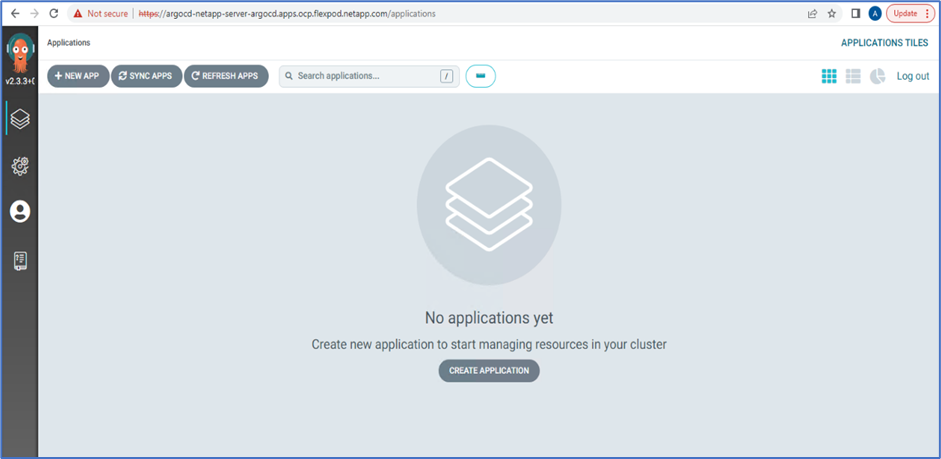
-
Add the on-premises OpenShift cluster to Argo CD through the CLI.
####Login to Argo CD#### abhinav3@abhinav-ansible$ argocd-linux-amd64 login argocd-netapp-server-argocd.apps.ocp.flexpod.netapp.com --insecure Username: admin Password: 'admin:login' logged in successfully Context'argocd-netapp-server-argocd.apps.ocp.flexpod.netapp.com' updated ####List the On-Premises OpenShift cluster#### abhinav3@abhinav-ansible$ argocd-linux-amd64 cluster add ERRO[0000] Choose a context name from: CURRENT NAME CLUSTER SERVER * default/api-ocp-flexpod-netapp-com:6443/abhinav3 api-ocp-flexpod-netapp-com:6443 https://api.ocp.flexpod.netapp.com:6443 default/api-ocp1-flexpod-netapp-com:6443/abhinav3 api-ocp1-flexpod-netapp-com:6443 https://api.ocp1.flexpod.netapp.com:6443 ####Add On-Premises OpenShift cluster### abhinav3@abhinav-ansible$ argocd-linux-amd64 cluster add default/api-ocp1-flexpod-netapp-com:6443/abhinav3 WARNING: This will create a service account `argocd-manager` on the cluster referenced by context `default/api-ocp1-flexpod-netapp-com:6443/abhinav3` with full cluster level admin privileges. Do you want to continue [y/N]? y INFO[0002] ServiceAccount "argocd-manager" already exists in namespace "kube-system" INFO[0002] ClusterRole "argocd-manager-role" updated INFO[0002] ClusterRoleBinding "argocd-manager-role-binding" updated Cluster 'https://api.ocp1.flexpod.netapp.com:6443' added -
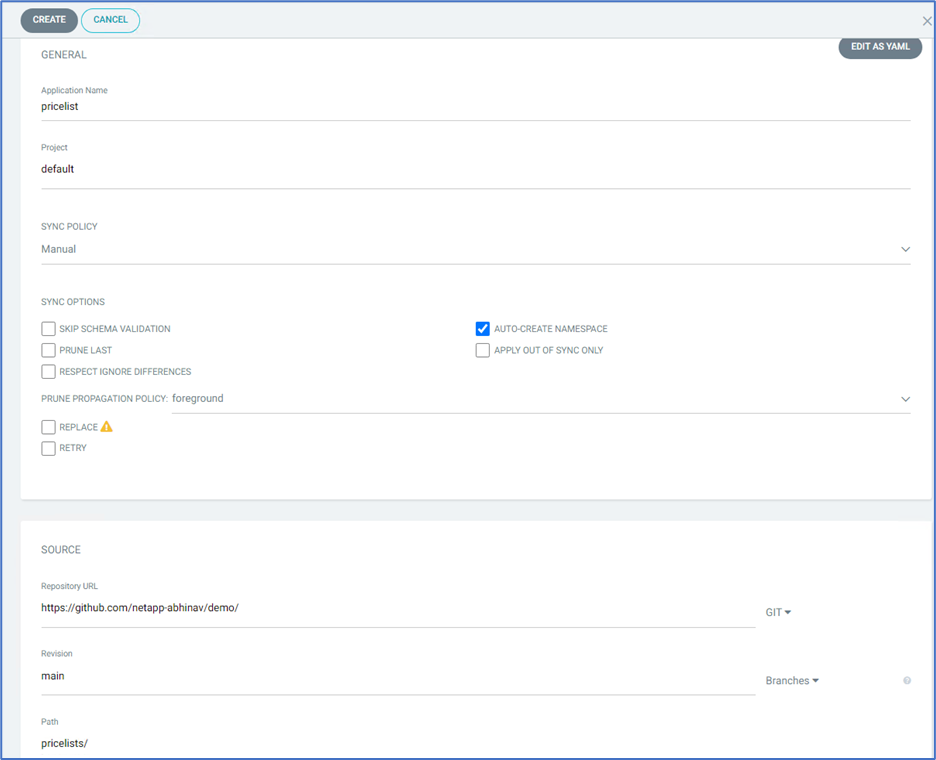
In the ArgoCD UI, click NEW APP and enter the details about the app name and code repository.
-
Enter the OpenShift cluster where the app will be deployed along with the namespace.

-
To deploy the app on the on-premises OpenShift cluster, click SYNC.
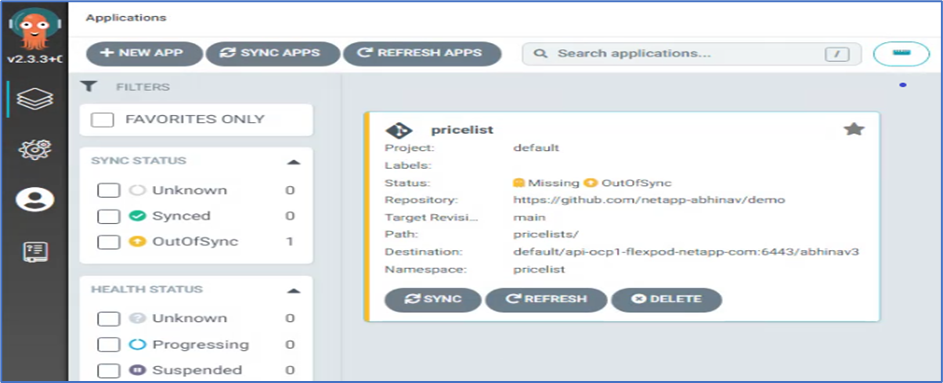
-
In the OpenShift Container Platform console, go to Project Pricelist, and, under Storage, verify the name and size of the PVC.
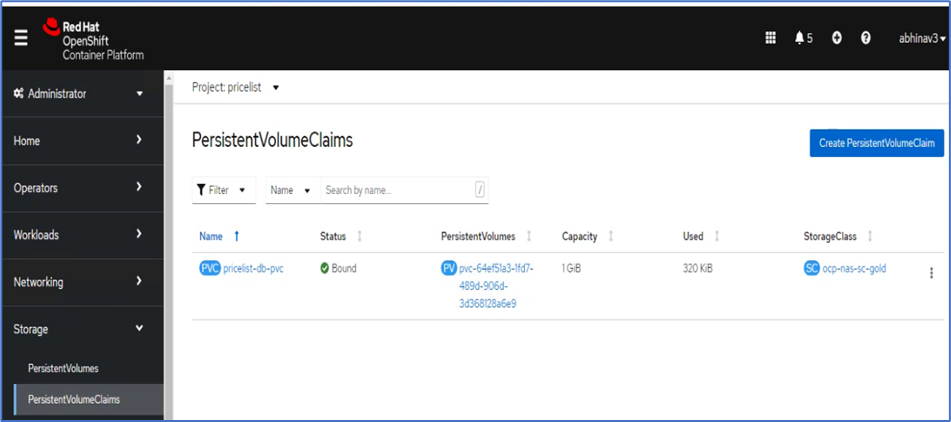
-
Log into System Manager and verify the PVC.

-
After the Pods are running, select Networking > Routes from the side menu, and click the URL under Location.

-
The Pricelist app homepage is displayed.
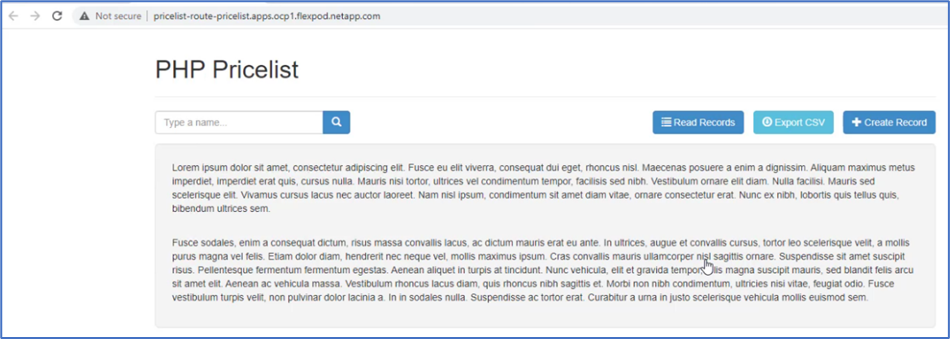
-
Create a few records on the web page.

-
The app is discovered in Astra Control Center. To manage the app, go to Applications > Discovered, select the Pricelist app, and click Manage Applications under Actions.

-
Click the Pricelist app and select Data Protection. At this point, there should be no snapshots or backups. Click Create Snapshot to create an on-demand snapshot.
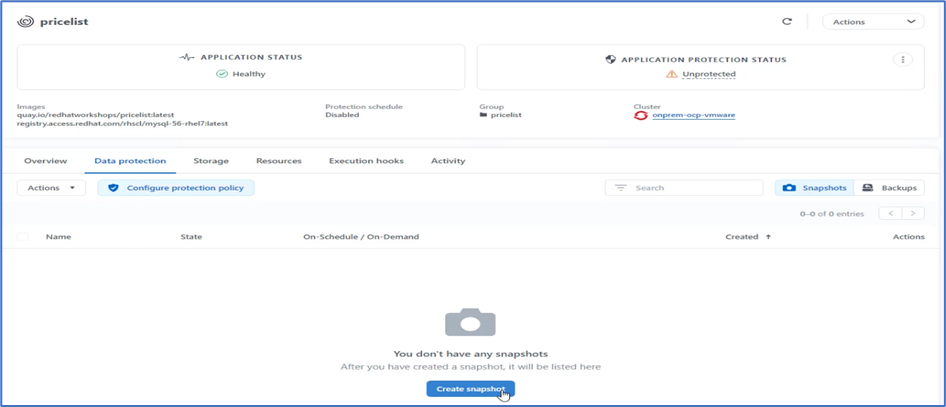
NetApp Astra Control Center supports both on-demand and scheduled snapshots and backups. -
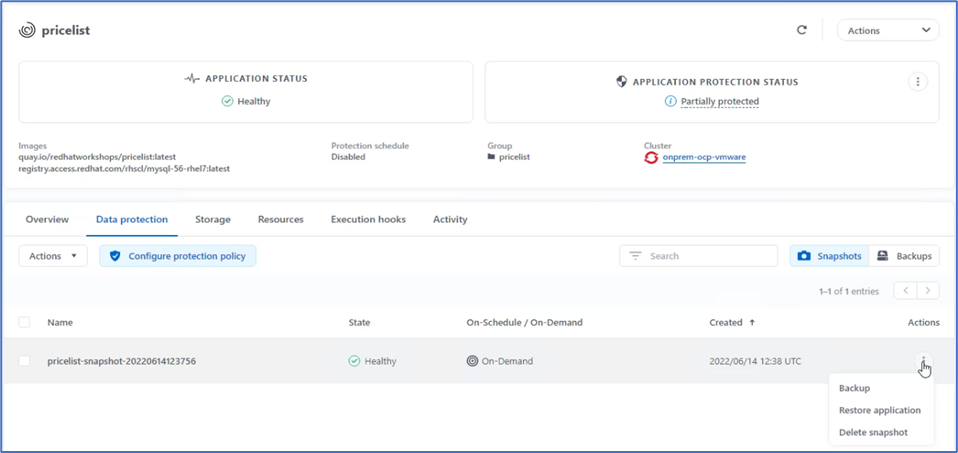
After the snapshot is created and the State is healthy, create a remote backup using that snapshot. This backup is stored in the S3 bucket.
-
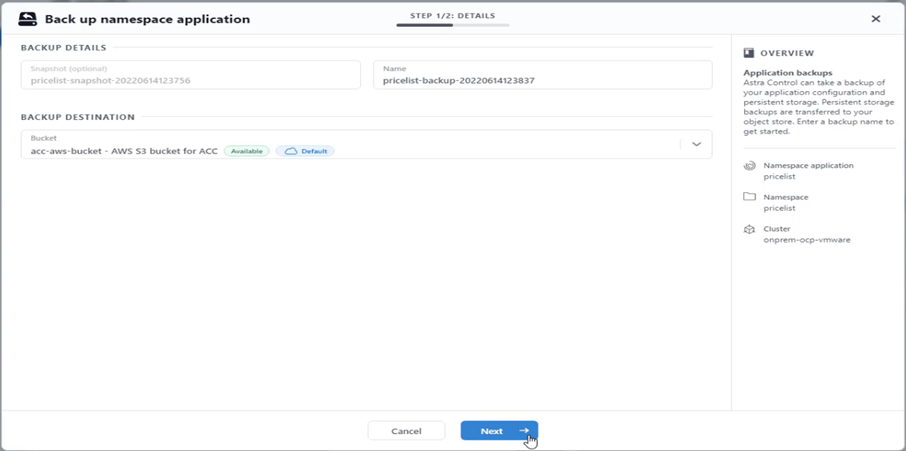
Select the AWS S3 bucket and initiate the backup operation.
-
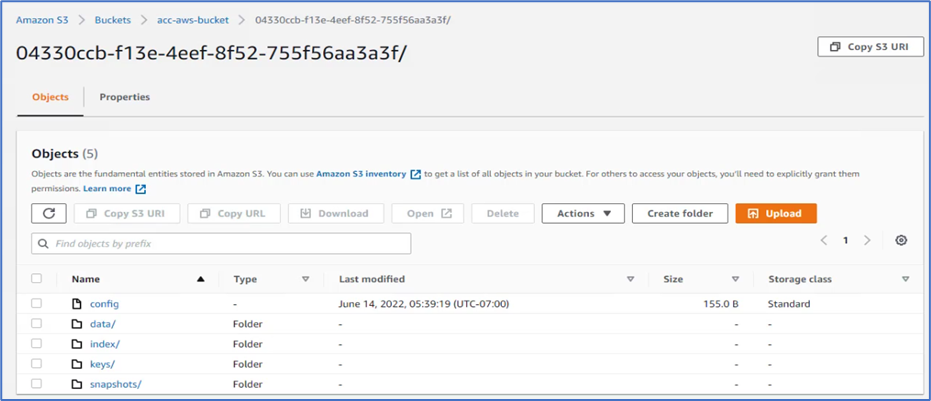
The backup operation should create a folder with multiple objects in the AWS S3 bucket.
-
When the remote backup is complete, simulate a disaster on the on-premises by stopping the storage virtual machine (SVM) that hosts the backing volume for the PV.

-
Refresh the webpage to confirm the outage. The webpage is unavailable.
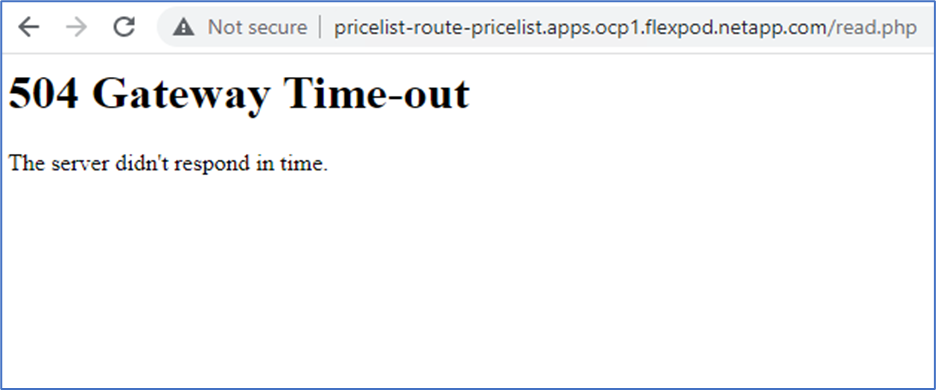
As expected, the website is down, so let’s quickly recover the app from the remote backup by using Astra to the OpenShift cluster running in AWS.
-
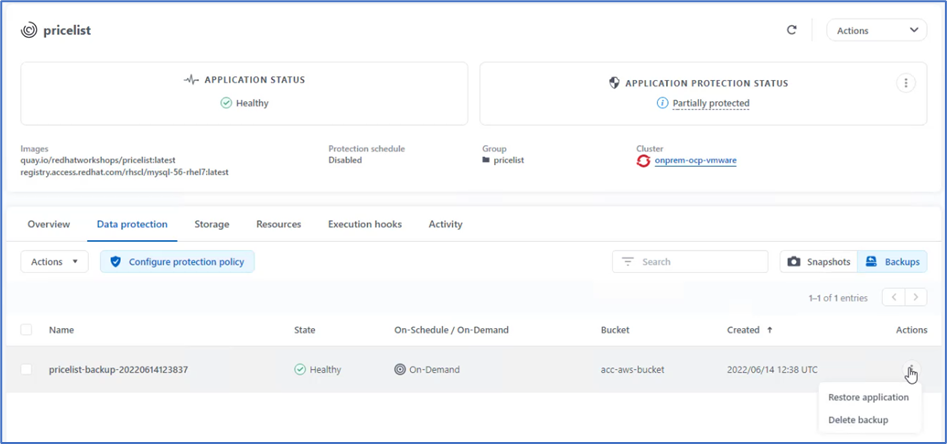
In Astra Control Center, click the Pricelist app and select Data Protection > Backups. Select the backup, and click Restore Application under Action.
-
Select
ocp-awsas the destination cluster and give a name to the namespace. Click the on-demand backup, Next, and then Restore.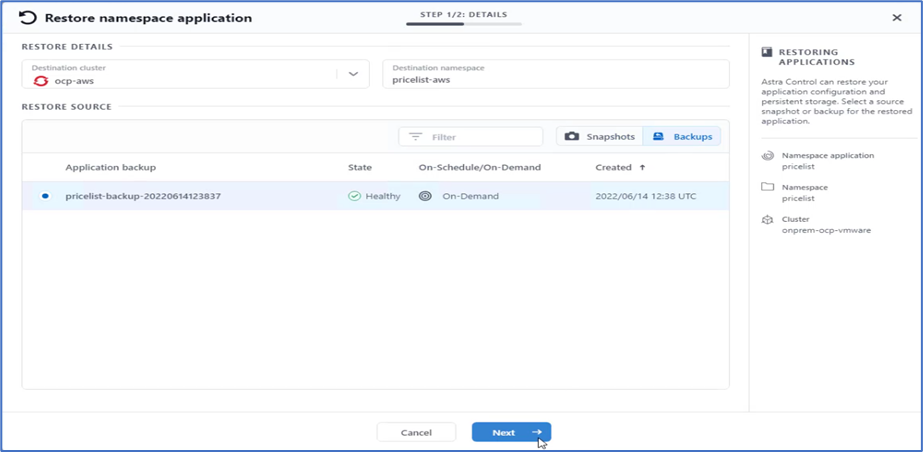
-
A new app with the name
pricelist-appis provisoned on the OpenShift cluster running in AWS.
-
Verify the same in the OpenShift web console.

-
After all the pods under the
pricelist-awsproject are running, go to Routes and click the URL to launch the web page.
This process validates that the pricelist application has been successfully restored and that data integrity has been maintained on the OpenShift cluster running seamlessly on AWS with the help of Astra Control Center.
Data protection with Snapshot copies and application mobility for DevTest
This use case consists of two parts, as described the following sections.
Part 1
With Astra Control Center, you can take application-aware snapshots for local data protection. If you accidentally delete or corrupt your data, you can revert your applications and associated data to a known good state using a previously recorded snapshot.
In this scenario, a development and testing (DevTest) team deploys a sample stateful application (blog site) that is a Ghost blog application, adds some content, and upgrades the app to the latest version available. The Ghost application uses SQLite for the database. Before upgrading the application, a snapshot (on-demand) is taken using Astra Control Center for data protection. The detailed steps are as follows:
-
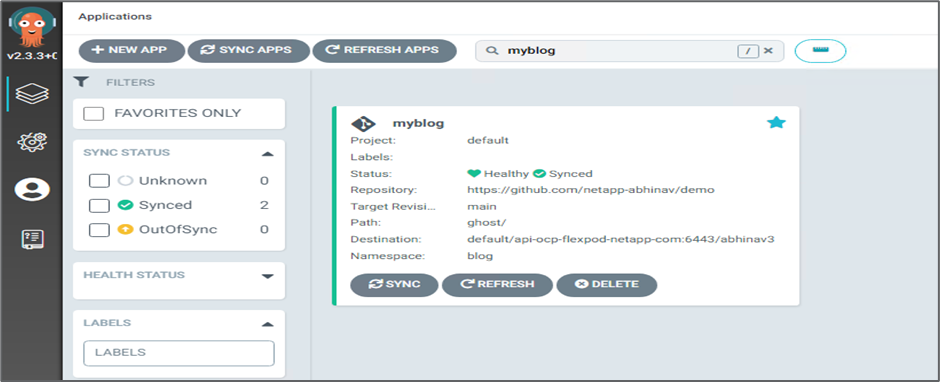
Deploy the sample blogging app and sync it from ArgoCD.
-
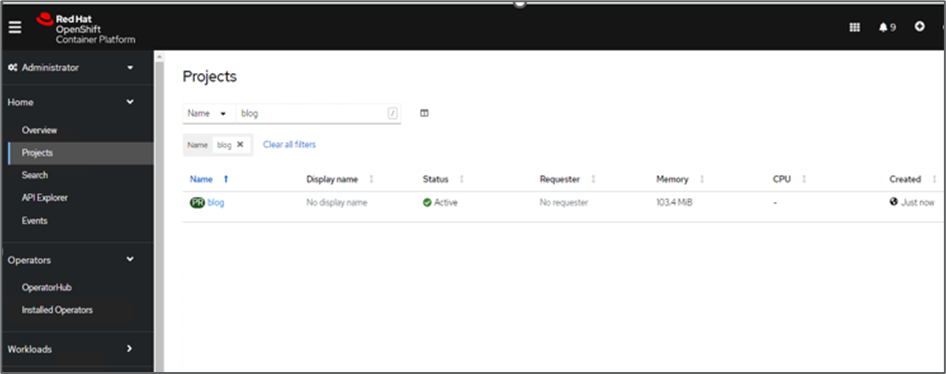
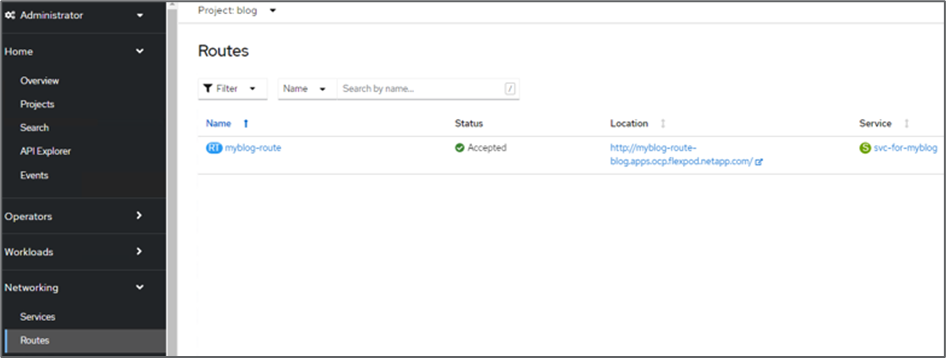
Log into the first OpenShift cluster, go to Project, and enter Blog in the search bar.
-
From the side menu, select Networking > Routes and click the URL.
-
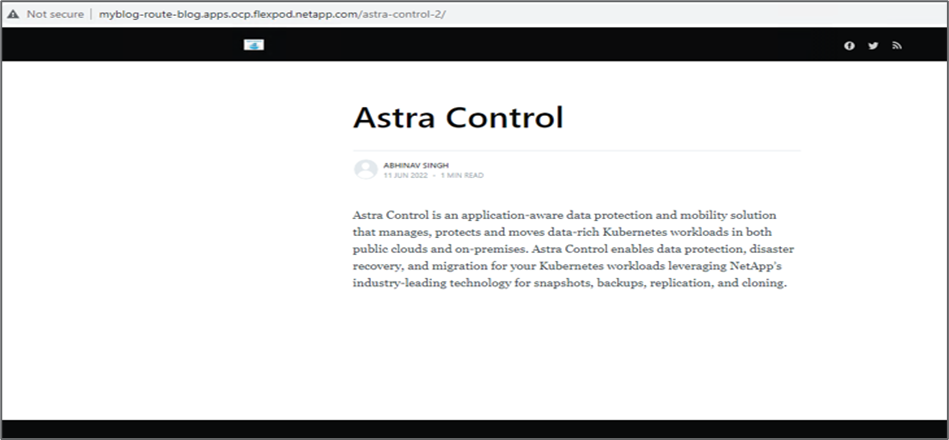
The blog home page is displayed. Add some content to the blog site and publish it.
-
Go to Astra Control Center. First manage the app from the Discovered tab and then take a Snapshot copy.

You can also protect your apps by creating snapshots, backups, or both at a defined schedule. For more information, see Protect apps with snapshots and backups. -
After the On-Demand snapshot is created successfully, upgrade the app to the latest version. The current image version is
ghost: 3.6-alpineand the target version isghost:latest. To upgrade the app, make changes directly to the Git repository and sync them to Argo CD.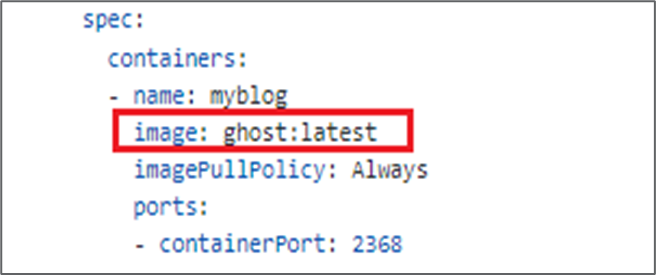
-
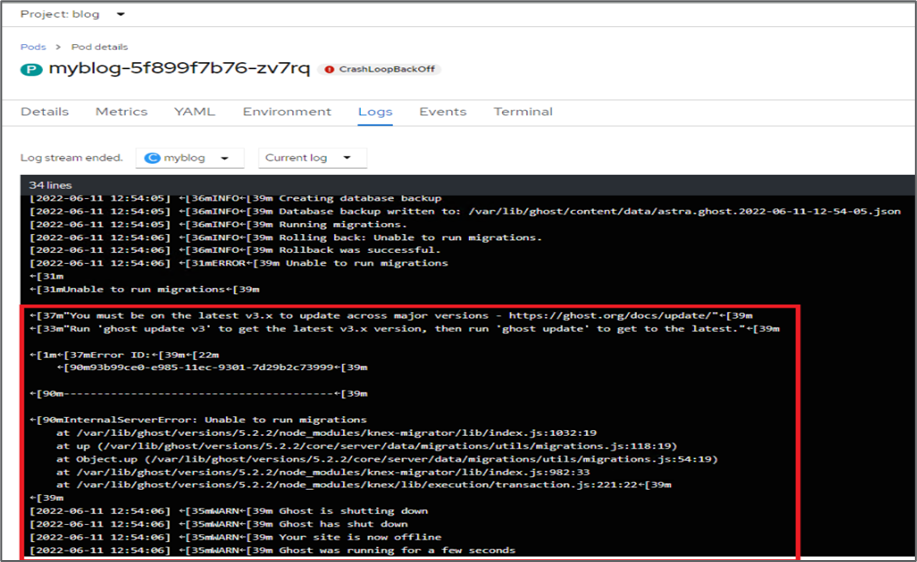
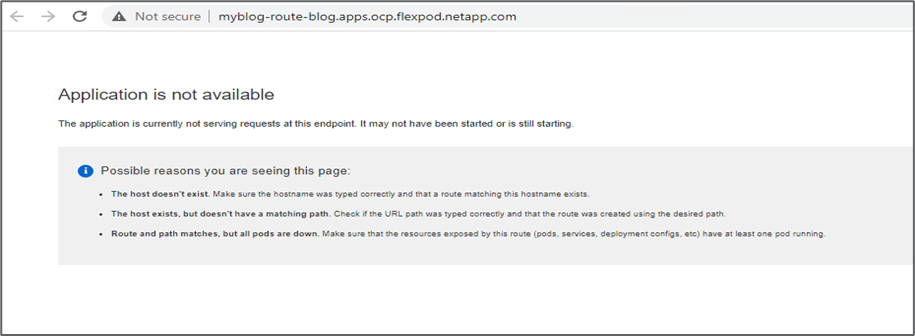
You can see that the direct upgrade to the latest version is not supported due to the blog site being down and the entire application being corrupted.
-
To confirm the unavailability of the blog site, refresh the URL.
-
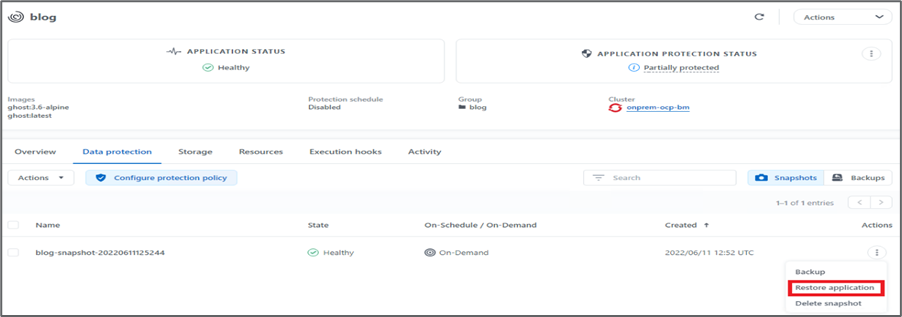
Restore the app from the snapshot.
-
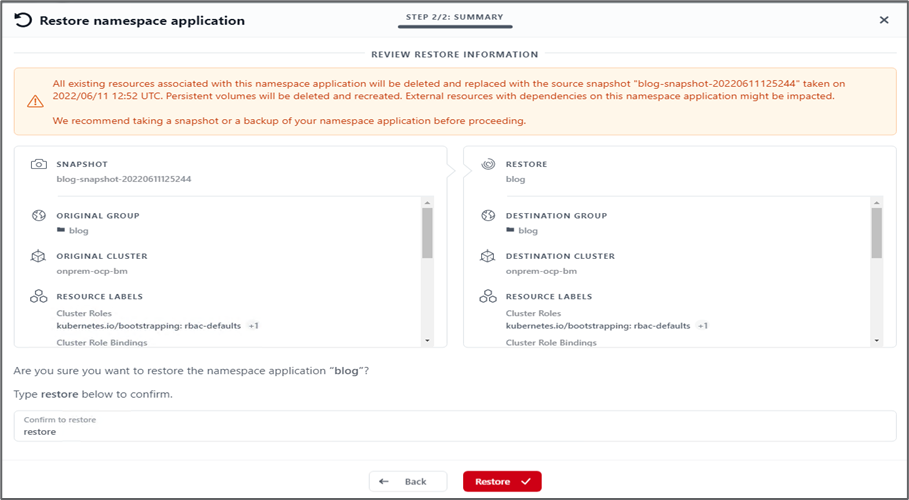
The app is restored on the same OpenShift cluster.
-
The app restore process starts immediately.

-
In few minutes, the app is restored successfully from the available snapshot.

-
To see whether the webpage is available, refresh the URL.
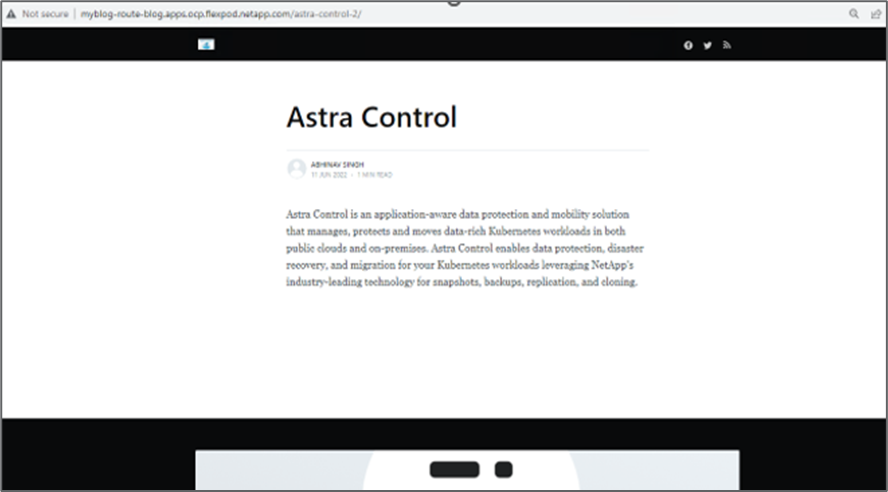
With the help of Astra Control Center, a DevTest team can successfully recover a blog site app and its associated data using the snapshot.
Part 2
With Astra Control Center, you can move an entire application along with its data from one Kubernetes cluster to another, no matter where the clusters are located (on-premises or in the cloud).
-
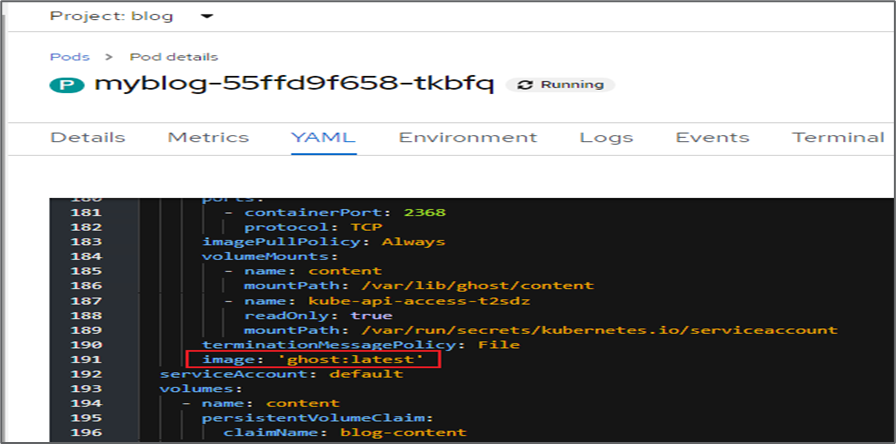
The DevTest team initially upgrades the app to the supported version (
ghost-4.6-alpine) before upgrading to the final version (ghost-latest) to make it production ready. They then post an upgrade the app that is cloned to the production OpenShift cluster running on a different FlexPod system. -
At this point, the app is upgraded to the latest version and ready to be cloned to the production cluster.
-
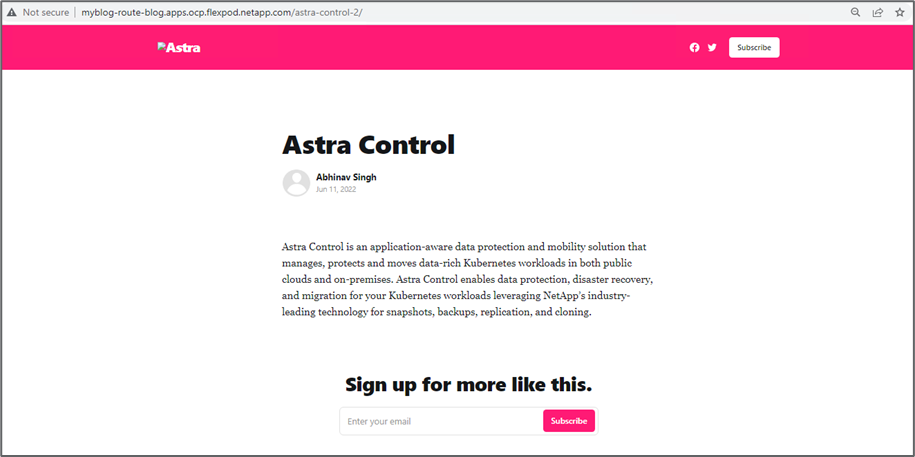
To verify the new theme, refresh the blog site.
-
From Astra Control Center, clone the app to the other production OpenShift cluster running on VMware vSphere.
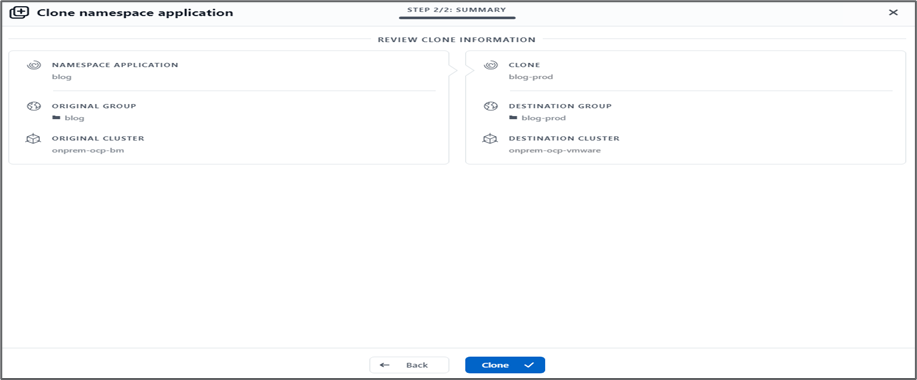
A new application clone is now provisioned in the production OpenShift cluster.

-
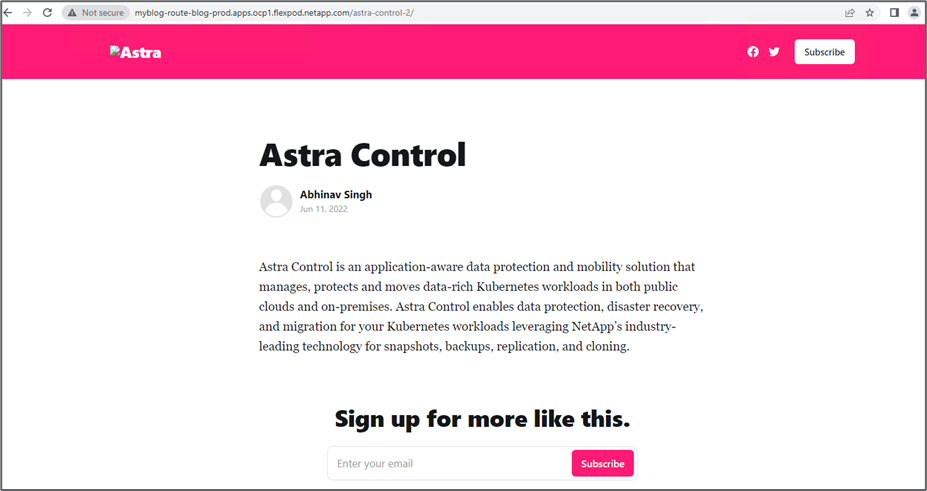
Log into the production OpenShift cluster and search for the project blog.

-
From the side menu, select Networking > Routes and click the URL under Location. The same homepage with the content is displayed.
This concludes the Astra Control Center solution validation. You can now clone an entire application and its data from one Kubernetes cluster to another no matter where the Kubernetes cluster is located.


