Restoring and recovering databases from primary storage
 Suggest changes
You can restore and recover the database from the primary storage.

|
You cannot restore file-based backup copies from Snap Creator. |
-
Within SAP HANA Studio, select Recover for the SAP HANA system.

The SAP HANA system shuts down.
-
Select the recovery type and click Next.
-
Provide the log backup locations and click Next.
The list of available backups you see is based on the content of the backup catalog.
-
Select the required backup and record the external backup ID.
-
Deactivate the SnapVault relationship.
This step is only required with clustered Data ONTAP. If you need to restore a Snapshot copy that is older than the Snapshot copy currently used as the base Snapshot copy for SnapVault, you must first deactivate the SnapVault relationship in clustered Data ONTAP. To do that, execute the following commands on the backup cluster console:
hana::> snapmirror quiesce -destination-path hana2b:backup_hana_data
Operation succeeded: snapmirror quiesce for destination hana2b:backup_hana_data.

hana::> snapmirror delete -destination-path hana2b:backup_hana_data
Operation succeeded: snapmirror delete the relationship with destination hana2b:backup_hana_data.

hana::> snapmirror release -destination-path hana2b:backup_hana_data
[Job 6551] Job succeeded: SnapMirror Release Succeeded
-
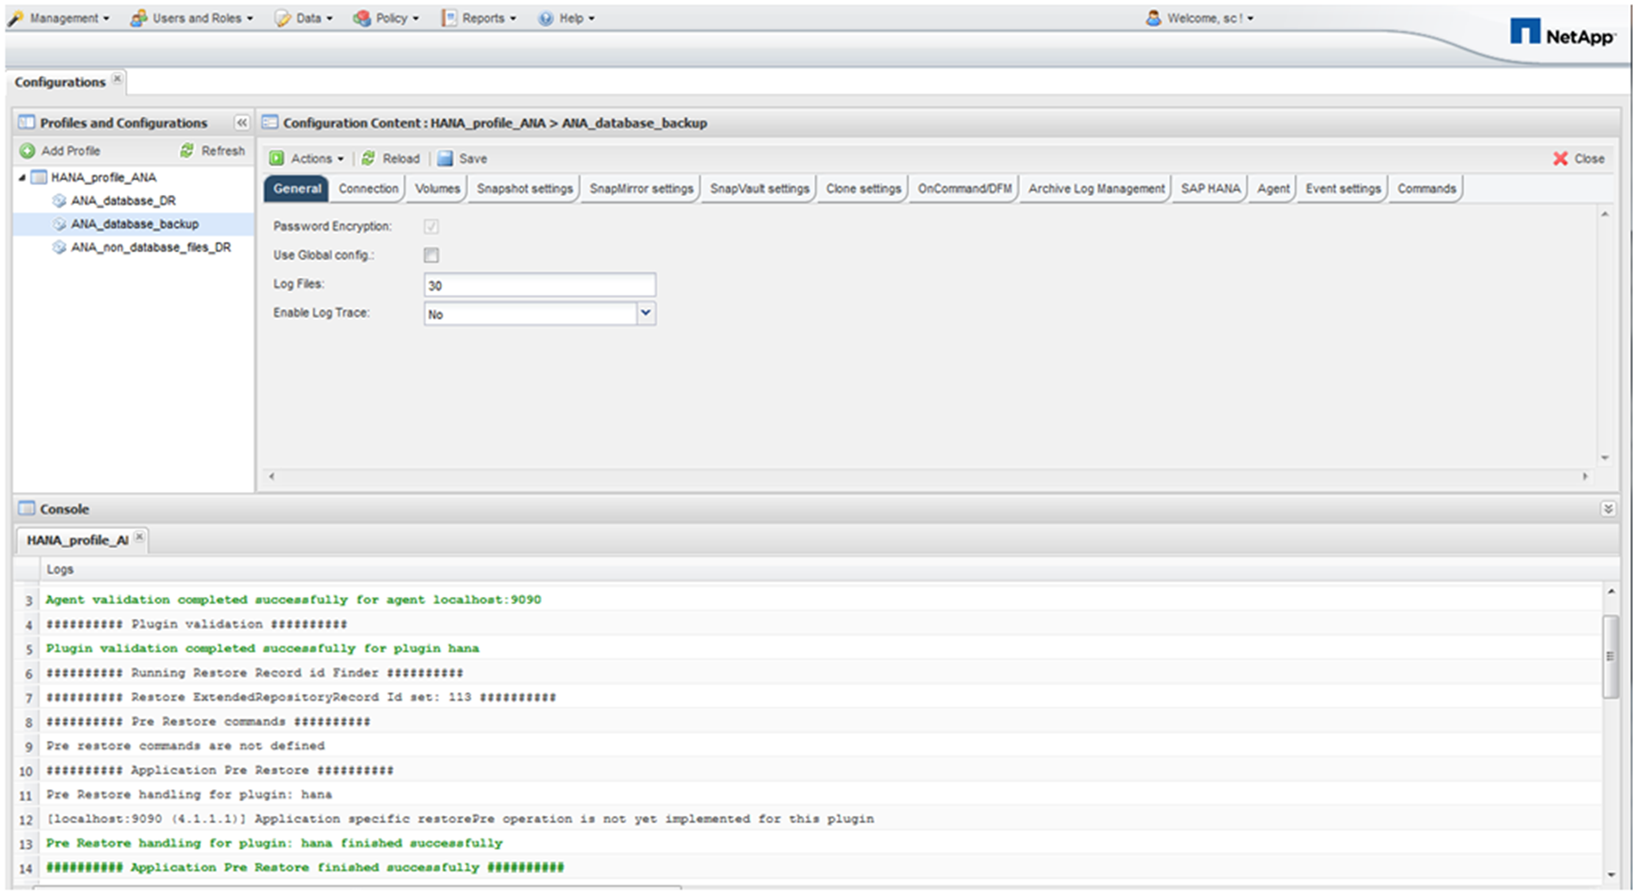
In the Snap Creator GUI, select the SAP HANA system, then select Actions > Restore.
The Welcome to the Snap Creator Framework Restore Wizard screen appears.
-
Click Next.
-
Select Primary and click Next.
-
Select restore from primary storage.
-
Select the storage controller, the volume name, and the Snapshot name.
The Snapshot name correlates with the backup ID that has been selected within SAP HANA Studio.
-
Click Finish.
-
Click Yes to add more restore items.
-
Select the storage controller, the additional volume name, and the Snapshot name.
The Snapshot name correlates with the backup ID that has been selected within SAP HANA Studio.
-
Repeat steps 10 through 13 until all required volumes are added; in our example, data_00001, data_00002, and data_00003 need to be selected for the restore process.
-
When all volumes are selected, click OK to start the restore process.
The restore process is started.
Wait until the restore process is finished.
-
On each database node, remount all data volumes to clean Stale NFS Handles.
In the example, all three volumes need to be remounted at each database node.
mount -o remount /hana/data/ANA/mnt00001
mount -o remount /hana/data/ANA/mnt00002
mount -o remount /hana/data/ANA/mnt00003
-
Go to SAP HANA Studio and click Refresh to update the list of available backups.
The backup that has been restored with Snap Creator is shown with a green icon in the list of backups.
-
Select the backup and click Next.
-
Select other settings as required and click Next.
-
Click Finish.
The recovery process begins.
-
After recovery is finished, resume the SnapVault relationships, if required.