

Use Excel to customize your report
 Suggest changes
After you have saved the view, you can download it in Excel Workbook format (.xlsx). When you open the Excel file, you can use advanced Excel features to customize your report.
You can only upload an Excel Workbook file with the .xlsx extension.
For example, some advanced Excel features you can use in your report include:
-
Multi-column sort
-
Complex filtering
-
Pivot tables
-
Charts

|
|
-
Open the default, custom, or saved view that you want to use as the basis of your report.
-
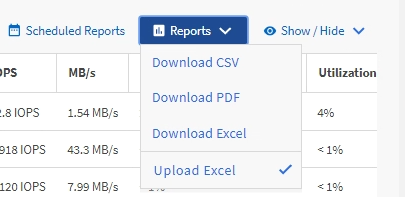
Select Reports > Download Excel.
-
Save the file. The file is saved to your downloads folder.
-
Open the saved file in Excel. Do not move the file to a new location, or if you do your work in another location, save the file back to the original location using the original file name before uploading the file.
-
Customize the file using Excel features, such as complex sorts, layered filters, pivot tables, or charts. For more information, see the Microsoft® Excel documentation.
-
Select Reports > Upload Excel and select the file that you modified. The most recently downloaded file is uploaded from the same file location.
-
Send yourself a test report using the Scheduled Reports feature.