

 Artificial Intelligence
NetApp Astra Control overview
 Suggest changes
NetApp Astra Control Center offers a rich set of storage and application-aware data management services for stateful Kubernetes workloads, deployed in an on-prem environment, powered by trusted data protection technology from NetApp.
NetApp Astra Control Center offers a rich set of storage and application-aware data management services for stateful Kubernetes workloads deployed in an on-premises environment and powered by NetApp data protection technology.
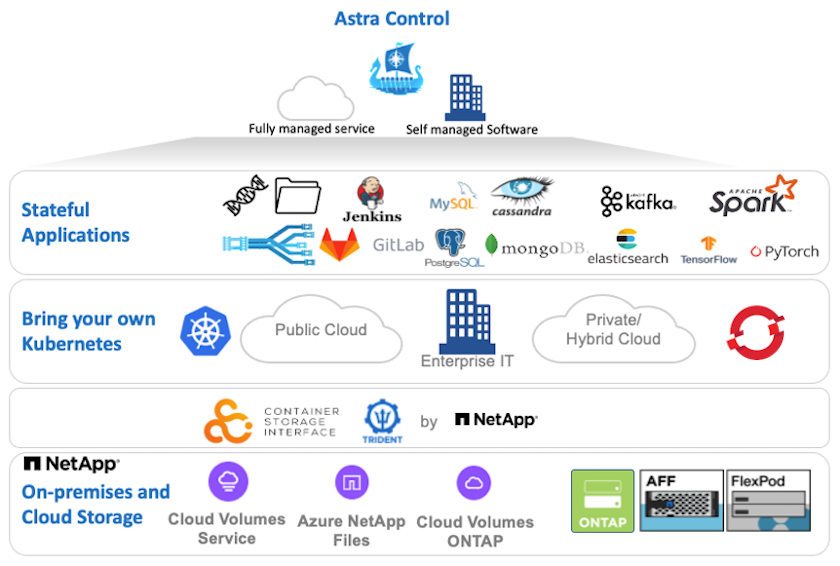
NetApp Astra Control Center can be installed on a VMware Tanzu cluster that has the Astra Trident storage orchestrator deployed and configured with storage classes and storage backends to NetApp ONTAP storage systems.
For more information on Astra Trident, see this document here.
In a cloud-connected environment, Astra Control Center uses Cloud Insights to provide advanced monitoring and telemetry. In the absence of a Cloud Insights connection, limited monitoring and telemetry (seven days worth of metrics) is available and exported to Kubernetes native monitoring tools (Prometheus and Grafana) through open metrics endpoints.
Astra Control Center is fully integrated into the NetApp AutoSupport and Active IQ Digital Advisor (also known as Digital Advisor) ecosystem to provide support for users, provide assistance with troubleshooting, and display usage statistics.
In addition to the paid version of Astra Control Center, a 90-day evaluation license is also available. The evaluation version is supported through email and the community Slack channel. Customers have access to these resources, other knowledge-base articles, and documentation available from the in-product support dashboard.
To understand more about the Astra portfolio, visit the Astra website.
Astra Control Center automation
Astra Control Center has a fully functional REST API for programmatic access. Users can use any programming language or utility to interact with Astra Control REST API endpoints. To learn more about this API, see the documentation here.
If you are looking for a ready-made software development toolkit for interacting with Astra Control REST APIs, NetApp provides a toolkit with the Astra Control Python SDK that you can download here.
If programming is not appropriate for your situation and you would like to use a configuration management tool, you can clone and run the Ansible playbooks that NetApp publishes here.
Astra Control Center installation prerequisites
Astra Control Center installation requires the following prerequisites:
-
One or more Tanzu Kubernetes clusters, managed either by a management cluster or TKGS or TKGI. TKG workload clusters 1.4+ and TKGI user clusters 1.12.2+ are supported.
-
Astra Trident must already be installed and configured on each of the Tanzu Kubernetes clusters.
-
One or more NetApp ONTAP storage systems running ONTAP 9.5 or greater.

It's a best practice for each Tanzu Kubernetes install at a site to have a dedicated SVM for persistent storage. Multi-site deployments require additional storage systems. -
A Trident storage backend must be configured on each Tanzu Kubernetes cluster with an SVM backed by an ONTAP cluster.
-
A default StorageClass configured on each Tanzu Kubernetes cluster with Astra Trident as the storage provisioner.
-
A load balancer must be installed and configured on each Tanzu Kubernetes cluster for load balancing and exposing Astra Control Center if you are using ingressType
AccTraefik. -
An ingress controller must be installed and configured on each Tanzu Kubernetes cluster for exposing Astra Control Center if you are using ingressType
Generic. -
A private image registry must be configured to host the NetApp Astra Control Center images.
-
You must have Cluster Admin access to the Tanzu Kubernetes cluster where Astra Control Center is being installed.
-
You must have Admin access to NetApp ONTAP clusters.
-
A RHEL or Ubuntu admin workstation.
Install Astra Control Center
This solution describes an automated procedure for installing Astra Control Center using Ansible playbooks. If you are looking for a manual procedure to install Astra Control Center, follow the detailed installation and operations guide here.
-
To use the Ansible playbooks that deploy Astra Control Center, you must have an Ubuntu/RHEL machine with Ansible installed. Follow the procedures here for Ubuntu and RHEL.
-
Clone the GitHub repository that hosts the Ansible content.
git clone https://github.com/NetApp-Automation/na_astra_control_suite.git -
Log into the NetApp Support Site and download the latest version of NetApp Astra Control Center. To do so requires a license attached to your NetApp account. After you download the tarball, transfer it to the workstation.
To get started with a trial license for Astra Control, visit the Astra registration site. -
Create or obtain the kubeconfig file with admin access to the user or workload Tanzu Kubernetes cluster on which Astra Control Center is to be installed.
-
Change the directory to
na_astra_control_suite.cd na_astra_control_suite -
Edit the
vars/vars.ymlfile and fill the variables with the required information.#Define whether or not to push the Astra Control Center images to your private registry [Allowed values: yes, no] push_images: yes #The directory hosting the Astra Control Center installer installer_directory: /home/admin/ #Specify the ingress type. Allowed values - "AccTraefik" or "Generic" #"AccTraefik" if you want the installer to create a LoadBalancer type service to access ACC, requires MetalLB or similar. #"Generic" if you want to create or configure ingress controller yourself, installer just creates a ClusterIP service for traefik. ingress_type: "AccTraefik" #Name of the Astra Control Center installer (Do not include the extension, just the name) astra_tar_ball_name: astra-control-center-22.04.0 #The complete path to the kubeconfig file of the kubernetes/openshift cluster Astra Control Center needs to be installed to. hosting_k8s_cluster_kubeconfig_path: /home/admin/cluster-kubeconfig.yml #Namespace in which Astra Control Center is to be installed astra_namespace: netapp-astra-cc #Astra Control Center Resources Scaler. Leave it blank if you want to accept the Default setting. astra_resources_scaler: Default #Storageclass to be used for Astra Control Center PVCs, it must be created before running the playbook [Leave it blank if you want the PVCs to use default storageclass] astra_trident_storageclass: basic #Reclaim Policy for Astra Control Center Persistent Volumes [Allowed values: Retain, Delete] storageclass_reclaim_policy: Retain #Private Registry Details astra_registry_name: "docker.io" #Whether the private registry requires credentials [Allowed values: yes, no] require_reg_creds: yes #If require_reg_creds is yes, then define the container image registry credentials #Usually, the registry namespace and usernames are same for individual users astra_registry_namespace: "registry-user" astra_registry_username: "registry-user" astra_registry_password: "password" #Kuberenets/OpenShift secret name for Astra Control Center #This name will be assigned to the K8s secret created by the playbook astra_registry_secret_name: "astra-registry-credentials" #Astra Control Center FQDN acc_fqdn_address: astra-control-center.cie.netapp.com #Name of the Astra Control Center instance acc_account_name: ACC Account Name #Administrator details for Astra Control Center admin_email_address: admin@example.com admin_first_name: Admin admin_last_name: Admin -
Run the playbook to deploy Astra Control Center. The playbook requires root privileges for certain configurations.
Run the following command to run the playbook if the user running the playbook is root or has passwordless sudo configured.
ansible-playbook install_acc_playbook.ymlIf the user has password-based sudo access configured, then run the following command to run the playbook and then enter the sudo password.
ansible-playbook install_acc_playbook.yml -K
Post Install Steps
-
It might take several minutes for the installation to complete. Verify that all the pods and services in the
netapp-astra-ccnamespace are up and running.[netapp-user@rhel7 ~]$ kubectl get all -n netapp-astra-cc
-
Check the
acc-operator-controller-managerlogs to ensure that the installation is completed.[netapp-user@rhel7 ~]$ kubectl logs deploy/acc-operator-controller-manager -n netapp-acc-operator -c manager -f
The following message indicates the successful installation of Astra Control Center. {"level":"info","ts":1624054318.029971,"logger":"controllers.AstraControlCenter","msg":"Successfully Reconciled AstraControlCenter in [seconds]s","AstraControlCenter":"netapp-astra-cc/astra","ae.Version":"[22.04.0]"} -
The username for logging into Astra Control Center is the email address of the administrator provided in the CRD file and the password is a string
ACC-appended to the Astra Control Center UUID. Run the following command:[netapp-user@rhel7 ~]$ oc get astracontrolcenters -n netapp-astra-cc NAME UUID astra 345c55a5-bf2e-21f0-84b8-b6f2bce5e95f
In this example, the password is ACC-345c55a5-bf2e-21f0-84b8-b6f2bce5e95f. -
Get the traefik service load balancer IP if the ingressType is AccTraefik.
[netapp-user@rhel7 ~]$ oc get svc -n netapp-astra-cc | egrep 'EXTERNAL|traefik'

NAME                                       TYPE           CLUSTER-IP       EXTERNAL-IP     PORT(S)                                                                   AGE
traefik                                    LoadBalancer   172.30.99.142    10.61.186.181   80:30343/TCP,443:30060/TCP                                                16m
-
Add an entry in the DNS server pointing the FQDN provided in the Astra Control Center CRD file to the
EXTERNAL-IPof the traefik service.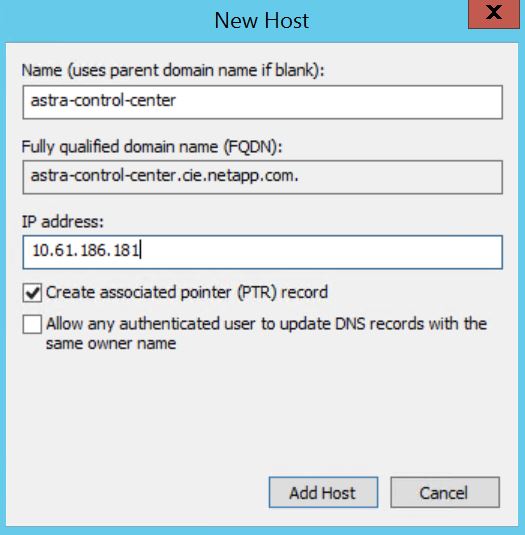
-
Log into the Astra Control Center GUI by browsing its FQDN.
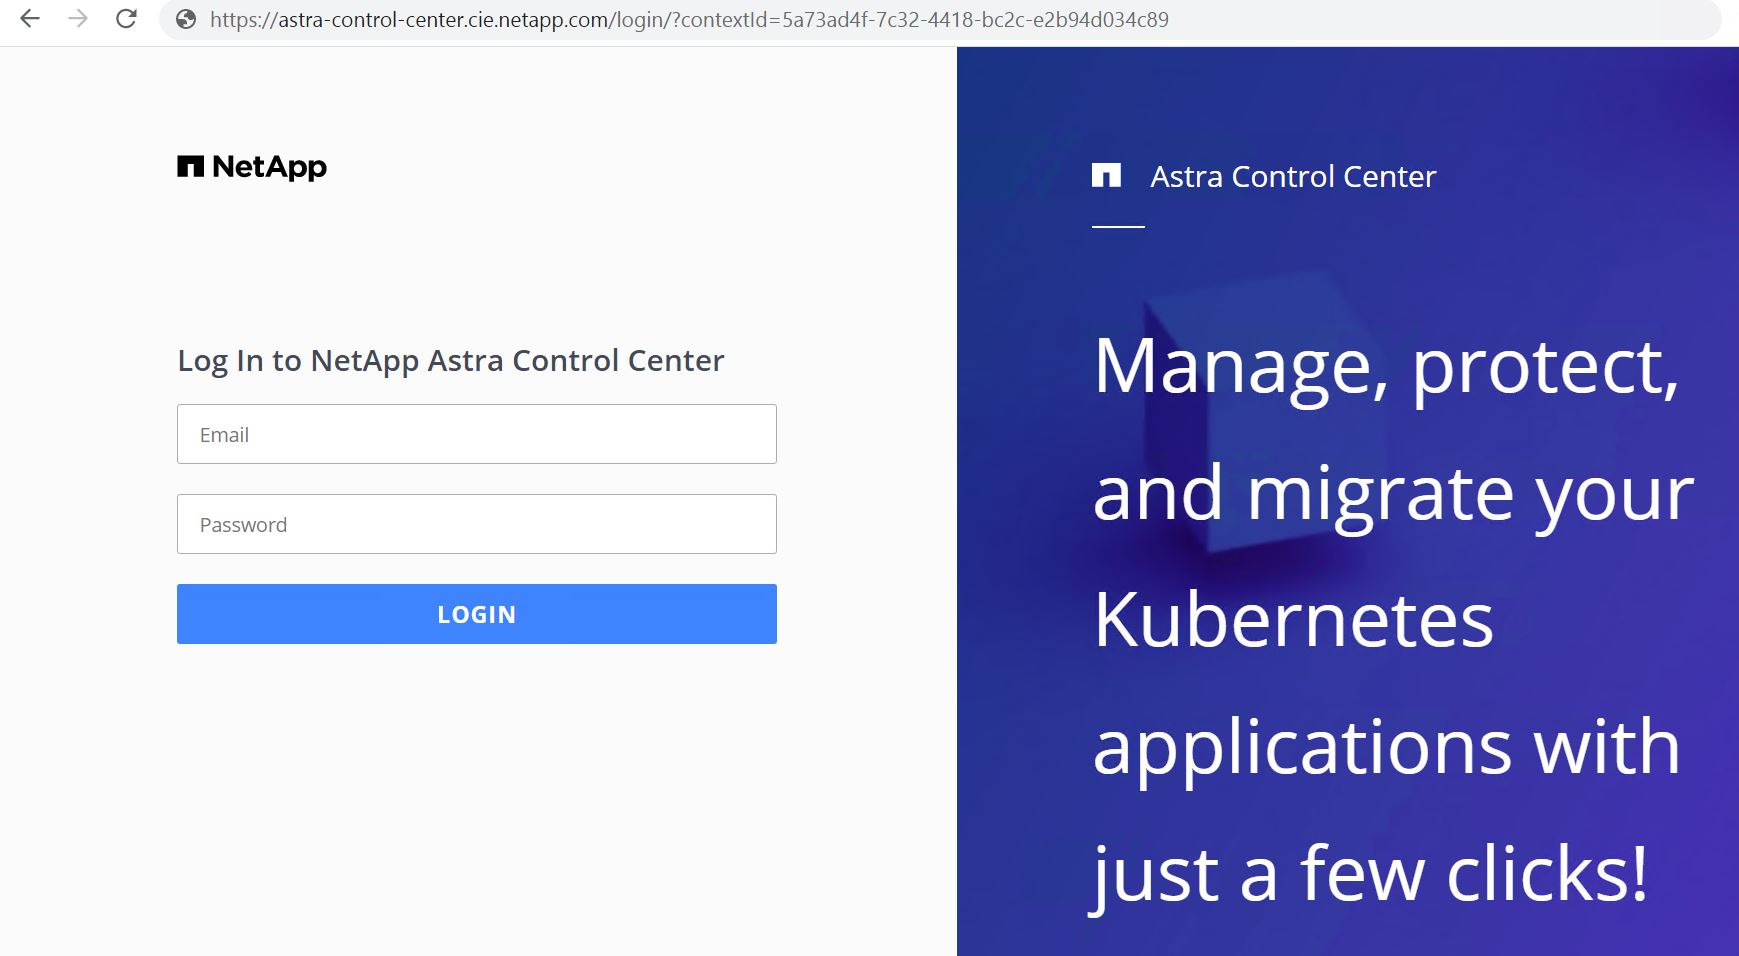
-
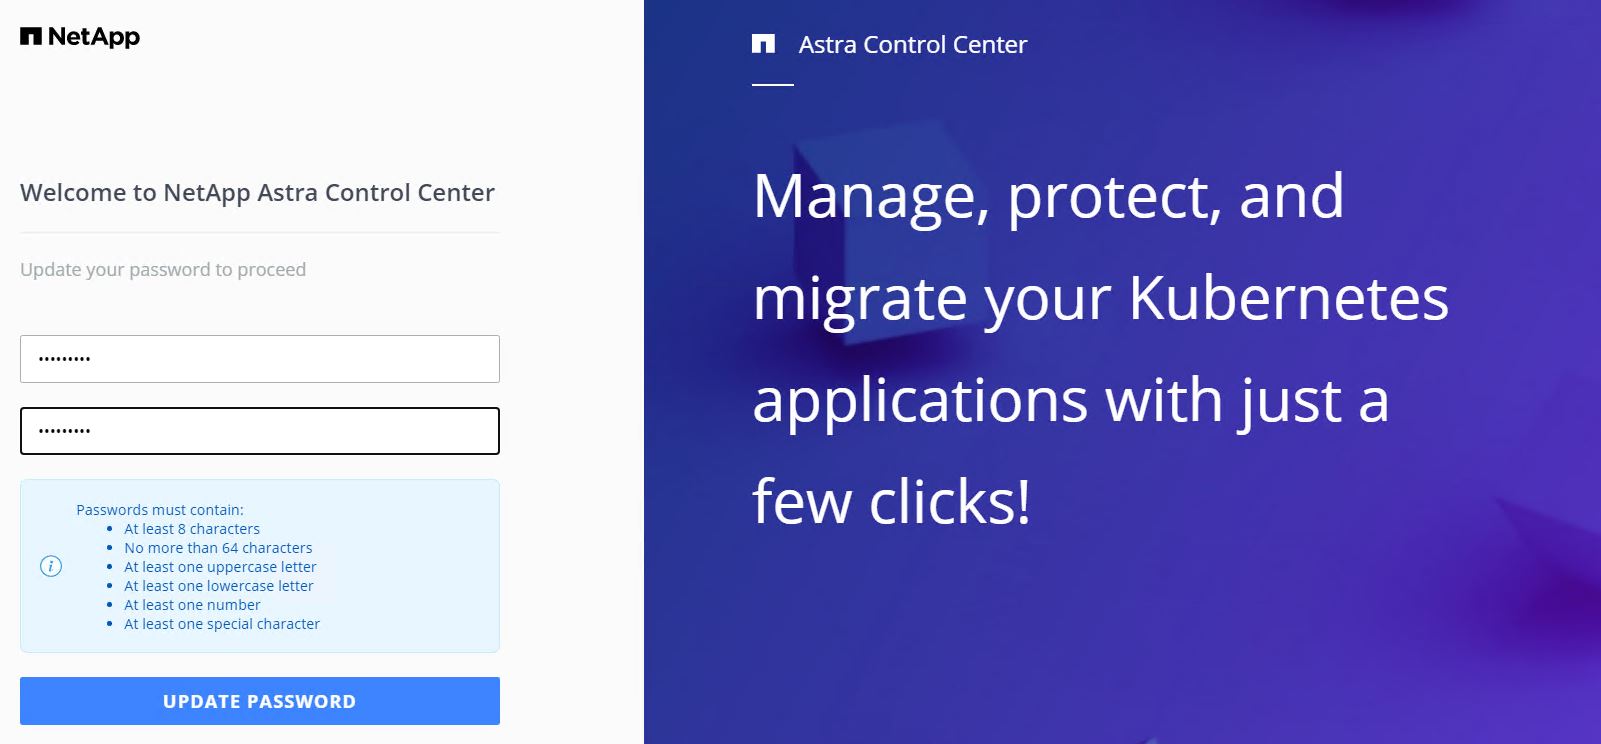
When you log into Astra Control Center GUI for the first time using the admin email address provided in CRD, you need to change the password.
-
If you wish to add a user to Astra Control Center, navigate to Account > Users, click Add, enter the details of the user, and click Add.

-
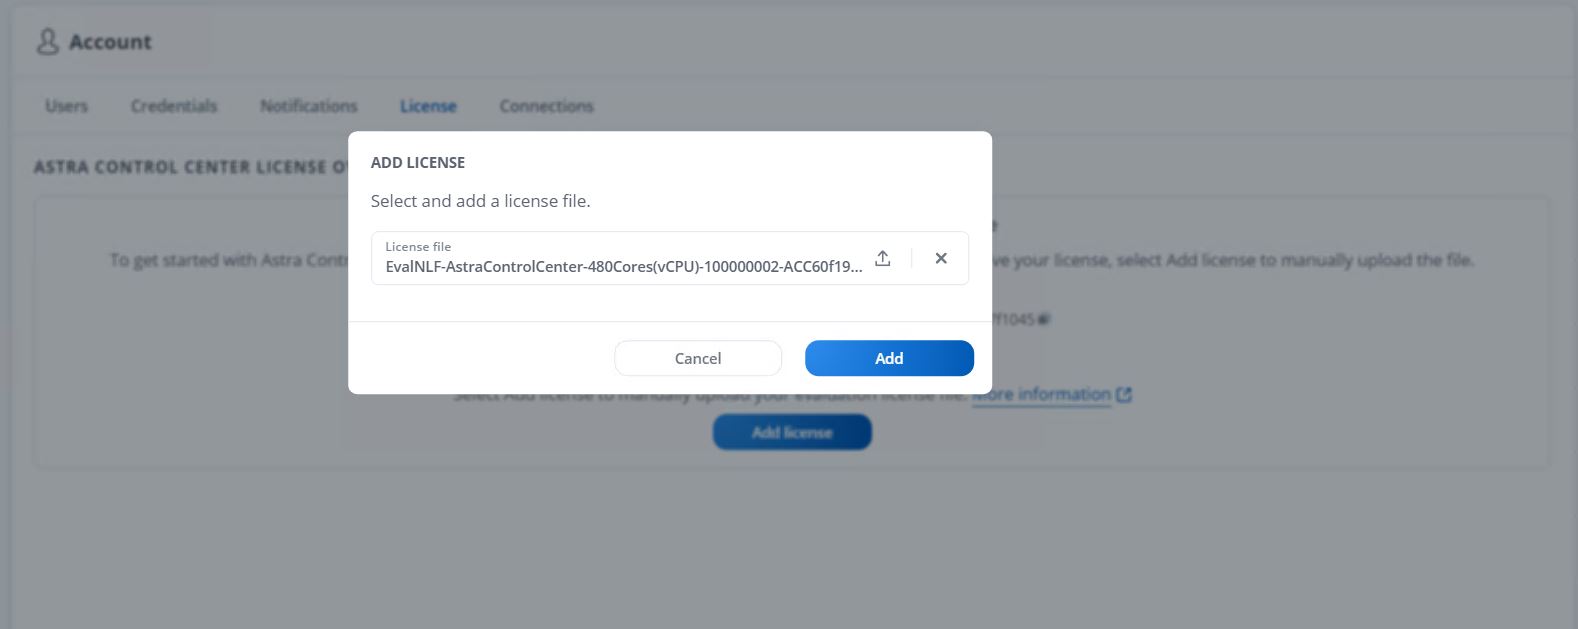
Astra Control Center requires a license for all of its functionalities to work. To add a license, navigate to Account > License, click Add License, and upload the license file.
If you encounter issues with the install or configuration of NetApp Astra Control Center, the knowledge base of known issues is available here.