

 人工知能
人工知能
NetApp Astra Controlの概要
 変更を提案
変更を提案
NetApp Astra Control Centerは、ネットアップの信頼できるデータ保護テクノロジを基盤とするオンプレミス環境に導入された、ステートフルKubernetesワークロード向けの豊富なストレージサービスとアプリケーション対応データ管理サービスを提供します。
NetApp Astra Control Center は、オンプレミス環境に導入され、ネットアップのデータ保護テクノロジを基盤とするステートフル Kubernetes ワークロード向けの充実したストレージサービスとアプリケーション対応データ管理サービスを提供します。
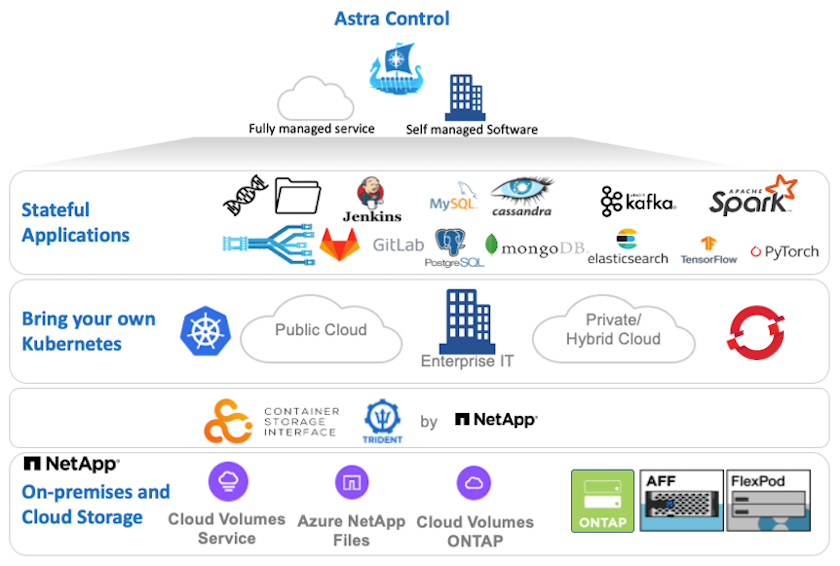
NetApp Astra Control Centerは、Astra Tridentストレージオーケストレーションツールを導入して、NetApp ONTAP ストレージシステムにストレージクラスとストレージバックエンドで構成されている{k8s_distribution_name}クラスタにインストールできます。
Astra Tridentの詳細については、を参照してください "このドキュメントはこちら"。
クラウド接続環境では、 Cloud Insights を使用して高度なモニタリングとテレメトリを提供します。Cloud Insights 接続がない場合は、限定的な監視と計測(7日間の指標)を使用でき、オープン指標エンドポイントを介してKubernetesの標準の監視ツール(PrometheusとGrafana)にエクスポートされます。
Astra Control Centerは、NetApp AutoSupportとActive IQのデジタルアドバイザ(デジタルアドバイザとも呼ばれます)エコシステムに完全に統合されており、ユーザのサポート、トラブルシューティングの支援、使用状況の統計の表示を提供します。
支払い済みのAstra Control Centerに加えて、90日間の評価ライセンスも利用できます。評価版は、EメールとSlackコミュニティチャネルを通じてサポートされます。お客様は、これらのリソース、その他のナレッジベース記事、および製品サポートダッシュボードから入手できるドキュメントにアクセスできます。
Astraポートフォリオの詳細については、を参照してください "Astra の Web サイト"。
Astra Control Center自動化
Astra Control Centerには、プログラム経由でアクセスするための完全に機能するREST APIが用意されています。任意のプログラミング言語またはユーティリティを使用して、Astra Control REST APIエンドポイントとやり取りできます。このAPIの詳細については、のドキュメントを参照してください "こちらをご覧ください"。
すぐに利用できる、Astra Control REST APIと連携するためのソフトウェア開発ツールキットを探している場合、ネットアップはAstra Control Python SDKのツールキットを提供しています。このツールキットはダウンロードが可能です "こちらをご覧ください"。
プログラミングが適していない状況で構成管理ツールを使用する場合は、ネットアップが公開しているAnsibleプレイブックをクローニングして実行できます "こちらをご覧ください"。
Astra Control Center のインストールの前提条件
Astra Control Centerのインストールには、次の前提条件が必要です。
-
1つ以上のTanzu Kubernetesクラスタは、管理クラスタまたはTKGSまたはTKGIによって管理されます。TKGワークロードクラスタ1.4 +およびTKGIユーザークラスタ1.12.2+がサポートされています。
-
各Tanzu KubernetesクラスタにAstra Tridentがインストールおよび設定されている必要があります。
-
ONTAP 9.5 以降を実行している NetApp ONTAP ストレージシステムが 1 つ以上必要です。

サイトにある各Tanzu Kubernetesインストールでは、永続的ストレージ用の専用SVMを使用することを推奨します。マルチサイト環境では、追加のストレージシステムが必要です。 -
Tridentストレージバックエンドは、ONTAP クラスタから作成されたSVMを含む各Tanzu Kubernetesクラスタで設定する必要があります。
-
各Tanzu Kubernetesクラスタに設定されたデフォルトのStorageClassには、Astra Tridentをストレージプロビジョニングツールとして使用します。
-
ingressType「AccTraefik」を使用している場合は、ロードバランシングとアストラコントロールセンターの公開のために、各Tanzu Kubernetesクラスタにロードバランサをインストールし、設定する必要があります。
-
ingressType「Generic」を使用している場合は、Astra Control Centerを公開するために、各Tanzu Kubernetesクラスタに入力コントローラをインストールし、設定する必要があります。
-
NetApp アストラ Control Center イメージをホストするには、プライベートイメージのレジストリを設定する必要があります。
-
Astra Control CenterをインストールしているTanzu Kubernetesクラスタにクラスタ管理者としてアクセスできる必要があります。
-
NetApp ONTAP クラスタへの管理者アクセスが必要です。
-
RHELまたはUbuntuの管理ワークステーション。
Astra Control Center をインストールします
この解決策 では、Ansibleプレイブックを使用してAstra Control Centerをインストールするための自動手順 について説明します。手順 を手動でインストールしてAstra Control Centerをインストールする場合は、詳細なインストールと操作のガイドに従ってください "こちらをご覧ください"。
-
Astra Control Centerを導入するAnsibleプレイブックを使用するには、AnsibleがインストールされたUbuntu / RHELマシンが必要です。手順に従います "こちらをご覧ください" UbuntuおよびRHELの場合。
-
Ansible コンテンツをホストする GitHub リポジトリをクローニングします。
git clone https://github.com/NetApp-Automation/na_astra_control_suite.git -
ネットアップサポートサイトにログインし、最新バージョンの NetApp Astra Control Center をダウンロードします。そのためには、ネットアップアカウントにライセンスを関連付ける必要があります。tar ファイルをダウンロードしたら、ワークステーションに転送します。
Astra Control の試用版ライセンスの使用を開始するには、にアクセスしてください "Astra 登録サイト"。 -
Astra Control CenterをインストールするユーザまたはワークロードのTanzu Kubernetesクラスタに管理者アクセスでkubeconfigファイルを作成または取得します。
-
ディレクトリを'na_Astra_control_siteに変更します
cd na_astra_control_suite -
「vars/vars.yml」ファイルを編集し、必要な情報を変数に入力します。
#Define whether or not to push the Astra Control Center images to your private registry [Allowed values: yes, no] push_images: yes #The directory hosting the Astra Control Center installer installer_directory: /home/admin/ #Specify the ingress type. Allowed values - "AccTraefik" or "Generic" #"AccTraefik" if you want the installer to create a LoadBalancer type service to access ACC, requires MetalLB or similar. #"Generic" if you want to create or configure ingress controller yourself, installer just creates a ClusterIP service for traefik. ingress_type: "AccTraefik" #Name of the Astra Control Center installer (Do not include the extension, just the name) astra_tar_ball_name: astra-control-center-22.04.0 #The complete path to the kubeconfig file of the kubernetes/openshift cluster Astra Control Center needs to be installed to. hosting_k8s_cluster_kubeconfig_path: /home/admin/cluster-kubeconfig.yml #Namespace in which Astra Control Center is to be installed astra_namespace: netapp-astra-cc #Astra Control Center Resources Scaler. Leave it blank if you want to accept the Default setting. astra_resources_scaler: Default #Storageclass to be used for Astra Control Center PVCs, it must be created before running the playbook [Leave it blank if you want the PVCs to use default storageclass] astra_trident_storageclass: basic #Reclaim Policy for Astra Control Center Persistent Volumes [Allowed values: Retain, Delete] storageclass_reclaim_policy: Retain #Private Registry Details astra_registry_name: "docker.io" #Whether the private registry requires credentials [Allowed values: yes, no] require_reg_creds: yes #If require_reg_creds is yes, then define the container image registry credentials #Usually, the registry namespace and usernames are same for individual users astra_registry_namespace: "registry-user" astra_registry_username: "registry-user" astra_registry_password: "password" #Kuberenets/OpenShift secret name for Astra Control Center #This name will be assigned to the K8s secret created by the playbook astra_registry_secret_name: "astra-registry-credentials" #Astra Control Center FQDN acc_fqdn_address: astra-control-center.cie.netapp.com #Name of the Astra Control Center instance acc_account_name: ACC Account Name #Administrator details for Astra Control Center admin_email_address: admin@example.com admin_first_name: Admin admin_last_name: Admin -
プレイブックを実行して Astra Control Center を導入します。Playbookには、特定の構成用のroot権限が必要です。
プレイブックを実行しているユーザがrootである場合、またはパスワードなしのsudoが設定されている場合は、次のコマンドを実行してプレイブックを実行します。
ansible-playbook install_acc_playbook.ymlユーザにパスワードベースのsudoアクセスが設定されている場合は、次のコマンドを実行してこのPlaybookを実行し、sudoパスワードを入力します。
ansible-playbook install_acc_playbook.yml -K
インストール後の手順
-
インストールが完了するまでに数分かかることがあります。NetApp-AstrA-cc' ネームスペース内のすべてのポッドとサービスが稼働していることを確認します
[netapp-user@rhel7 ~]$ kubectl get all -n netapp-astra-cc
-
「 acc-operator-controller-manager 」ログをチェックし、インストールが完了したことを確認します。
[netapp-user@rhel7 ~]$ kubectl logs deploy/acc-operator-controller-manager -n netapp-acc-operator -c manager -f
次のメッセージは、 Astra Control Center のインストールが正常に完了したことを示します。 {"level":"info","ts":1624054318.029971,"logger":"controllers.AstraControlCenter","msg":"Successfully Reconciled AstraControlCenter in [seconds]s","AstraControlCenter":"netapp-astra-cc/astra","ae.Version":"[22.04.0]"} -
Astra Control Center にログインするためのユーザ名は、 CRD ファイルに提供された管理者の電子メールアドレスで、パスワードは Astra Control Center UUID に付加された文字列「 ACC-` 」です。次のコマンドを実行します。
[netapp-user@rhel7 ~]$ oc get astracontrolcenters -n netapp-astra-cc
NAME    UUID
astra   345c55a5-bf2e-21f0-84b8-b6f2bce5e95f
この例では、パスワードは「 ACC-345c55a5 -bf2e-21f0 -84b8 -b6f2bce5e95f 」です。 -
ingressTypeがAccTraefikの場合は、traefikサービスロードバランサIPを取得します。
[netapp-user@rhel7 ~]$ oc get svc -n netapp-astra-cc | egrep 'EXTERNAL|traefik'

NAME                                       TYPE           CLUSTER-IP       EXTERNAL-IP     PORT(S)                                                                   AGE
traefik                                    LoadBalancer   172.30.99.142    10.61.186.181   80:30343/TCP,443:30060/TCP                                                16m
-
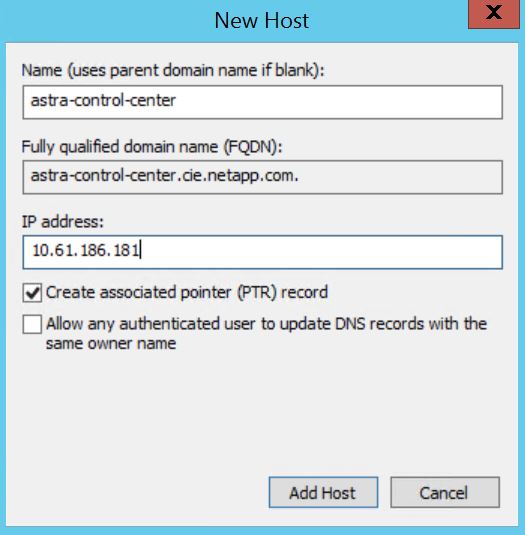
Astra Control Center CRD ファイルに指定された FQDN を指す DNS サーバーのエントリを、 traefik サービスの「 external-IP 」に追加します。
-
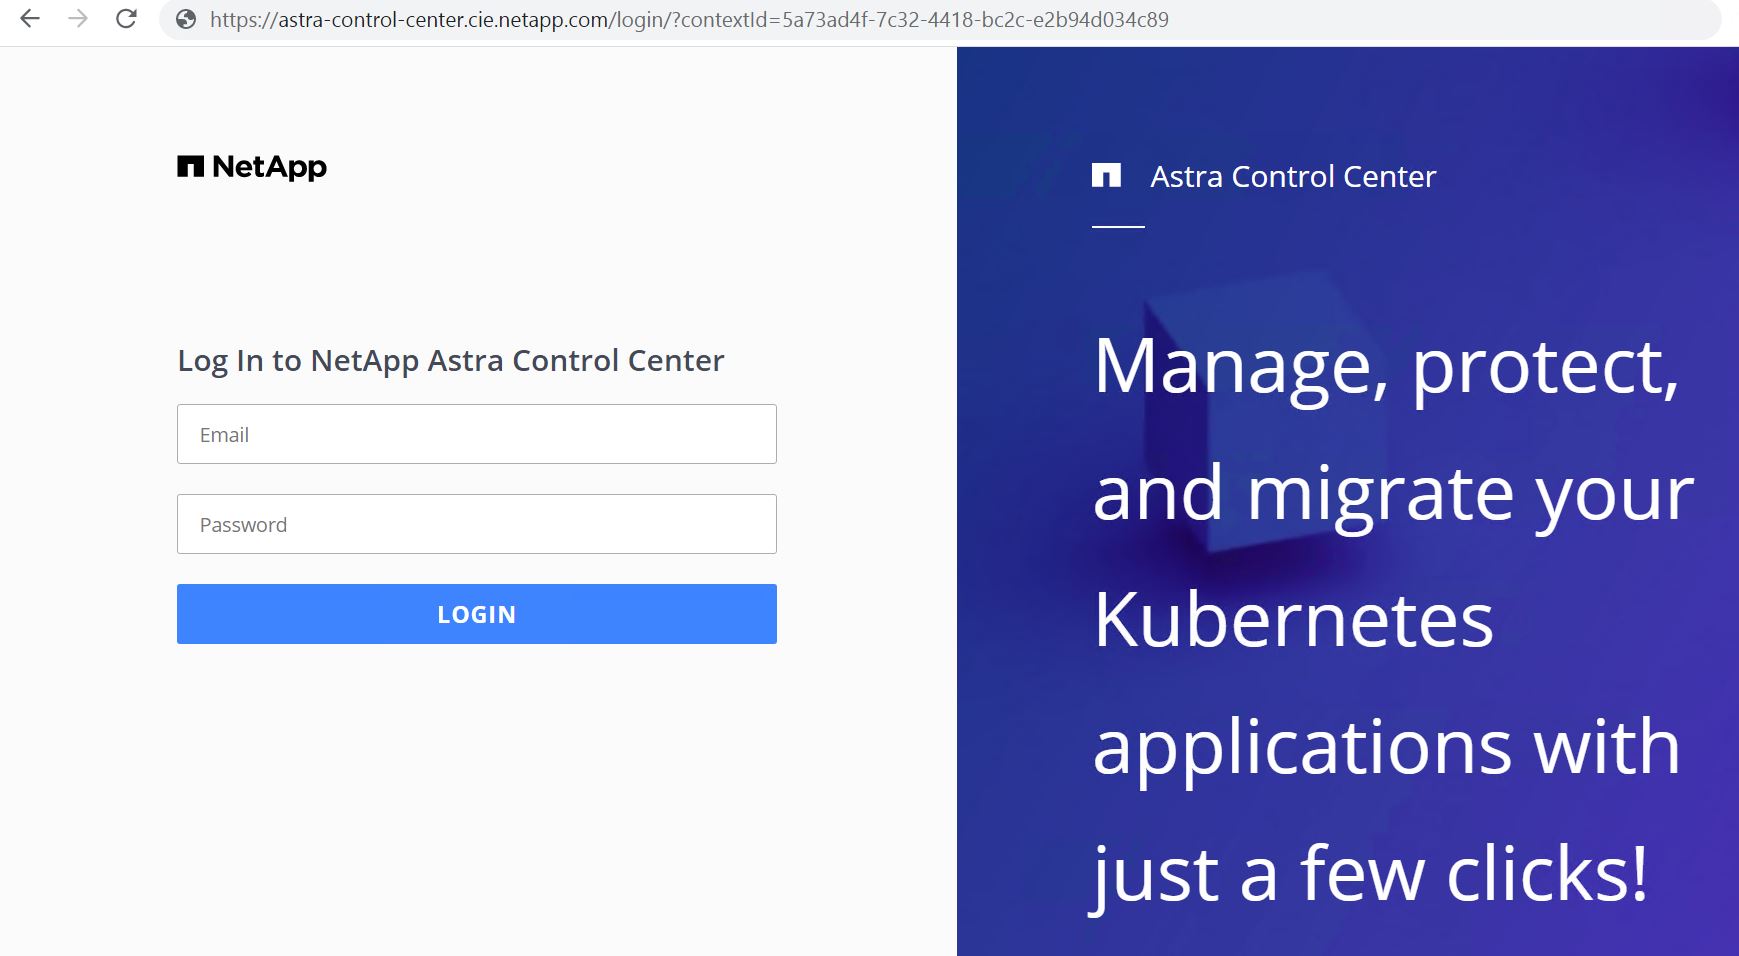
Astra Control Center GUI に、 FQDN を参照してログインします。
-
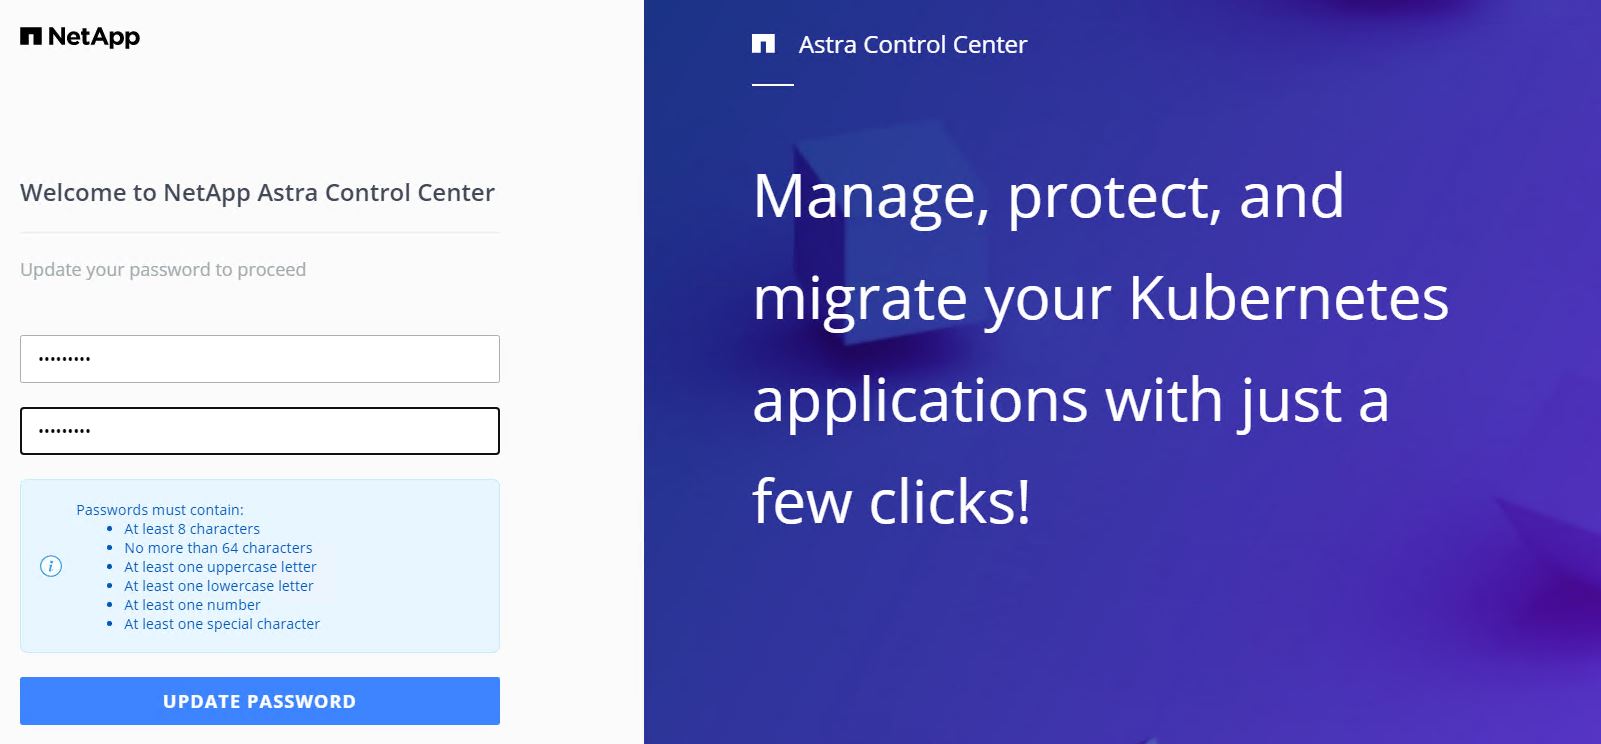
CRD で提供された管理者メールアドレスを使用して初めて Astra Control Center GUI にログインする場合は、パスワードを変更する必要があります。
-
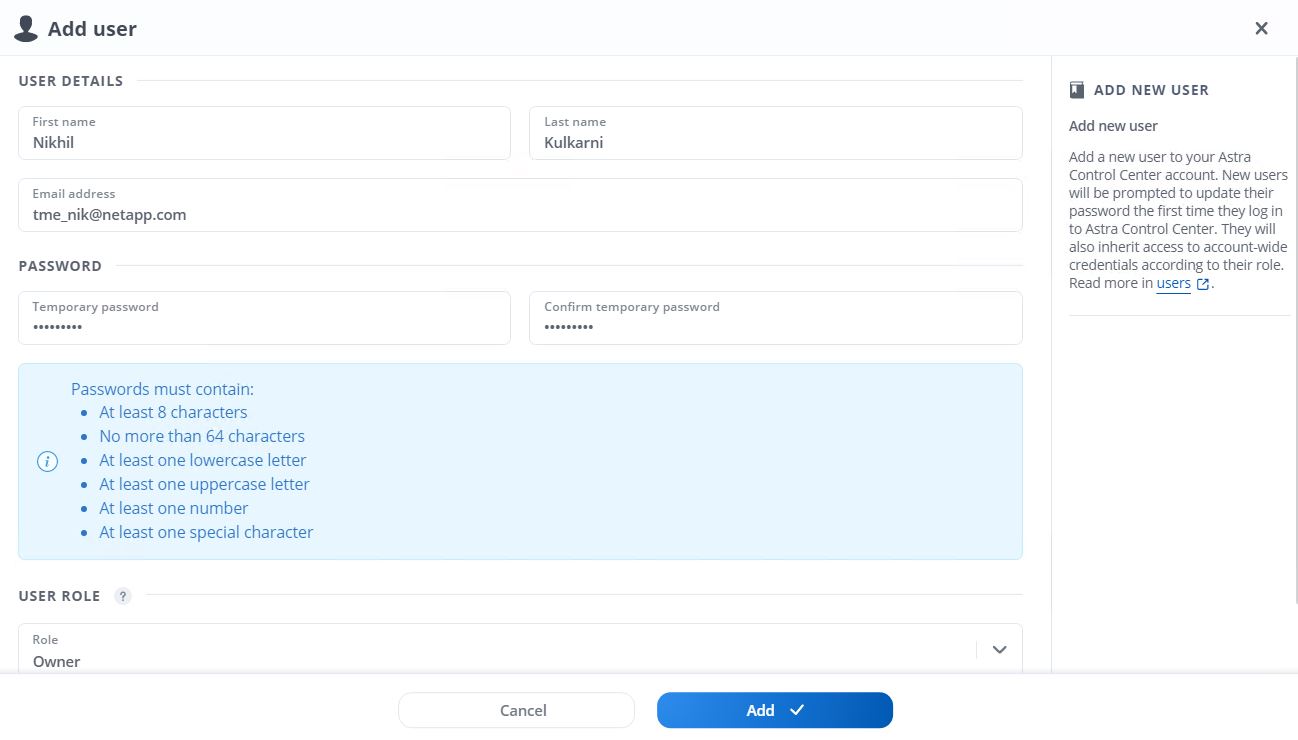
ユーザーを Astra Control Center に追加する場合は、 [ アカウント ]>[ ユーザー ] の順に選択し、 [ 追加 ] をクリックしてユーザーの詳細を入力し、 [ 追加 ] をクリックします。
-
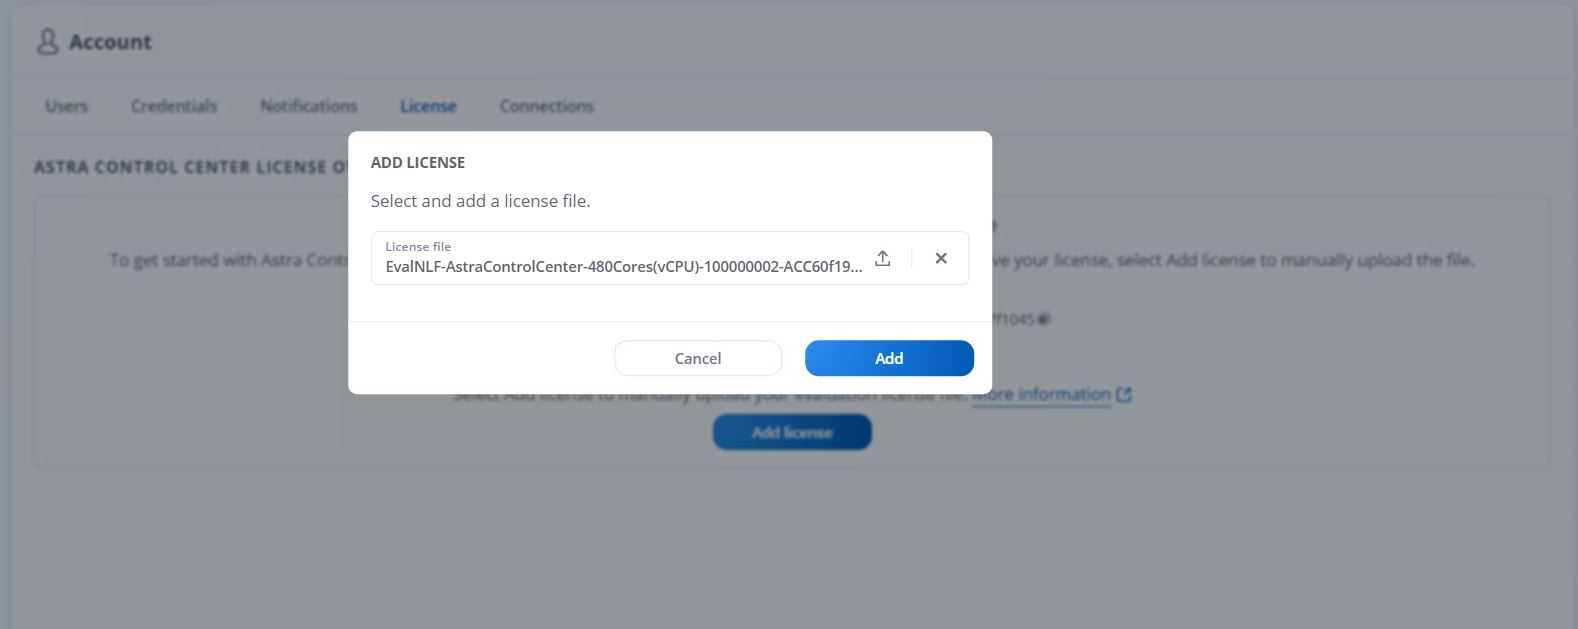
Astra Control Centerのすべての機能が動作するには、ライセンスが必要です。ライセンスを追加するには、 [ アカウント ] > [ ライセンス ] の順に選択し、 [ ライセンスの追加 ] をクリックして、ライセンスファイルをアップロードします。
NetApp Astra Control Center のインストールまたは設定で問題が発生した場合は、既知の問題のナレッジベースを利用できます "こちらをご覧ください"。