Use Experimental S3 Console
 Suggest changes
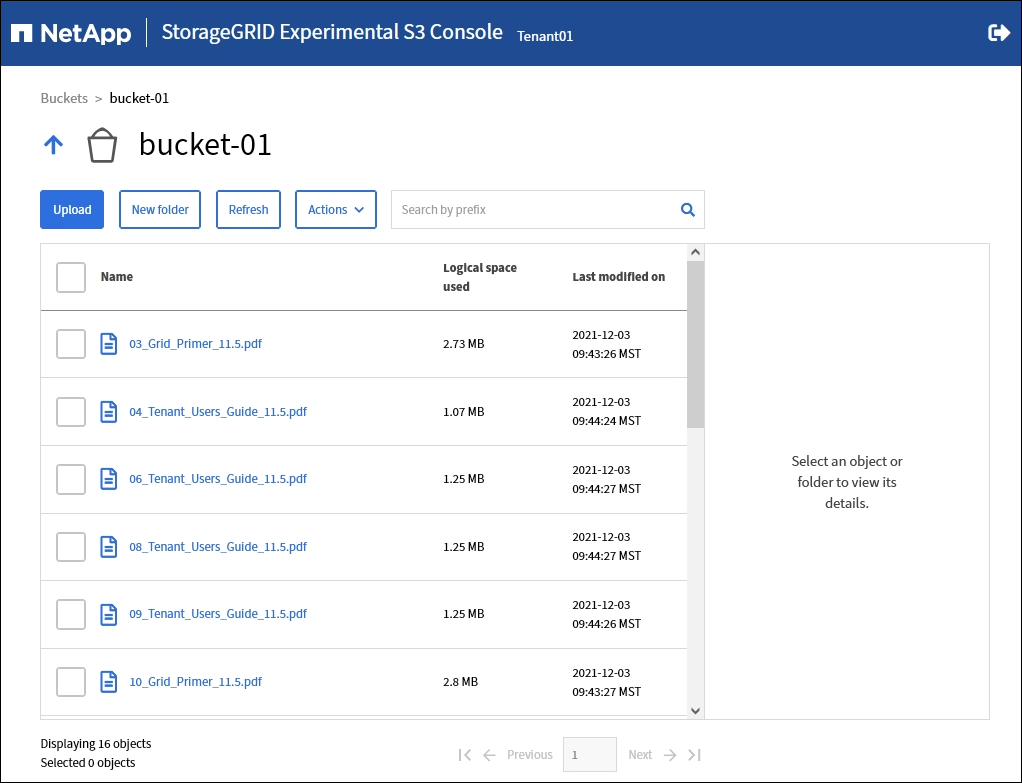
You can use S3 Console to view the objects in an S3 bucket.
You can also use S3 Console to do the following:
-
Add and delete objects, object versions, and folders
-
Rename objects
-
Move and copy objects between buckets and folders
-
Manage object tags
-
View object metadata
-
Download objects

|
The S3 Console is marked as "experimental" because it is not yet complete or approved for use in a production environment. Tenants should only use S3 Console when performing functions for a small number of objects, such as when uploading objects to simulate a new ILM policy, troubleshooting ingest issues, or using proof-of-concept or non-production grids. |
-
You are signed in to the Tenant Manager using a supported web browser.
-
You belong to a user group that has the Root access permission or that has both the Manage all buckets and Manage objects with S3 Console permissions.
Users who have the Manage objects with S3 Console permission but who don't have the Manage all buckets permission can still navigate directly to the Experimental S3 Console. -
You have created a bucket.
-
An S3 Group or Bucket policy has been configured for the user.
-
You know the user's access key ID and secret access key. Optionally, you have a
.csvfile containing this information. See the instructions for creating access keys.
-
Select Buckets.
-
Select
 . You can also access this link from the bucket details page.
 -
On the Experimental S3 Console sign-in page, paste the access key ID and secret access key into the fields. Otherwise, select Upload access keys and select your
.csvfile. -
Select Sign in.
-
Manage objects as needed.