Decommission connected grid nodes
 Suggest changes


You can decommission and permanently remove nodes that are connected to the grid.
-
You must understand the requirements and considerations for decommissioning grid nodes.
-
You must have gathered all required materials.
-
You must have ensured that no data repair jobs are active.
-
You must have confirmed that Storage Node recovery is not in progress anywhere in the grid. If it is, you must wait until any Cassandra rebuild performed as part of the recovery is complete. You can then proceed with decommissioning.
-
You must have ensured that other maintenance procedures will not be run while the node decommission procedure is running, unless the node decommission procedure is paused.
-
You must have the provisioning passphrase.
-
Grid nodes are connected.
-
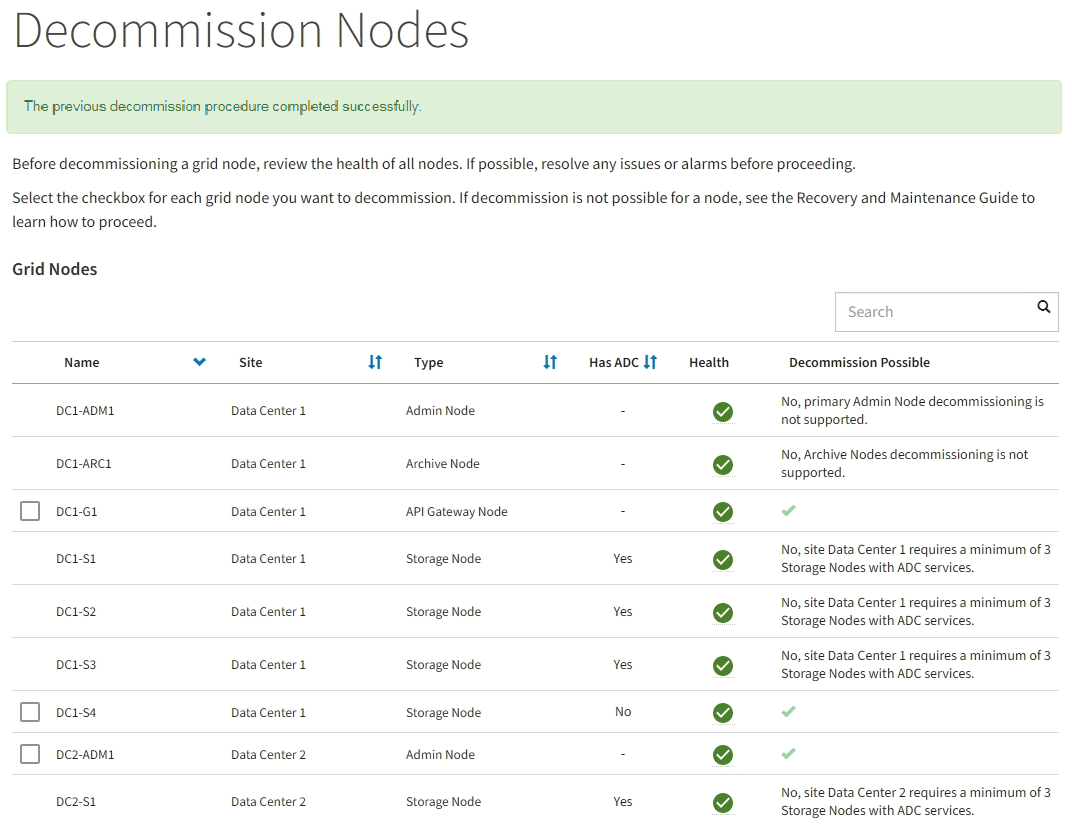
The Decommission Possible column for the node or nodes you want to decommission must include a green checkmark.
-
All grid nodes must have Normal (green) health
 . If you see one of these icons in the Health column, you must try to resolve the issue:
Icon
Color
Severity

Yellow
Notice

Light orange
Minor

Dark orange
Major

Red
Critical
-
If you previously decommissioned a disconnected Storage Node, the data repair jobs have all completed successfully. See Check data repair jobs.

|
Do not remove a grid node's virtual machine or other resources until instructed to do so in this procedure. |
-
From the Decommission Nodes page, select the check box for each grid node you want to decommission.
-
Enter the provisioning passphrase.
The Start Decommission button is enabled.
-
Click Start Decommission.
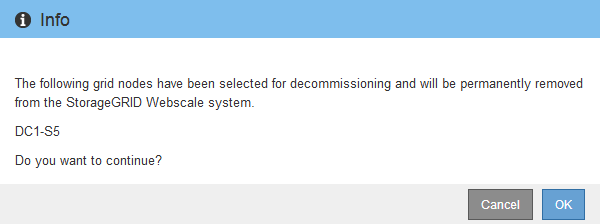
A confirmation dialog box appears.

-
Review the list of selected nodes, and click OK.
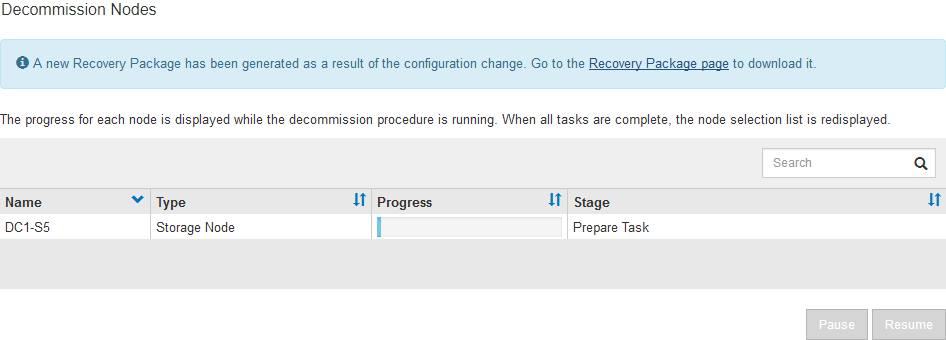
The node decommission procedure starts, and the progress is displayed for each node. During the procedure, a new Recovery Package is generated to show the grid configuration change.

Do not take a Storage Node offline after the decommission procedure has started. Changing the state might result in some content not being copied to other locations. -
As soon as the new Recovery Package is available, click the link or select MAINTENANCE > System > Recovery package to access the Recovery Package page. Then, download the
.zipfile.See the instructions for downloading the Recovery Package.
Download the Recovery Package as soon as possible to ensure you can recover your grid if something goes wrong during the decommission procedure. -
Periodically monitor the Decommission Nodes page to ensure that all selected nodes are decommissioned successfully.
Storage Nodes can take days or weeks to decommission. When all tasks are complete, the node selection list is redisplayed with a success message.

-
Follow the appropriate step for your platform. For example:
-
Linux: You might want to detach the volumes and delete the node configuration files you created during installation.
-
VMware: You might want to use the vCenter “Delete from Disk” option to delete the virtual machine. You might also need to delete any data disks that are independent of the virtual machine.
-
StorageGRID appliance: The appliance node automatically reverts to an undeployed state where you can access the StorageGRID Appliance Installer. You can power off the appliance or add it to another StorageGRID system.
-
Complete these steps after you complete the node decommission procedure:
-
Ensure that the drives of the decommissioned grid node are wiped clean. Use a commercially available data wiping tool or service to permanently and securely remove data from the drives.
-
If you decommissioned an appliance node and the data on the appliance was protected using node encryption, use the StorageGRID Appliance Installer to clear the key management server configuration (Clear KMS). You must clear the KMS configuration if you want to use the appliance in another grid.


